


anyone try this led conversion inside D

Captain
Joined: Sep 2008
Posts: 680
Likes: 0
From: RI
I'm stuck on removal of the domes and rear hatch as well. All the rest are done except the readers.

Rookie
Joined: Jun 2012
Posts: 85
Likes: 0
From: Salt Lake City,UT
Originally Posted by MIKEon22s
Shaun ? please, how did you get the interior dome lights out? also how to you get to rear hatch 2 leds?
Thanks
Mike
Thanks
Mike
Professional
Joined: Aug 2013
Posts: 243
Likes: 0
Whooo... that sounds like a little more than I want to bite off. I already have my fog bulbs in and I will change the license plate bulbs to LED but I can see me breaking half of the domes trying to get them out and the rear hatch bulbs... no way. I hate that too because it is a cheap mode that really looks nice. It won't be cheap if I have to replace a lot of broken parts though.
A video would be nice..
A video would be nice..
Captain
Joined: Sep 2008
Posts: 680
Likes: 0
From: RI
Thanks, the front domes aren't bad and with a thin needs nose pliers I can get the bulbs out with just popping out only one tab. How do the rear passenger and third row dome light come out? I know the small readers are not coming out.

Rookie
Joined: Oct 2013
Posts: 60
Likes: 0
From: Lutz, FL
Not to wake up a dead thread, but figured I'd add in what I used...
I had the cool white LED's in my GTI and the wife didn't want that in her D. So I found warmer color temps for her LED's... For the domes I got these:
For the rear hatch and foot wells (as they are bigger housings), I got these:
And for the vanity lights (on the sides of the mirror in the visor), I got these:
(although they sent me the cool white ones, so I'm still trying to get the right ones in, but the size is correct).
Easy peasy!! Still need to order the fog/rear LEDs. I will say this, however, the glove box light is *NOT* a 194 at least on my 13 R/T. It's much smaller than that so I wasn't able to replace it. (pic to come soon)
I'll take a pic this evening, but it's a closer match in color to the map lights, so I may not have to change those out.
I had the cool white LED's in my GTI and the wife didn't want that in her D. So I found warmer color temps for her LED's... For the domes I got these:
For the rear hatch and foot wells (as they are bigger housings), I got these:
And for the vanity lights (on the sides of the mirror in the visor), I got these:
(although they sent me the cool white ones, so I'm still trying to get the right ones in, but the size is correct).
Easy peasy!! Still need to order the fog/rear LEDs. I will say this, however, the glove box light is *NOT* a 194 at least on my 13 R/T. It's much smaller than that so I wasn't able to replace it.
(pic to come soon)I'll take a pic this evening, but it's a closer match in color to the map lights, so I may not have to change those out.
Rookie
Joined: Oct 2013
Posts: 60
Likes: 0
From: Lutz, FL
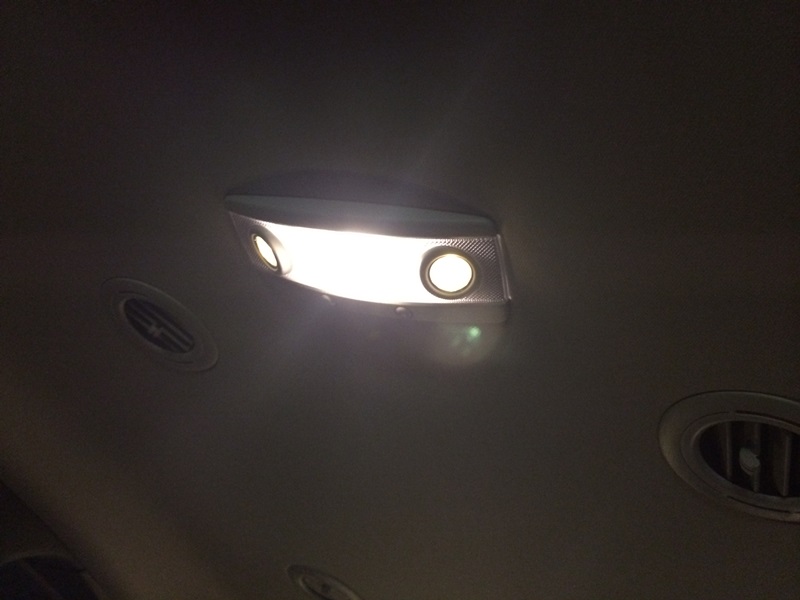
Here are the pics...
This doesn't show as well as I thought it would, but here's the difference between the map lights and the leds:
And here's a pic of the glove box light, with it's bulb next to a normal 194 bulb from the overhead console

As a final note, I'm glad I changed the lights out to leds... Both the hatch lights as well as the licenseplate lights had already started to melt the socket they were in and I had to work to get them out. I've only had the truck for 3 weeks and this is already an issue?? Wow! poor design decision, I guess...
This doesn't show as well as I thought it would, but here's the difference between the map lights and the leds:

And here's a pic of the glove box light, with it's bulb next to a normal 194 bulb from the overhead console

As a final note, I'm glad I changed the lights out to leds... Both the hatch lights as well as the licenseplate lights had already started to melt the socket they were in and I had to work to get them out. I've only had the truck for 3 weeks and this is already an issue?? Wow! poor design decision, I guess...

