

Gear swap progress

Thread Starter
|
Veteran
Joined: Sep 2010
Posts: 438
Likes: 0
lol! I try to take pics but once I'm on a roll, it's hard to stop to take pics but I'll try. My helper is taking today "off" I guess you can say. Thought he would want to come over for some birthday cake, but that's cool. I'm just mulling over what he was trying to explain to me about how we're going to set the pinion depth by using the old crush sleeve and bearings, ground out so it'll slip on and off, set the preload to minimum (10 inch pounds), measure depth with pinion depth tool he has (which he took with him of course) and also check gear pattern. I think this stuff is great - I love to learn new things and hopefully get a rebuild rear axle badge next to my many engine rebuilt badges! 
One thing I asked but don't remember what he said was the original markings on the original pinion gear and what they meant. I think the jist of it was that it was useless since we're installing new gears but I'm still curious how to read these numbers. He did try to explain but I guess I had the look of "huh?" The motive gear numbers are pretty self explanitory
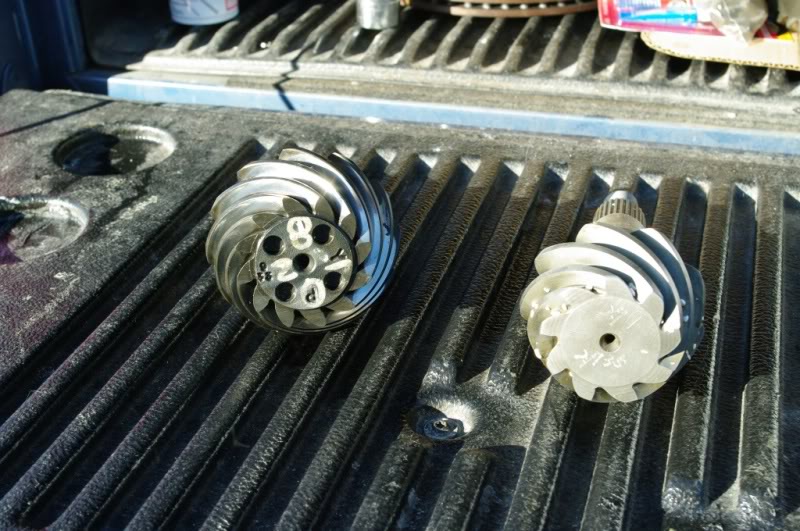

One thing I asked but don't remember what he said was the original markings on the original pinion gear and what they meant. I think the jist of it was that it was useless since we're installing new gears but I'm still curious how to read these numbers. He did try to explain but I guess I had the look of "huh?" The motive gear numbers are pretty self explanitory

Thread Starter
|
Veteran
Joined: Sep 2010
Posts: 438
Likes: 0

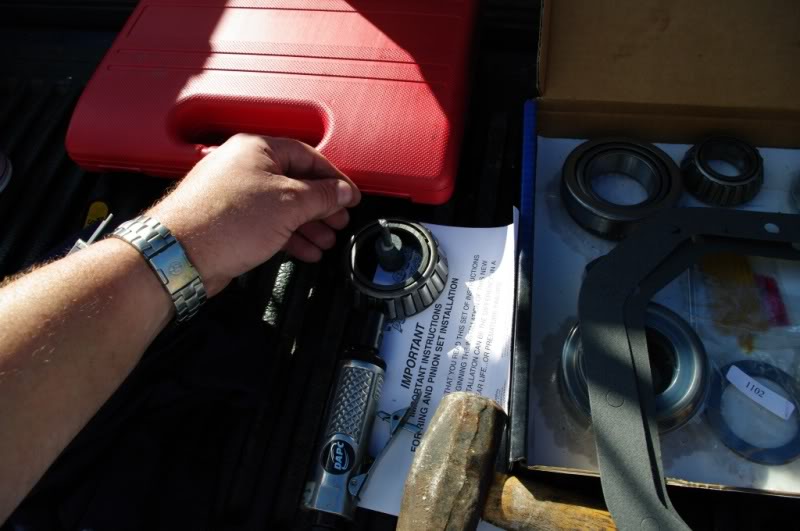
Okay, here's the deal. I questioned the measurements between the two bearings. The new and old. I measured a difference of .035 between the two (average - measuring around the bearings). Anyway, I was told I was a dumbass and the bearings were to be measured seated in their perspective cups. Well, now that made sense. Which is why he said to use the old bearing .... after measuring both the new AND old bearing in the cup, they both were exactly 1.000" meaning I can use the old bearing to measure my pinion depth. Sorry I doubted him.
Now the picture I used was to demonstrate ... that's really not how I measured it.. you have to hold it in your hand to do it and I only had one hand to hold the camera. I could have had someone else do it, but nobody was available and just wanted to get the pic done to demonstrate.
I was going to take the diff to a shop to have the bearings removed since my bearing puller wasn't doing the job along with my small press. As it turns out, they said they would have just used a grinder ... ok ... so that's what I used! Grind CAREFULLY until it actually cracks. then it pulls off with just a screwdriver.

Other side ground and cracked.
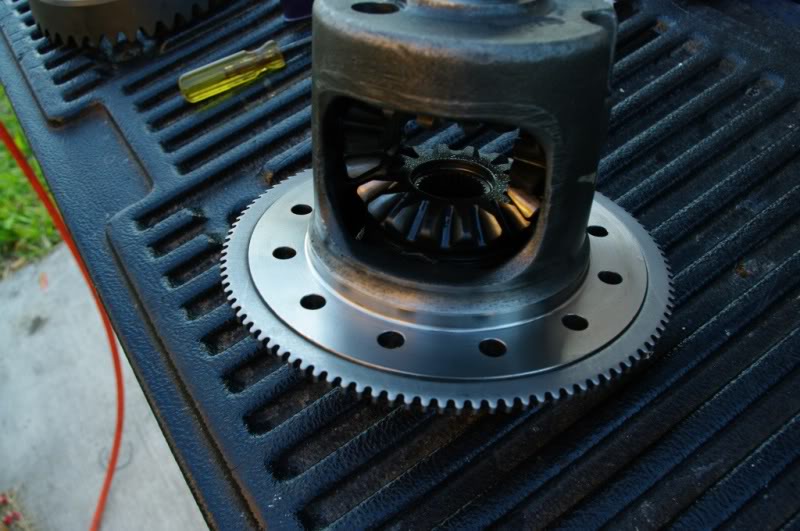
Bearing removed. Time to install new ones! Wait! This is the time for the ring gear install before installing the new bearings to avoid any potential damage.
Last edited by areinike; Dec 22, 2010 at 06:28 PM.
Thread Starter
|
Veteran
Joined: Sep 2010
Posts: 438
Likes: 0
Right now I'm about to use a grinder bit to widen the inner diameter of the old bearing so it fits on the new pinion. This was an air tool but a dremel would probably work just fine. I like the larger bit for more even grinding. You don't push too hard, just let it work as the inner ring actually moves around with the grinding direction. Take you time! Just let it go around and test fit, cleaning it out of spurs and bits in between. I got it to just slip on after wiggling a bit. If it just plops on, well, you did it too much.

New pinion cleaned with carb cleaner.

New pinion with test bearings slipped on. I'm also using the old crush sleeve. I was told to beat that out a tad to help with fitting. Will post that when that time comes.
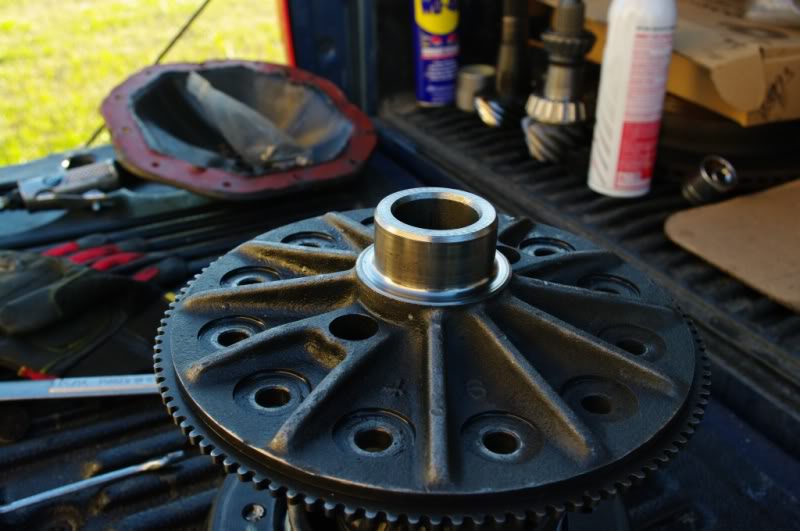
Ready to install new ring. Cleaned with carb cleaner and lint free rag.
Last edited by areinike; Dec 22, 2010 at 06:41 PM.
Thread Starter
|
Veteran
Joined: Sep 2010
Posts: 438
Likes: 0

Clean around the bolt holes as well. No grub needs to be in between the bolt and mount to avoid achieving the 115 ft/lbs. of torque in the bolts. LocTite was provided in my kit so I will be using that, but it got dark so tomorrow I hope to be doing this and taking more pics. It's hard with both myself and the helper getting dirty to handle the camera to take pics, but we try!
Thread Starter
|
Veteran
Joined: Sep 2010
Posts: 438
Likes: 0
I forgot to mention. I seated the ring gear on with two bolts after I ground out the inner seating just a tad to help with fitting. Needs just a little to remove any factory shards. I'll torque the remaining bolts with LocTite provided and reinstall these two bolts when I'm done with the others.
Thread Starter
|
Veteran
Joined: Sep 2010
Posts: 438
Likes: 0
Plans of having it near completion, if not done today, took a hit. Woke up sick as a dog. Taking meds and hopefully, will feel good enough to get something going. Banging the races out will be more like hell. Broke the front a little loose yesterday - just keep banging away, make sure my wheel chocks are still set! I'd like to get to the point to start taking some measurements.
Thread Starter
|
Veteran
Joined: Sep 2010
Posts: 438
Likes: 0
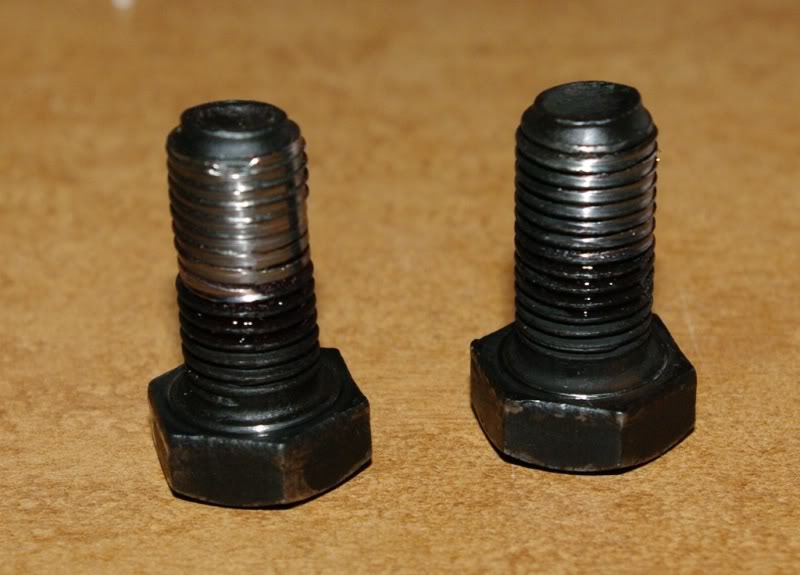
Project on hold. I don't think the "ring gear" bolts I got with my Motive Gear kit are strong enough for the specs Chrysler needs (115 ft/lbs.) as a couple of them just felt *wrong* when trying to even get to 80 ft/lbs.
I didn't want to really work on it as I wasn't feeling good this morning. But thought I could trudge on and get something done. I also suffer from occasional anxiety and wife wonders why, it's when this stuff happens. I've broken bolts before and am SO glad I didn't keep pushing it thinking "these bolts are supposed to be fine ..." as I knew something didn't "feel" right. Just thankful I didn't break any. I did check the threads in the ring gear and they look perfectly fine.
Put them in at 50 ft/lbs? No. Imagine how "soft" they are I wouldn't doubt that they would break under load even at 50-60 ft/lbs.
Reuse the old bolts? No. Besides, two of them are busted, remember? Can only imagine how much weaker they are and would probably snap in the new ring, not good. I guess if I were in a pinch .. nope, not even then. There are places that rent cars.
Buy new ARP bolts? YES!
So I'll be ordering new bolts and hope to get them in early next week ... yeah, wish me luck! I don't want to compromise on ring gear bolts, one of the most critical components in this project. There's a comfort factor here ....
Last edited by areinike; Dec 23, 2010 at 02:08 PM.