

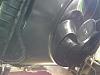
New e fan installed


So I installed the Flex a lite 183 this weekend. Really easy to do. I didn't bother with a write up because the instructions pretty much lay it out for you. I mounted the controller on the battery box next to the firewall for max protection from water and heat and spent a few minutes with wire loom and zip tie pads to make a real clean install. It should be very easy if anyone is considering doing this, but I'm here as are others if you have questions. I included a few other pics in one of my albums. With the new quiet fan installed, I discovered my water pump was going out, so I had to swap that as well.


Professional
Joined: Nov 2010
Posts: 165
Likes: 0
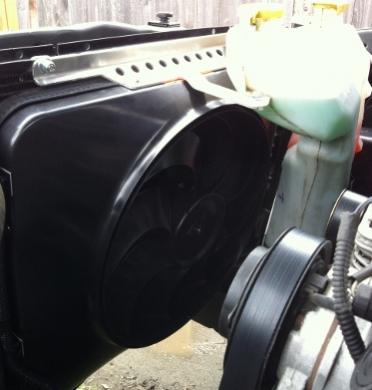
Looks real good. I have the same thing here waiting for a day I can install it. Couple quick questions. How was mounting the overflow/washer bottles? Are they in pretty much the same spot as the stock fan? Reason I ask is because I have a Vararm intake which sits on top of the bottles. Important it will still sit on them. How long did it take? Any issues with the temp prob and controller having the fan come on at the correct temperature?
Thanks
Thanks
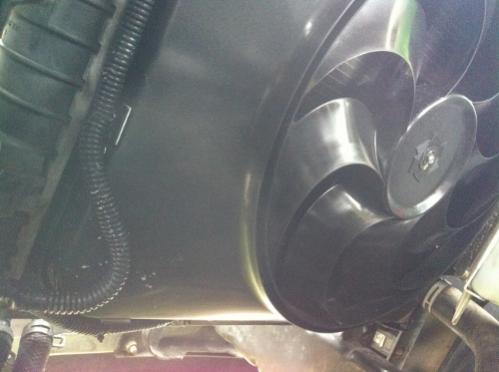
The resivoirs sit in the same spot but back a few inches toward the radiator. You can install the stock shroud again if it doesn't work with the vararam and it'll be exactly the same. Temp probe was no problem, just apply firm pressure without forcing it through the fins. I set it up and started the truck and let it run until I hit my usual 11oclock spot on the temp gauge and then turned the screw on the vsc until it kicked on. I turned it off for a few mins and started it again to make sure it was still good and it was. All in all I think the removal of the old fan/shroud was about 10 mins. The new fan took about 20 mins to install. The vsc took me 1.5 hours to complete. I wanted it real clean so I extended the sensor probe wires so theyd run in the same loom as the fan did and I routed them all back up to the battery as seen in the pic. Most mount the vsc on the fan or something which works fine but I thought it was ugly so I took a little more time.
Yeah pretty much. There is 4 wires on the controller. + and - for to the battery and + and - to the fan. It comes with a fuse tap for the battery and butt splices to run the wire wherever you want. Then you have to find 12v+ switch power from wherever you like and it has spade connectors for that. The sensor probe has 2 wires that connect to the controller and it says to tap into the ac as well, but I didn't. The ac has its own e fan already so I didn't really see the point.
It's very simple. You just push it through the radiator fins in the upper corner near the upper rad hose. It has two wires on it that go back to the controller.
Trending Topics
Administrator
Joined: Jul 2007
Posts: 24,686
Likes: 21
From: South Georgia/East Florida
Good deal, you're gonna love the fan. I installed my 180 Extreme in '05 and it continues to run without a hiccup. Hardest part of the whole install for me was getting the damn clutch fan off...
Yeah I wonder if I broke the wp pulley when I tried to get that off. I didn't use much force but I did stick a screw driver through it to lock it into place. It's tough to say because what I thought was a mild hemi tick before is gone now so it must've been the water pump the whole time.