


HID retrofit is done.....well almost...**PIC intense**

Thread Starter
|
Moderate User


Joined: Oct 2008
Posts: 17,003
Likes: 21
From: Albany, NY
The housings are sitting on my floor waiting for the rain to stop so i can go install and aim them. It's suppose to rain ALL day so i won't be able to get it finalized until tomorrow evening.
First off. i purchased a kit from "TRS" The Retro-fit Source
Kit included:
Pair new TRS FX-R projectors with Clear lenses
Pair of used(practically new) 35w Matsush*ta ballasts(DF will block out the nae if i put in the "i"..lol
New rebased Philips 85122+ bulbs
Gatlin shrouds which i ended up selling
Kit cost $380 shipped
i spent $65 on the wiring harness
$35 for the CCFL rings
$50 on nuts/bolts, RTV sealant..etc
Totals at $530. I'm sure i spent a little more because i ran to advance auto and local hardware store frequently.
I made my own shrouds out of recessed ceiling light fixtures. They were made out of brass so the one piece is fairly heavy, but rtv sealant will hold almost anything i completely disassembled the fixtures and created my own design that would work for me. I paid $.99 from bargain outlet for each one. Notice the heater is on...been super cold here.


I originally made an LED ring out of clear plastic blind rod with a bunch of notches on the backside, but it wasn't bright enough for me.

so i bought 85mm CCFL's but they were slightly too small to fit over the projector. i initially removed them from the outer shell, but then later on i just decided to sand the inside of outer shell enough so it fit over the projector lens. it hides an opening and that is the main reason i decided to keep them on.
I chose a dark graphite color that I thought be be a match for "most" colors. Trying to match factory paint can be difficult and if the color is a shade or 2 off, then it will look bad. I was on a budget and the $6 wheel paint was the ticket. These are the only 2 pieces I used from the light fixture. I had to trim some stuff off the plastic ring and the other part was an internal piece of the fixture.

Pic with the assembled shroud and the LED ring

Most of you are thinking where is the rest of the shroud??? i wanted a large plate or similar that would have room to move around and yet still hide most of the "behind the scenes" stuff. The gatlin shrouds were not big enough even for a still object let alone a moving one. remember "fully adjustable aim" peoples. i tried to finangle a way, but it didn't turn out good ..lol
..lol
The reflector itself as some may already know, is attached by metal rods which allows it to swivel for adjustment. i wanted to keep this function intact to allow adjustment for visible reflections that i did not want to be seen. The projector itself is not attached in anyway to this reflector. I JB welded nuts to the projector housing so i could create a Fully Adjustable retrofit from the outside of the housing once it was sealed up. Most guys align their projectors and then silicone the crap outta them to hold them in place.

Just prior to welding the buts in place, i ran bolts through the holes so to mark the housing where the holes would be cut. You can do this after, but then you'll have a larger bolt head in your way from a more precise marking. if you follow. Either way, the result would be the same.
i elongated the holes to allow for adjustment of the cut-off angle.

Fitment

Figuring out how to make a fully adjustable retro was a PIA and took me days to figure out a simple solution. Either run two nuts to each other or in my case, I use a locknut to hold the projector from moving backwards and also to give the bolt capability to move the angular adjustment and still be able to be tightened to hold it's place when tightening the outside locknut.
inside

outside

the backside locknut will tighten against the inside one to hold unit in place. if you loosen the outside nut, you can use the bolt head(phillips) to screw in/out the projector to change the angle. As you notice, i have left about 3/8" of the bolt sticking out for adjustment pruposes. i ran the bolts that i welded to the projector about 1/2" so they won't ever come out while making even extreme adjustments.
Here's fitment of projector inside the relector

Notice the airspace around the edges for adjustment room.

Final pic with everything in place using the 85mm CCFL rings which remember, I had to sand a few mm's off the inside of the "outershell" off in order for them to fit around the projectors. i used my handy dandy drmel for EVERTYHING. This project would not have been possible without one!


everything is just resting in place, not glued in theis pic so it looks a little sloppy. i can manipulate the reflector housing now so you cannot see any framework on the outer edges even looking from low on the light.

Wiring harness utilizes 2 30amp relays that are individually run for each of the sides just incase of relay or doide errors. i would like at least one headlight on if the other goes out. 1 relay tkes out both lights. i guess for those guys running 1 relay, you've still got good foglights to get you home. As always, I'm overly ****. i used 12guage power wire run into 2-14guage wires that ran each ballast. 14guage was the smallest wrie i used...lol HID initial power draw is a bit, so i wanted to ensure no issu'es. I taped everything up tight using classic retrocar restoration type tape. It has no sticky glue. it's super easy to apply, very easy to remove. Even though it sticks to itself, i like to put a small piece of electrical tape where you finish your wrap job.
2-15amp fuses bewteen each ballast and relay(20amp rated fuseable links for later upgrade if necessary)

Relays will tuck along the bottom side of the battery and here is for the driver side ballast/bi-xenon solonoid/factory harness signal taps(only need to tap one side for a signal)

View from afar to show passenger run

Some pics of Just the driverside on for test fit before shroud and CCFL ring. projector Only using ONE 6000K Morimoto bulb. The 6000k bulbs were TRS shop bulbs that they sent me so i could get started on my retro project. thanks Matt. MY bulbs will be 4300k stock color temp because 5000k is what i would like but i don't want aftermarket cheaply made bulbs. Philips 85122CM bulbs are 4900k and are $189 for the pair compared to $65 for Philips 85122+ with 3400lumens. Anything over 5000k, your losing Way too much light.

I had the tap in wires reversed(as all chryslers are from what i've read) so the HID low beam is next to Halogen high beam.
So, hid Low vs Halogen HIGH
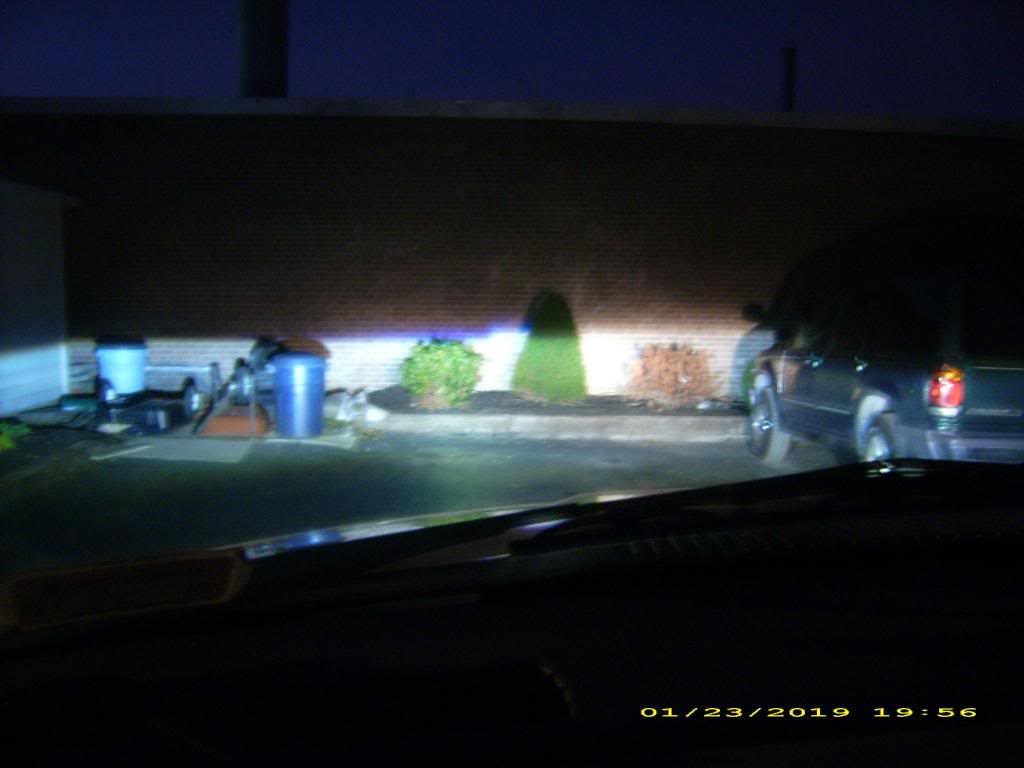 Yes my hydrangea plant is dead.
 Thanks Mom for not watering my plants while I was away in the Virgin Islands...lol
here are some Updated pics of final results as some of my pics semmed to have dissapeared in this thread???
First off. i purchased a kit from "TRS" The Retro-fit Source
Kit included:
Pair new TRS FX-R projectors with Clear lenses
Pair of used(practically new) 35w Matsush*ta ballasts(DF will block out the nae if i put in the "i"..lol
New rebased Philips 85122+ bulbs
Gatlin shrouds which i ended up selling
Kit cost $380 shipped
i spent $65 on the wiring harness
$35 for the CCFL rings
$50 on nuts/bolts, RTV sealant..etc
Totals at $530. I'm sure i spent a little more because i ran to advance auto and local hardware store frequently.
I made my own shrouds out of recessed ceiling light fixtures. They were made out of brass so the one piece is fairly heavy, but rtv sealant will hold almost anything


I originally made an LED ring out of clear plastic blind rod with a bunch of notches on the backside, but it wasn't bright enough for me.

so i bought 85mm CCFL's but they were slightly too small to fit over the projector. i initially removed them from the outer shell, but then later on i just decided to sand the inside of outer shell enough so it fit over the projector lens. it hides an opening and that is the main reason i decided to keep them on.
I chose a dark graphite color that I thought be be a match for "most" colors. Trying to match factory paint can be difficult and if the color is a shade or 2 off, then it will look bad. I was on a budget and the $6 wheel paint was the ticket. These are the only 2 pieces I used from the light fixture. I had to trim some stuff off the plastic ring and the other part was an internal piece of the fixture.

Pic with the assembled shroud and the LED ring

Most of you are thinking where is the rest of the shroud??? i wanted a large plate or similar that would have room to move around and yet still hide most of the "behind the scenes" stuff. The gatlin shrouds were not big enough even for a still object let alone a moving one. remember "fully adjustable aim" peoples. i tried to finangle a way, but it didn't turn out good
The reflector itself as some may already know, is attached by metal rods which allows it to swivel for adjustment. i wanted to keep this function intact to allow adjustment for visible reflections that i did not want to be seen. The projector itself is not attached in anyway to this reflector. I JB welded nuts to the projector housing so i could create a Fully Adjustable retrofit from the outside of the housing once it was sealed up. Most guys align their projectors and then silicone the crap outta them to hold them in place.

Just prior to welding the buts in place, i ran bolts through the holes so to mark the housing where the holes would be cut. You can do this after, but then you'll have a larger bolt head in your way from a more precise marking. if you follow. Either way, the result would be the same.
i elongated the holes to allow for adjustment of the cut-off angle.

Fitment

Figuring out how to make a fully adjustable retro was a PIA and took me days to figure out a simple solution. Either run two nuts to each other or in my case, I use a locknut to hold the projector from moving backwards and also to give the bolt capability to move the angular adjustment and still be able to be tightened to hold it's place when tightening the outside locknut.
inside

outside

the backside locknut will tighten against the inside one to hold unit in place. if you loosen the outside nut, you can use the bolt head(phillips) to screw in/out the projector to change the angle. As you notice, i have left about 3/8" of the bolt sticking out for adjustment pruposes. i ran the bolts that i welded to the projector about 1/2" so they won't ever come out while making even extreme adjustments.
Here's fitment of projector inside the relector

Notice the airspace around the edges for adjustment room.

Final pic with everything in place using the 85mm CCFL rings which remember, I had to sand a few mm's off the inside of the "outershell" off in order for them to fit around the projectors. i used my handy dandy drmel for EVERTYHING. This project would not have been possible without one!


everything is just resting in place, not glued in theis pic so it looks a little sloppy. i can manipulate the reflector housing now so you cannot see any framework on the outer edges even looking from low on the light.

Wiring harness utilizes 2 30amp relays that are individually run for each of the sides just incase of relay or doide errors. i would like at least one headlight on if the other goes out. 1 relay tkes out both lights. i guess for those guys running 1 relay, you've still got good foglights to get you home. As always, I'm overly ****. i used 12guage power wire run into 2-14guage wires that ran each ballast. 14guage was the smallest wrie i used...lol HID initial power draw is a bit, so i wanted to ensure no issu'es. I taped everything up tight using classic retrocar restoration type tape. It has no sticky glue. it's super easy to apply, very easy to remove. Even though it sticks to itself, i like to put a small piece of electrical tape where you finish your wrap job.
2-15amp fuses bewteen each ballast and relay(20amp rated fuseable links for later upgrade if necessary)

Relays will tuck along the bottom side of the battery and here is for the driver side ballast/bi-xenon solonoid/factory harness signal taps(only need to tap one side for a signal)

View from afar to show passenger run

Some pics of Just the driverside on for test fit before shroud and CCFL ring. projector Only using ONE 6000K Morimoto bulb. The 6000k bulbs were TRS shop bulbs that they sent me so i could get started on my retro project. thanks Matt. MY bulbs will be 4300k stock color temp because 5000k is what i would like but i don't want aftermarket cheaply made bulbs. Philips 85122CM bulbs are 4900k and are $189 for the pair compared to $65 for Philips 85122+ with 3400lumens. Anything over 5000k, your losing Way too much light.

I had the tap in wires reversed(as all chryslers are from what i've read) so the HID low beam is next to Halogen high beam.
So, hid Low vs Halogen HIGH
 Yes my hydrangea plant is dead.
here are some Updated pics of final results as some of my pics semmed to have dissapeared in this thread???
Last edited by dirtydog; Jan 18, 2010 at 11:24 AM.

Thread Starter
|
Moderate User
Joined: Oct 2008
Posts: 17,003
Likes: 21
From: Albany, NY
Thanks guys. I'll just wait till tomorrow. Not a big deal. I figured i would put them in place and make sure everything gets aligned properly and everything works before actually sealing up the housings. Just incase sorta thing....
I also tried to keep it as stock looking as possible. Nothing majorly drastic compared to OEM really besides the shorud/CCFL ring.
forgot to add for those camera buffs. Polaroid i532 5.0MP...lol
I also tried to keep it as stock looking as possible. Nothing majorly drastic compared to OEM really besides the shorud/CCFL ring.
forgot to add for those camera buffs. Polaroid i532 5.0MP...lol
3rd gen Ram, Newbies
Joined: May 2008
Posts: 3,815
Likes: 0
From: Chicago
that looks great, and will look so much better with the 4300 bulbs. major props
Trending Topics
Hall Of Fame

Joined: Mar 2009
Posts: 19,168
Likes: 23
From: South GA
Look s good but............
1. You need to cut much smaller holes and then you could cover them up more easliy.
2. If you didnt **** on that plant after coming in from those late night adventures then it would still be alive. Shame on you
3. You already know that camera is ....
4. That package came in the mail today
5. LOL.......that retro looks good so far man. I need to finish mine but you already know what else Im working on.
Thread Starter
|
Moderate User
Joined: Oct 2008
Posts: 17,003
Likes: 21
From: Albany, NY
Yeah, I know you've got your plate full. Your swimming in all those mods that are just lying around your garage...lol
I **** behind the garage off to the left, not on that plant ....lol
It died when i was on vacation because my mother never watered any of the plants like she said she would. I watered them everyday in the summer. freak i am.
If i didn't care about any later on adjustments then I could have cut the reflector much closer, but it needs room for the projector to be able to move. You cannot see anything at all now that I have adjusted the reflector by it's adjuster. The only thing you can see are minor reflections of the brass of the bolts, but I've seen quite a few larger headlights along with others too that have lots of reflection that can be seen. My ginourmous bezel there hides all of my manly mistakes....because after all, we are only as good as the mess that we can keep disguised
My whole idea behind this was to keep it original looking, not make it super showy. It could have turned out a little better as far as bezel design but again it serves its purpose. i know it's a bit bland for some, but it was the light output I am more concerned about than doing it more for aesthetics. ...lol
I'm gonna try and get some better pics with them installed by tomorrow evening.
I **** behind the garage off to the left, not on that plant
It died when i was on vacation because my mother never watered any of the plants like she said she would. I watered them everyday in the summer. freak i am.
If i didn't care about any later on adjustments then I could have cut the reflector much closer, but it needs room for the projector to be able to move. You cannot see anything at all now that I have adjusted the reflector by it's adjuster. The only thing you can see are minor reflections of the brass of the bolts, but I've seen quite a few larger headlights along with others too that have lots of reflection that can be seen. My ginourmous bezel there hides all of my manly mistakes....because after all, we are only as good as the mess that we can keep disguised
My whole idea behind this was to keep it original looking, not make it super showy. It could have turned out a little better as far as bezel design but again it serves its purpose. i know it's a bit bland for some, but it was the light output I am more concerned about than doing it more for aesthetics.
...lolI'm gonna try and get some better pics with them installed by tomorrow evening.
