When you click on links to various merchants on this site and make a purchase, this can result in this site earning a commission. Affiliate programs and affiliations include, but are not limited to, the eBay Partner Network.
My My adventures with tailgate rust repair (PIC'S)
3rd Gen Ram Tech2002-2008 Rams: This section is for TECHNICAL discussions only, that involve the 2002 through 2008 Rams Rams. For any non-tech discussions, please direct your attention to the "General discussion/NON-tech" sub sections.
Not much completed today.
Got about 5" of welding done on the outside of the patch panel before I ran out of MIG wire.
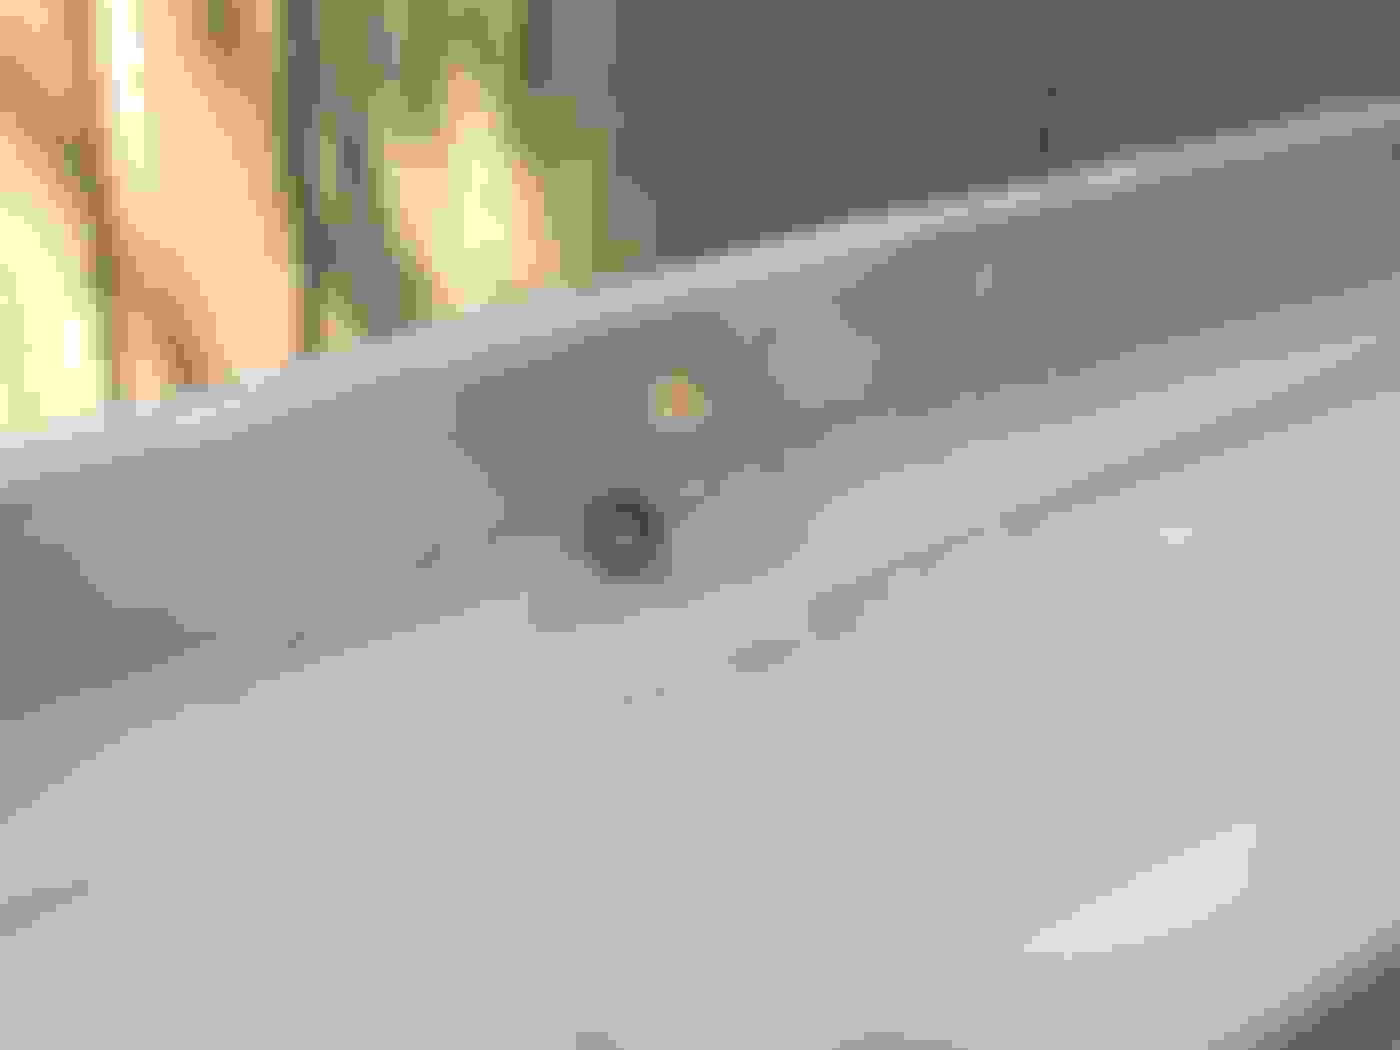
I did end up removing the hinges.
I knew it was impossible to get any primer or paint down in behind the hinges with them in place.
After drilling out the spots welds the bracket came off with just and couple taps with a hammer + punch.
Just to document. No paint between the hinge bracket and tailgate, just that green coating.
Before removing the spot welds I did drill + Tapped two locating holes so I can reinstall the hinges in the proper location.
Then my son asked if I could help him with his bike and then the wife asked to help her in the garden, then tried to find a place that's open AND sells 11lb spool of MIG wire... needless to say....I was done working on the tailgate.
Got a little more done today, painfully slow though.
I was a nice sunny day so my rate of progress doesn't bother me.
Got the patch panel fully welded in and those welds were dressed with the flap wheel.
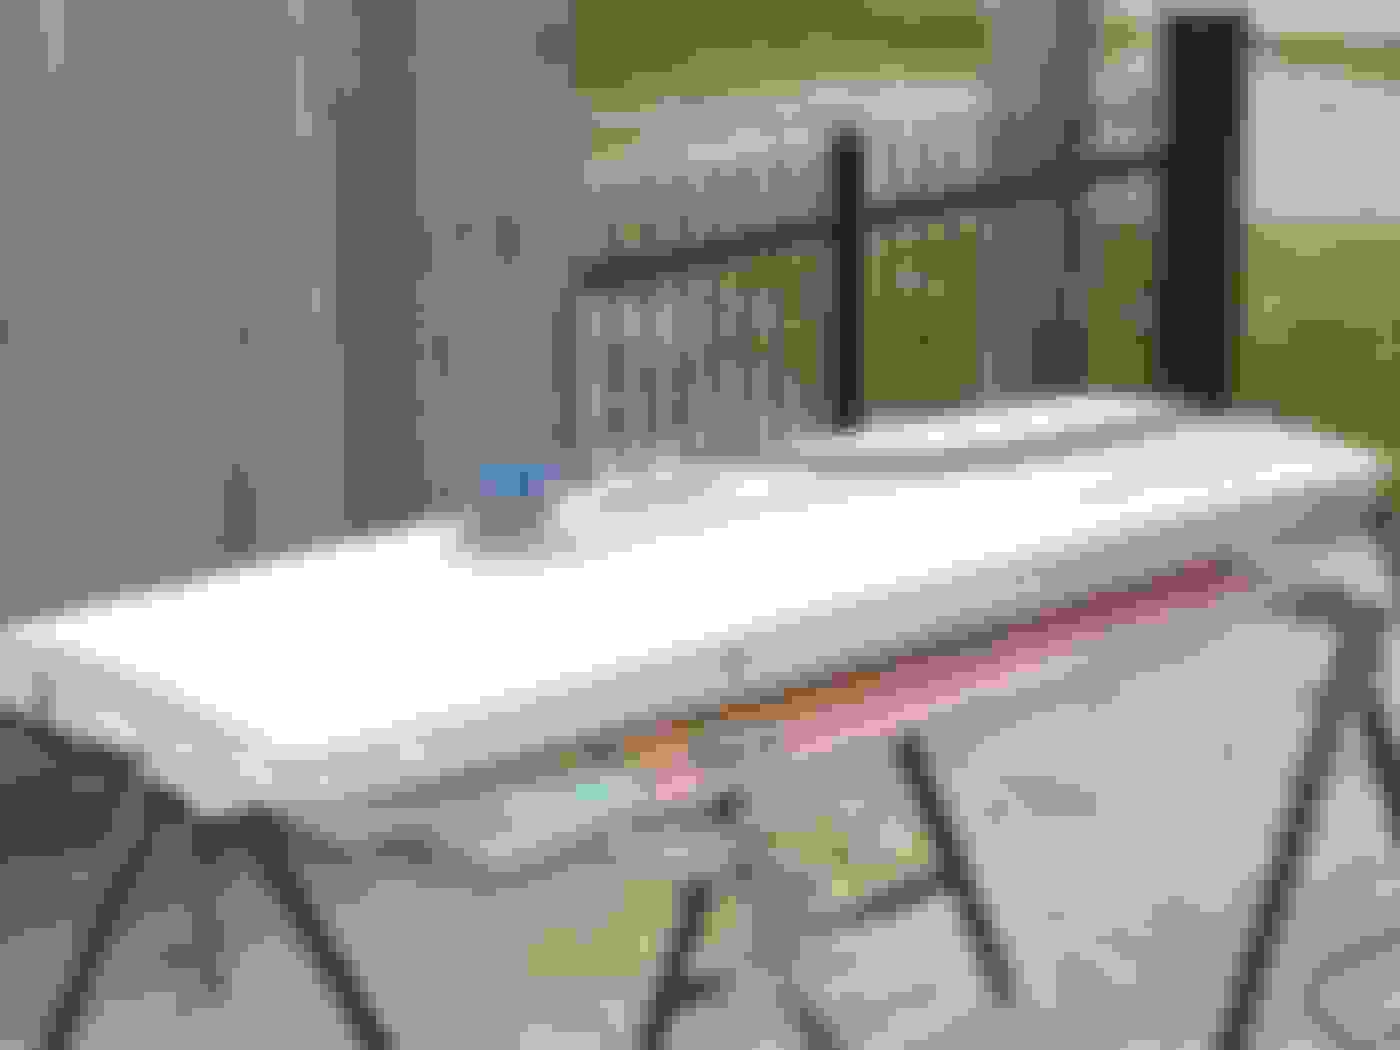
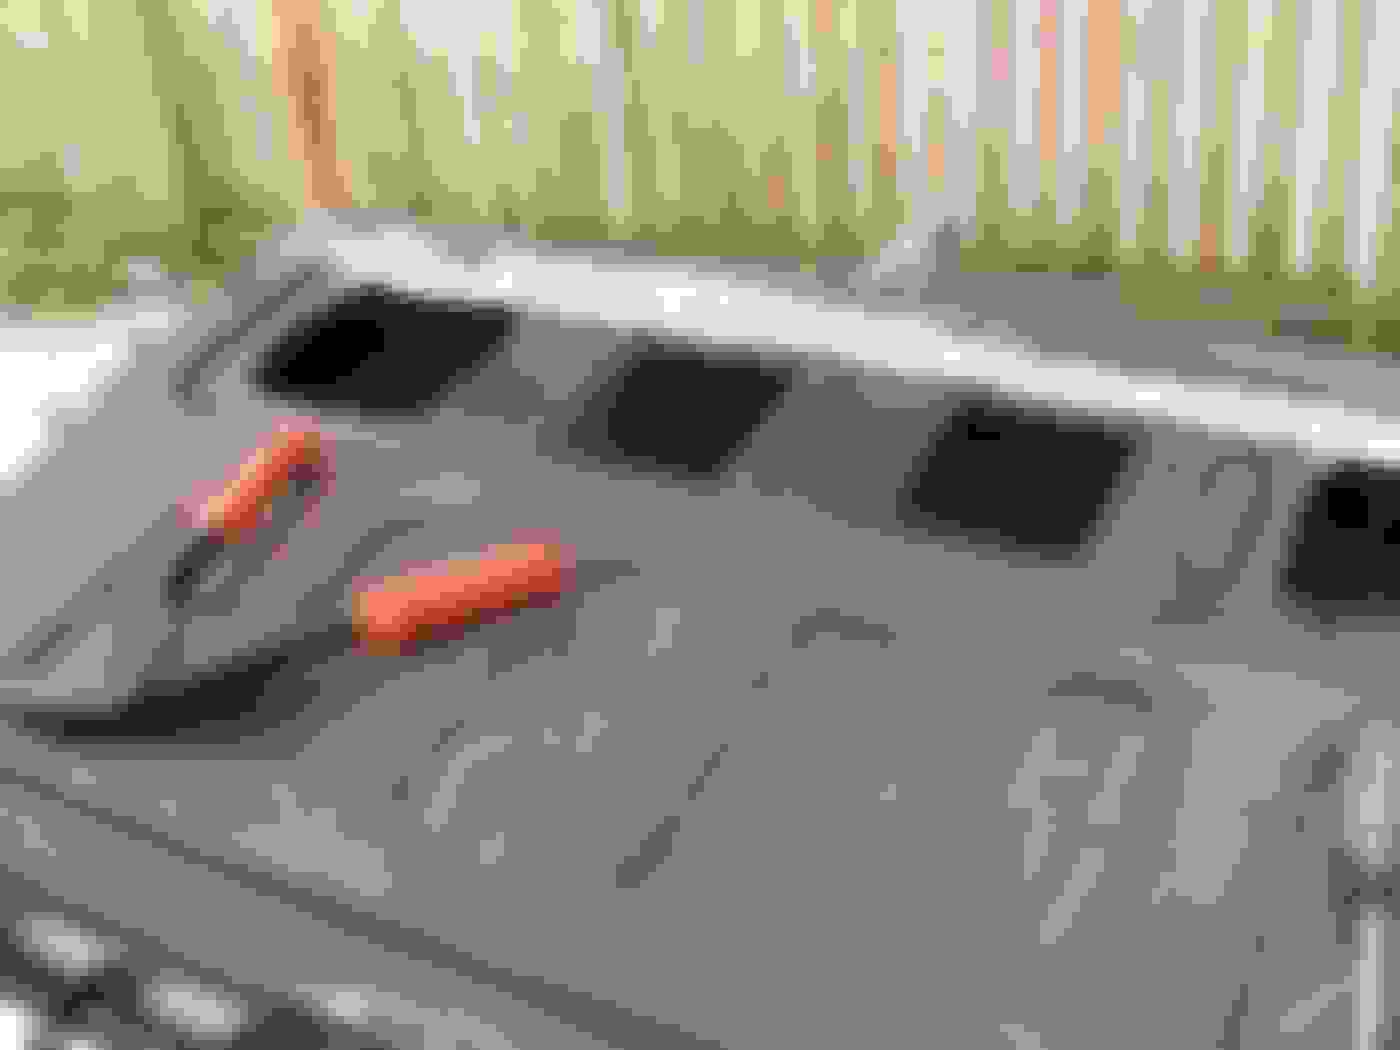
Today I fit and fully welded the flange that the bottom edge of the skin will be glued to.
I clamped the metal strip to the skin so I would match the same arch as the new skin.
Then tack welded the metal flange in place.
I removed the fiberglass skin and fully welded the inside + underside of the metal flange.
Again.. the grinder made me the welder I'm not.
Then trimmed the flange to about 3/4".
The fiberglass skin is thicker and this causes the access panel to sit 1/4" too high on one edge.
I just trimmed the skin to fit.
Today I did some sandblasting, rust converting and priming.
Used my pot blaster to blast away the surface rust .
Then applied some rust converter. The stuff I used turns the non-rusted metal copper colored. That what the majority of the metal looks like. As it dries it gets chalky. The rust turns black.
Started today by adding a 3/4" hole at the bottom of the tailgate. This will allow me to feed the back-up camera wires into the tailgate.
Then I painted the inside of the tailgate.
I saw this on Harbor Freights site and ordered it.
It's a knock off of 3M's paint system.
It's a hard plastic outer shell with mixing ratio's printed on it. You insert a liner and seal it up with a cap and screw on ring.
You mix the paint in the liner. The cap has a filter media in it.
I still filtered my paint 1st.
I used Tractor Supply's Implement paint. It's an alkyd paint.
Then thinned it with Naptha and used a little hardener too.
I sprayed it with a cheapo gun with a 1.4mm tip. Too small for this paint but my 1.8+2.0mm guns are siphon feed and I wanted to try out this new paint system.
This system allows you to spray at any angle, even upside down. You can see the liner collapsing in the hard plastic cup as I use the paint up.
The finish was just fine for the inside of a tailgate.
I reattached the tailgate hinges and test fit the fiberglass skin today.
Reattached the tailgate hinges by 1st screwing in the two machine screws.
I had drilled and tapped the hinges for these screws prior to removing hinge brackets.
This step made it easy to reinstall the hinge brackets in their factory positions.
I used a white paint marker to mark the holes for the plug welds.
Brackets in their factory position ready to plug weld in.
Used a clamp to bring the bottom of the bracket into position, then plug welded them in.
Put the tailgate back on the truck for a test fit. Fit great.
Then placed the skin on to finalize it's position.
Once I was happy with the fit,I used two rivets on the top corners on the inside lip and two machine screws at the tailgate handle to keep the skin in position.
Ended up having to trim about 1/2" off the bottom edge.
Then a final test fit.
Ran it through it's range of motion, nothing rubbed and all my gaps looked even.
Next...
I'll remove the skin, sand and repaint the area's that got messed up from the drilling and welding
Then I guess I'll be ready to attached the skin to the tailgate with some Panel Bond.
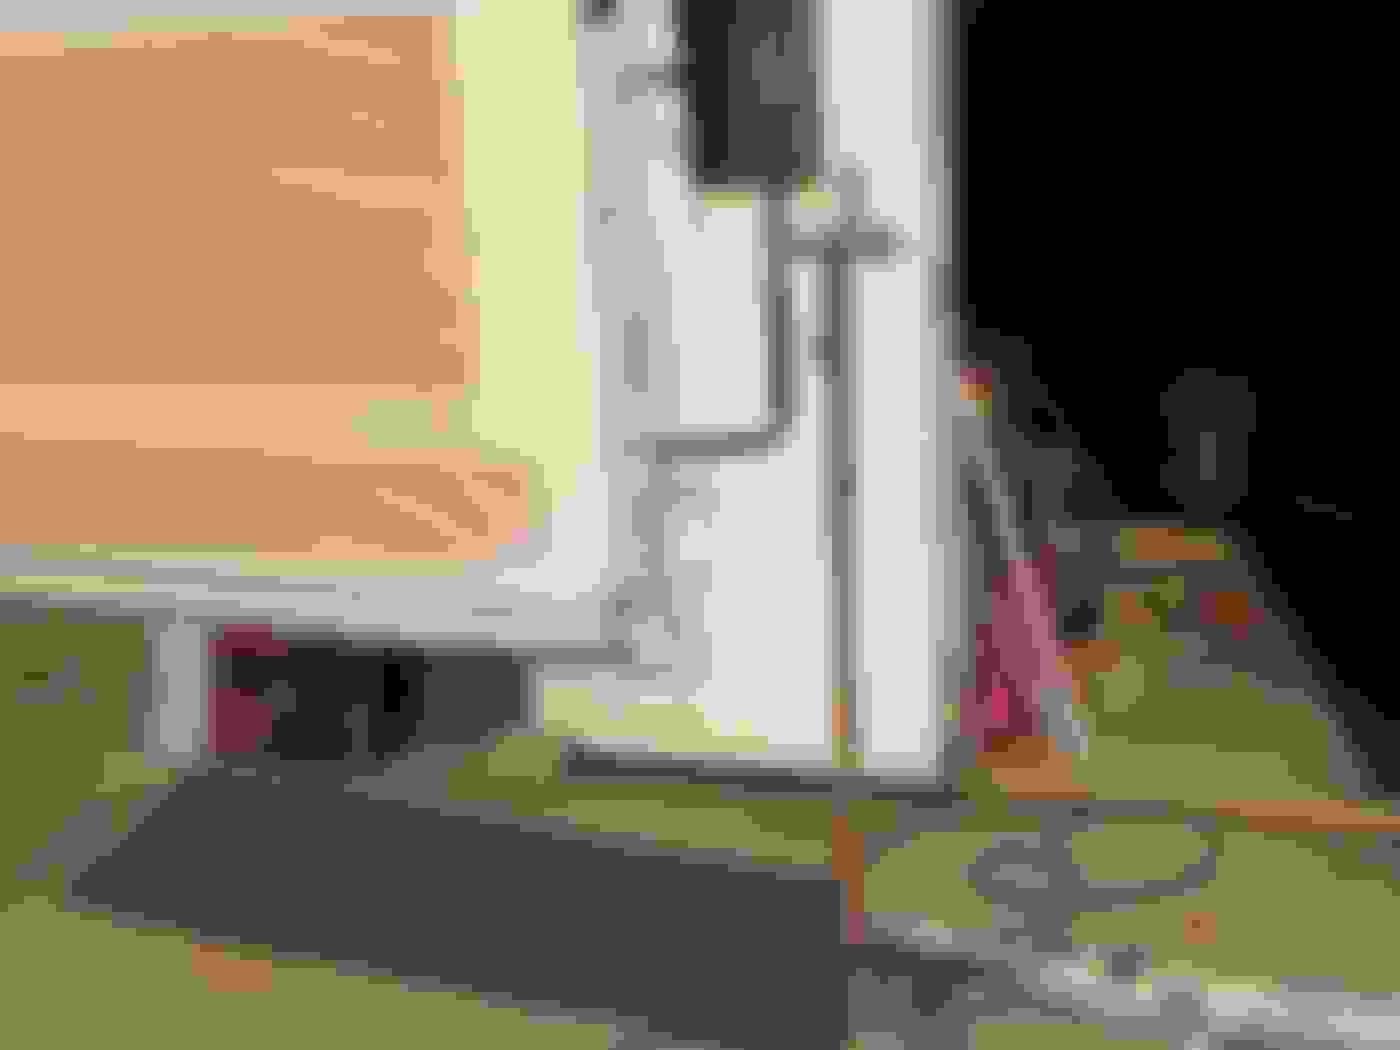
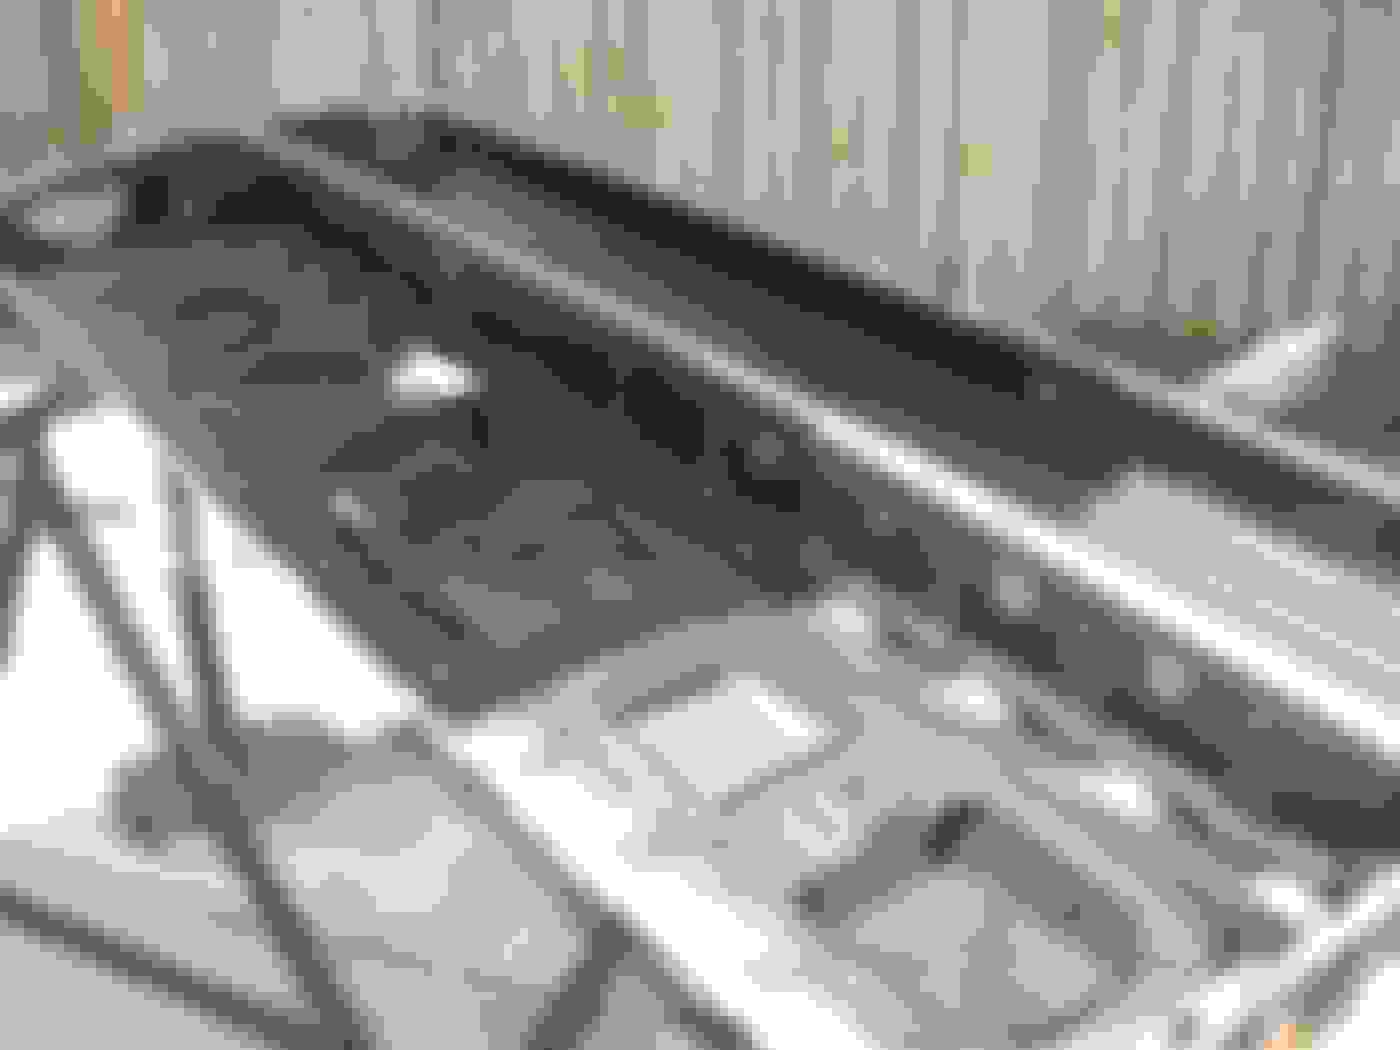
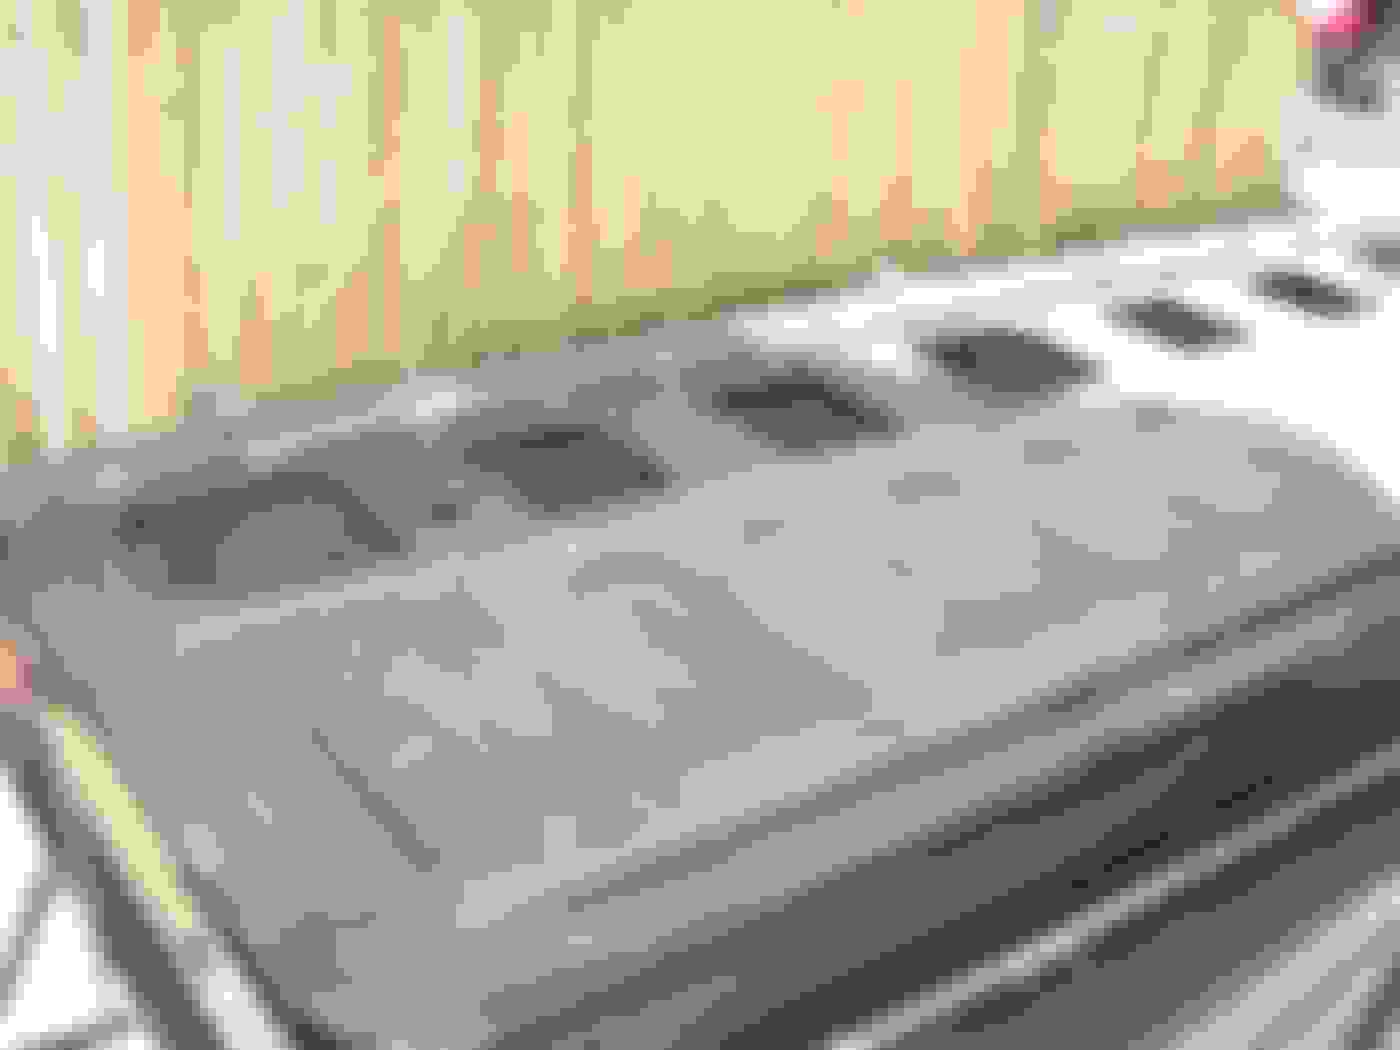
Got the tailgate primed.
Also made a framework to help me position the tailgate while painting.
Used Pro-Form 2K high build urethane primer.
It's a two part primer that uses a activator. You can also add a reducer to thin it out.
For high build you mix it 1:1. (Primer : Activator)
For a Primer/Sealer you mix it 4:1:1 (Primer : Activator : Reducer)
The 1st High Build coat was thicker, so I used my old school siphon feed gun with a 1.7mm tip.
The last two Primer/Sealer coats I used my HVLP gun with a 1.4mm tip.
I used some Bondo to fill in a few minor imperfections. It took about 1/2hr for the Bondo to cure to safely sand.
I used my D/A sander with some 120grit sandpaper to quickly take down the Bondo.
The inside of the tailgate is Rhino-Lined so I used some paper and tape to help protect that area from over-spray.
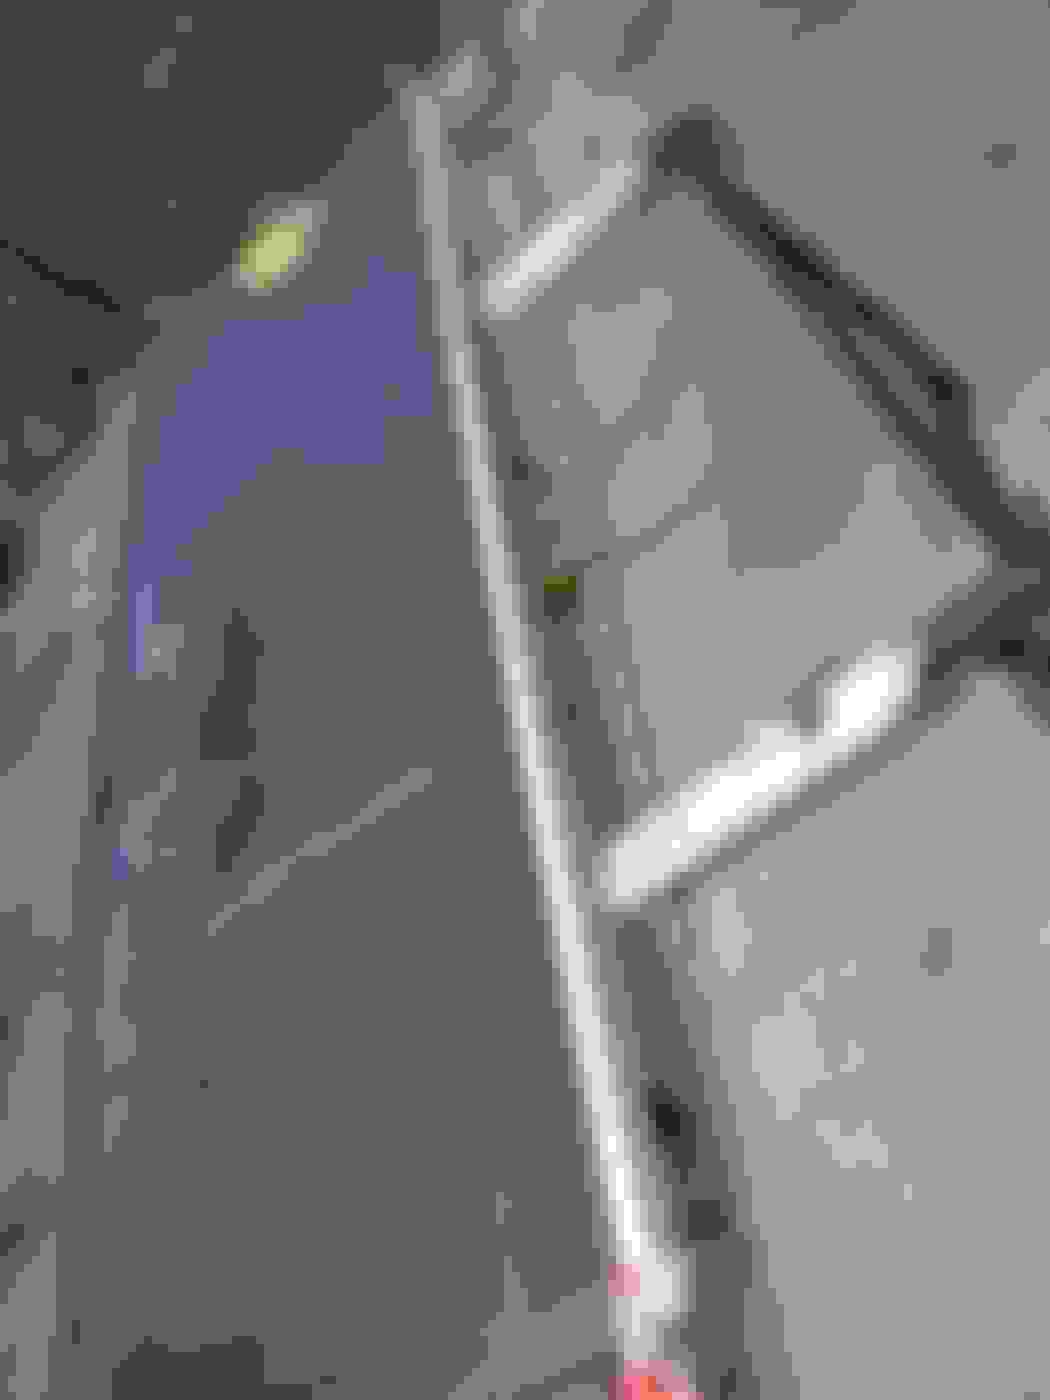
I also had to make a framework that allowed me to position the tailgate while painting.
I raided my scrap metal bucket and came up with this.
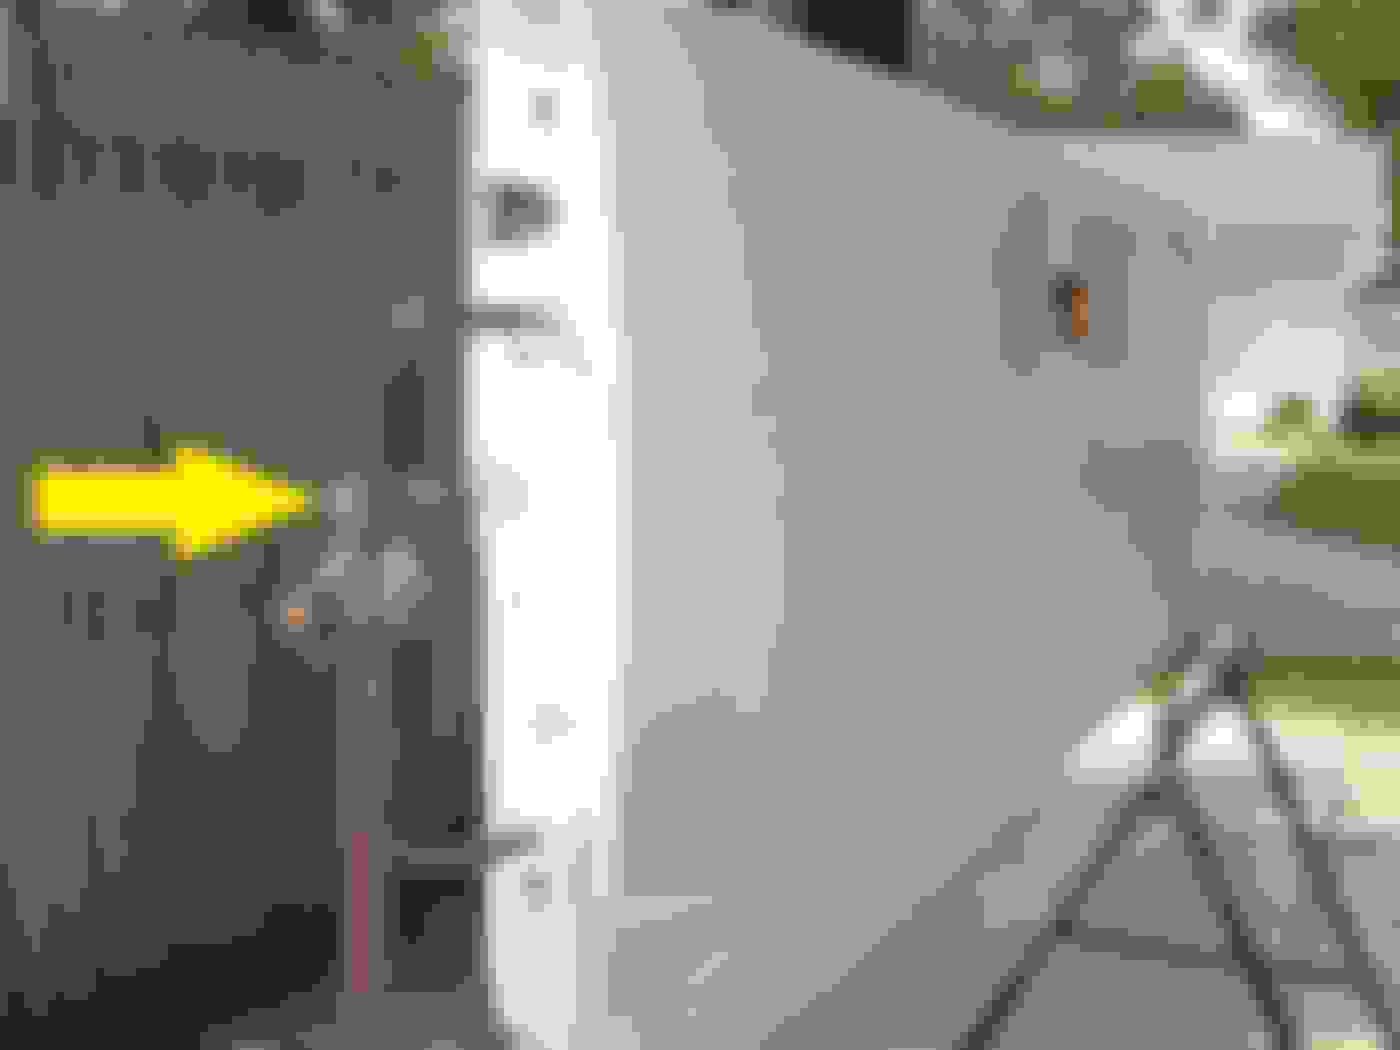
I found the center of gravity and welded on some 5/8" round bar. The round bar slips into some 3/4" pipe so I can spin the tailgate and position it while painting. Arrow points to the bolt I tighten to keep the tailgate in whatever position I need it in.
The framework keeps me in a nice comfortable painting position.
I still haven't even bought the color coat yet.
My paint code is PXR (Brilliant Black Pearl)
Due to the pandemic I've lost my local source for Automotive paint. I searched online and found a few suppliers but the price range is quite varied.
I'm going to use a BC/CC (Base Coat/Clear Coat) system and am looking for a single product line. Not interested in piecing together a system.
I'm leaning towards this site just due to the price. No idea of the quality of the paint.
Any suggestions? Paint supplier link
I ended up buying a gallon of paint from the The Coating Store (see link in last post)
1 gallon Base coat
1 Gallon Clear coat
1/2 gallon of Reducer for the base
1/2 gallon Activator for the Clear
All in was $470. Shipping was free because I upgraded the clear to a High Solids Clear ($45 extra).
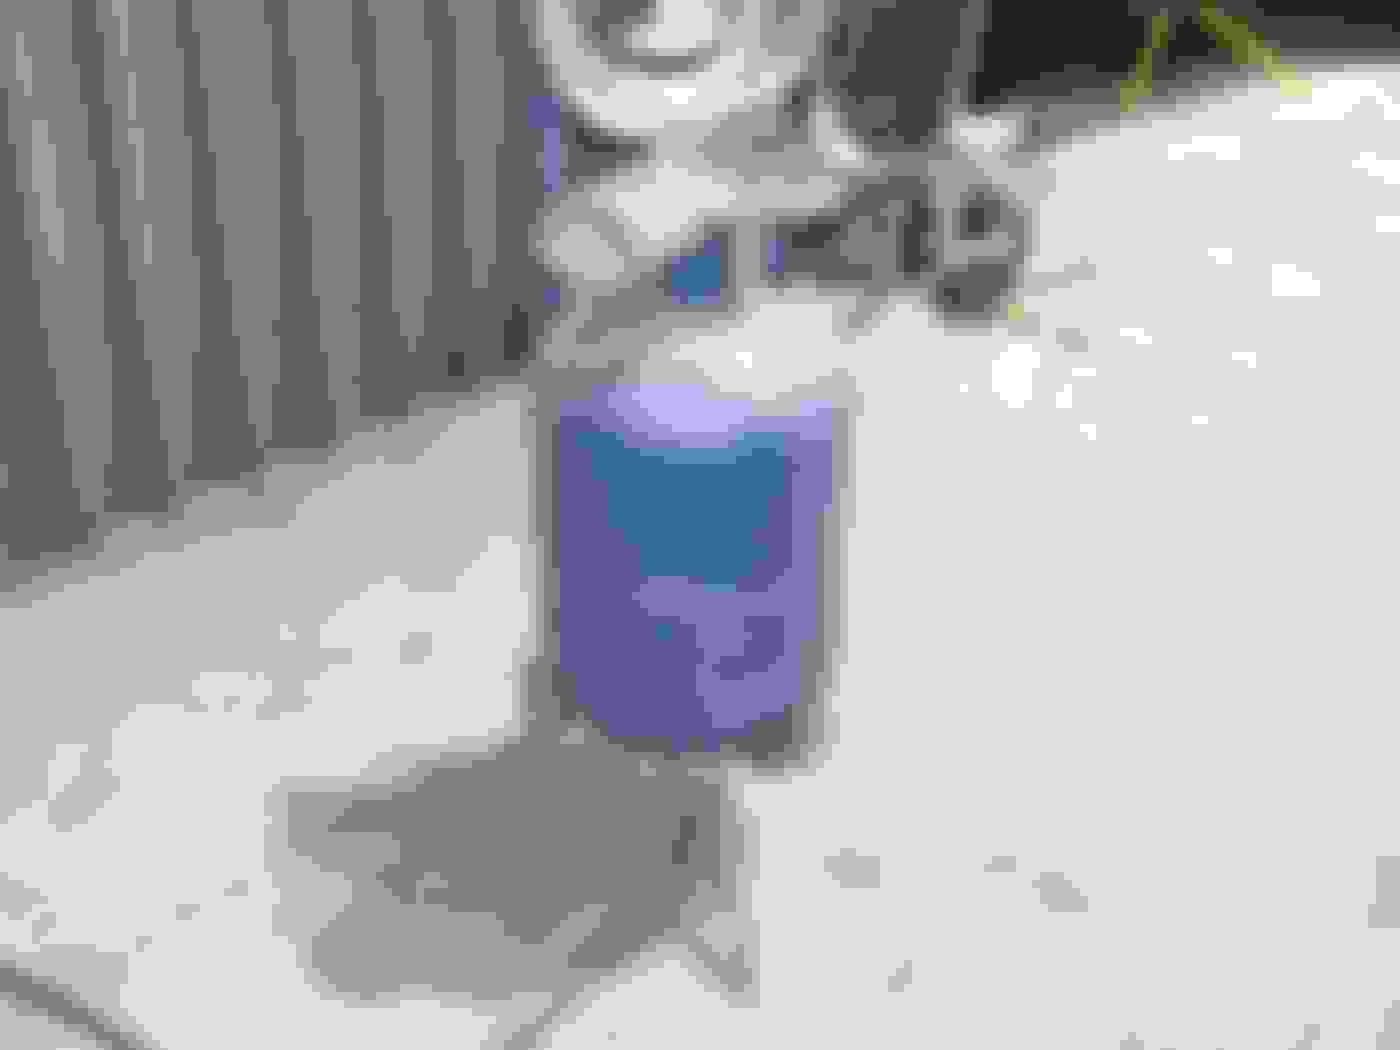
Here's what I got.
A look inside the can you can see the Pearl.
It went on nice, covered well.
Mixed it 2:1 (paint:reducer) per the included tech sheet.
The hardest part was keeping the bugs out of the fresh Base Coat.
Tech sheet says I have up to 24hr's to apply Clear Coat.
I should be able to get the Clear Coat on in about 15hr's.


 Looks more like a forest of clamps.