When you click on links to various merchants on this site and make a purchase, this can result in this site earning a commission. Affiliate programs and affiliations include, but are not limited to, the eBay Partner Network.
4th Gen Ram Tech2009 - 2018 Rams and the 2019 Ram Classic: This section is for TECHNICAL discussions only, that involve the 2009 - 2018 Rams and the 2019 Ram Classic. For any non-tech discussions, please direct your attention to the "General discussion/NON-tech" sub sections.
Should be able to find wiring diagrams here. have a look, go from there. Welcome to DF!
Man i love your brains. I also love when the search function is used and works
I'm looking for a 12 volt power tap in the overhead console that I can feed out with the power mirror loom. I wish the drawings on Holhosniki's site were more like the FSM though. I'd love to be able to pop the overhead down and instantly know which 2 wires I need for power/ground.
What year and model is your truck? I've found the diagrams on Kolhosniki's site to be pretty intuitive. Maybe that's because they are pretty similar to Ford FSM diagrams which I have spent a lot of years getting to know.
The 4 Wiring Diagrams > System Wiring Diagrams > Power Distibution electrical diagram pages on his site (figs 48, 49, 50, 51), none of the 4 list the overhead display module. The most I can deduce is wire colors and affiliated roles.
Pink/Yellow - Run ( + Accessory for limited circuits)
Pink/Light Green - Run + Start (which feeds the inside dimming mirror and might be my best shot for a 12 volt signal up top)
Red/Anything - constant power
I did look under power windows, looks like the power slider switch has a Pink/Yellow just like the mirror. The difference is the Pink/Light Green is instant-off with key, Pink/Yellow is on the time-delay circuit. Looks like Black/Dark Green is a common ground color.
Guess I shall go diving in the roof console to see what I find. Hoping something has enough slack that I can de-pin, splice, heatshrink, and re-pin successfully.
Yeah, you're right. While there are several useful wiring diagrams available there for your truck, none that make it clear what wires do what in the overhead console. You might want to check out Figure 54 for the auto dimming rearview mirror. It at least has an ignition-switched power source fed off a 20 amp circuit. Although if your truck doesn't have the auto-dimming mirror, I don't know if that harness will be tucked up in the headliner or not....
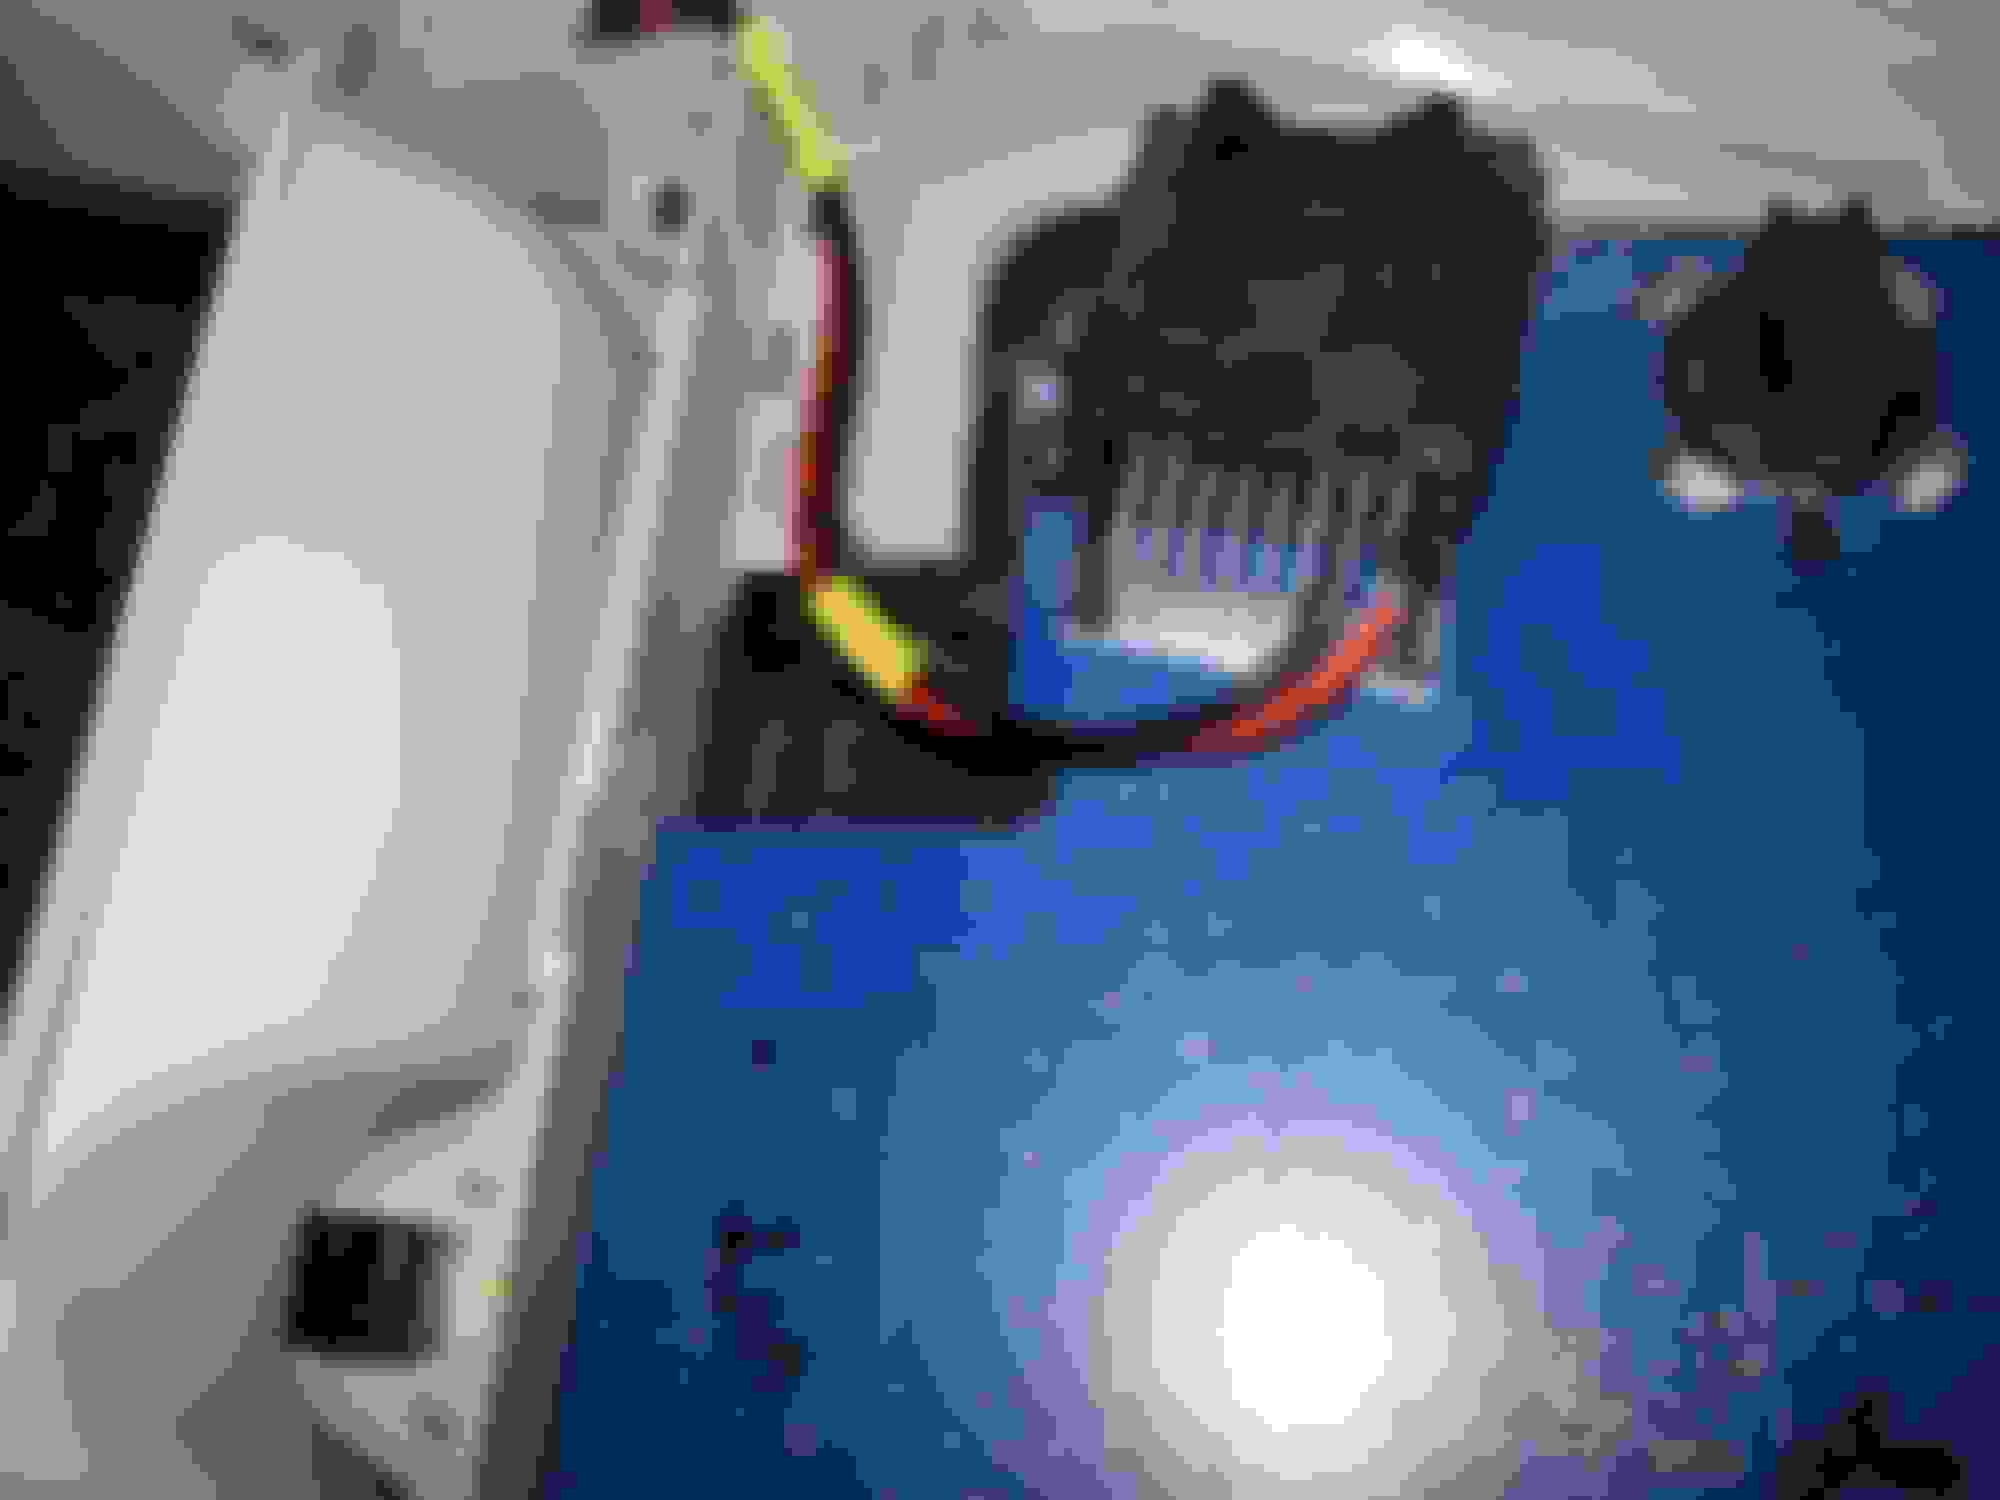
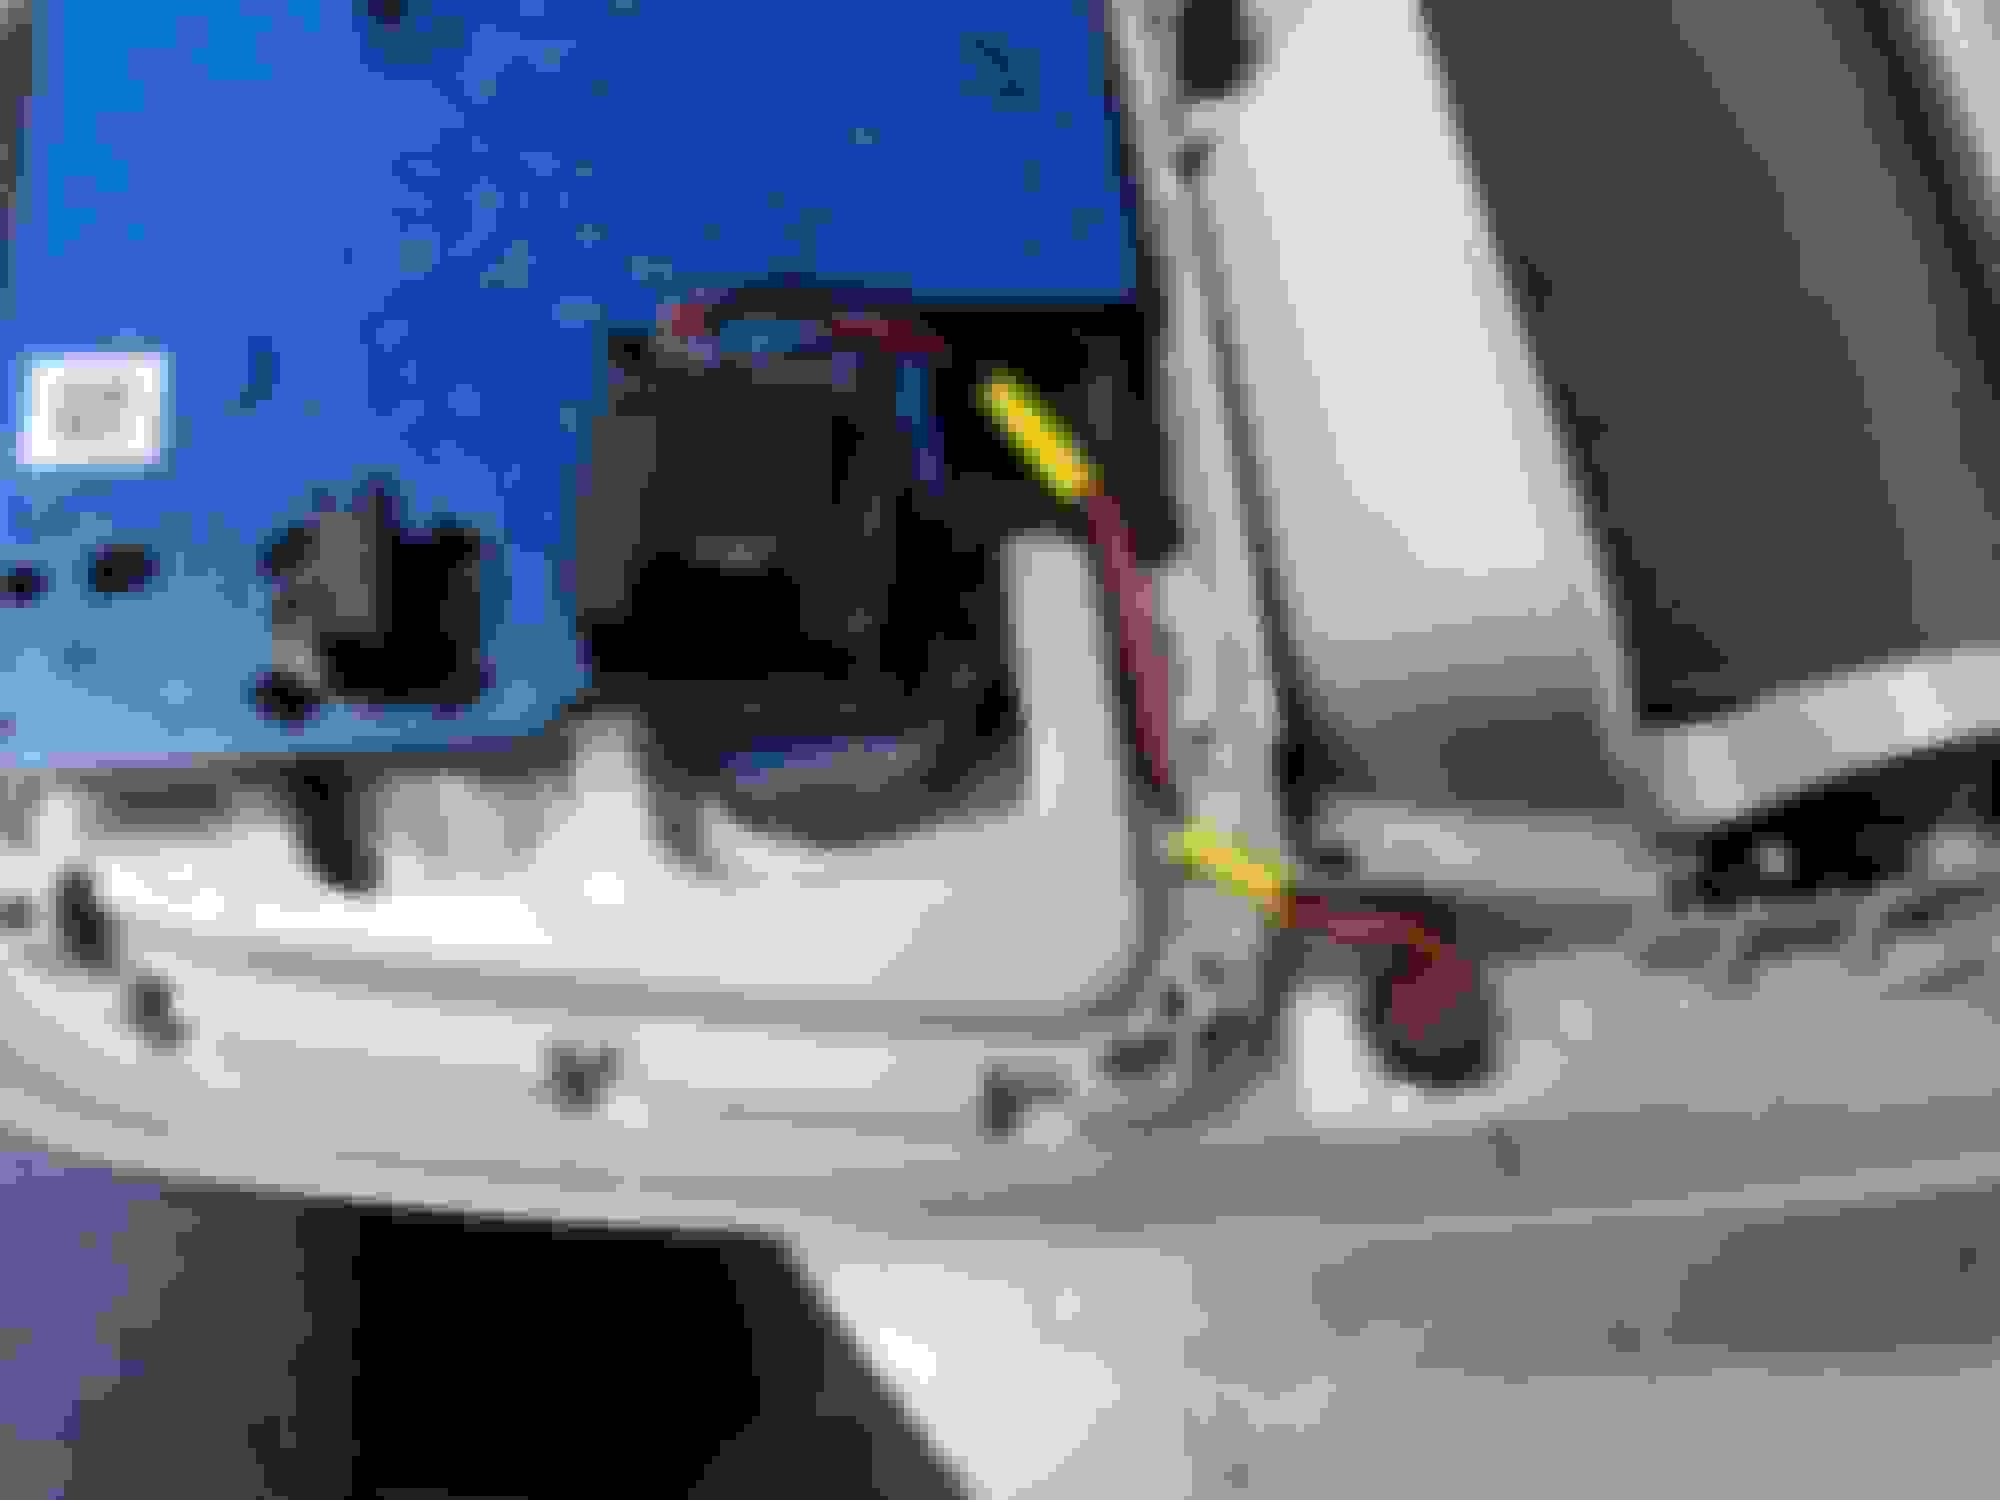
There's a white 3-pin connector for the reading lights, a 2-wire molded plastic visual LED, a red 5-pin connector for the power sliding window, a black 3-pin for whatever is in front of the power slider switch (I always thought it was a light but now i'm not so sure), and a black 5-pin connector for the garage door opener.
I focused on the red 5-pin for the power slider. It has a pink/yellow for power, a black/blue for ground, and three orange wires for window signal (green, purple, and gray stripes).
The pigtail isn't super long. I'm also not 100% sure how to de-pin it. But if I can get it de-pinned, I'm 100% sure I can tap power and ground for my desired use.
I've done something similar on both my former 2011 Durango and my current 2014 Ram, although for both of those I installed a barrel jack since I was looking to power a rearview monitor that I only use when towing my camper or enclosed trailer, and so I was looking for something self-contained in the console rather than a pigtail. I think in both cases I also went with constant power rather than switched power, and with the Ram I wired into the Homelink garage door opener module since it was on a circuit I didn't expect to be using at the same time as the monitor. But in case it will help, I'll post where I tapped power for both of those. I don't know if either will be similar to your 2010 Ram.
2011 Durango: Durango overhead console power tap point Durango wire routing Durango installed
2014 Ram: Ram power tap point Ram Homelink Ram jack installed Ram in use
I actually like that. I was thinking about making a surface mount connection, a barrel jack completely skipped mind. Unfortunately the garage door open on mine is fully enclosed. But now you have me wondering if I can crack it open, steal a solder joint, and put it back up...... you might be a genius. thank you!
Mine was fully enclosed as well, until I opened the case. I did have to drill a hole in the case to bring my wire out. The Homelink module does have power all the time and I don't think I found a source of switched power in there, so keep that in mind if you're really wanting switched power.


 04-01-2024, 05:48 PM


 Welcome to DF!