
1988 Dakota Project?
#41
 10-08-2011, 10:44 AM

You don't need to find one with a V8. The V8 was the reason Dodge extended the front of the '91-newer Dakota, but the same front end was used with the smaller engines, too. I'm fairly certain you can swap the '87-90 hood, core support, and grille onto any '91-96. I'm told the fenders
are the same on all first-gen Dakotas (87-96). As for the tailgate, you can swap the older version to the newer truck as well.
are the same on all first-gen Dakotas (87-96). As for the tailgate, you can swap the older version to the newer truck as well.

Last edited by pinkfloydeffect; 10-09-2011 at 08:53 PM.
#42
10-09-2011, 09:08 PM
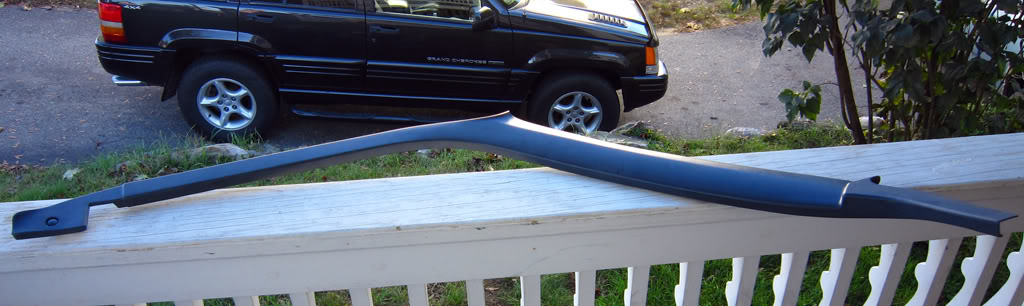
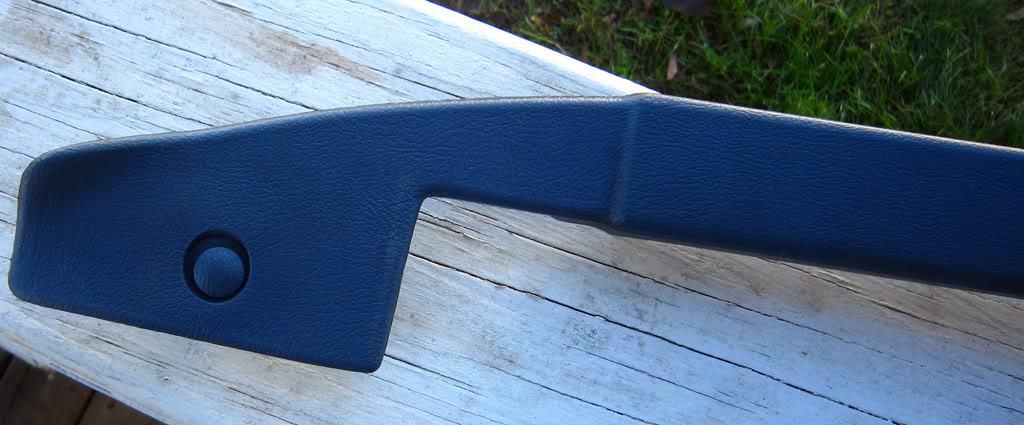
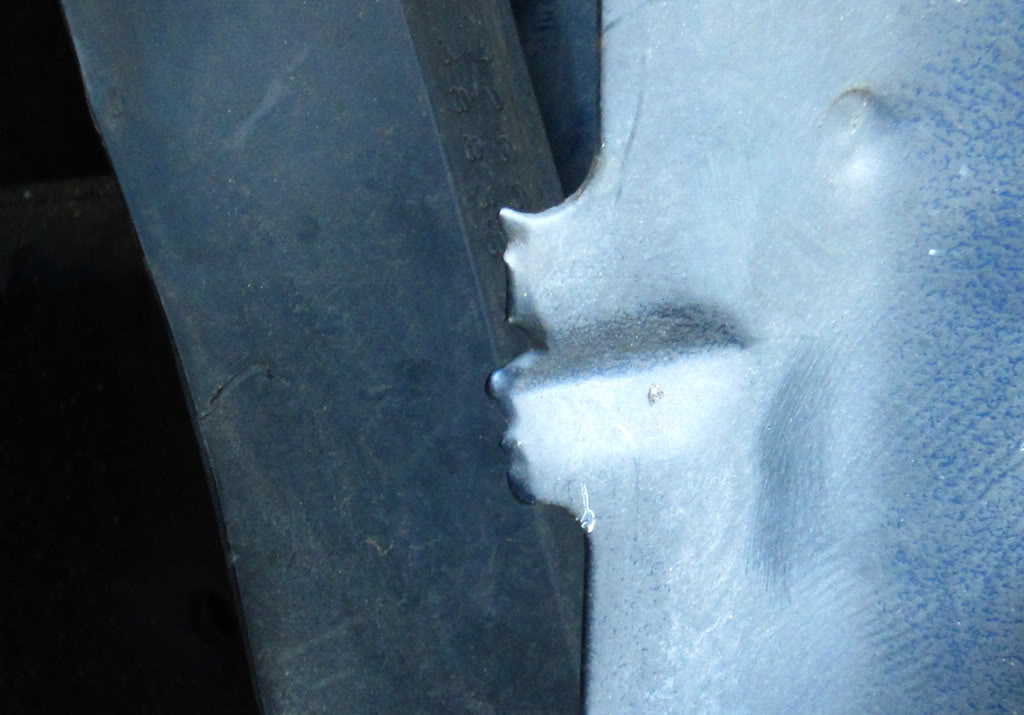
I was swapping out the blue interior for grey today and came to this piece, both sides had this wedge with a a snap cap in the center. The newer interior did not even have this wedge at all... the wedge tucks under the rear column panels anyway so you don't see them:
Back to the topic... I did some Dremel work today using a cutting wheel and a sanding wheel. This is a spare grill I had with one broken mounting tab on the bottom left, it's just a prototype so I have something on my truck while I cut the one on there now. I primed it and will paint it flat black tomorrow, my plan is to use some fiberglass boat repair sheets you get in a kit from Walmart. Apply them to the rear of those four "D/C" or half-moon shaped notches where the grille cross members attached to the outer frame. Once it dries fill in the front with Bondo to smooth it out, or should I try to use as much fiberglass on the front as I can too?? I could always trace and cut out some wedges, stack them up letting the layers dry:
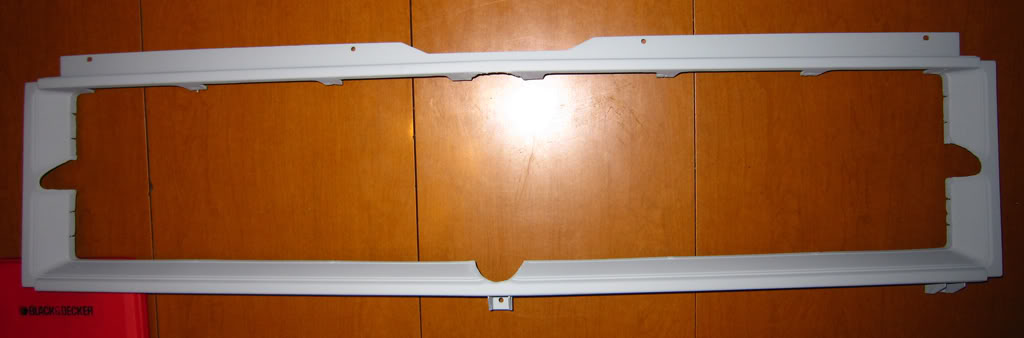
Back to the topic... I did some Dremel work today using a cutting wheel and a sanding wheel. This is a spare grill I had with one broken mounting tab on the bottom left, it's just a prototype so I have something on my truck while I cut the one on there now. I primed it and will paint it flat black tomorrow, my plan is to use some fiberglass boat repair sheets you get in a kit from Walmart. Apply them to the rear of those four "D/C" or half-moon shaped notches where the grille cross members attached to the outer frame. Once it dries fill in the front with Bondo to smooth it out, or should I try to use as much fiberglass on the front as I can too?? I could always trace and cut out some wedges, stack them up letting the layers dry:
#44
10-19-2011, 09:04 PM
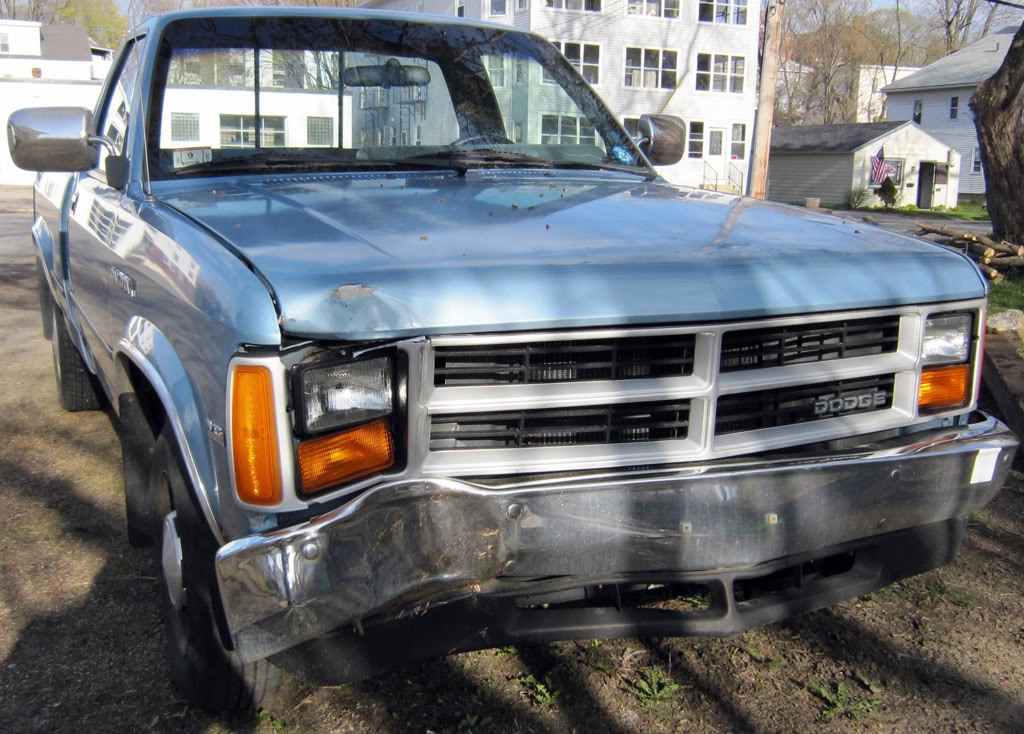
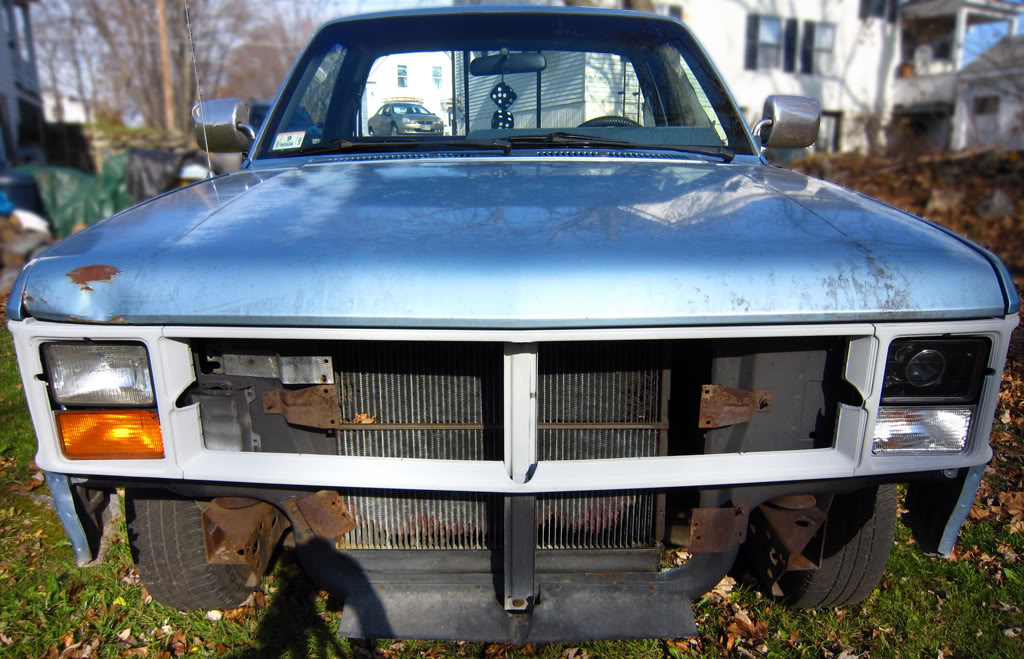
With the front end apart it might be hard to see in the photo but the left frame rail that was welded on is slightly facing upward which I think is why the bumper is closer up on that side.
This is why the left headlight door/shell does not fit correctly, and why the headlight does not shine straight:
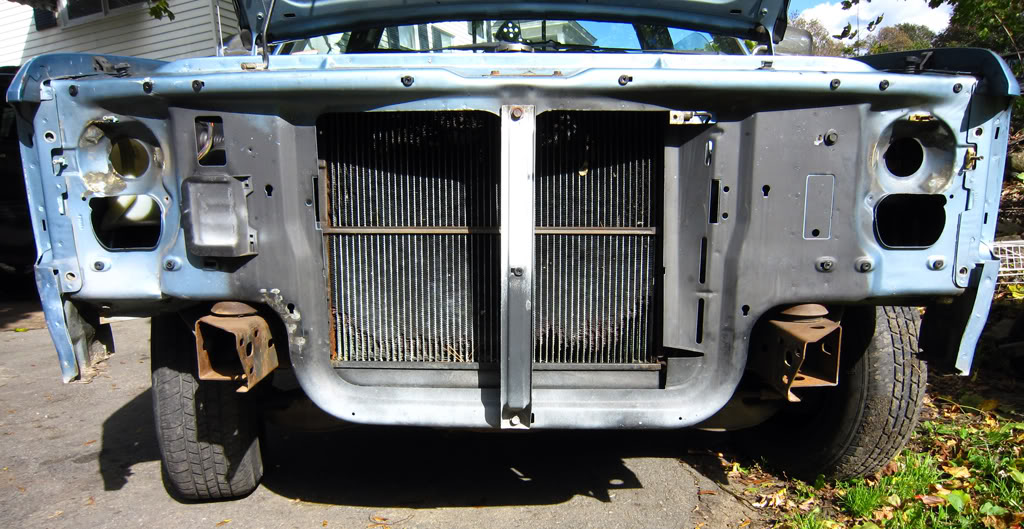
This is with the new core-support installed out of a dark blue 1990 (the same year I was born we'll see if it brings me any good luck). It had AC so the radiator supports are still on it for when I upgrade, also do you notice that the air fin/guide for the main radiator is missing? Now there is a long opening to the right of the radiator, and if you look on the bottom there is a black plastic fin aiming downward to scoop air is this an AC only thing or a factory upgrade during a year change?
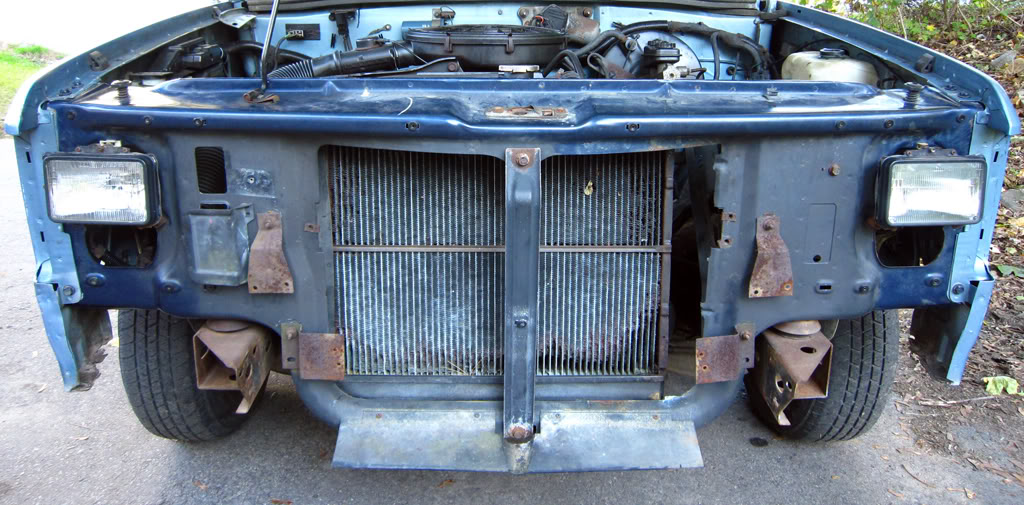
This is one of the tabs for the air fin/guide to the right of the main radiator, appears as if it was removed from the factory before it was painted??
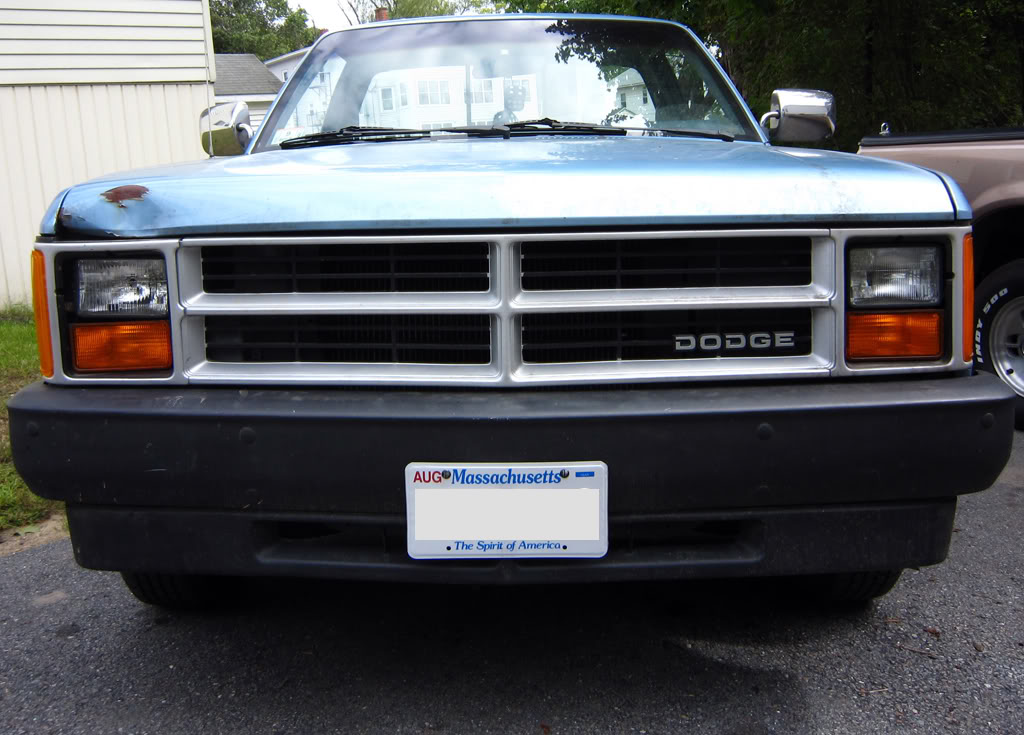
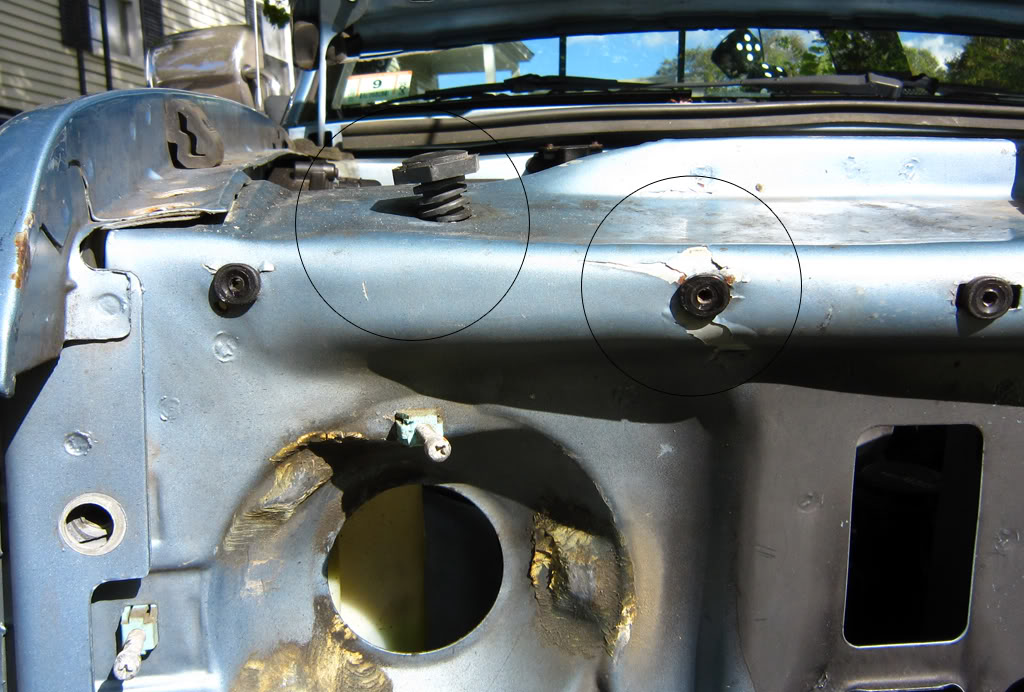
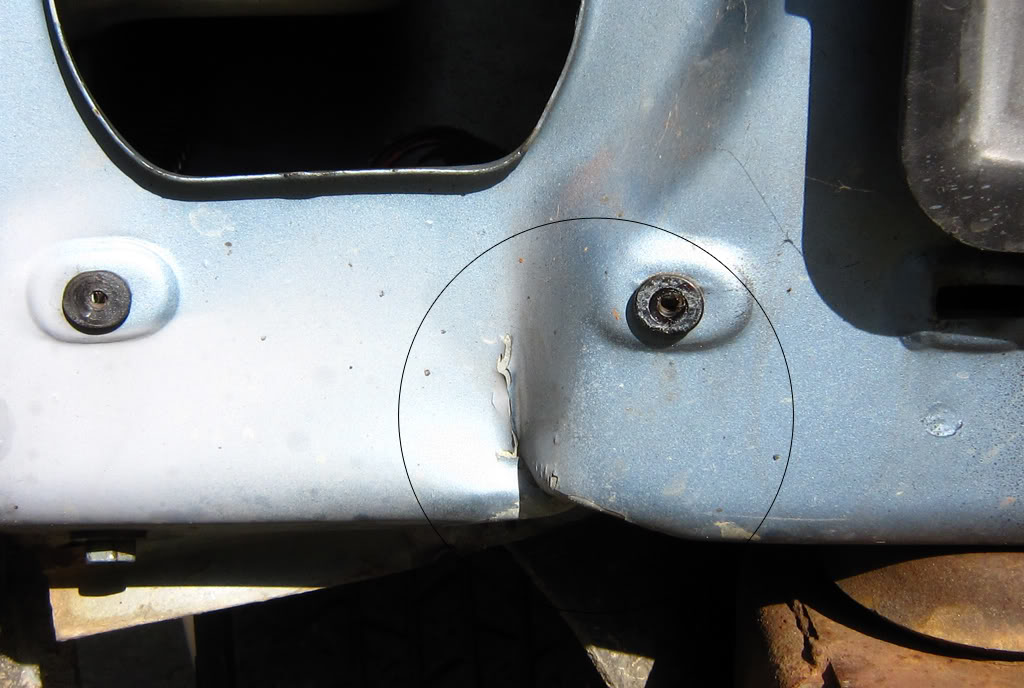
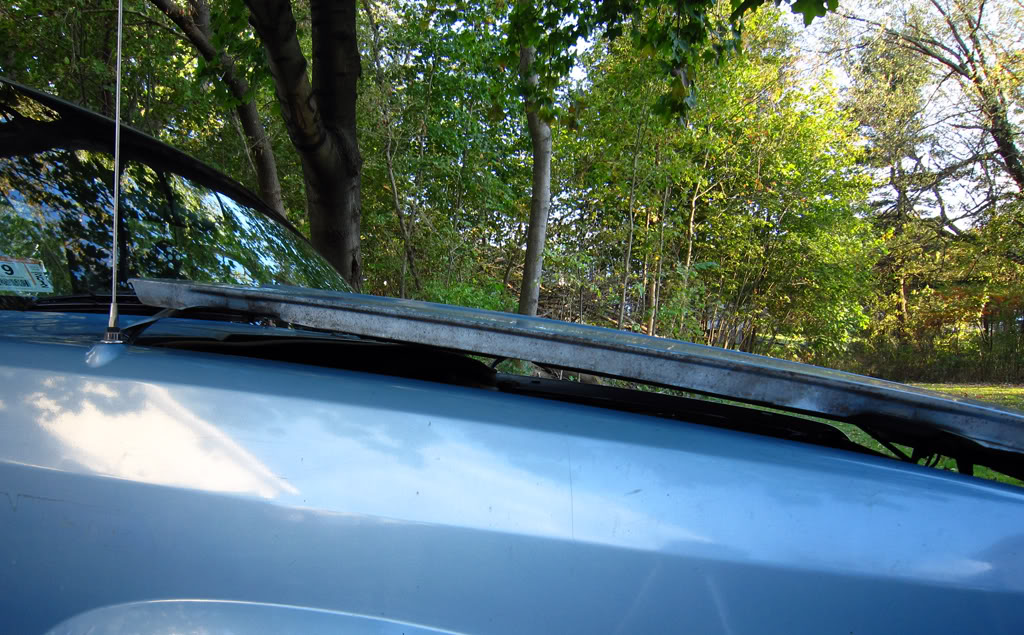
When I replaced the front core support I ran out of daylight so I left the hood latch for tomorrow.... well I just went out for a coffee and doughnut going about 35mph and the hood flew up, over my wipers smashed onto my windshield, friggan blocked 110% of my vision almost got in an accident. Bent both my hood hinge arms sideways and back, now the hood sits a few inches up on all 4 sides!

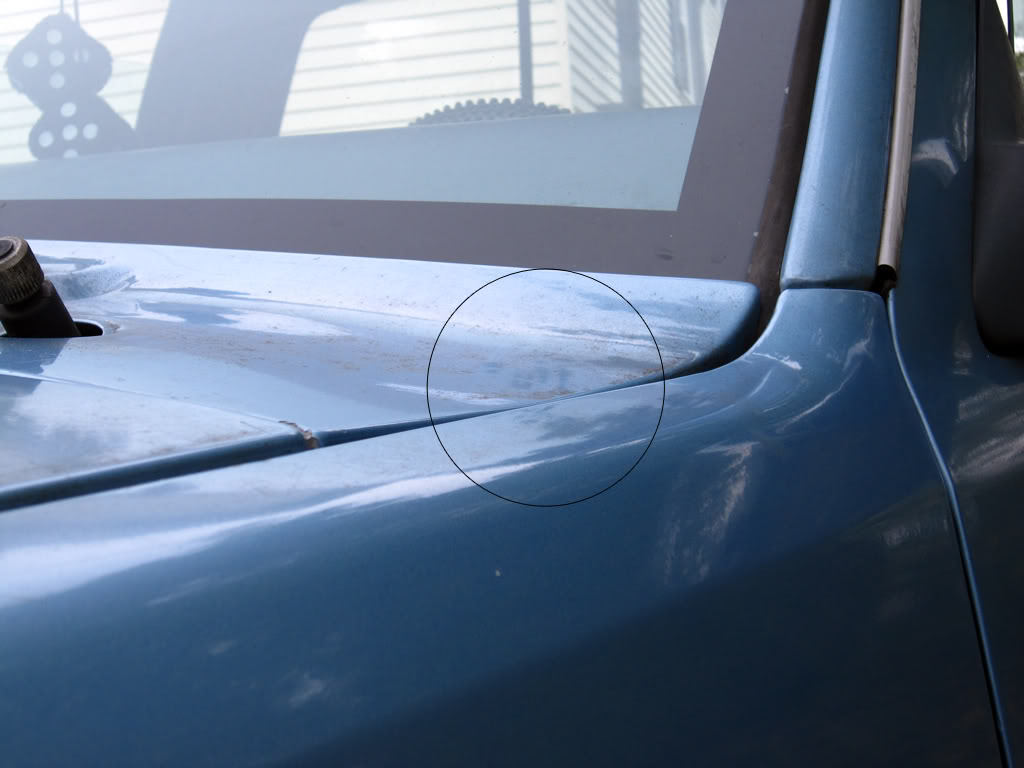
Also if you notice in the circle it dented this panel in... I will be replacing that too I guess:
This is why the left headlight door/shell does not fit correctly, and why the headlight does not shine straight:
This is with the new core-support installed out of a dark blue 1990 (the same year I was born we'll see if it brings me any good luck). It had AC so the radiator supports are still on it for when I upgrade, also do you notice that the air fin/guide for the main radiator is missing? Now there is a long opening to the right of the radiator, and if you look on the bottom there is a black plastic fin aiming downward to scoop air is this an AC only thing or a factory upgrade during a year change?
This is one of the tabs for the air fin/guide to the right of the main radiator, appears as if it was removed from the factory before it was painted??
When I replaced the front core support I ran out of daylight so I left the hood latch for tomorrow.... well I just went out for a coffee and doughnut going about 35mph and the hood flew up, over my wipers smashed onto my windshield, friggan blocked 110% of my vision almost got in an accident. Bent both my hood hinge arms sideways and back, now the hood sits a few inches up on all 4 sides!
Also if you notice in the circle it dented this panel in... I will be replacing that too I guess:
Last edited by pinkfloydeffect; 10-25-2011 at 12:13 AM.
#45
10-19-2011, 11:45 PM
Record Breaker
#46
10-20-2011, 10:31 PM
i had that problem with my truck with the hood flying up...luckily i had cab lights so my windshield was safe...try bending the hinges back the way they are supposed to be or get new ones($60 for 2 new ones from the stealership iirc) hopefully the hood isn't too dented...
Last edited by pinkfloydeffect; 10-20-2011 at 10:37 PM.
#47
10-20-2011, 10:47 PM
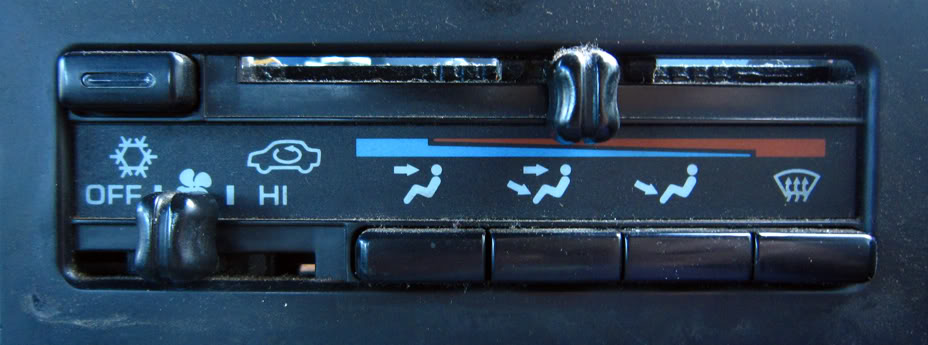
My 88' does not have AC, so I will be working on an AC transplant. Starting with my HVAC control panel, slide selector style with no AC, four single vacuum lines.
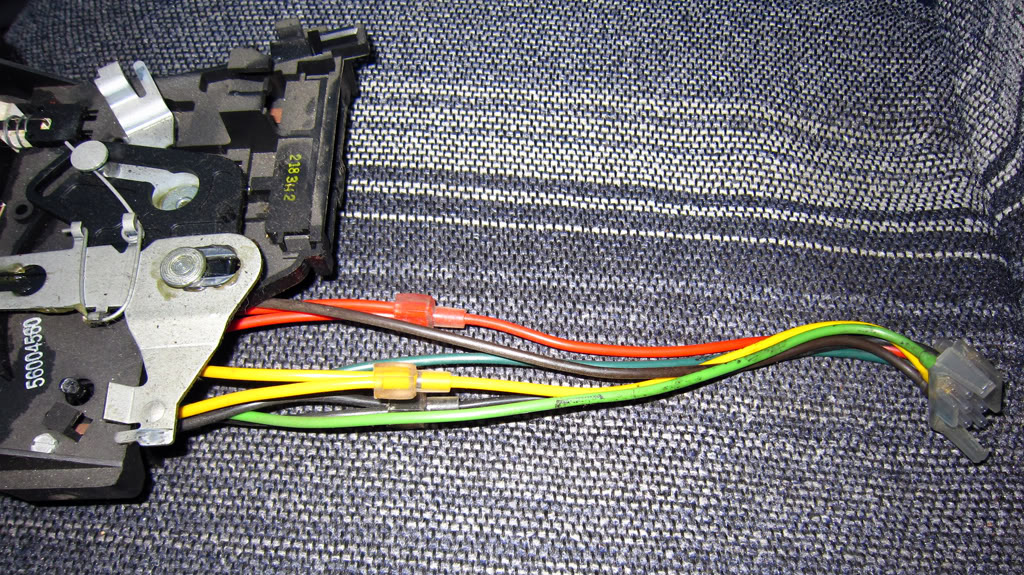
This is my new control panel out of a 95' with push button selectors and AC, just needs to be cleaned up. The only differences are the larger 3 wires to the left being different colored and the vacuum lines. The red, yellow and black vacuum lines are split into two and there is an addition of two different shade green lines.
Despite the differences it plugs right in and works fine (so far). The disconnect plug on the vacuum line cluster is compatible with my 88' so it also plugged right in and works fine so far. My AC button lights up when I push it in and I haven't blown any fuses haha.
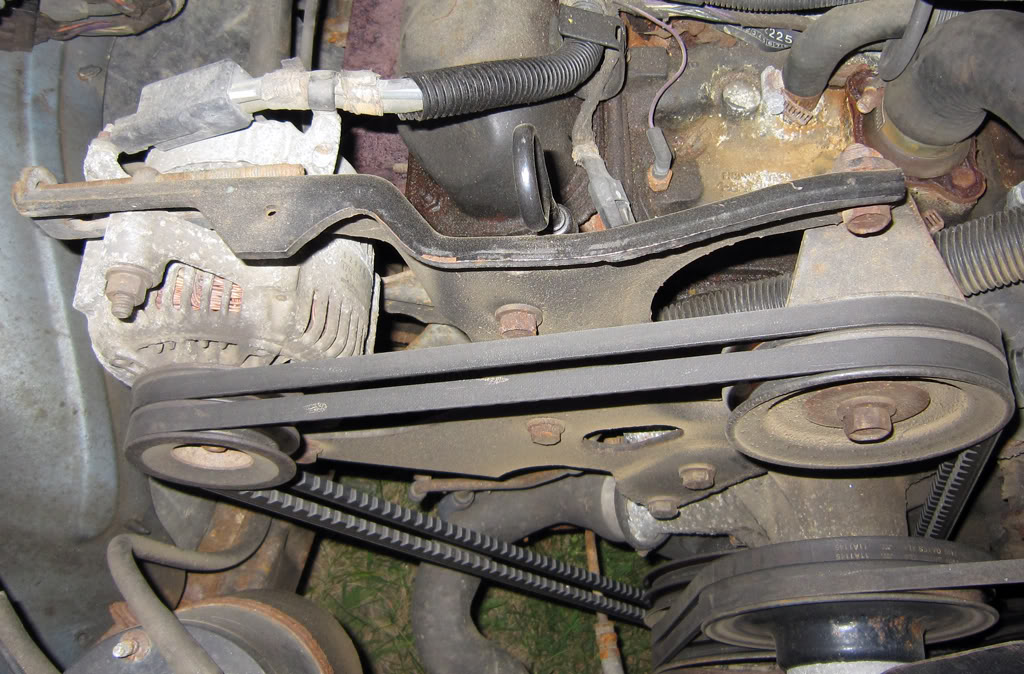
There is a spot for the AC pump on the serpentine belt along with what appears to be a plug for the pump clutch? I'm going to try to get some sort of signal reading out of the plug when I push the AC button to see if there is a connection.

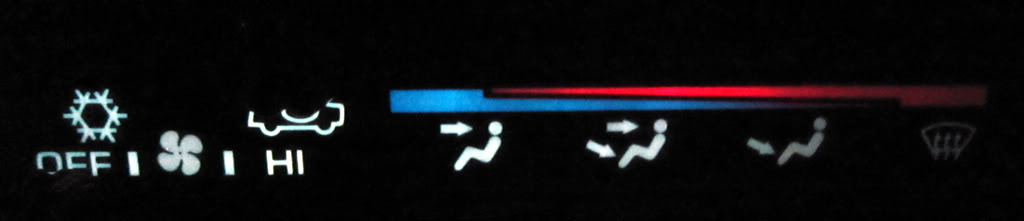
At night it looks a bit dim all the way to the right but I believe it's only one bulb so maybe this is normal?
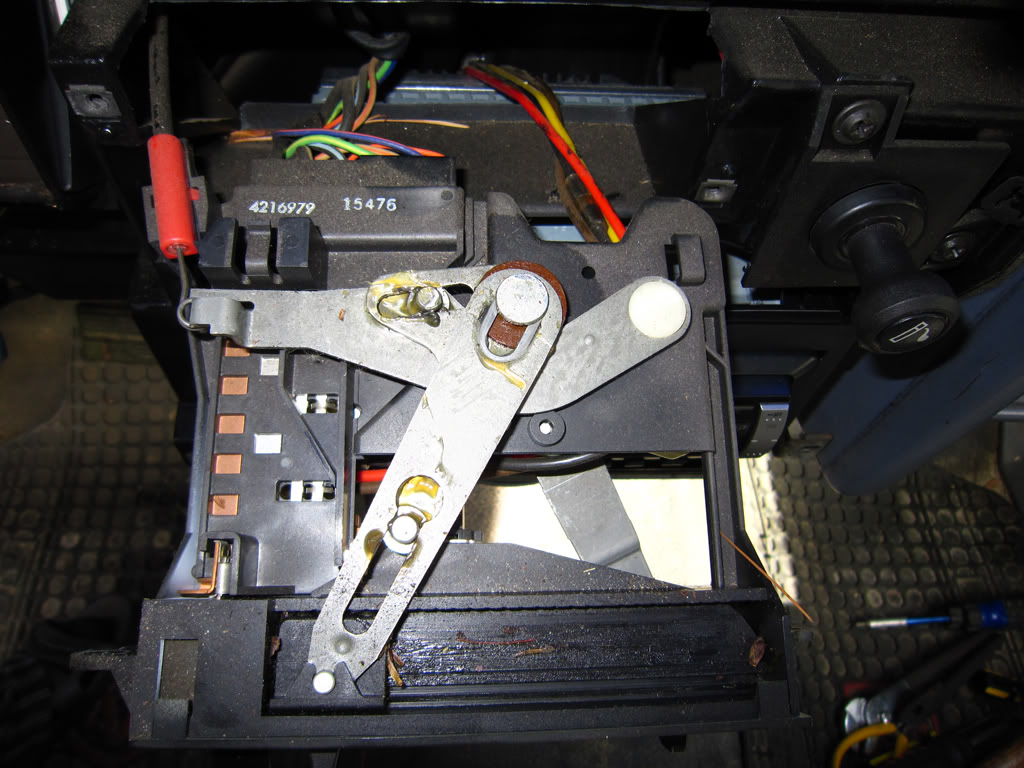
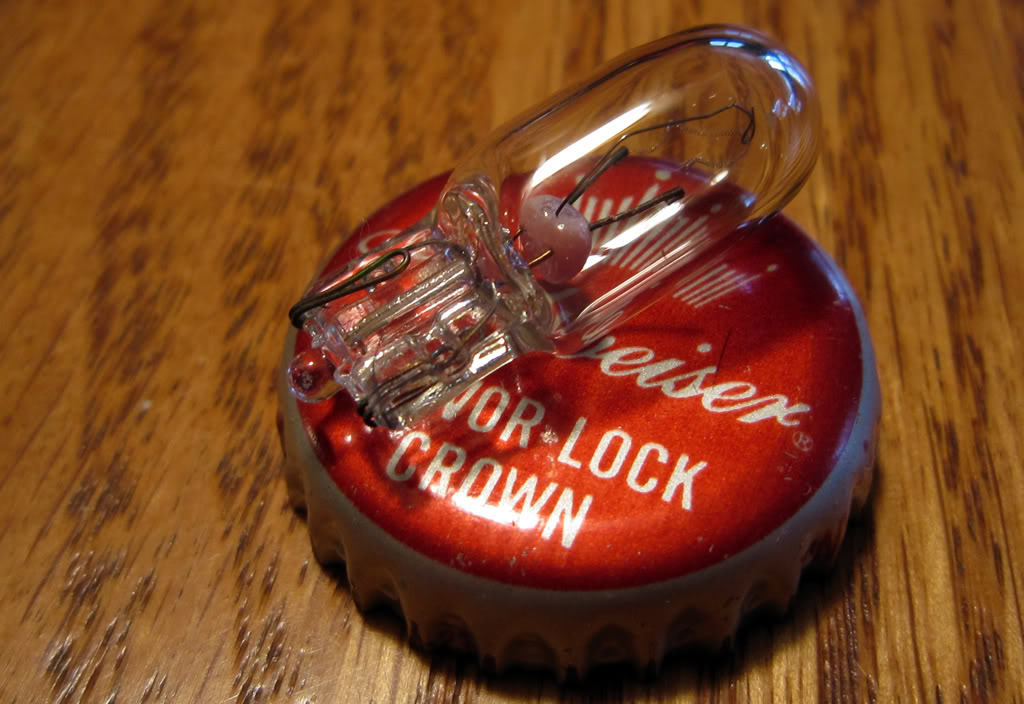
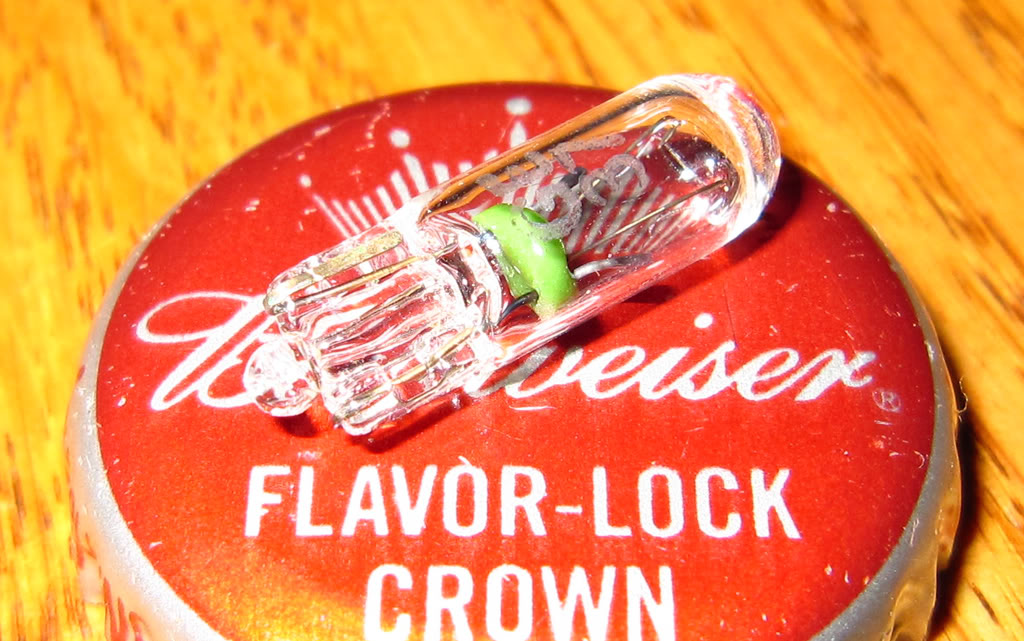
This is the ONE bulb out of my 88' HVAC controls:
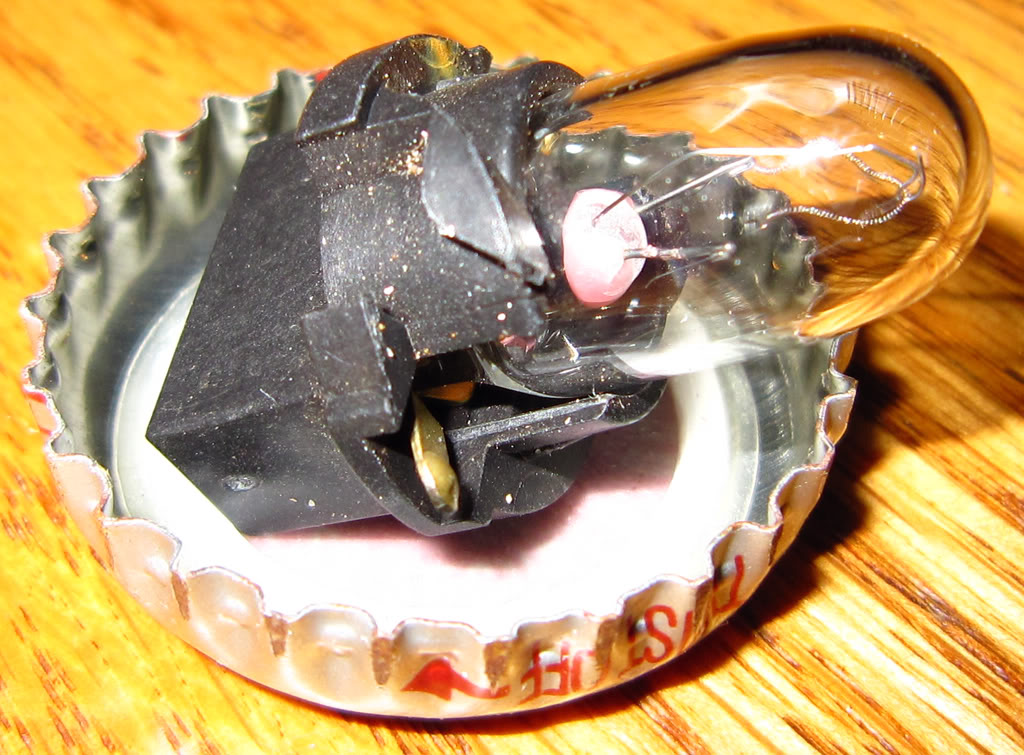
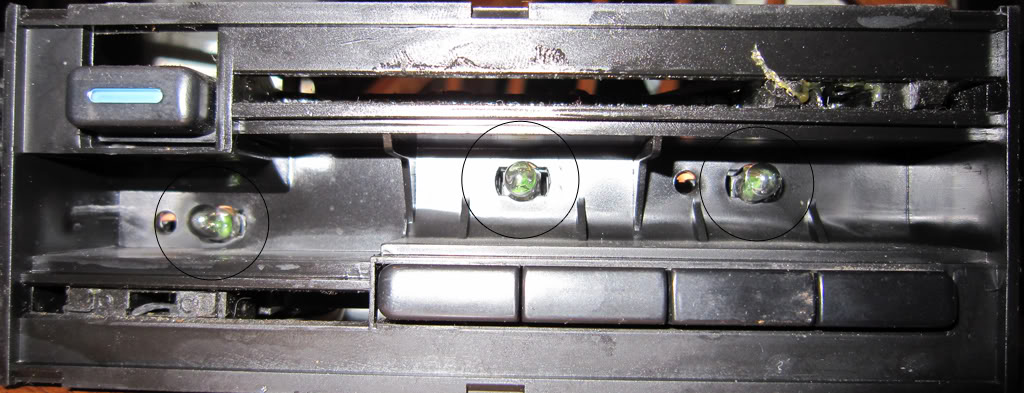
I took the front off my spare 95' HVAC control panel, turns out these have 3 smaller bulbs vs one larger centered one:
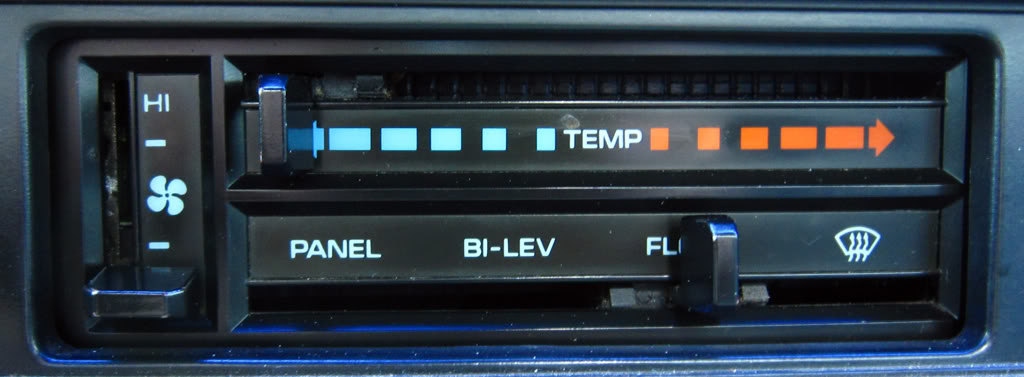
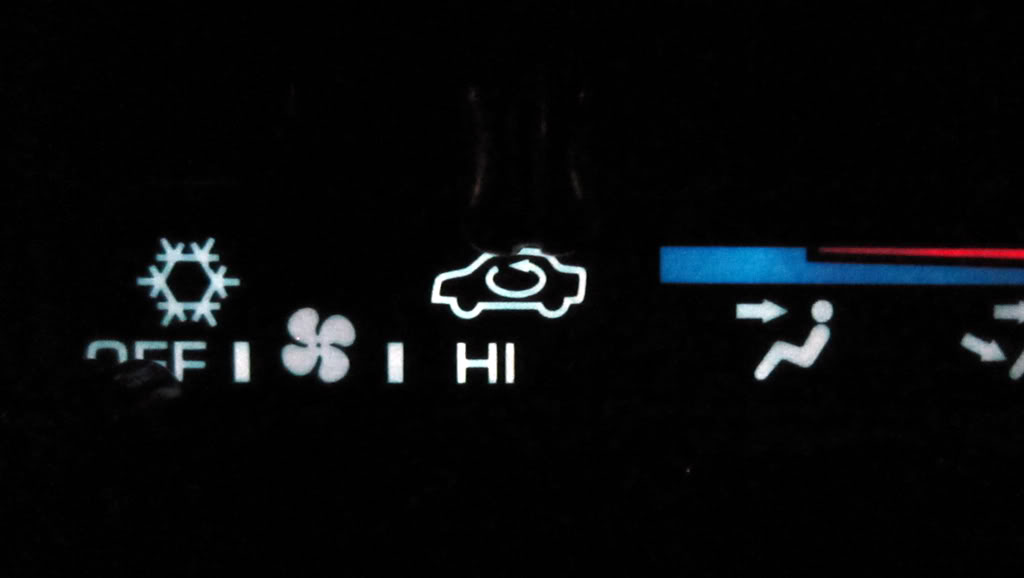
Also I have this new feature on this 95' HVAC panel, all the way to the left (coldest) there is a groove it clicks into above "HI" that looks like an in-car circulation only? Do you put the temperature setting on this when using the AC or something?
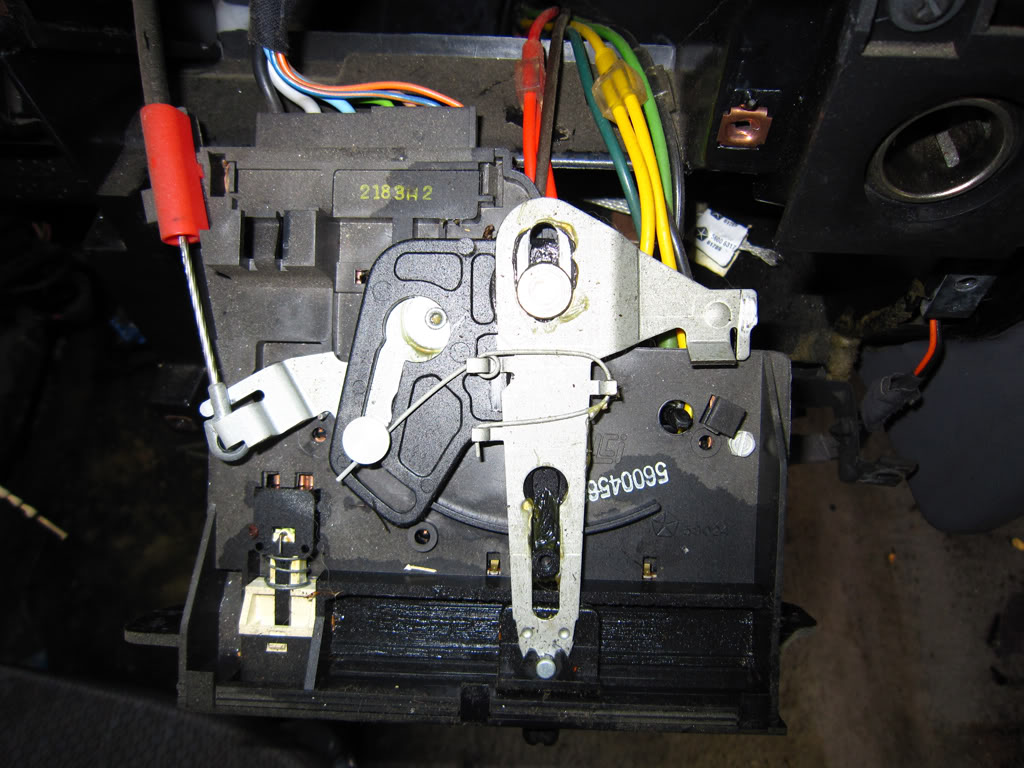
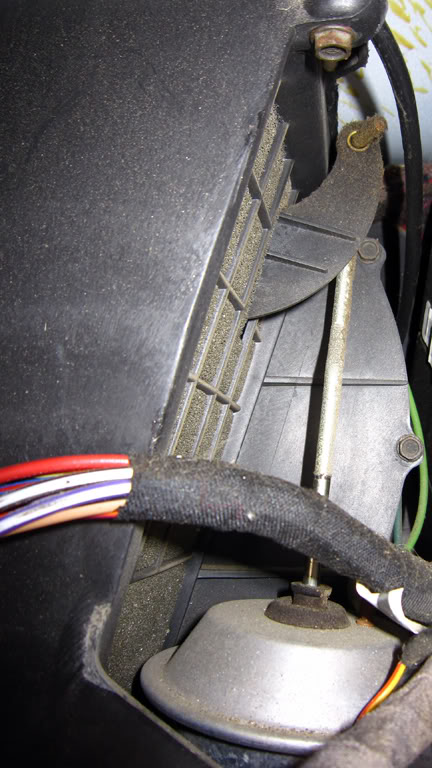
I traced the light and dark green vacuum lines from the controls down to this actuator type of unit:
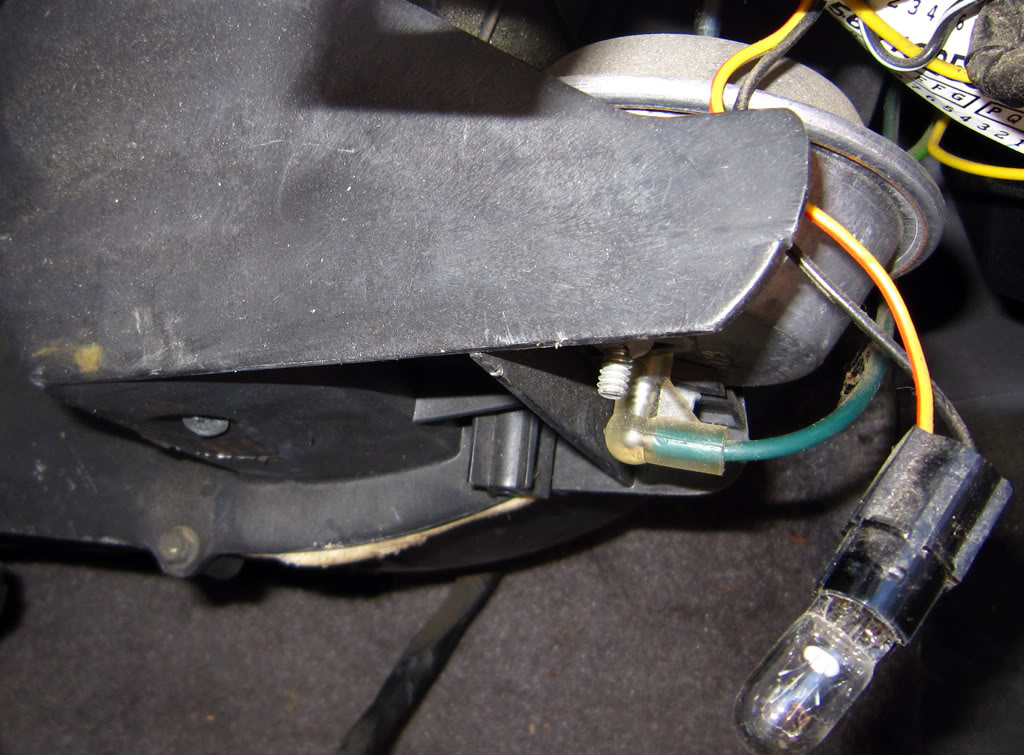
It must be for that inside air only setting on the HVAC slider, and there appears to be a filter for the inside air inlet:
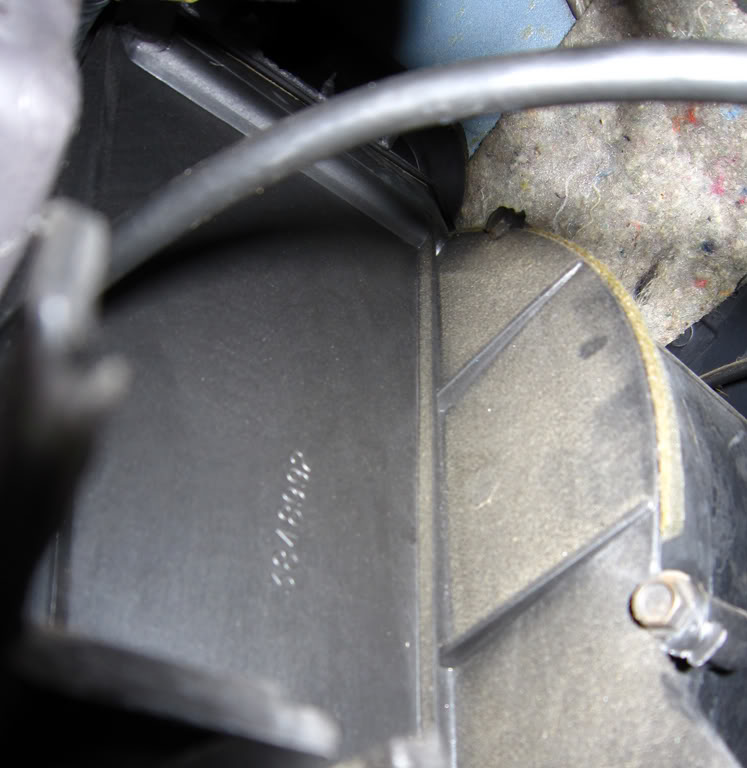
The original air-box in my 88' only has a blank panel where this system is setup. I wonder if I can just switch out the front half of the air-box with the opening/filter on it, the box splits like a split rim:
This is my new control panel out of a 95' with push button selectors and AC, just needs to be cleaned up. The only differences are the larger 3 wires to the left being different colored and the vacuum lines. The red, yellow and black vacuum lines are split into two and there is an addition of two different shade green lines.
Despite the differences it plugs right in and works fine (so far). The disconnect plug on the vacuum line cluster is compatible with my 88' so it also plugged right in and works fine so far. My AC button lights up when I push it in and I haven't blown any fuses haha.
There is a spot for the AC pump on the serpentine belt along with what appears to be a plug for the pump clutch? I'm going to try to get some sort of signal reading out of the plug when I push the AC button to see if there is a connection.
At night it looks a bit dim all the way to the right but I believe it's only one bulb so maybe this is normal?
This is the ONE bulb out of my 88' HVAC controls:
I took the front off my spare 95' HVAC control panel, turns out these have 3 smaller bulbs vs one larger centered one:
Also I have this new feature on this 95' HVAC panel, all the way to the left (coldest) there is a groove it clicks into above "HI" that looks like an in-car circulation only? Do you put the temperature setting on this when using the AC or something?
I traced the light and dark green vacuum lines from the controls down to this actuator type of unit:
It must be for that inside air only setting on the HVAC slider, and there appears to be a filter for the inside air inlet:
The original air-box in my 88' only has a blank panel where this system is setup. I wonder if I can just switch out the front half of the air-box with the opening/filter on it, the box splits like a split rim:
Last edited by pinkfloydeffect; 12-06-2011 at 08:30 PM.
#48
10-20-2011, 11:42 PM
Record Breaker
#49
10-21-2011, 11:37 PM
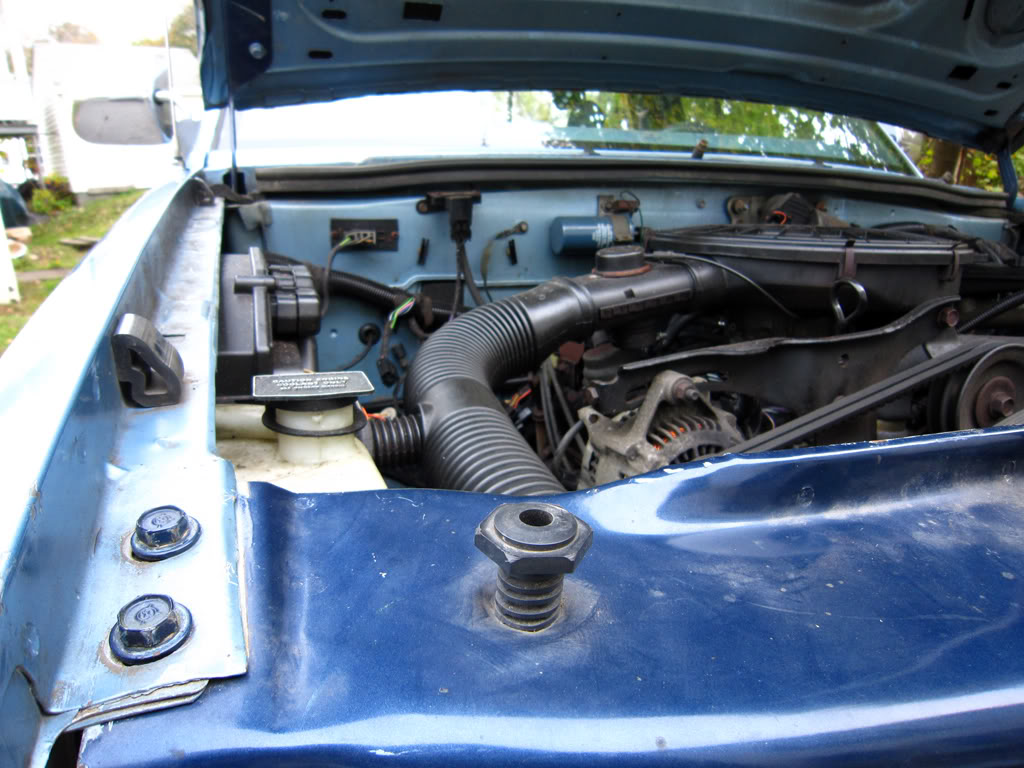
I am looking at what I want to do for hood pins, and these hood stoppers are basically right where I wanted them. Are these here for when you slam the hood or do they provide stability for hood flexing? I could always find a way to put the pins through them since they look hollow, it would make it easy to find where to drill through the hood as well:

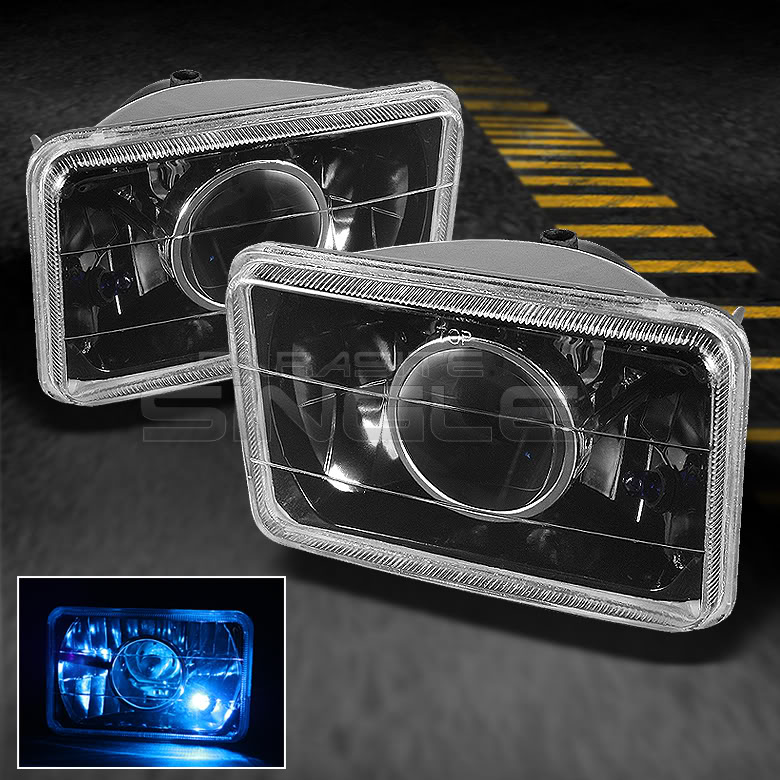
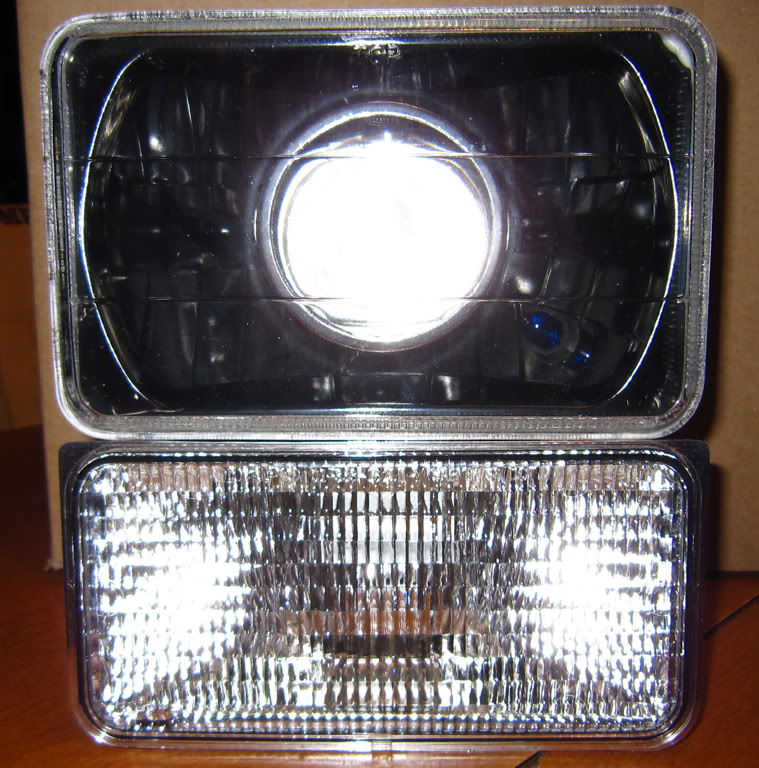
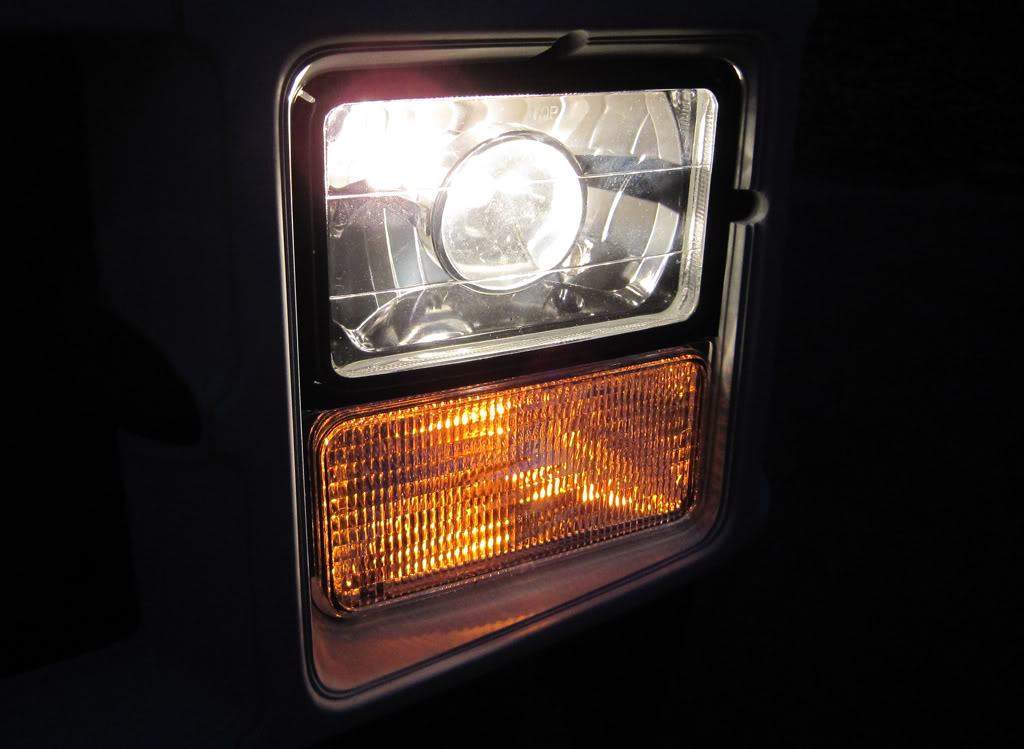
I ordered these headlight lenses, they are the only black 4x6's I can find made out of glass. Looks like they have an opening for some sort of accessory lighting, maybe I will put some strobes in them so I can safely pass old ****s in a non-passing zone haha I will need some H4 bulbs and ballasts I want good ones but don't even know where to start. I hope these lenses are not cheaply made, I'm going to go with 6000k bulbs because I want a crisp bright white without ANY of that blue nonsense.
I also ordered a set of clear turn signal lenses that I plan to use LED bulbs in:
Last edited by pinkfloydeffect; 11-24-2011 at 10:41 AM.
#50
11-05-2011, 01:12 PM
I replaced my incandescent dome light bulb with a new LED bulb. It's more of a panel, with 12 LEDs (much more even coverage). It's bright as *** too!
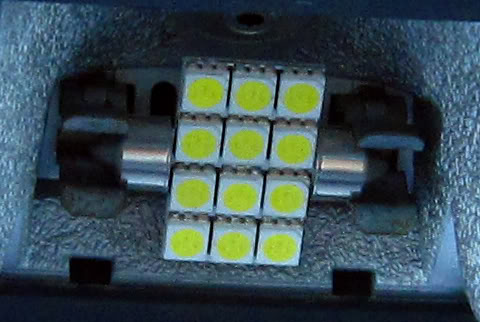
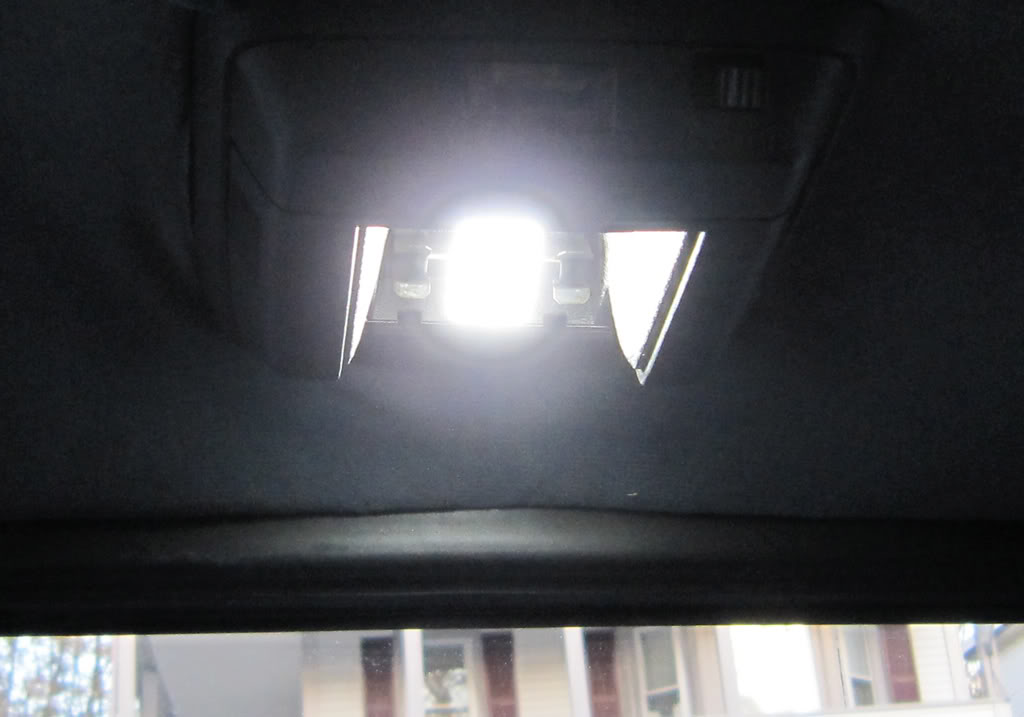
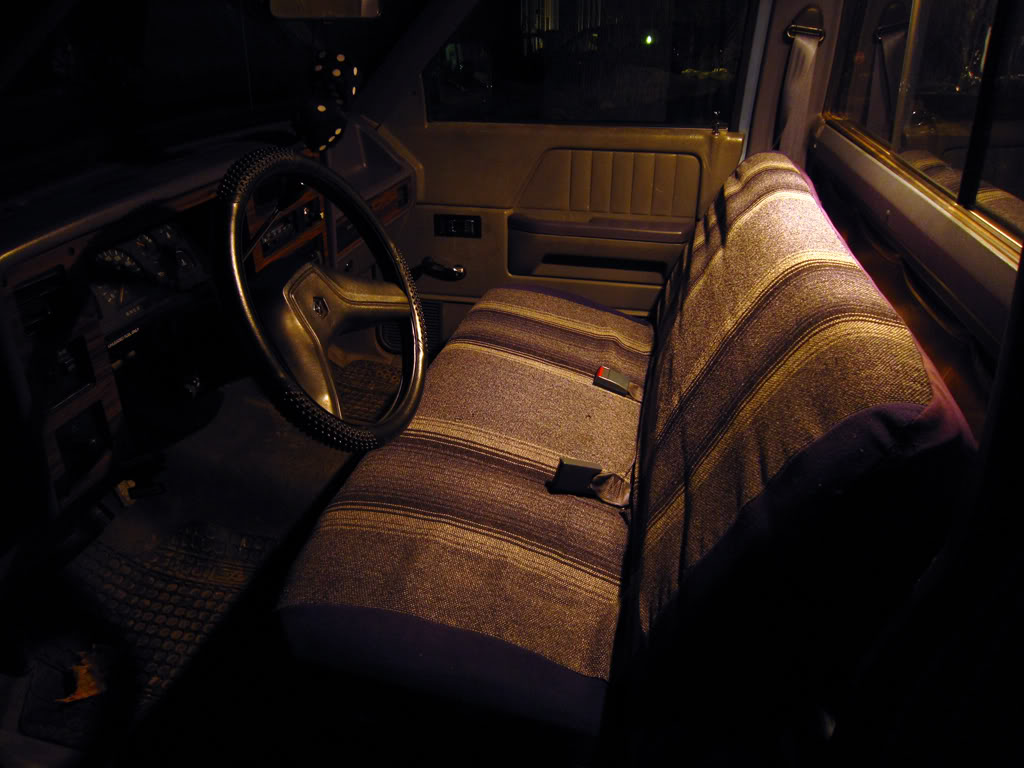
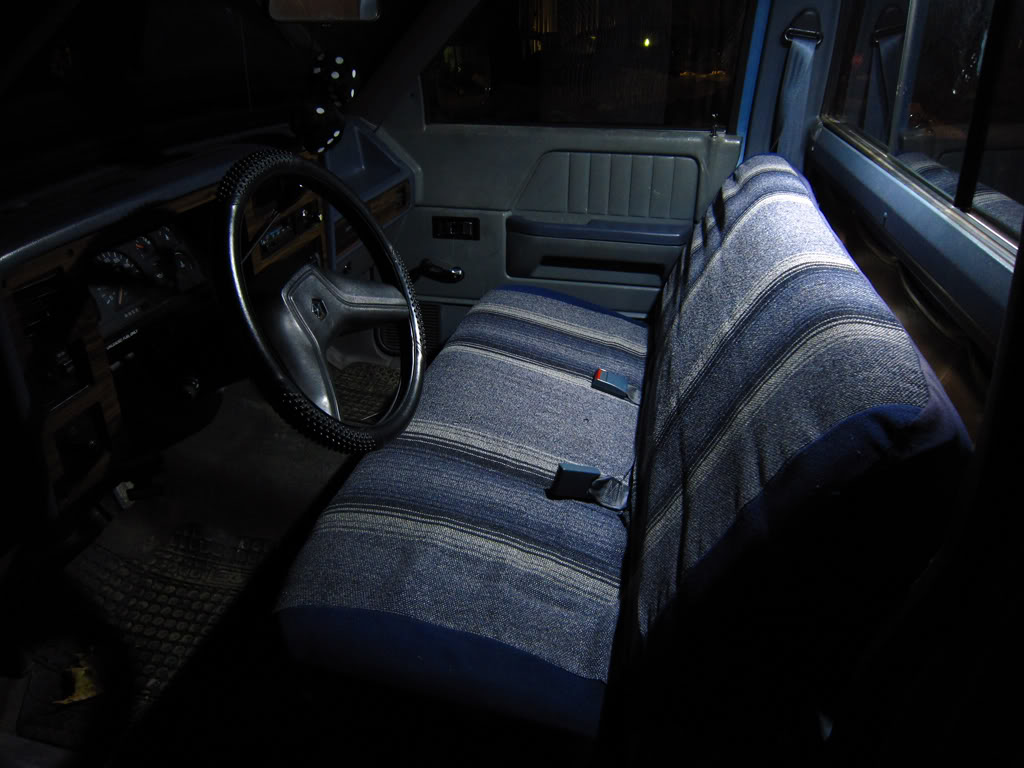
There is a dramatic color difference as well, you can see here between the LED and stock vanity/dash light. The LEDs have more of a natural white sunlight color.
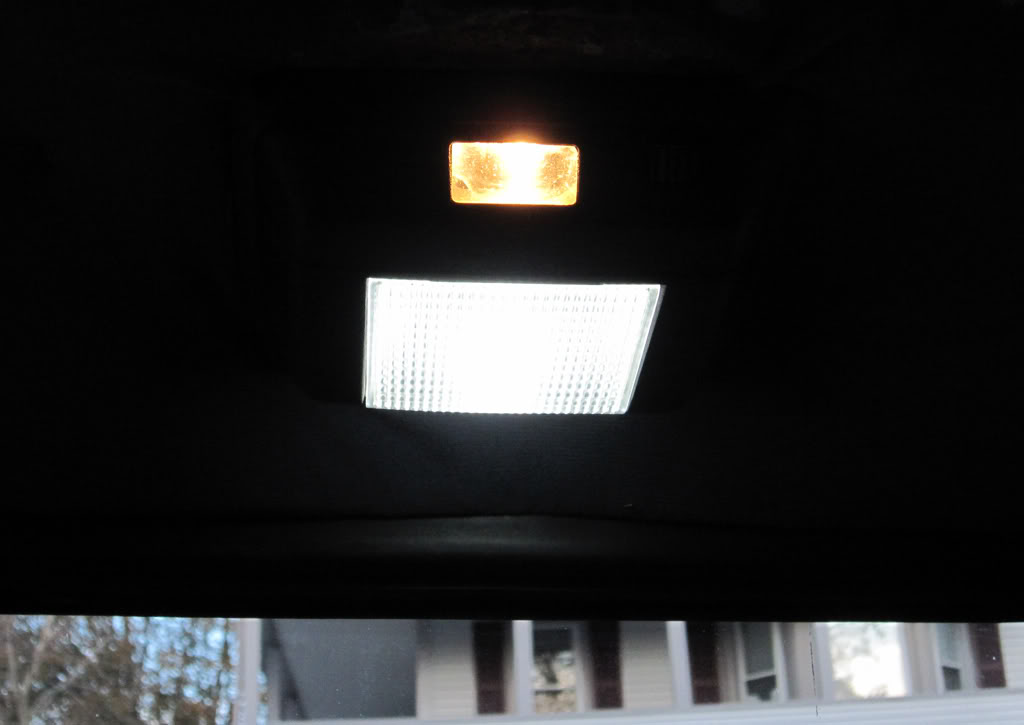
As you can see the before and after:
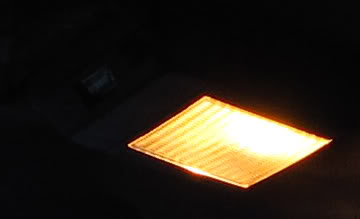

I took a comparison in two different camera ISO levels (light exposure time).
ISO-200 (BEFORE & AFTER)

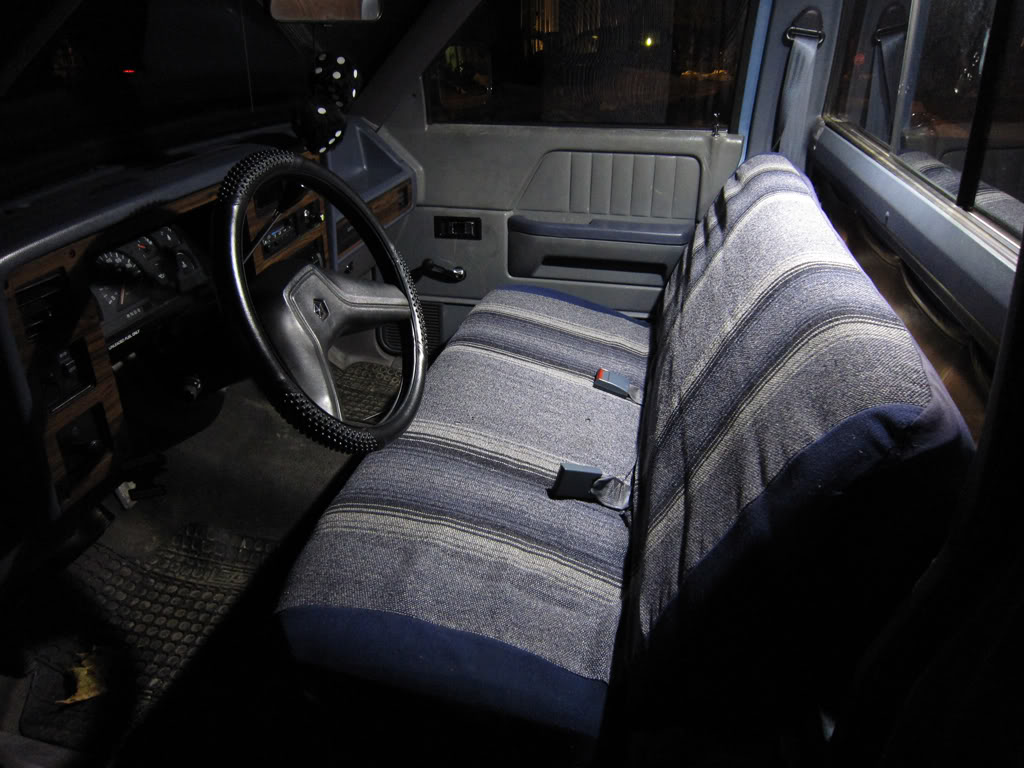
ISO-400 (BEFORE & AFTER)
There is a dramatic color difference as well, you can see here between the LED and stock vanity/dash light. The LEDs have more of a natural white sunlight color.
As you can see the before and after:
I took a comparison in two different camera ISO levels (light exposure time).
ISO-200 (BEFORE & AFTER)
ISO-400 (BEFORE & AFTER)