

1988 Dakota Project?

Thread Starter
|
All Star


Joined: Jun 2011
Posts: 858
Likes: 2
From: Pinellas County, FL
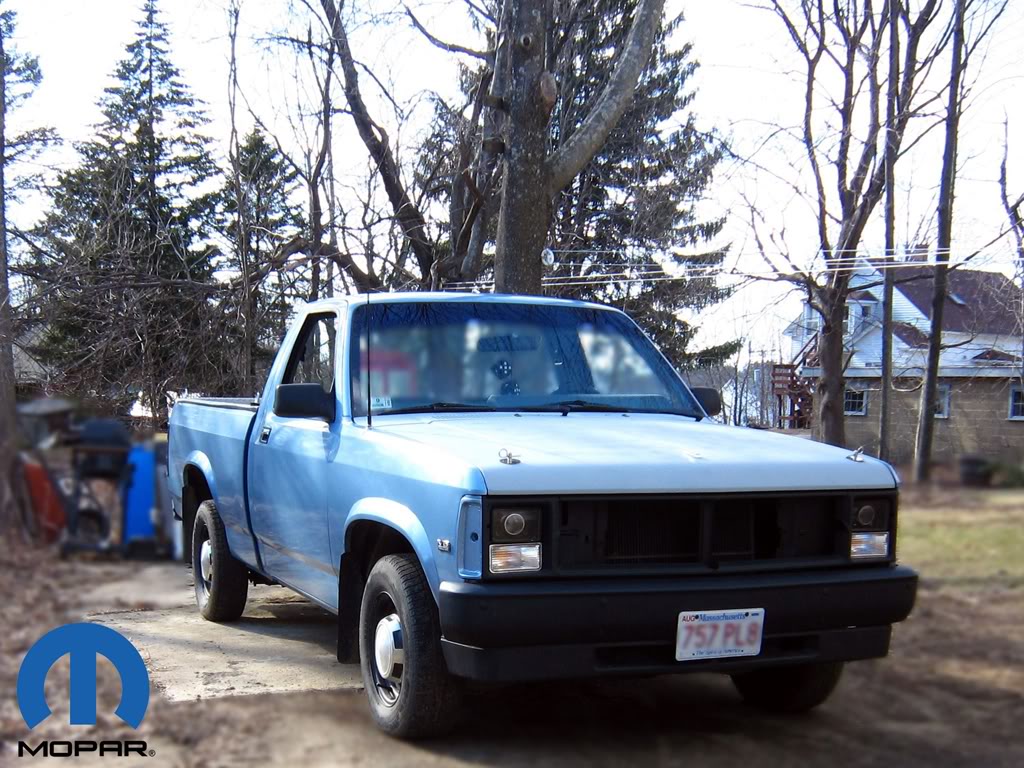
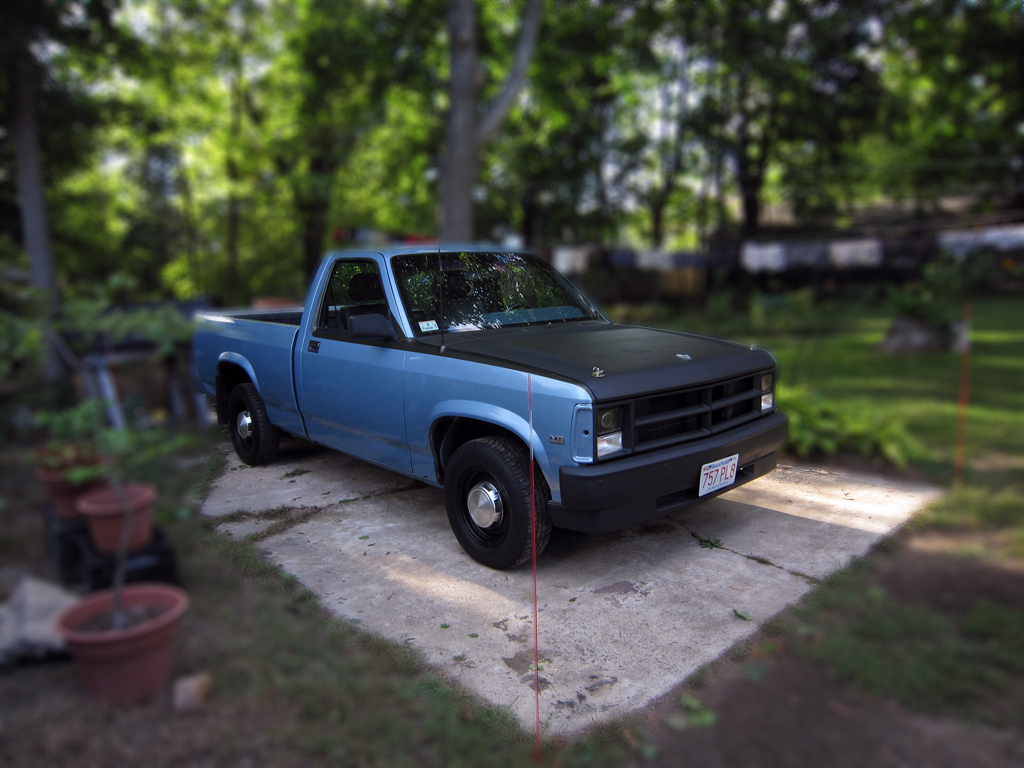
Mine was used as an old mans "store runner" from 1988-1996 and then sat undriven in a barn until 2008 which is when my grandfather bought it as the second owner. It was in real good condition in 2008 but by the time I got it in 2011 it really took a nose dive into the rust within those 3 years, and 6 months of those 3 years it sat untouched outdoors covered in snow when my grandfather went to Florida for the winters. Now I'm frantically trying to keep up with it and save the cab/frame from any future deterioration.
Thread Starter
|
All Star
Joined: Jun 2011
Posts: 858
Likes: 2
From: Pinellas County, FL
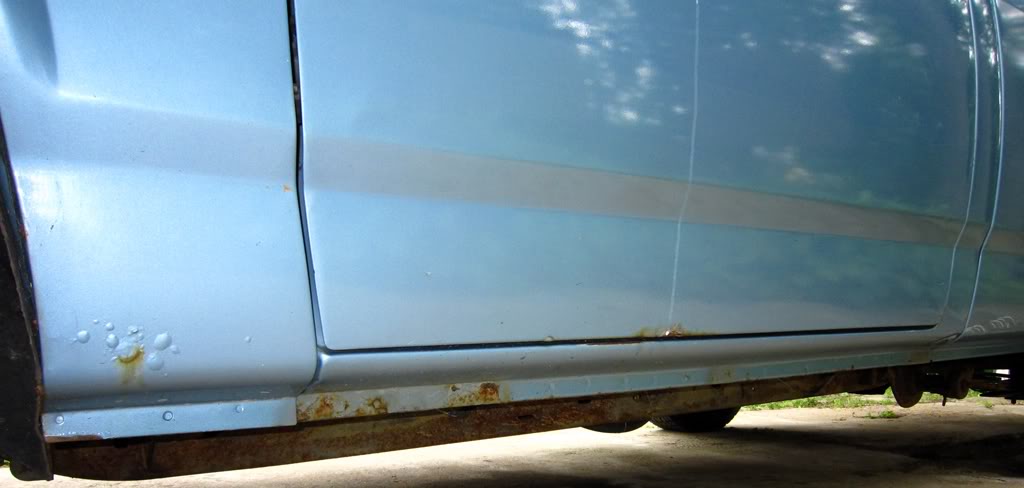
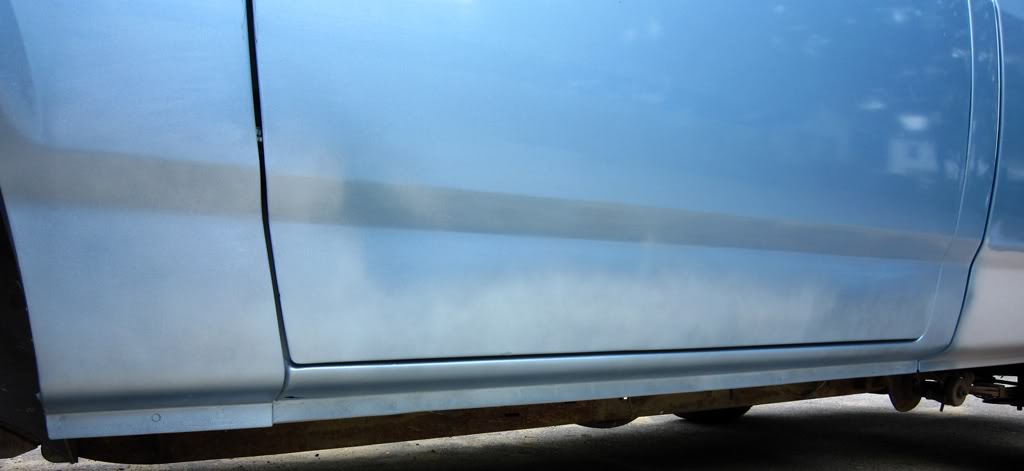
I had an auto-body friend help me with my rust, we used a die grinder, bondo, filler primer, sealer primer, and Dupli-Color auto spray (glacier blue). We ran out of OEM glacier blue so I need to pick up some more, if you look at the spot we did above the wheel on the bed and rear bed corner the OEM paint does not match my faded paint:
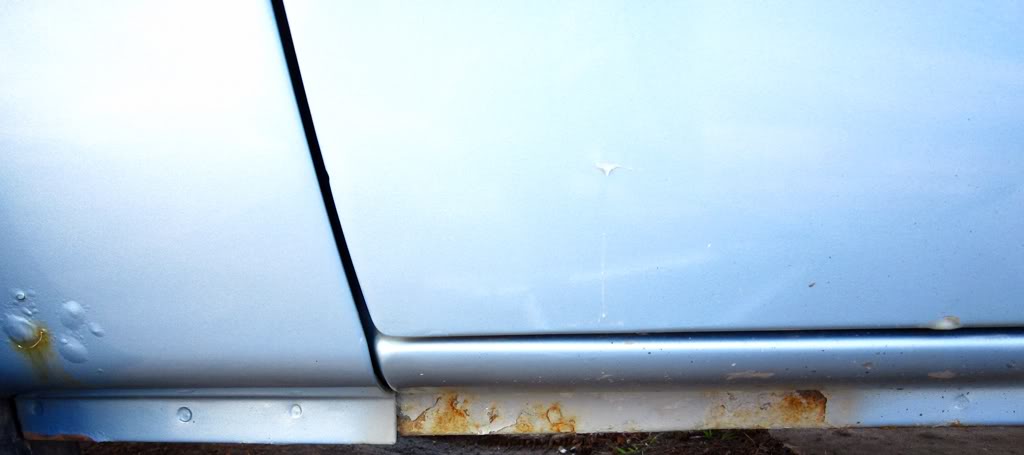
He told me not to use bondo on the bottom edge because it will chip, although I could not fill in the rust I grinded out with filler primer. I was drunk and I backed over my buddies stone wall and dented the corner of the cab along with some nice deep scratches, but it probably saved the rest of my truck and my life because I was like yep...pulled back in I'm not going anywhere for a while haha. Needs more bondo I did not get the body line straight enough for my liking:

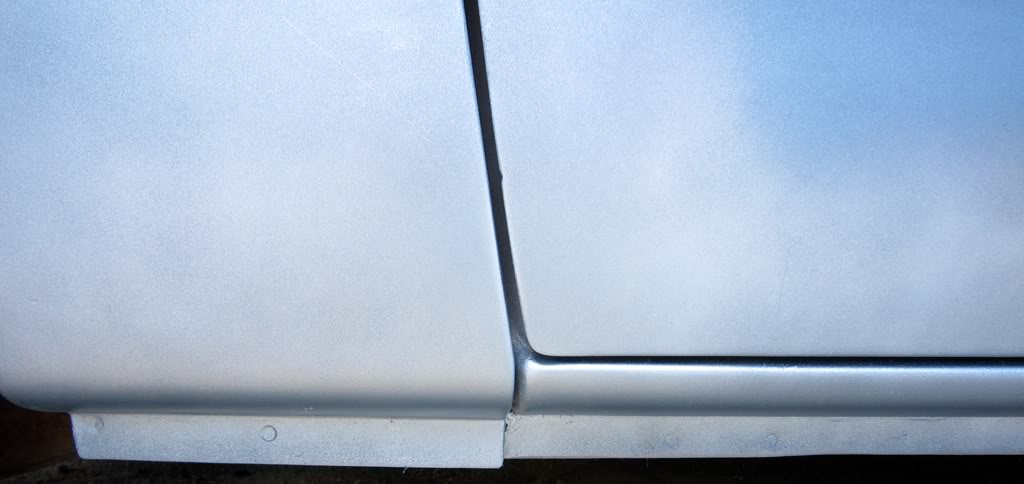
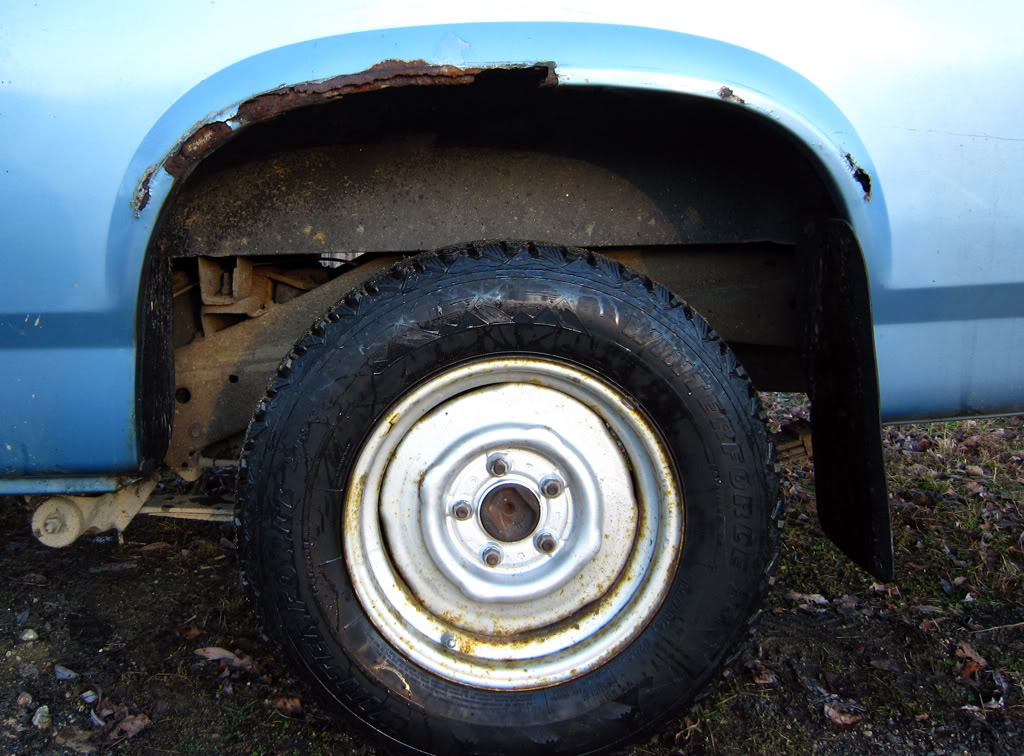
I grinded all the rust out of the wheel well, started filling it with bondo but ran out of time....we will see how long it lasts:

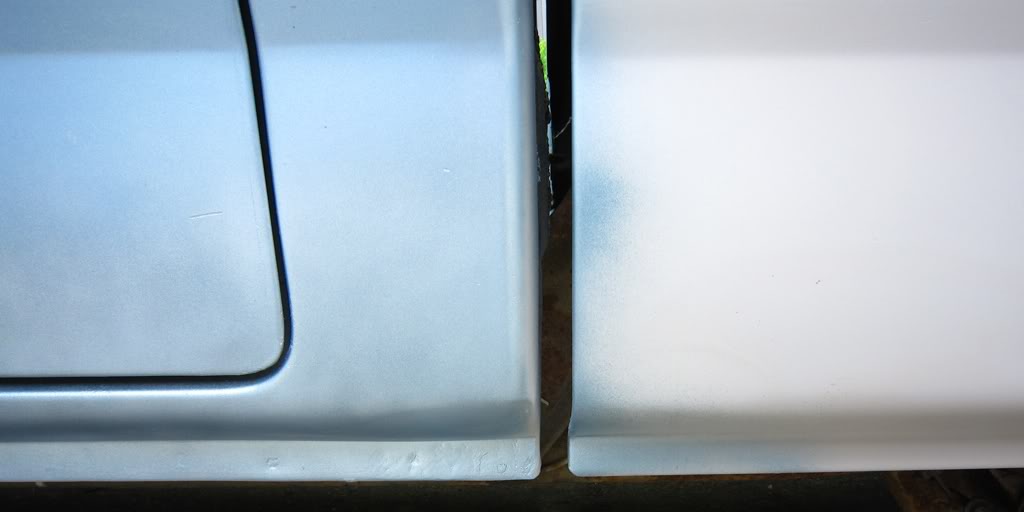
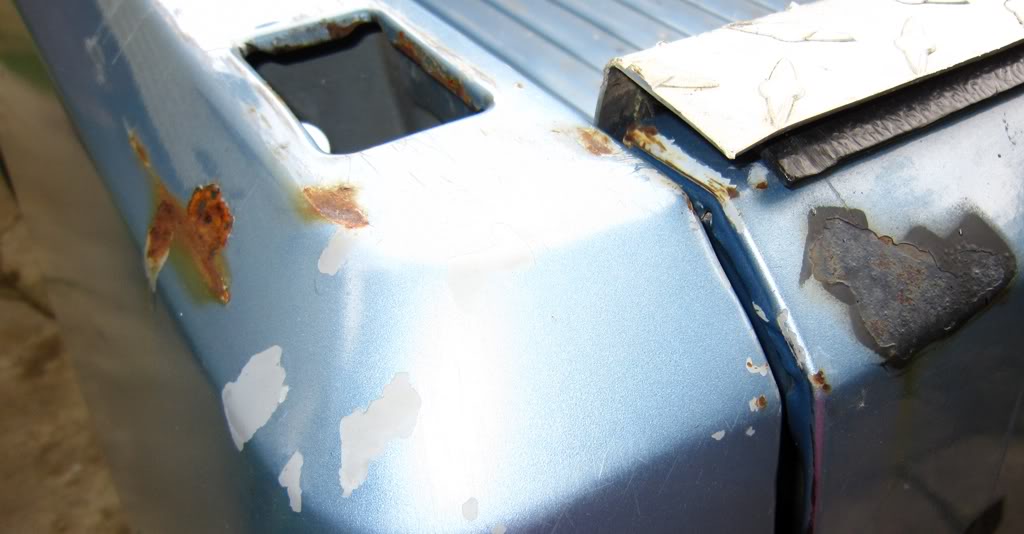
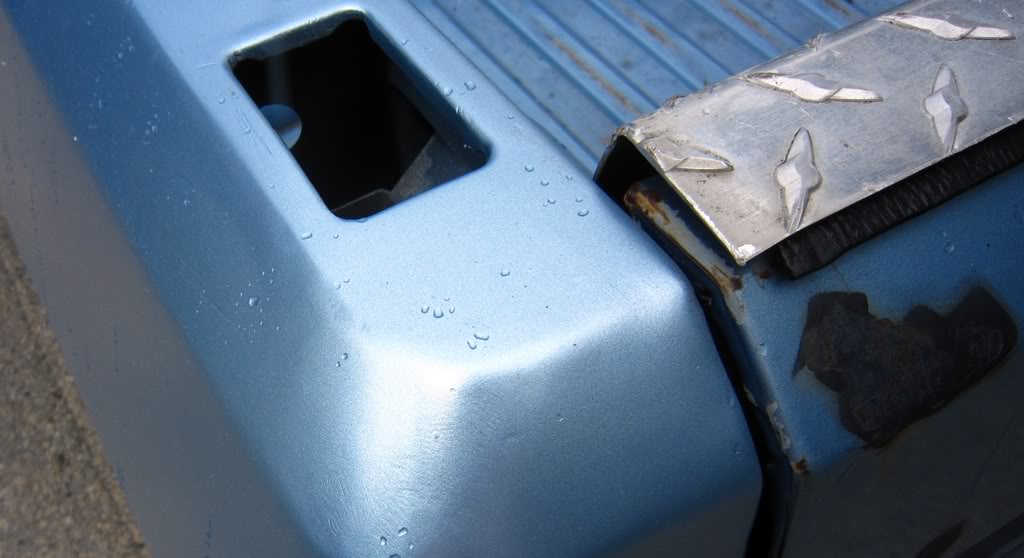
Finally the bed corner, this needs to be redone as well I did not do a good enough job (tailgate is next):
He told me not to use bondo on the bottom edge because it will chip, although I could not fill in the rust I grinded out with filler primer. I was drunk and I backed over my buddies stone wall and dented the corner of the cab along with some nice deep scratches, but it probably saved the rest of my truck and my life because I was like yep...pulled back in I'm not going anywhere for a while haha. Needs more bondo I did not get the body line straight enough for my liking:
I grinded all the rust out of the wheel well, started filling it with bondo but ran out of time....we will see how long it lasts:
Finally the bed corner, this needs to be redone as well I did not do a good enough job (tailgate is next):
Thread Starter
|
All Star
Joined: Jun 2011
Posts: 858
Likes: 2
From: Pinellas County, FL
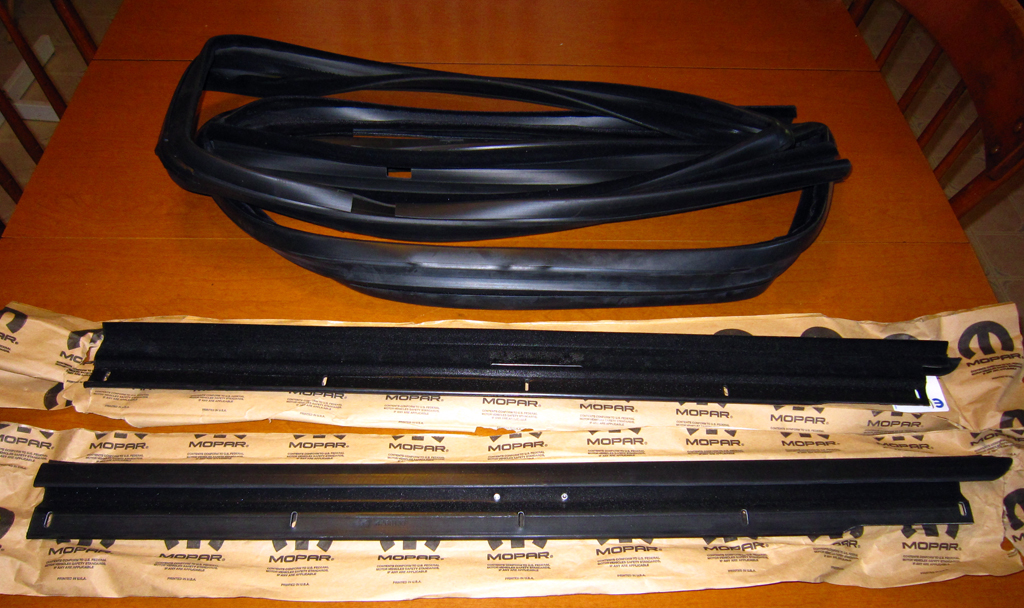
You've seen tid-bits of my stereo installation throughout this thread, I am so worried about water touching my speakers I bought all new window seals (belt & glass run) $230:
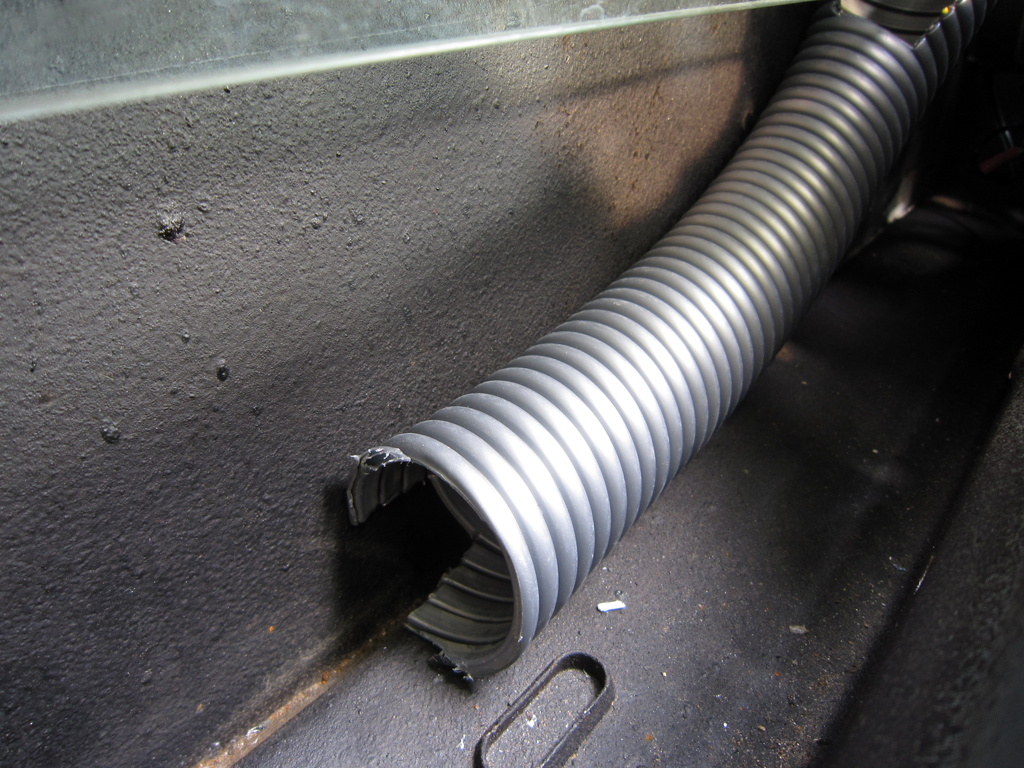
Since even new seals are not designed to eliminate water I came up with a solution to guide the water that drips from the inner glass run away from the speaker and into the water channel which leads to the door drains, and it works really well! Just an old piece of vacuum hose since the hardware store, plumbing store, and automotive store all did not have the right size hose:

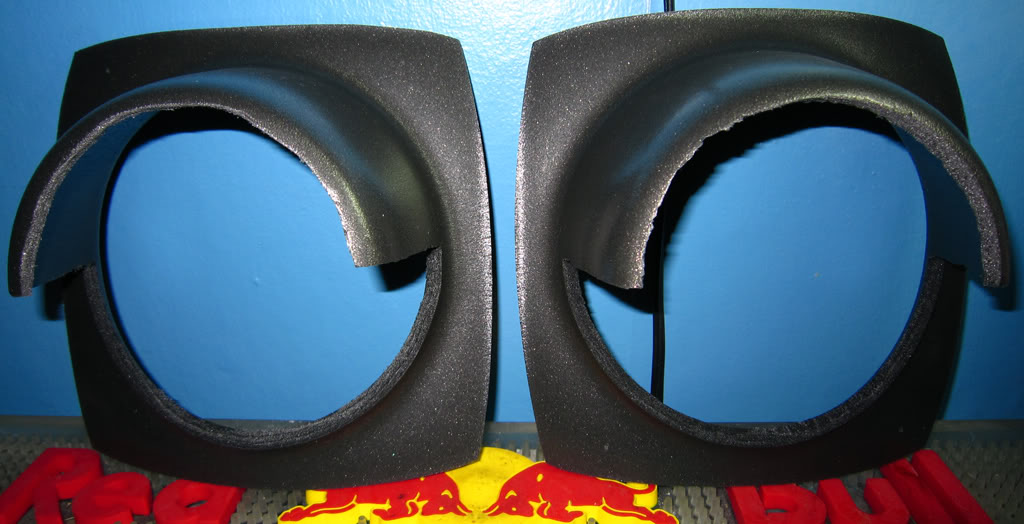
Of course I also went with the traditional assurance of foam rain guards:

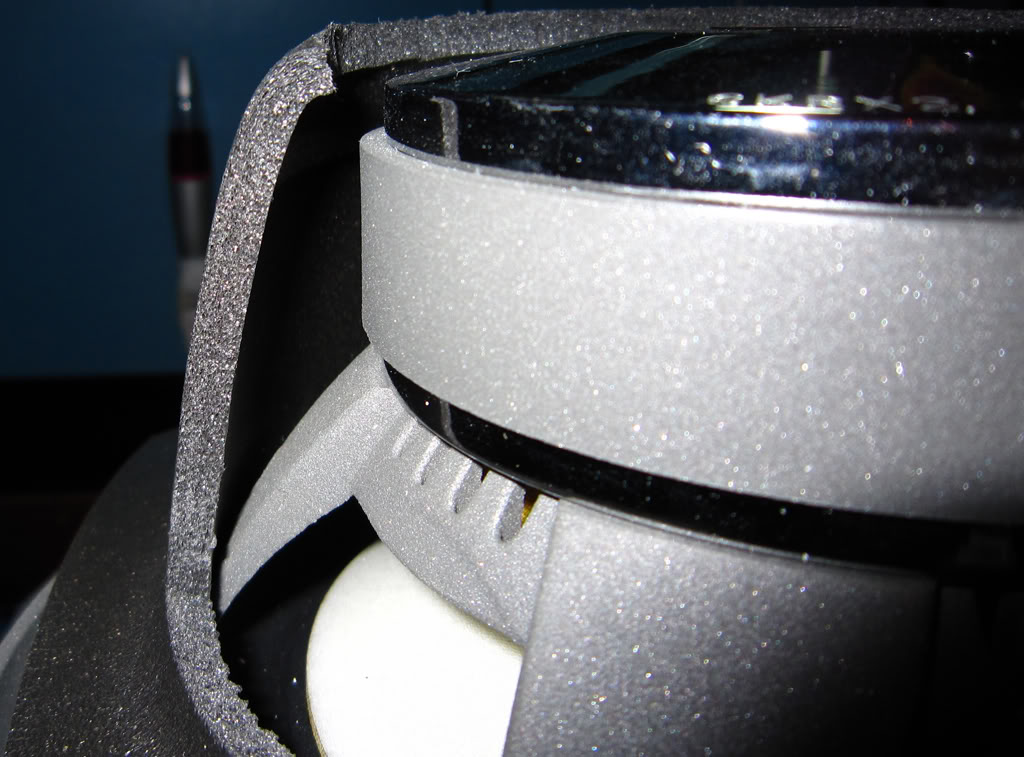
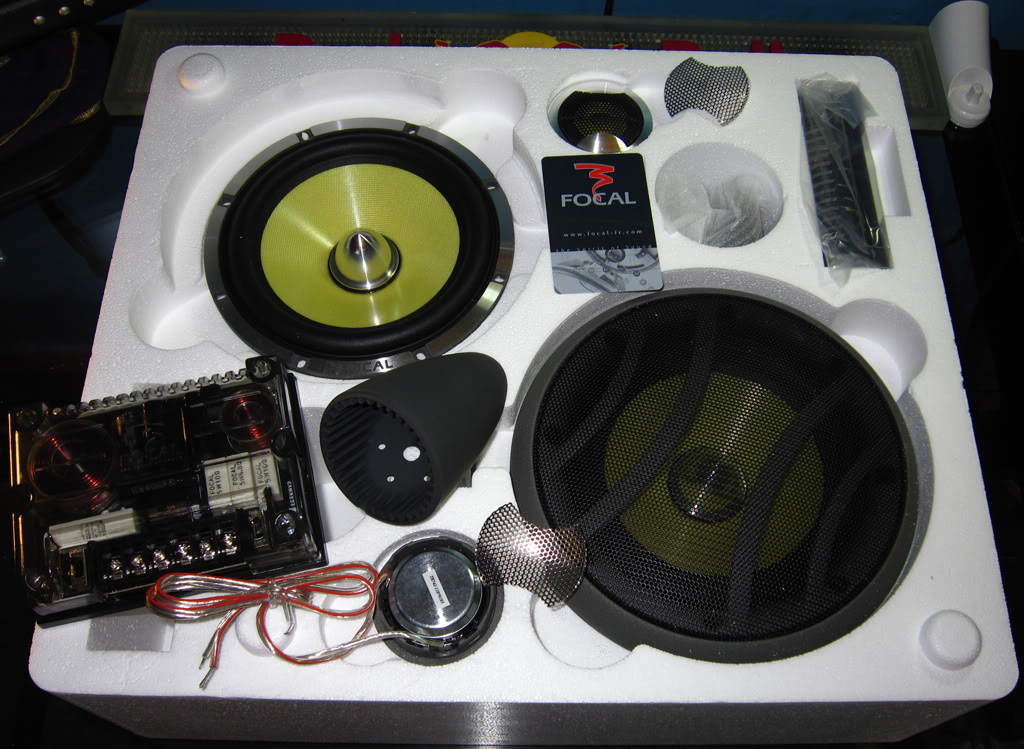
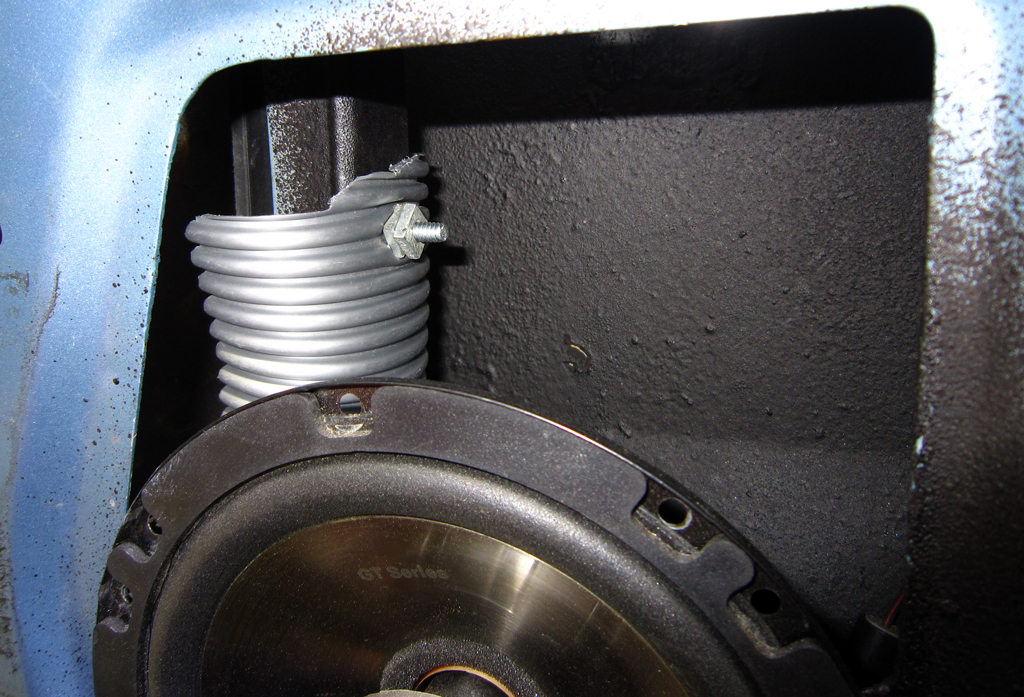
I tediously cut out, pre-drilled, and hand screwed on water treated(deck sealer) blocking baffles to add structure for flex and help enclose the door to create an "enclosure" for the speaker:

Since even new seals are not designed to eliminate water I came up with a solution to guide the water that drips from the inner glass run away from the speaker and into the water channel which leads to the door drains, and it works really well! Just an old piece of vacuum hose since the hardware store, plumbing store, and automotive store all did not have the right size hose:
Of course I also went with the traditional assurance of foam rain guards:
I tediously cut out, pre-drilled, and hand screwed on water treated(deck sealer) blocking baffles to add structure for flex and help enclose the door to create an "enclosure" for the speaker:

Thread Starter
|
All Star
Joined: Jun 2011
Posts: 858
Likes: 2
From: Pinellas County, FL
Cab decompression flapper so your windows don't shatter and passengers ears don't pop when you slam the door. I will be covering a good 50%+ of it with Dynamat I think (I want to test with ducktape to see if my doors are harder to slam; creates resistance when closing)
Thread Starter
|
All Star
Joined: Jun 2011
Posts: 858
Likes: 2
From: Pinellas County, FL
This is where I'm at now, still need those front springs and shocks!

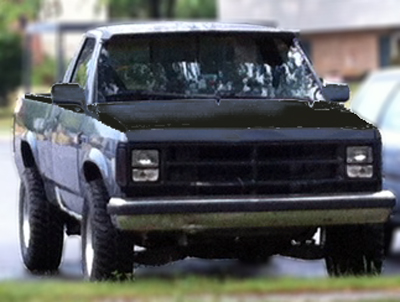
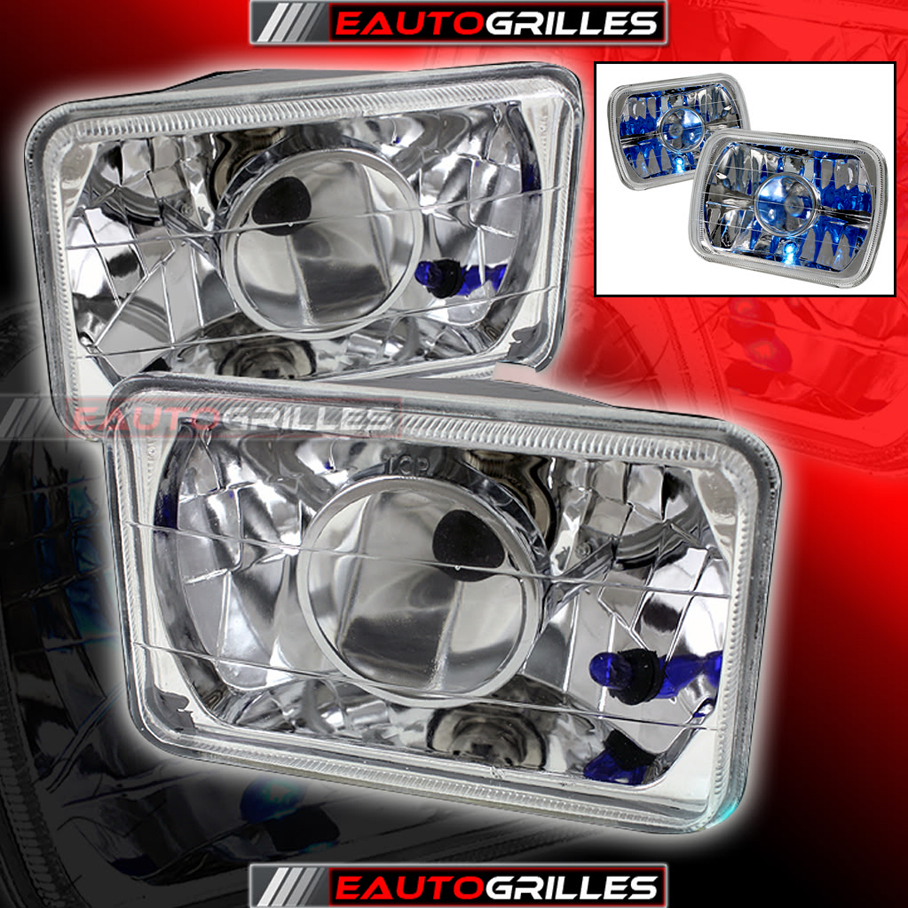
This is the direction I'm taking I photoshopped user "mijbr90190" truck... I need a visor, I also have a spare grille un-chopped I'm going to paint black but cut the stock rectangle mesh out in the four "sections" of the grill, I've decided with a black hood/cowl/mirrors that the smoked headlights are too much so I will be dropping them for some sort of super clear lens projectors, not sure what size tires these are but they look proportionate minus the fact he needs some leveling work in the front. Looks like a badass little truck!

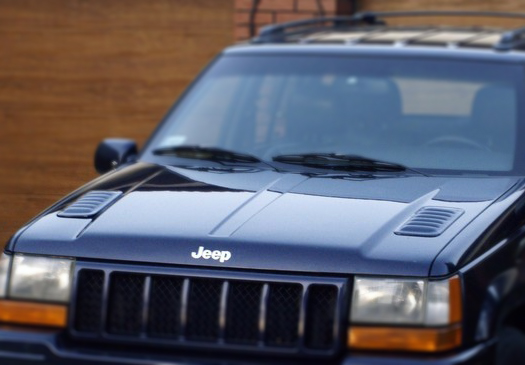
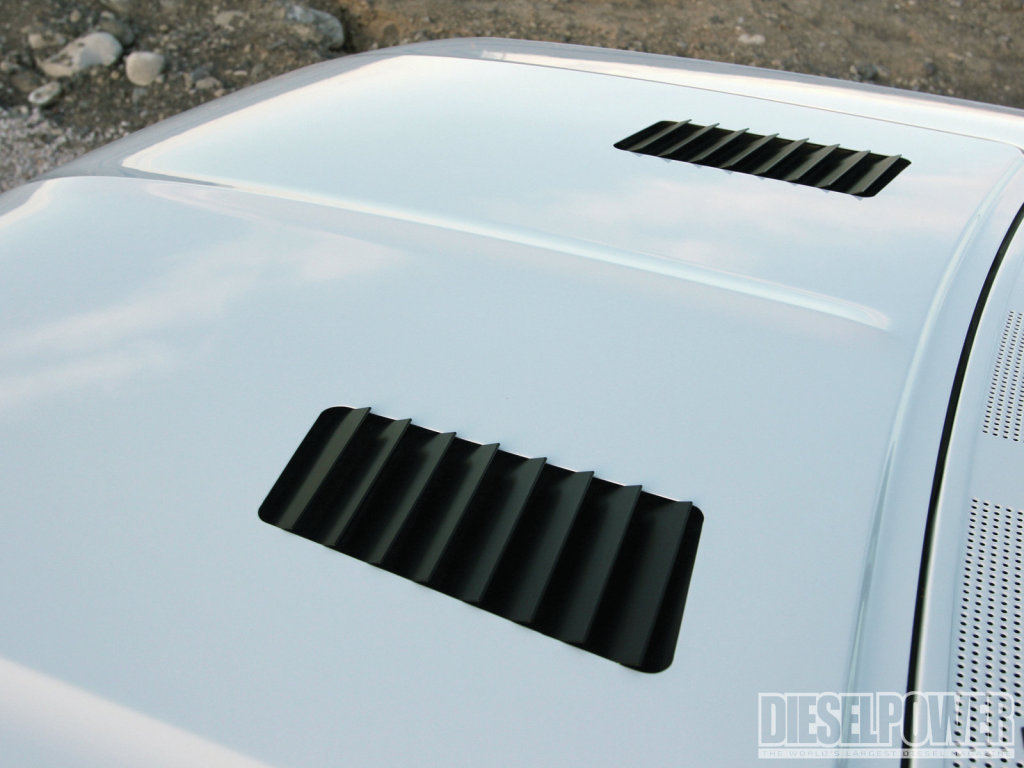
I'm also very fond of the hood vents on the 98' Grand Cherokee Limited 5.9L I'm going to try and track down a pair:
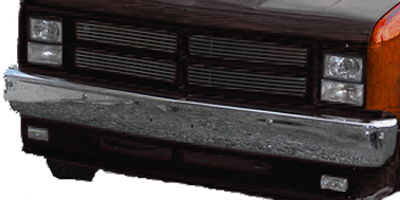
UPDATE - Here is my new grill I chopped and painted:


This is the direction I'm taking I photoshopped user "mijbr90190" truck... I need a visor, I also have a spare grille un-chopped I'm going to paint black but cut the stock rectangle mesh out in the four "sections" of the grill, I've decided with a black hood/cowl/mirrors that the smoked headlights are too much so I will be dropping them for some sort of super clear lens projectors, not sure what size tires these are but they look proportionate minus the fact he needs some leveling work in the front. Looks like a badass little truck!
I'm also very fond of the hood vents on the 98' Grand Cherokee Limited 5.9L I'm going to try and track down a pair:
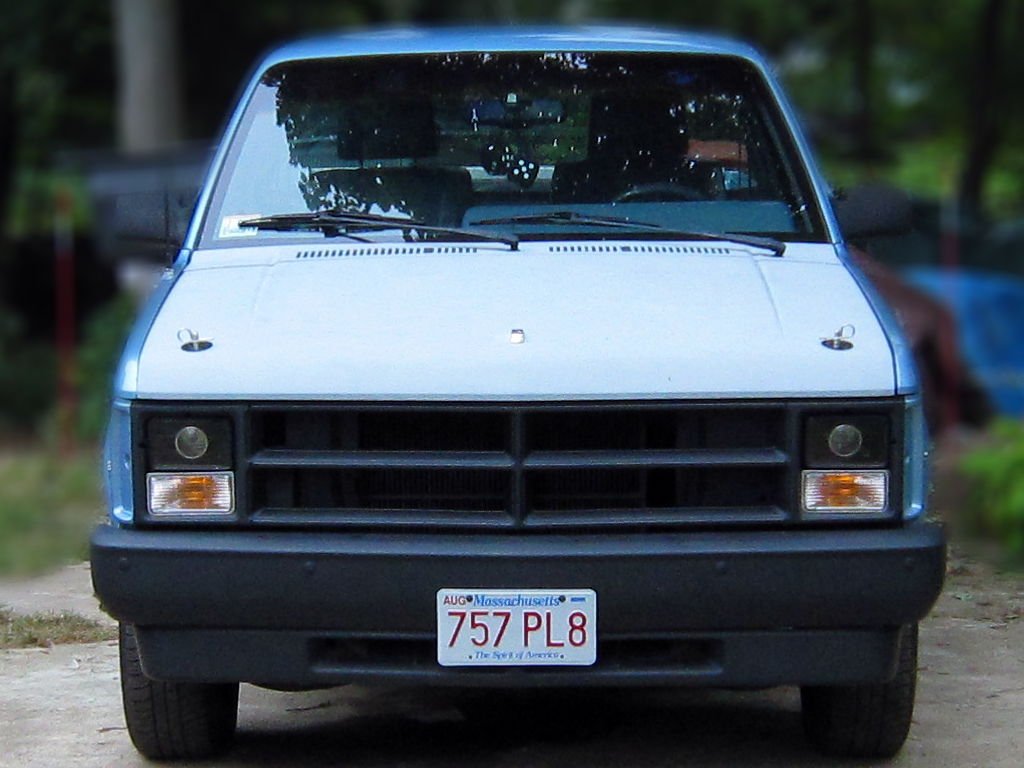
UPDATE - Here is my new grill I chopped and painted:
Last edited by pinkfloydeffect; Sep 4, 2012 at 10:39 PM.
Thread Starter
|
All Star
Joined: Jun 2011
Posts: 858
Likes: 2
From: Pinellas County, FL
I did the hood and cowl in black, now I need to re-black the mirrors and do the top of the fenders. Also the body line under the window and up the back, but now there is too much black so I need to break it up. I'm thinking diamond cut clear projection headlights (same thing as the black only with chrome)
Chrome grill inserts will help break up the black too, and a chrome bumper is tempting:
I think once I actually have my 5.9L Magnum the Ram head will be well fit!

Still at those hood louvers but I'm not sure if I want them in the hood or 50/50

I photoshopped the top of the fenders and door body line around the window black, I think the wedge in front of the mirror is necessary to keep it clean looking what do you think?
Chrome grill inserts will help break up the black too, and a chrome bumper is tempting:
I think once I actually have my 5.9L Magnum the Ram head will be well fit!
Still at those hood louvers but I'm not sure if I want them in the hood or 50/50
I photoshopped the top of the fenders and door body line around the window black, I think the wedge in front of the mirror is necessary to keep it clean looking what do you think?
Last edited by pinkfloydeffect; Sep 16, 2012 at 01:23 AM.
Thread Starter
|
All Star
Joined: Jun 2011
Posts: 858
Likes: 2
From: Pinellas County, FL
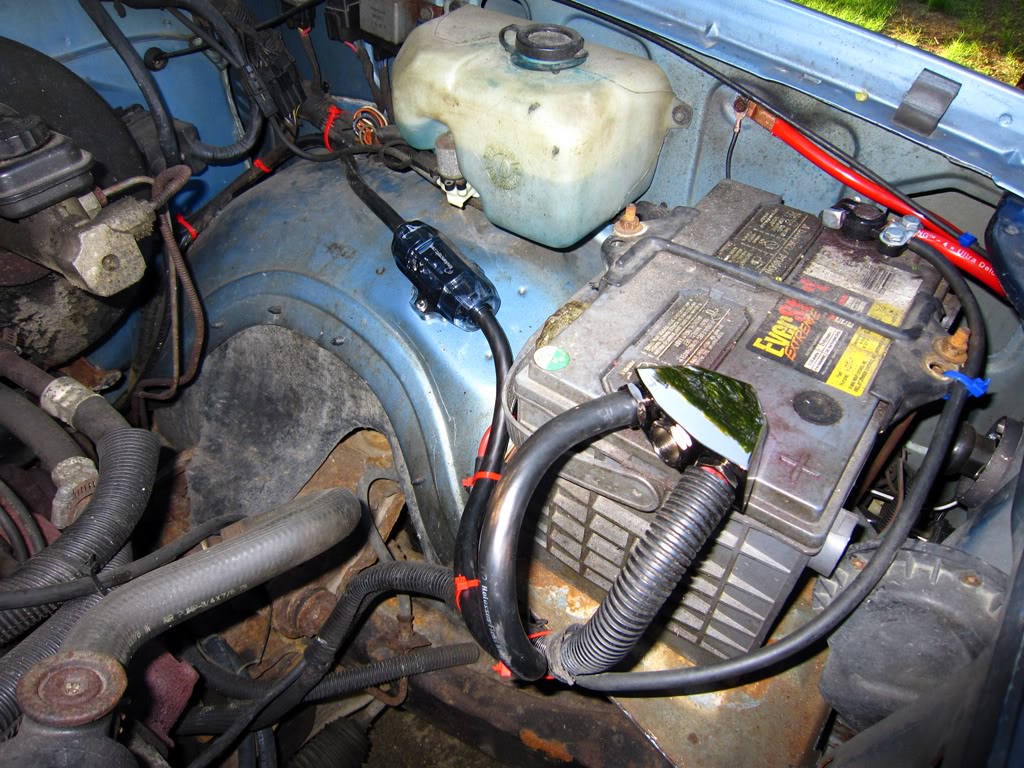
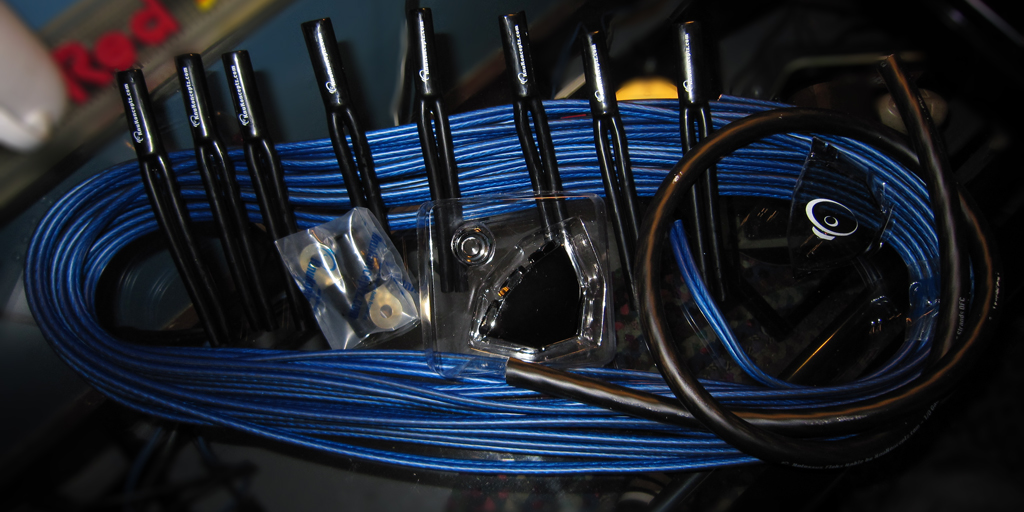
I got some more gear in the mail today, KnuKonceptz.com 10G Ultra Flex Kord (OFC) speaker wire along with some pants, 1/0G ring terminals and a negative battery terminal. Now I can 1/0G ground both my frame and body:
I'm not sure HOW..but I dodged an air filter last year on my tune up, and previous to that it was probably only tuned-up once every few years. I bet this air filter has 10,000 miles on it!
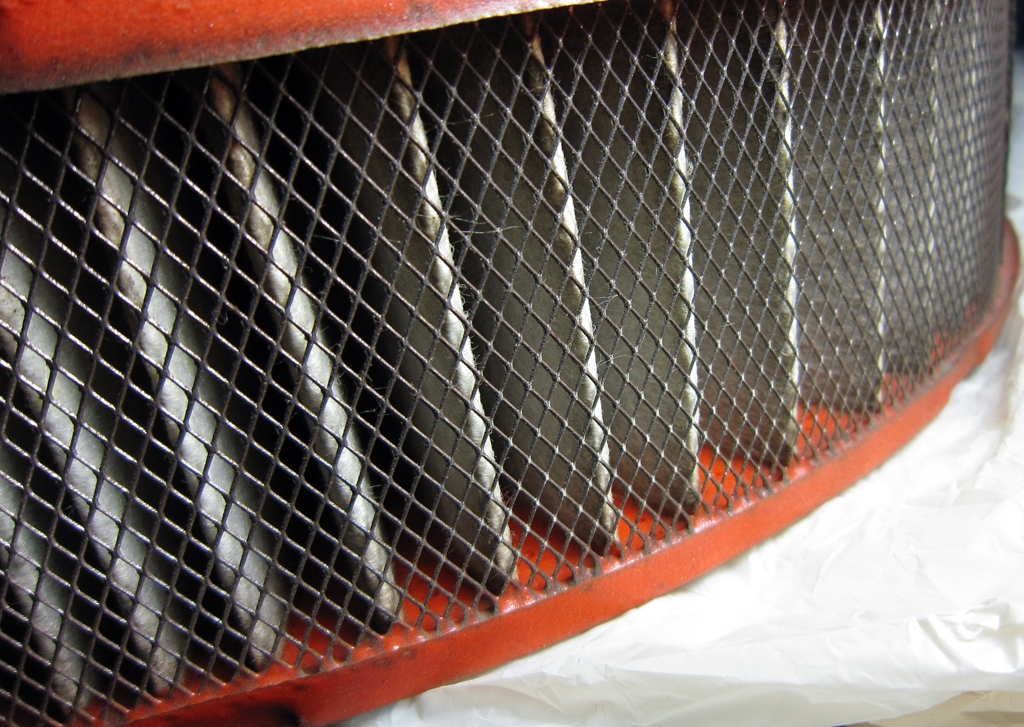
Here is the inside!
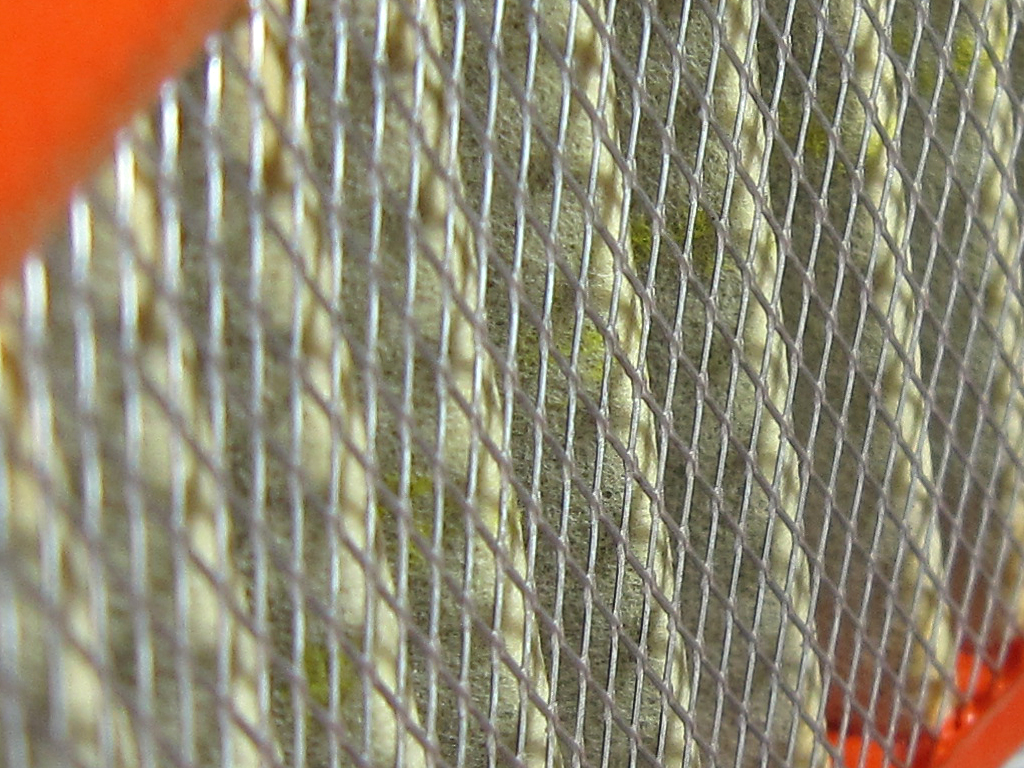
My grandfather said this could improve gas mileage, I hope so. I could replace the stock filter for $15, spend $50 on a K&N or $20 on this Spectre which is the exact same thing as the K&N; it even says so on the side:


I'm not sure HOW..but I dodged an air filter last year on my tune up, and previous to that it was probably only tuned-up once every few years. I bet this air filter has 10,000 miles on it!
Here is the inside!
My grandfather said this could improve gas mileage, I hope so. I could replace the stock filter for $15, spend $50 on a K&N or $20 on this Spectre which is the exact same thing as the K&N; it even says so on the side:
Last edited by pinkfloydeffect; Oct 23, 2012 at 10:46 PM.