

Cab swap on my 91'

finally for those patient enough to deal with my laziness.
i apologize for the s****y pics but my phone camera likes to change settings at random
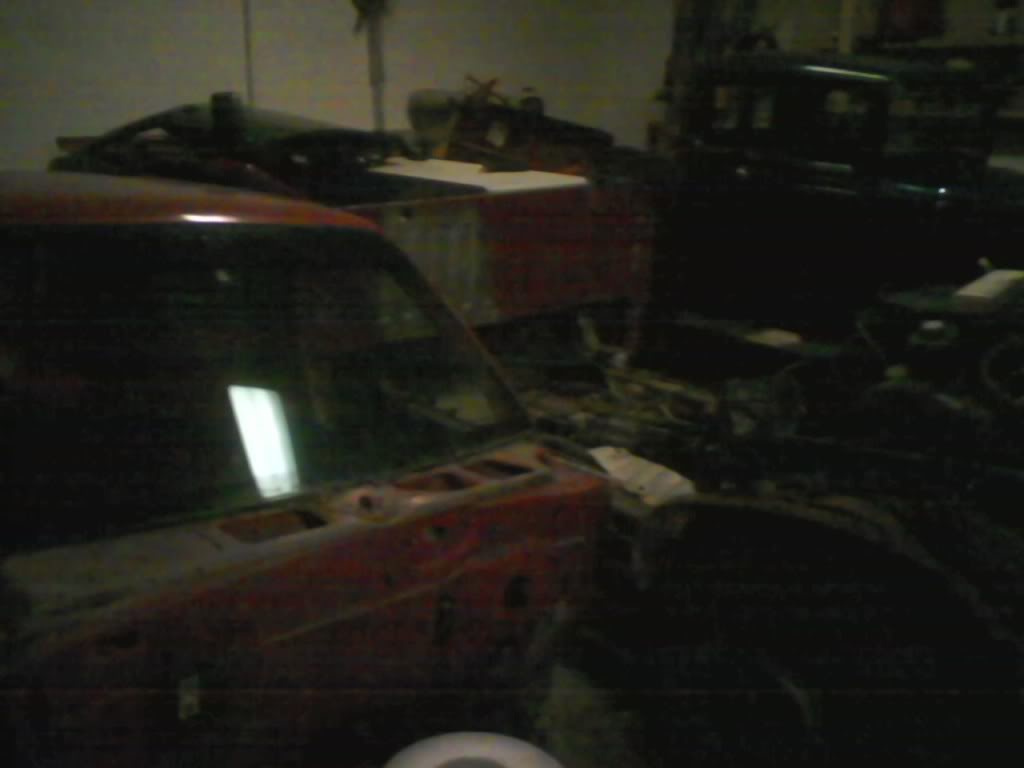
as many of you probably know my 91' dakota reg cab long bed had a ton of rust on it. so much that the left front part of the cab was bouncing on the frame as i drove down the road.
i'd followed a craigslist add for about a month and when i finally save up enough(go figure it was tax time) i called the guy up and managed a rust free cab/fender/doors/windshield for just under $200.

the cab came off a 96' reg cab short bed with a 4cyl 5spd manual 4x2.
i hauled it home in the bed of my truck(sorry no pics as it was pitch black out at the time)
got it off the truck tarped up and got to work stripping the cab of my truck.

removed everything except the carpet, heater box, windshield, and gas pedal, since the pedal and heater box were bolted from the outside.
when i pulled up the carpet i remembered why i did this in the first place.
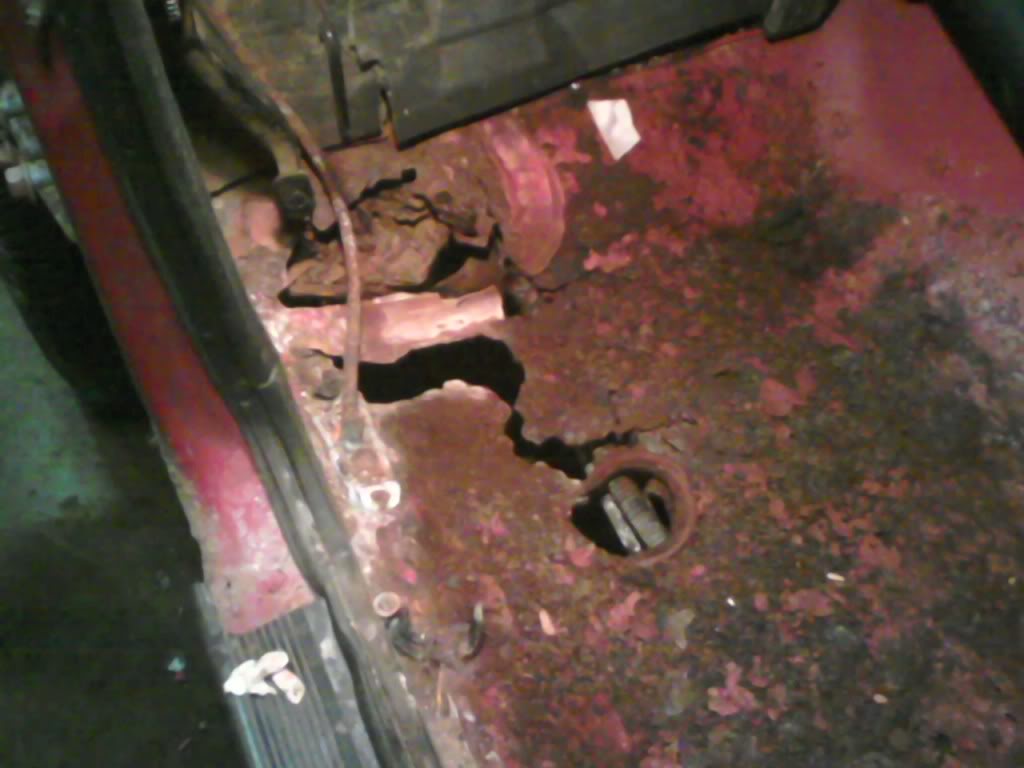
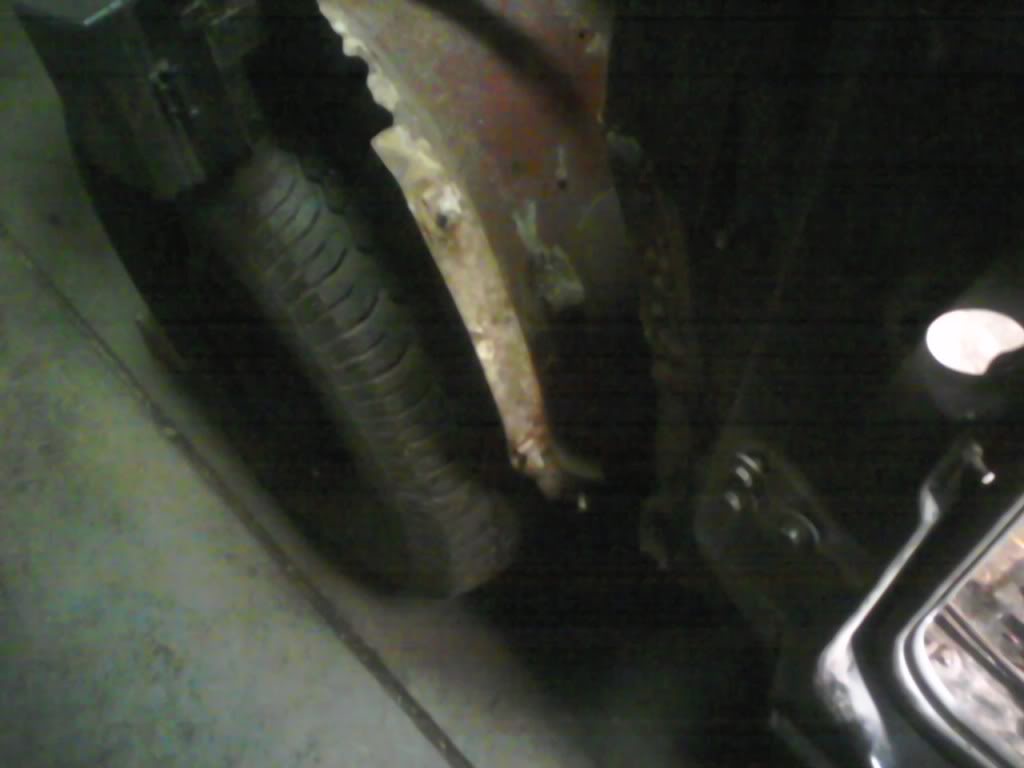
if you look closely you'll see the body mount sticking up through the floor.
we ended up destroying the passenger fender during removal.
i unbolted the the cab with a breaker bar and a 19mm socket.
my grandpa removed it while i was at work.
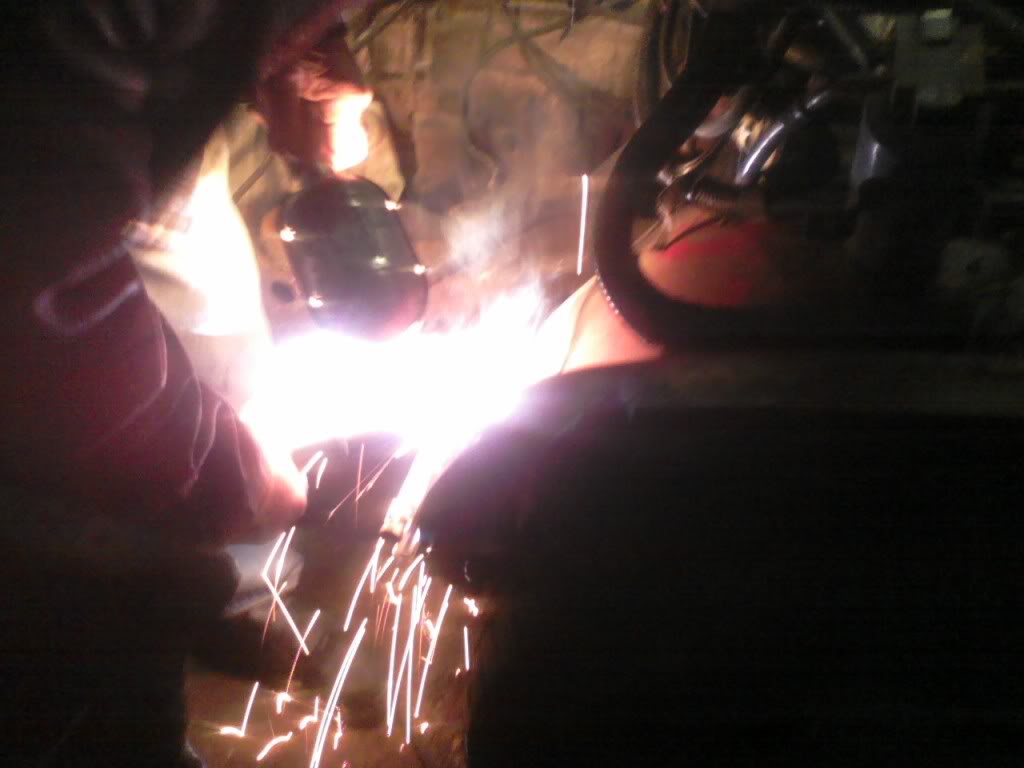
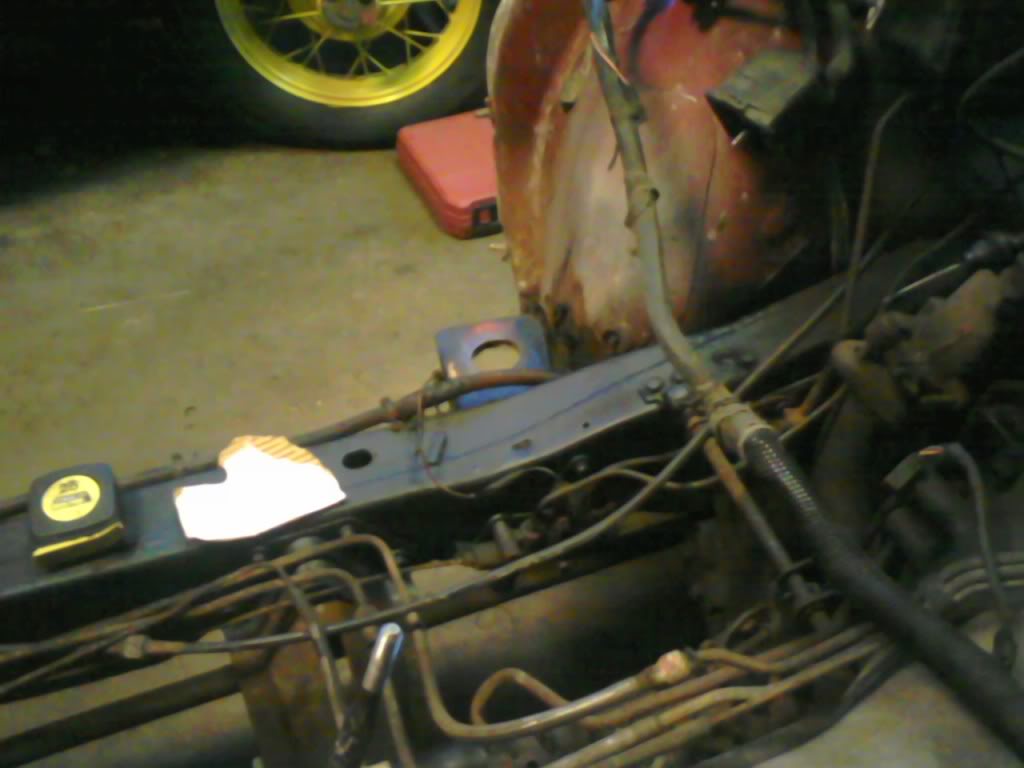
found that both front cab mounts(frame side) were shot, so we rebuilt them.

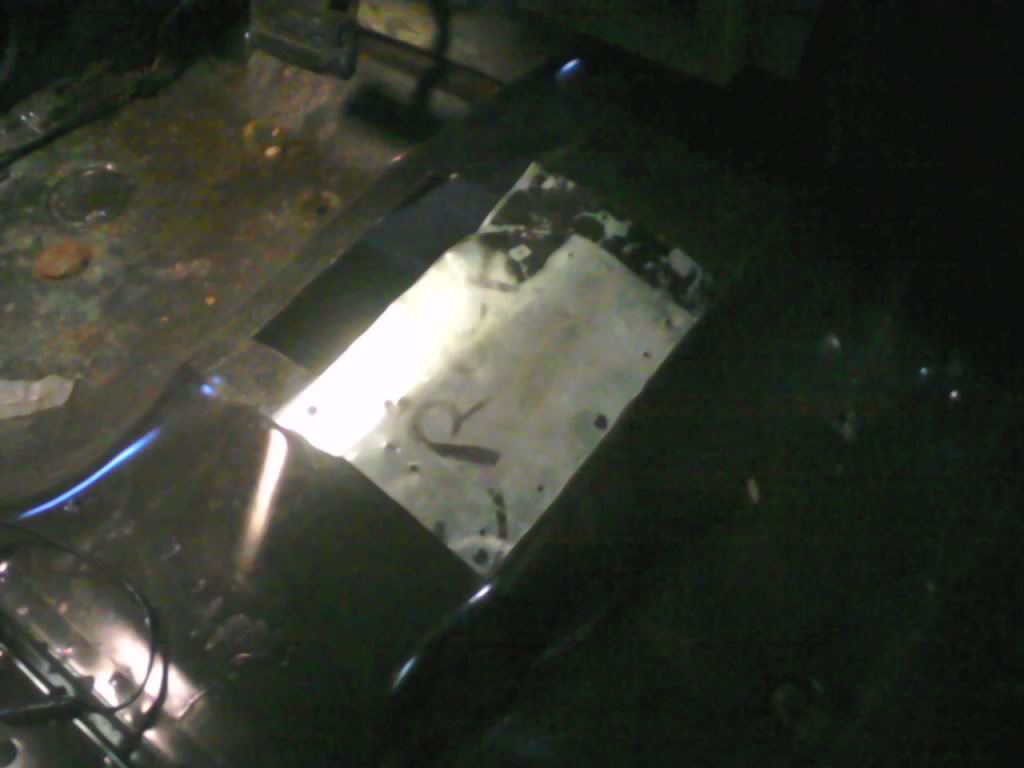
measured the bolt distance on the new cab and drilled the holes accordingly
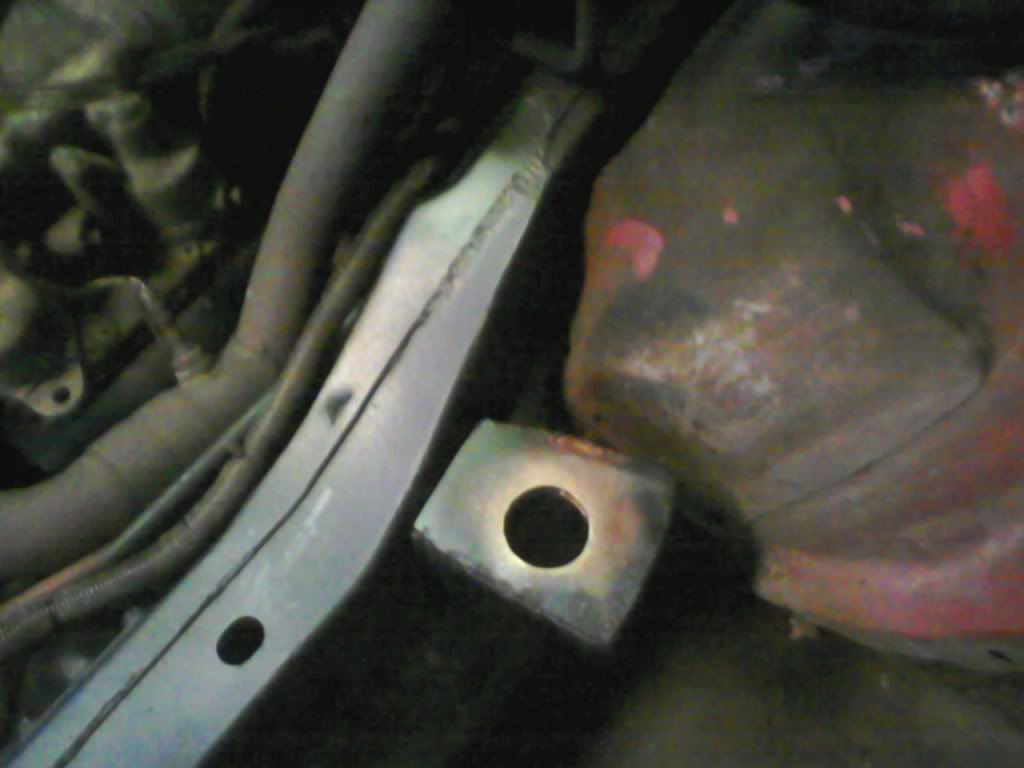
made them wide in case of misalignment.
won't no for sure yet if they line up as we aren't close enough to putting the cab on yet.
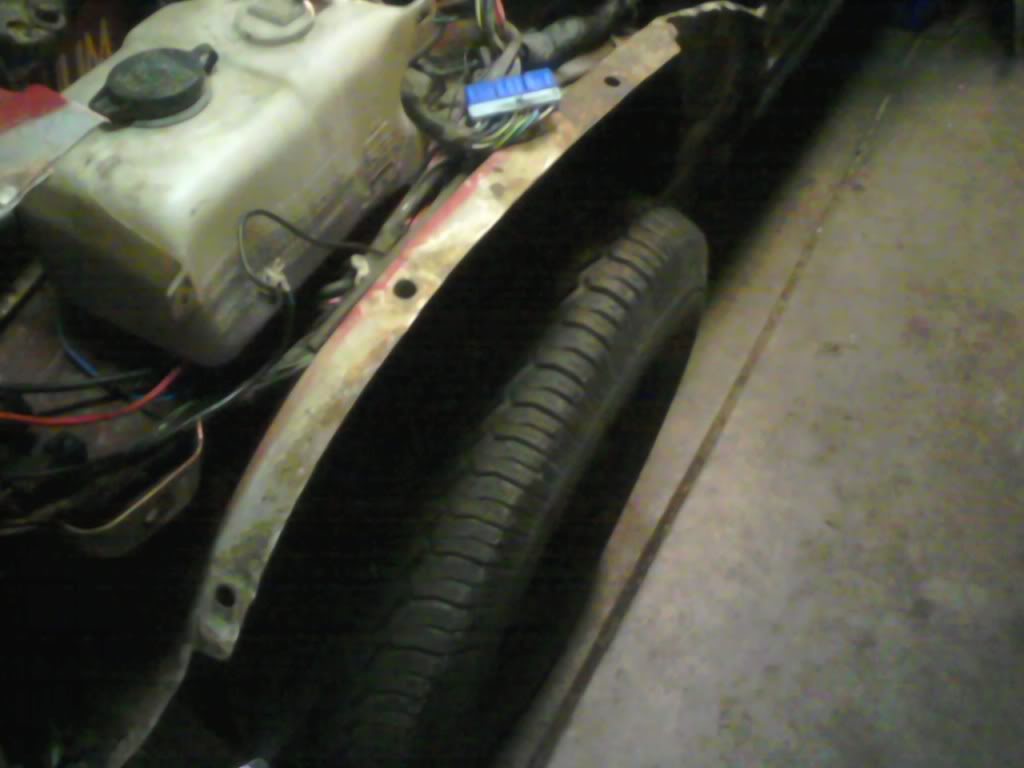
fuel lines and vacuum lines were pretty rusted so while we have the cab off we changed them (went with rubber lines which we wrapped in insulation)
i apologize for the s****y pics but my phone camera likes to change settings at random
as many of you probably know my 91' dakota reg cab long bed had a ton of rust on it. so much that the left front part of the cab was bouncing on the frame as i drove down the road.
i'd followed a craigslist add for about a month and when i finally save up enough(go figure it was tax time) i called the guy up and managed a rust free cab/fender/doors/windshield for just under $200.
the cab came off a 96' reg cab short bed with a 4cyl 5spd manual 4x2.
i hauled it home in the bed of my truck(sorry no pics as it was pitch black out at the time)
got it off the truck tarped up and got to work stripping the cab of my truck.
removed everything except the carpet, heater box, windshield, and gas pedal, since the pedal and heater box were bolted from the outside.
when i pulled up the carpet i remembered why i did this in the first place.
if you look closely you'll see the body mount sticking up through the floor.
we ended up destroying the passenger fender during removal.
i unbolted the the cab with a breaker bar and a 19mm socket.
my grandpa removed it while i was at work.
found that both front cab mounts(frame side) were shot, so we rebuilt them.
measured the bolt distance on the new cab and drilled the holes accordingly
made them wide in case of misalignment.
won't no for sure yet if they line up as we aren't close enough to putting the cab on yet.
fuel lines and vacuum lines were pretty rusted so while we have the cab off we changed them (went with rubber lines which we wrapped in insulation)
Last edited by shadowthedakota; Feb 18, 2012 at 06:54 PM.
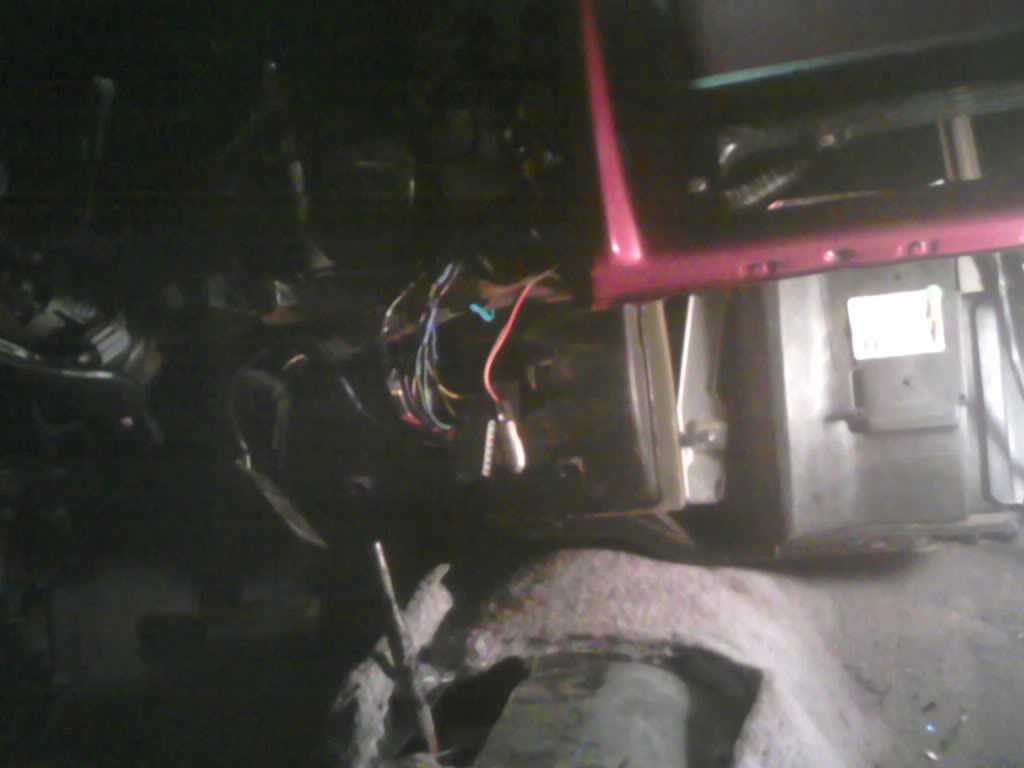
on the new cab i had to drill out the holes for the ignition coil(there are 2 indents in the firewall where coil is supposed to go(i think). when i checked the 91 cab i found the indents are in the exact place where the indents are on the 96 cab.
so i drilled out 2 holes and mounted the coil for the time being.

i also re-installed the heater box which i might be removing when i install the gas pedal since it hangs right over the mounting location.

when i tried to install the gas pedal i found that the 96 pedal bolts to the firewall where as the 91 it bolts through the firewall(has a nut on the outside of the cab) will have pics later...
since the 96 cab was a 4x2 5spd manual trans i had to cut a hole for the transfer case shifter patch the hole from the trans shifter(since my truck is automatic)
all i had was galvanized steel and since my welder won't weld it(even ground down) i had to screw it to the floor.
after that i went back to the frame and we changed the fuel lines to rubber(like i stated before)
thats about as far as we got for now.
and for those wondering about that wiper post(unsure of the name) that my grandpa started on fire...i'll post a pic in about an hour.
feel free to ask questions. i'll try to answer them accordingly.
so i drilled out 2 holes and mounted the coil for the time being.
i also re-installed the heater box which i might be removing when i install the gas pedal since it hangs right over the mounting location.
when i tried to install the gas pedal i found that the 96 pedal bolts to the firewall where as the 91 it bolts through the firewall(has a nut on the outside of the cab) will have pics later...
since the 96 cab was a 4x2 5spd manual trans i had to cut a hole for the transfer case shifter patch the hole from the trans shifter(since my truck is automatic)
all i had was galvanized steel and since my welder won't weld it(even ground down) i had to screw it to the floor.
after that i went back to the frame and we changed the fuel lines to rubber(like i stated before)
thats about as far as we got for now.
and for those wondering about that wiper post(unsure of the name) that my grandpa started on fire...i'll post a pic in about an hour.
feel free to ask questions. i'll try to answer them accordingly.
sorry for not responding right away, february is a hectic month with all the birthays and work picked up and friends needing me to fix their cars and all.
@melodytoinvent...
for fender removal there are 2 bolts on the cab

the hinge does come off with the fender btw.
i can't find the pic but there are 4 on the rad support(2 on top and 2 on the front side) one is right where the bumper just starts to wrap around the fender(without bumper removal might require a wrench)
then there is either 5 or 6 bolts on the inner fender that hold the 2 together.
another spot(which i almost forgot(but didn't get a pic of) is right under the cab just on the inside of the rocker are 2 more bolts(which most likely will have to be cut if there is rust)
all are easily accessible with taking other parts off(unless you have mud flaps like my truck did)
then remover the parts on the inside of the fender and with a slight tug she'll come right off...
@melodytoinvent...
for fender removal there are 2 bolts on the cab
the hinge does come off with the fender btw.
i can't find the pic but there are 4 on the rad support(2 on top and 2 on the front side) one is right where the bumper just starts to wrap around the fender(without bumper removal might require a wrench)
then there is either 5 or 6 bolts on the inner fender that hold the 2 together.
another spot(which i almost forgot(but didn't get a pic of) is right under the cab just on the inside of the rocker are 2 more bolts(which most likely will have to be cut if there is rust)
all are easily accessible with taking other parts off(unless you have mud flaps like my truck did)
then remover the parts on the inside of the fender and with a slight tug she'll come right off...
continuing on form where i left off.
i ended up putting these on(2 nuts hold them on)
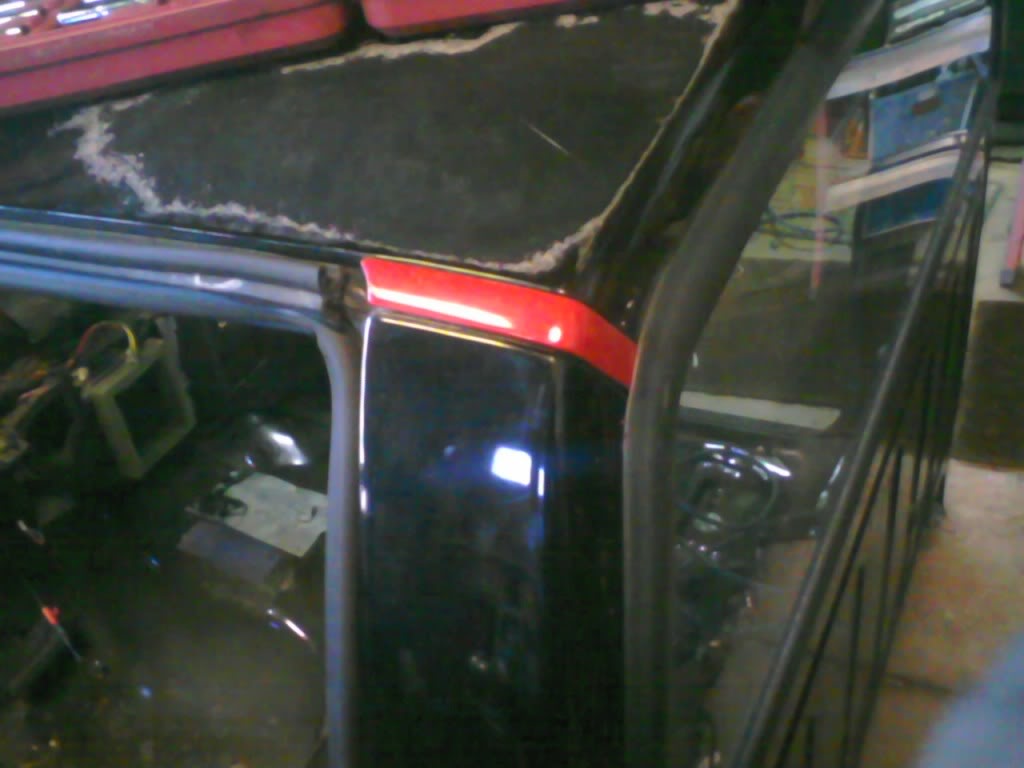
imo it looks good with the red and black.
then we undercoated the new cab.

let it sit for a few days
(we used that cart to move the cab in and out of the garage...lol)
once it dried we put the cab on but we let it sit on the frame till i can get new body mounts.
since then i've been putting things on here and there making a list of minor things i have to get, but so far...

with the doors on(the drivers door had a bad weld on it from someone other than the factory personnel so it's getting exchanged tomorrow)
word of advice, put the carpeting in before putting the heater box in...makes it 10000000x easier than trying to wedge it between the heater box and the firewall
dash and steering column
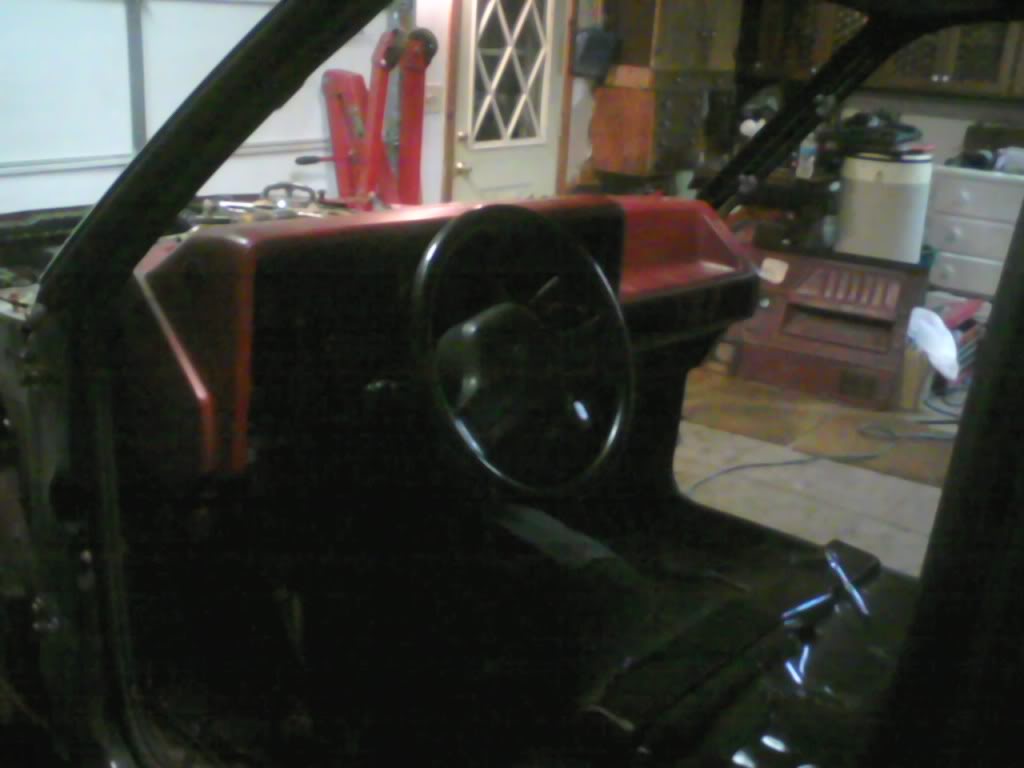
with a tiltless steering column i had to drop it quite a few times to get other parts in(i.e. the instrument cluster)
heating duct in
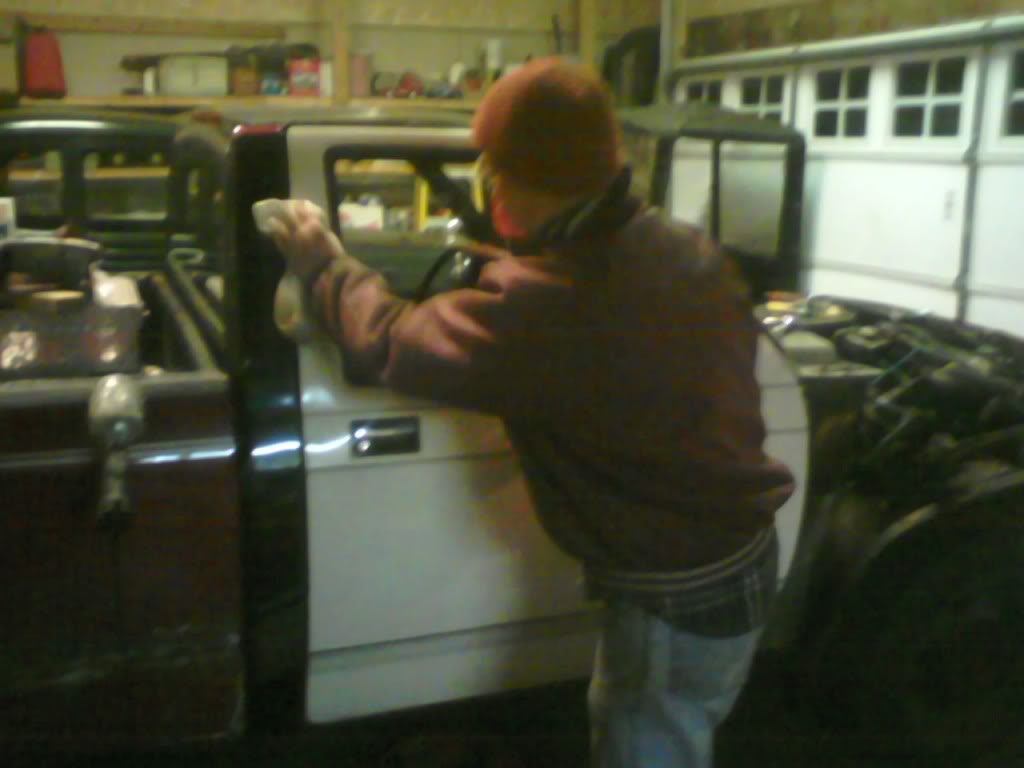
just for kicks here is a pic of my grandpa cleaning the sharpy off the door and checking the alignment on the door(he turned 75yrs on tuesday and he put the cab on by himself while i was rushing home from work to help)
then we put the seat in and installed half of the trim pieces and seat belts

and since 96 had the electronic speedometer i was getting ready to drill a hole for my cable driven one...that is till i found the hole for the hood latch cable was the same size. so i stuck it through and there actually was enough cable to route it through and beable to come out where its supposed to for the instrument cluster.
i also realized i hate my camera...sorry for the s****y pics.
i ended up putting these on(2 nuts hold them on)
imo it looks good with the red and black.
then we undercoated the new cab.
let it sit for a few days
(we used that cart to move the cab in and out of the garage...lol)
once it dried we put the cab on but we let it sit on the frame till i can get new body mounts.
since then i've been putting things on here and there making a list of minor things i have to get, but so far...
with the doors on(the drivers door had a bad weld on it from someone other than the factory personnel so it's getting exchanged tomorrow)
word of advice, put the carpeting in before putting the heater box in...makes it 10000000x easier than trying to wedge it between the heater box and the firewall
dash and steering column
with a tiltless steering column i had to drop it quite a few times to get other parts in(i.e. the instrument cluster)
heating duct in
just for kicks here is a pic of my grandpa cleaning the sharpy off the door and checking the alignment on the door(he turned 75yrs on tuesday and he put the cab on by himself while i was rushing home from work to help)
then we put the seat in and installed half of the trim pieces and seat belts
and since 96 had the electronic speedometer i was getting ready to drill a hole for my cable driven one...that is till i found the hole for the hood latch cable was the same size. so i stuck it through and there actually was enough cable to route it through and beable to come out where its supposed to for the instrument cluster.
i also realized i hate my camera...sorry for the s****y pics.
Last edited by shadowthedakota; Feb 23, 2012 at 04:06 PM.

Veteran
Joined: Jun 2010
Posts: 460
Likes: 0
From: Ontario, Canada
Good job . . . Must be a bonus to have a Grandpa to help out. Looks like its working out good.
Trending Topics
thank you. after this project is complete i'll have turned every single nut and bolt that is on these trucks.
i let my grandpa take over the project. since he finished the model A (as seen in the back ground of some of the pics) he's been kinda moping around the house looking for stuff to do. he got really excited when i brought the cab home...lol
got stuck with some wiring now...i alway put relays on my foglights so i can upgrade later if i ever want to. well none of my relays are working...they click but thats it... the foglights and the cb are the last things i need to wire up too aside from speakers...
Last edited by shadowthedakota; Feb 23, 2012 at 09:27 PM.
Professional
Joined: Feb 2011
Posts: 134
Likes: 0
From: Winnipeg, MB
I like the red with the black. Any plans on painting afterwards?
And where are you getting your body mounts from? I will be doing a body lift soon and need one or two but am having problems finding them
And where are you getting your body mounts from? I will be doing a body lift soon and need one or two but am having problems finding them