The Victim Build Thread -- Featuring frame replacement
#71
Hey, it's great to see the truck again! Your welding doesn't look bad at all to me - of course I can't weld, so you can't claim too much mileage from my compliments, lol.
How did you like working with the Chassis Saver coating? I know epoxies can be kinda tough to spread. They sure do a good job of protecting against rust though, when they have a properly prepared surface to adhere to.
How did you like working with the Chassis Saver coating? I know epoxies can be kinda tough to spread. They sure do a good job of protecting against rust though, when they have a properly prepared surface to adhere to.
#72
Thanks for the compliment on the welding, but I assure you that you can weld. I am in no way a good welder, but I am becoming more consistent. I've only used my Hobart 210 MVP which is a pretty damn good welder... I've never used a crappier welder, but I assume that makes a decent difference along with quality wire. I get better every time I try and my one big takeaway from practice is to set your auto-darkening helmet to an appropriate level so that you can comfortably observe the puddle. It took me the longest time to be able to even see the puddle and I was welding blind, not blinded, just not able to make out the actual welding progress...just a matter of acclimating my eyes over time.
Chassis Saver seems to be pretty good stuff. As you mention, good prep is crucial. I applied it with a crappy brush which did fine. I used it only on the rusty spots of the floor and the bare sheet metal as it is strongly stressed that the Monstaliner I used is NOT good to apply to bare metal or rust, scuffed or otherwise. I didn't bother applying it to the well preserved sections of the cab because the Monstaliner is supposed to adhere very well to scuffed paint. The Chassis Saver acted as somewhat of a primer and can be painted directly over non-flaking surface rust, though it is important to thoroughly scuff bare metal.
An additional note to everyone: I have updated the first post in this thread to include just about every part used on this truck along with part numbers and, where necessary, where I purchased specific parts. I will continue to update and don't hesitate to ask questions if I missed something. I also still have to update a few posts in this thread. That will get done.
Last edited by tbugden; 07-28-2016 at 11:26 AM.
#74
Yeah, there certainly are differences even within model years. I particularly don't know about all the changes to the rear driveshaft which is why I put that note above my U-Joint info.
#75
She's finally ready for paint; well, as ready as I need her to be.
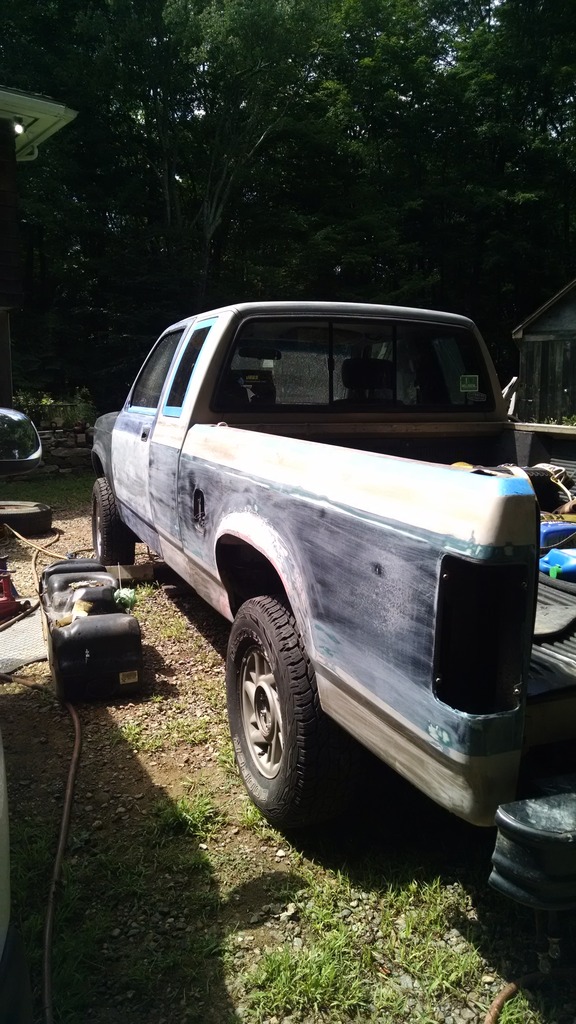
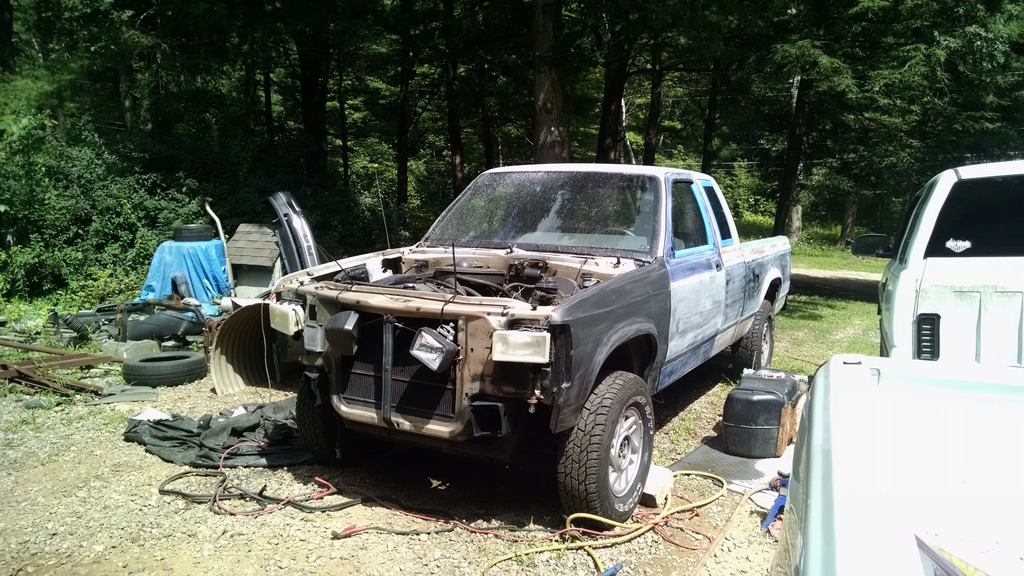
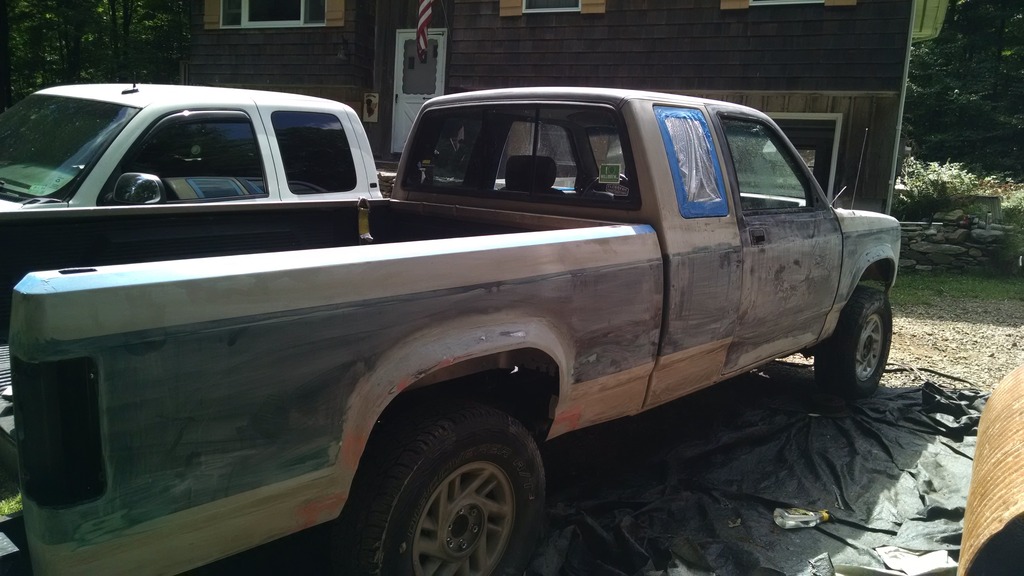
My painting procedure is not going to be very good, I'll say that much. My only goal is to have the exterior all one color, as right now it's tan/green, with one black primered fender, one blue/silver door and one gray door. And of course the rear wheel arches are a hodgepodge of bondo and primer gray. It will all be painted Rustoleum Aluminum (silver) only because silver is really good at hiding dents and imperfections .
.
I am doing a roller paint job, based on the (in)famous $50 roller paint job you can find online. Actual cost for paint and all supplies was more like $200. I'm not advocating this method, but considering time constraints, budget constraints, and space constraints along with the intended goal, it is not worth it for me to spray it.
Part of the reason I don't feel bad about doing a halfass paint job is because my body work sucks, and there's no point in trying to achieve a great finish. I did what I could to rebuild the rear arches and I'm actually pleased with how they came out, but there is no denying that they are ugly and misshapen. Also, this truck will be used for truck stuff, so I don't want to be worrying about scratching it all the time.
Excuses out of the way, this is where we're at so far. Whole truck dry sanded with 180 grit, washed and wet sanded with 320 grit, washed twice and then wiped down with wax and grease remover. Tomorrow all I have to do is another wipe down with the wax and grease remover, then I will lay down the first coat of paint which will be the Rustoleum Protective Enamel mixed 50/50 with mineral spirits to thin the paint down enough so I can put it on light and so it cures quickly.
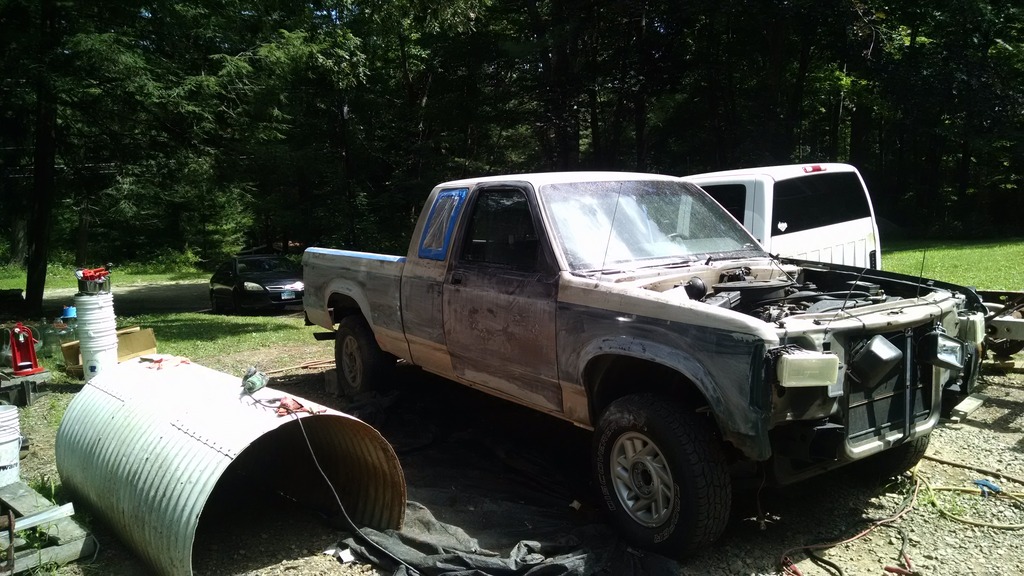
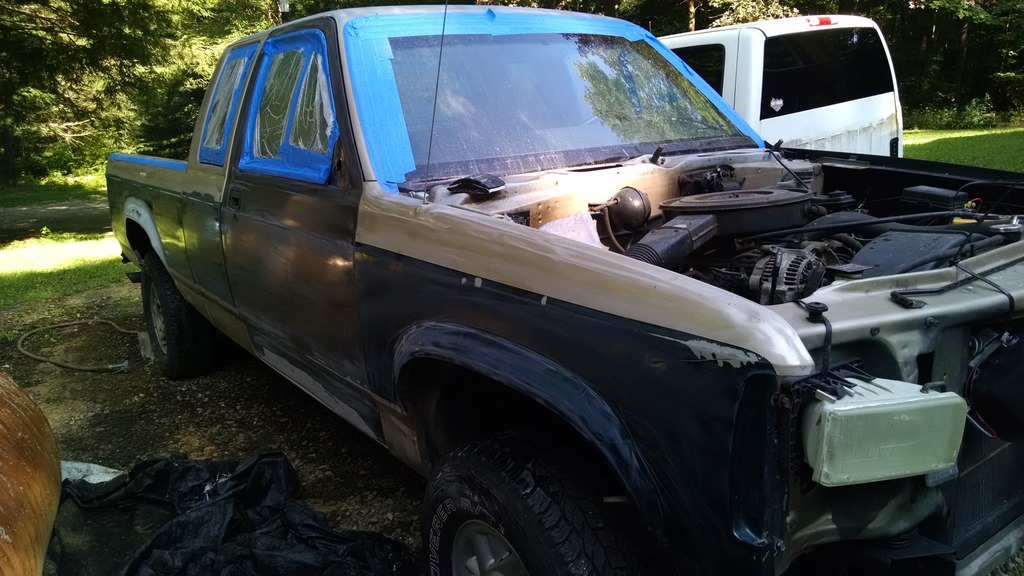
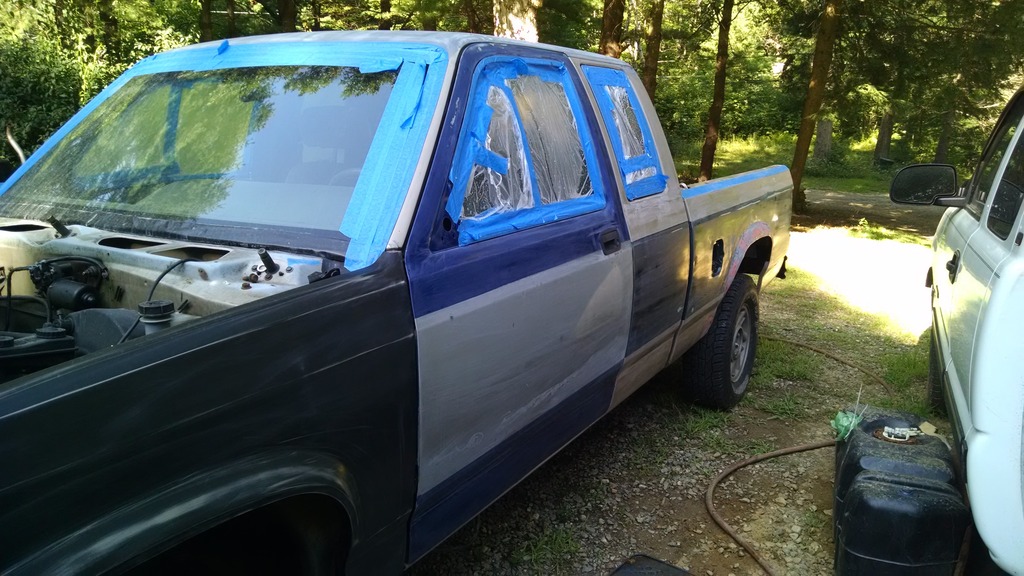
Final update: I'm going to do a tune-up FINALLY on this, including plugs, wires, cap & rotor, and I'm doing the timing set because I'm sick of the chain rattle. I do wish I had the V8 in it by now, but it's just not feasible at the moment.
My painting procedure is not going to be very good, I'll say that much. My only goal is to have the exterior all one color, as right now it's tan/green, with one black primered fender, one blue/silver door and one gray door. And of course the rear wheel arches are a hodgepodge of bondo and primer gray. It will all be painted Rustoleum Aluminum (silver) only because silver is really good at hiding dents and imperfections
 .
.I am doing a roller paint job, based on the (in)famous $50 roller paint job you can find online. Actual cost for paint and all supplies was more like $200. I'm not advocating this method, but considering time constraints, budget constraints, and space constraints along with the intended goal, it is not worth it for me to spray it.
Part of the reason I don't feel bad about doing a halfass paint job is because my body work sucks, and there's no point in trying to achieve a great finish. I did what I could to rebuild the rear arches and I'm actually pleased with how they came out, but there is no denying that they are ugly and misshapen. Also, this truck will be used for truck stuff, so I don't want to be worrying about scratching it all the time.
Excuses out of the way, this is where we're at so far. Whole truck dry sanded with 180 grit, washed and wet sanded with 320 grit, washed twice and then wiped down with wax and grease remover. Tomorrow all I have to do is another wipe down with the wax and grease remover, then I will lay down the first coat of paint which will be the Rustoleum Protective Enamel mixed 50/50 with mineral spirits to thin the paint down enough so I can put it on light and so it cures quickly.


Final update: I'm going to do a tune-up FINALLY on this, including plugs, wires, cap & rotor, and I'm doing the timing set because I'm sick of the chain rattle. I do wish I had the V8 in it by now, but it's just not feasible at the moment.
Last edited by tbugden; 08-19-2016 at 05:31 PM.
#76
#78
Thanks brother! ^
Well, it was really warm today so I was hoping I could lay down 2 coats, but about 2 hours after the first coat it poured buckets. I guess I assumed 6% chance of rain meant no rain, but mother nature proved me wrong. No big deal, the paint was quite dry by then so it just delayed my second coat, which will probably go on day after tomorrow as it is supposed to rain tomorrow. After 2 coats I will wetsand with 600 grit, then I will lay down two more coats and wetsand, then 1 or 2 more and do the final wetsand. That's the rough idea anyway; depending on how it goes I might have to change things.
Here are pictures after the first coat. I can already tell this is going to be one of those paint jobs that looks MUCH better in pictures than in person. I think it looks pretty nice for just one coat...in the pictures. Not so nice in person, but not awful.
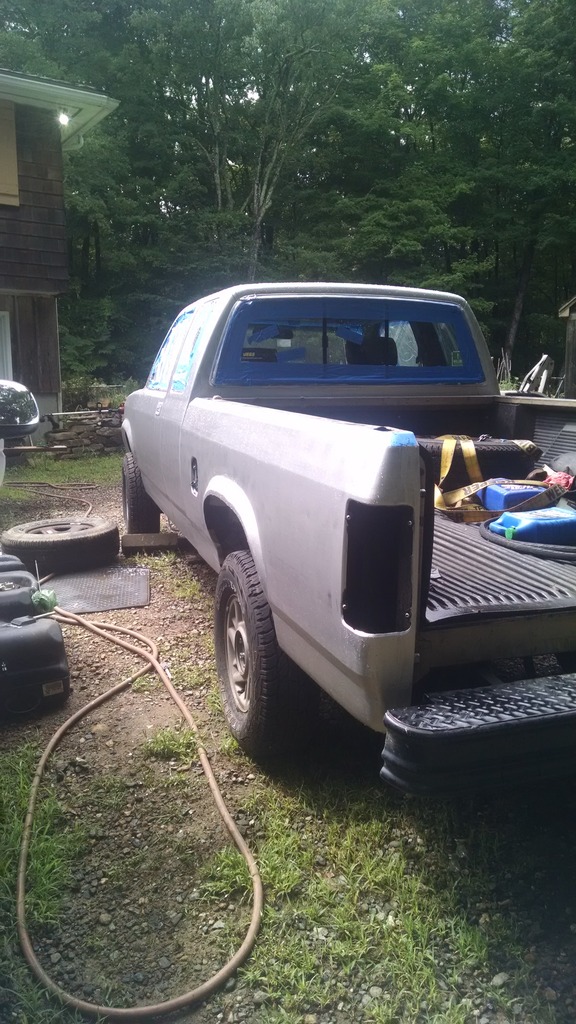
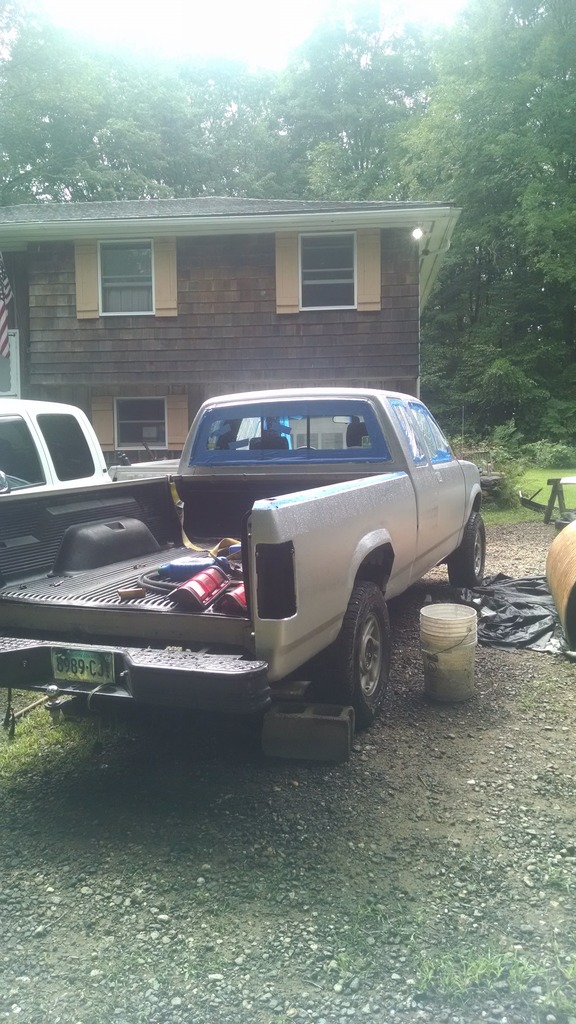
This picture shows the lack of coverage in areas. This was somewhat intentional as I was trying to keep the roller as dry as possible to avoid runs. The second coat will go on heavier now that I've gotten a little bit of a feel for it.
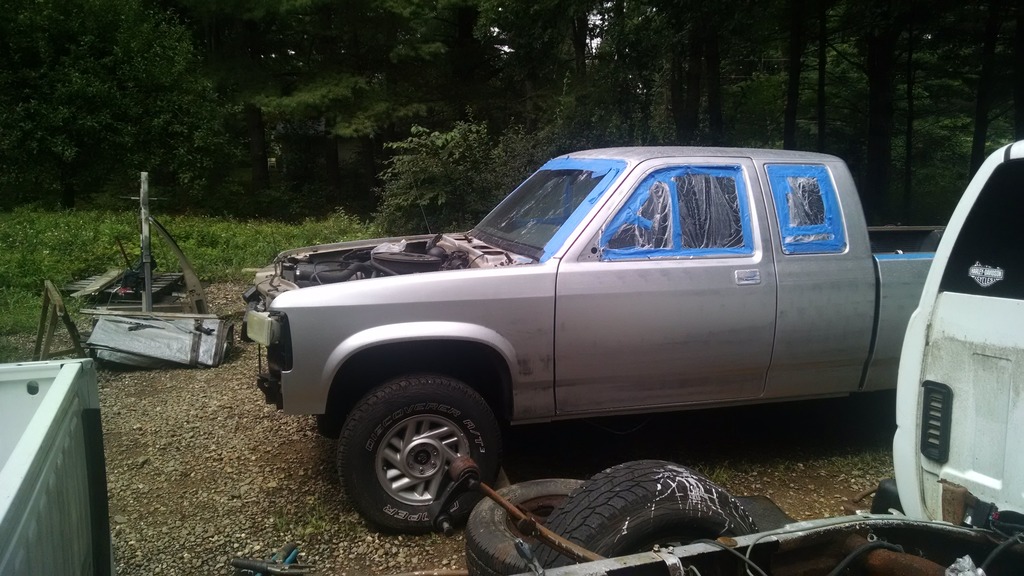
Another little update: I ordered the windshield wiper transmission bushings because mine look like they're going to disintegrate and I have ordered some new manual tranny fluid (Redline MTL) as I'm pretty sure what I put in before was some GL-5 fluid...which is apparently a NO NO for the AX-15. That'll be a lesson to me to always check the fluid requirements.
Well, it was really warm today so I was hoping I could lay down 2 coats, but about 2 hours after the first coat it poured buckets. I guess I assumed 6% chance of rain meant no rain, but mother nature proved me wrong. No big deal, the paint was quite dry by then so it just delayed my second coat, which will probably go on day after tomorrow as it is supposed to rain tomorrow. After 2 coats I will wetsand with 600 grit, then I will lay down two more coats and wetsand, then 1 or 2 more and do the final wetsand. That's the rough idea anyway; depending on how it goes I might have to change things.
Here are pictures after the first coat. I can already tell this is going to be one of those paint jobs that looks MUCH better in pictures than in person. I think it looks pretty nice for just one coat...in the pictures. Not so nice in person, but not awful.


This picture shows the lack of coverage in areas. This was somewhat intentional as I was trying to keep the roller as dry as possible to avoid runs. The second coat will go on heavier now that I've gotten a little bit of a feel for it.

Another little update: I ordered the windshield wiper transmission bushings because mine look like they're going to disintegrate and I have ordered some new manual tranny fluid (Redline MTL) as I'm pretty sure what I put in before was some GL-5 fluid...which is apparently a NO NO for the AX-15. That'll be a lesson to me to always check the fluid requirements.
Last edited by tbugden; 08-20-2016 at 11:12 PM.
#80
Today the rain held off and I was able to get another coat of paint on. I decided to roll on one more coat (3 total) before sanding, because I test sanded my hood and found it sanded with really good results but sanded through both coats in some spots. I don't think I'll have any problem laying down another coat. I also found that in my case it's sanding better using 800 grit rather than 600 that one of the DIYs suggested. I will say that I'm very glad I went with silver.
Oh, and I'm also working on a rear hitch mount for a small winch. Got an old hitch ball mount that was rusted in the receiver of my dad's Chevy and had to be beat the **** out so now it's all banged up. I'm going to weld a winch bracket to it and run some thick wiring to the back of the truck. I would like to make a front mount for the winch too, and make the wiring quick disconnect so I could use it up front if necessary as well. It's only a Superwinch Terra 45, which is big for an ATV but pretty little for a Dakota. I should be able to get some use out of it in the yard though, and in the event I find a car stuck in the snow (or if I get stuck in the snow...), it should do well. And I got a ****** block for it so max capacity should be around 9000 lbs. Should be plenty for me.
Last edited by tbugden; 08-21-2016 at 06:06 PM.


