The Victim Build Thread -- Featuring frame replacement
#52
That was exactly my thought. I joked with my coworkers about having electrolysis parties...basically we have a gigantic electrolysis setup (don't touch the water!) in which we could dump all of our rusty stuff...then drink beer for 3-4 hours, pull the derusted parts out...rinse and repeat!
#53
#55
I'm inspired. If I can get a few days this spring or summer, I'd like to remove the bed, remove the fuel tank, and drop the rear axle and springs from my '89. What I have in mind is to build a plywood box around the rear half of my frame (the rusty half!) and line it with 6 mil plastic sheet. Using some steel rebar or wire mesh I could then form a line-of-sight anode around the frame, without touching the frame of course.
Since Tbug posted this idea I've been doing quite a bit of reading on it and there seems to be little risk to using this process. I've even seen where one guy treated an entire trailer frame using electrolysis. The only drawback I've run across is that the hydrogen molecules produced can tend to wriggle into the steel you are de-rusting and cause a condition known as "embrittlement". It isn't a problem on pieces that will see very little stress, but could be an issue on highly stressed parts because it makes them somewhat more brittle. For instance, you probably shouldn't use it on leaf springs or torsion bars. On the other hand, I also read that you can remove the hydrogen molecules by heating the piece to 300-400 degrees for a couple of hours, after de-rusting it.
You've really started something with this one Tbug. Rust is such a common problem I think your section on electrolysis should be made into a sticky.
Last edited by ragged89; 01-04-2015 at 02:16 PM.
#56
I'm inspired. If I can get a few days this spring or summer, I'd like to remove the bed, remove the fuel tank, and drop the rear axle and springs from my '89. What I have in mind is to build a plywood box around the rear half of my frame (the rusty half!) and line it with 6 mil plastic sheet. Using some steel rebar or wire mesh I could then form a line-of-sight anode around the frame, without touching the frame of course.
Since Tbug posted this idea I've been doing quite a bit of reading on it and there seems to be little risk to using this process. I've even seen where one guy treated an entire trailer frame using electrolysis. The only drawback I've run across is that the hydrogen molecules produced can tend to wriggle into the steel you are de-rusting and cause a condition known as "embrittlement". It isn't a problem on pieces that will see very little stress, but could be an issue on highly stressed parts because it makes them somewhat more brittle. For instance, you probably shouldn't use it on leaf springs or torsion bars. On the other hand, I also read that you can remove the hydrogen molecules by heating the piece to 300-400 degrees for a couple of hours, after de-rusting it.
You've really started something with this one Tbug. Rust is such a common problem I think your section on electrolysis should be made into a sticky.
Since Tbug posted this idea I've been doing quite a bit of reading on it and there seems to be little risk to using this process. I've even seen where one guy treated an entire trailer frame using electrolysis. The only drawback I've run across is that the hydrogen molecules produced can tend to wriggle into the steel you are de-rusting and cause a condition known as "embrittlement". It isn't a problem on pieces that will see very little stress, but could be an issue on highly stressed parts because it makes them somewhat more brittle. For instance, you probably shouldn't use it on leaf springs or torsion bars. On the other hand, I also read that you can remove the hydrogen molecules by heating the piece to 300-400 degrees for a couple of hours, after de-rusting it.
You've really started something with this one Tbug. Rust is such a common problem I think your section on electrolysis should be made into a sticky.

You're certainly got the itch to do this big time! Whole rear of frame, that's ambitious! I don't doubt that you can do it, though. It would be so sweet to pull it out after derusting and take a wire wheel to it. Unlike "red rust", the "black rust" that is left behind after electrolysis just about falls off and a wire wheel would make short work of it, leaving sparkling good metal. Hell, it's so loose that a blowgun may even be able to get some off.
As far as the embrittlement goes...I don't think I ever saw mention of it during my research, but after another search it appears that you're right-it is a potential issue mostly with hardened steel or spring steel (mild steel is unaffected, it appears). As it turns out I didn't do my leafs or torsion bars with it (too big!), so I'm happy about that.
#57
Brakes
The only things in the brake system that aren't brand new are the master cylinder/proportioning valve/rear ABS valve (no front ABS on this truck) and the rear drum backing plates.
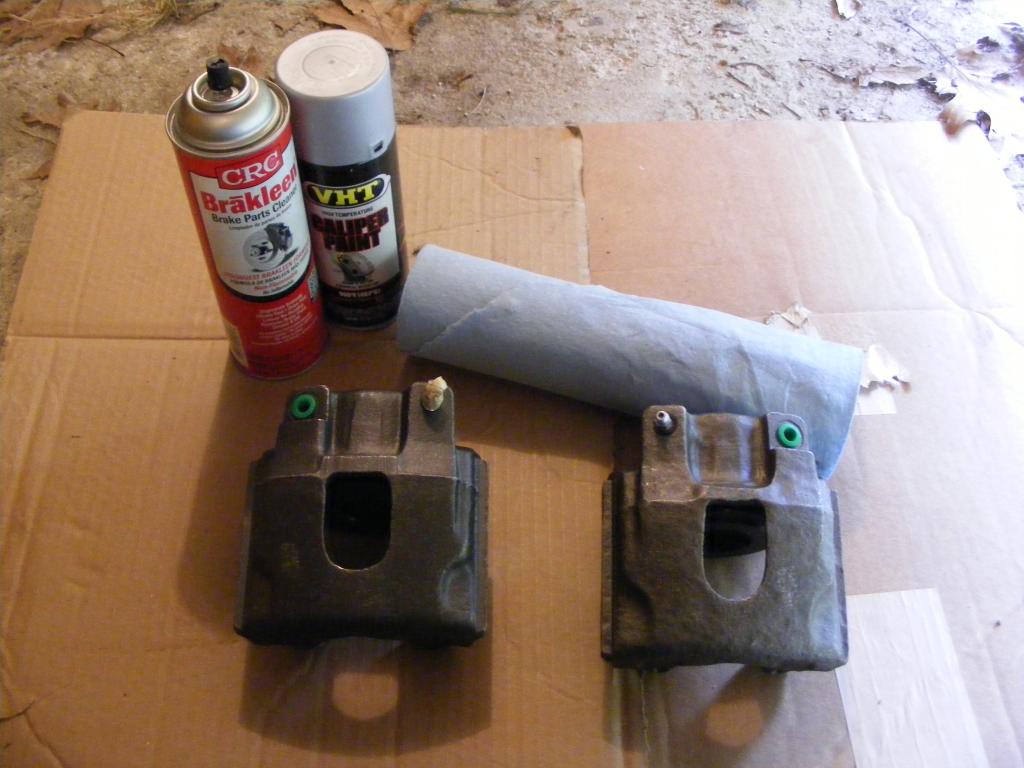
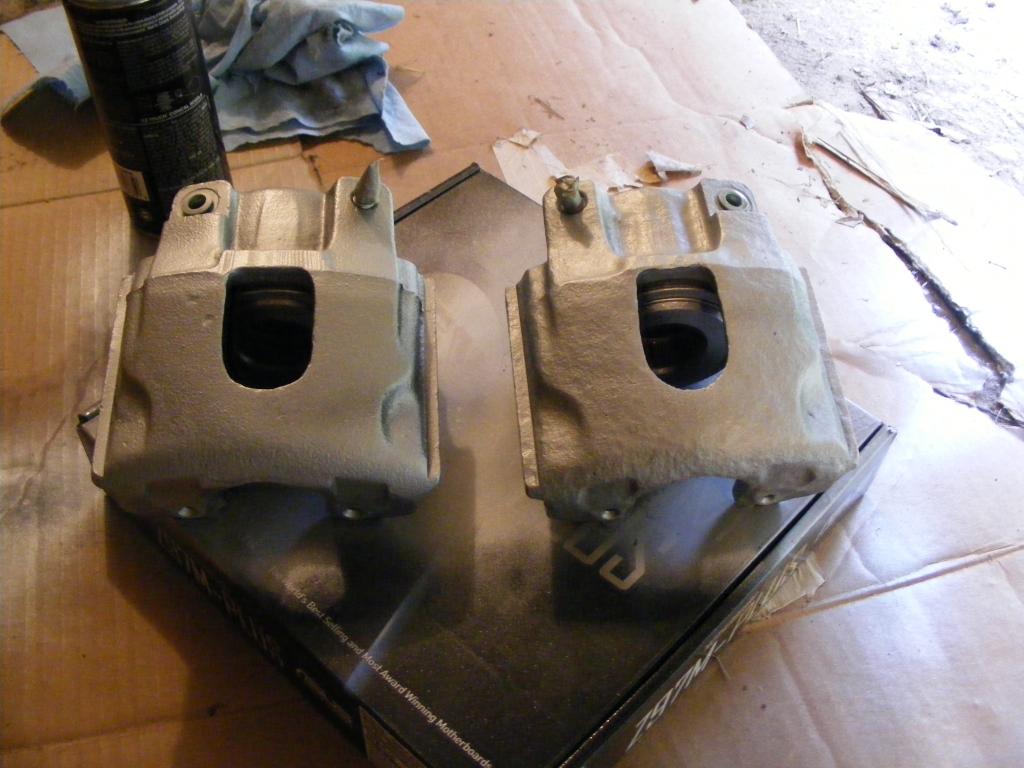
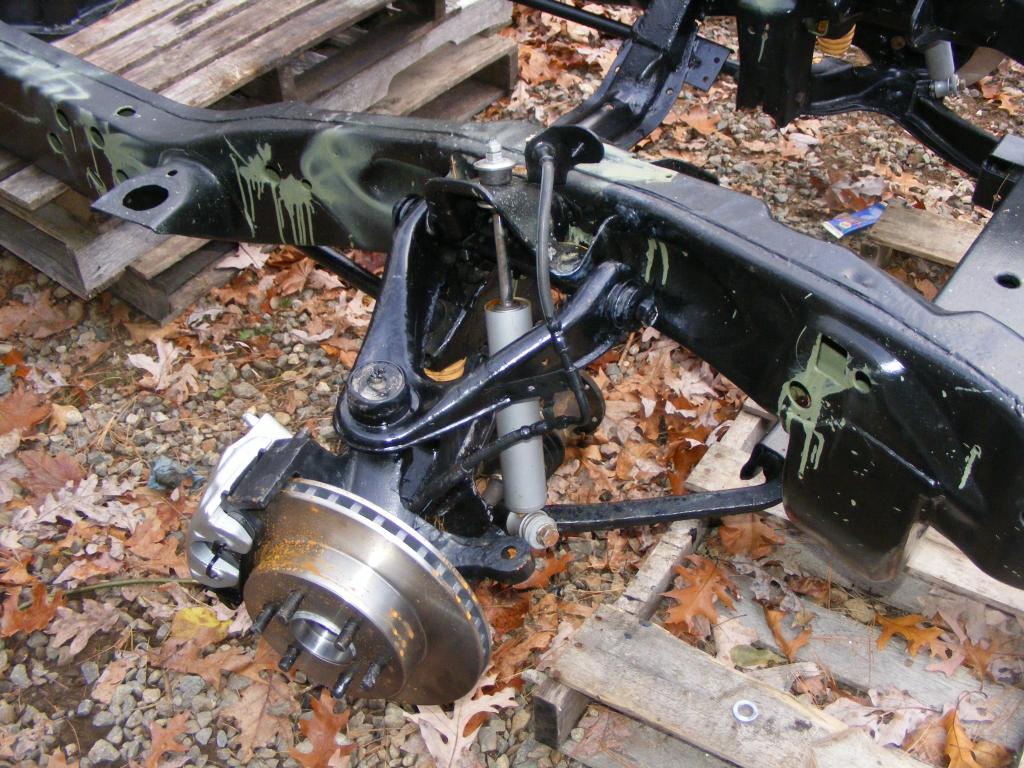
For the front brakes, I wanted to just replace the caliper seals and dust boots and throw the old ones back in. But then I found out that replacing the caliper seals is essentially impossible. So, I did what I should have done in the first place and bought remanufactured calipers. $25 apiece including the core discount...no brainer.
I painted them up.
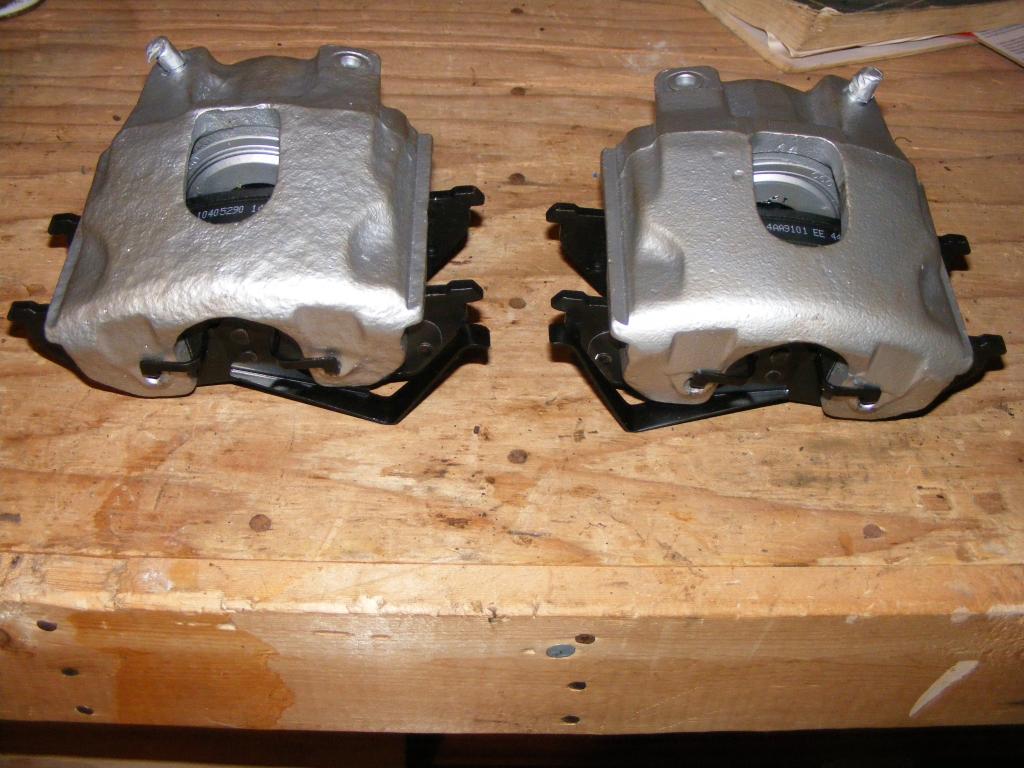
New pads (Centric Posiquiet part #10405290), new rotors (Bendix part # PRT1577).
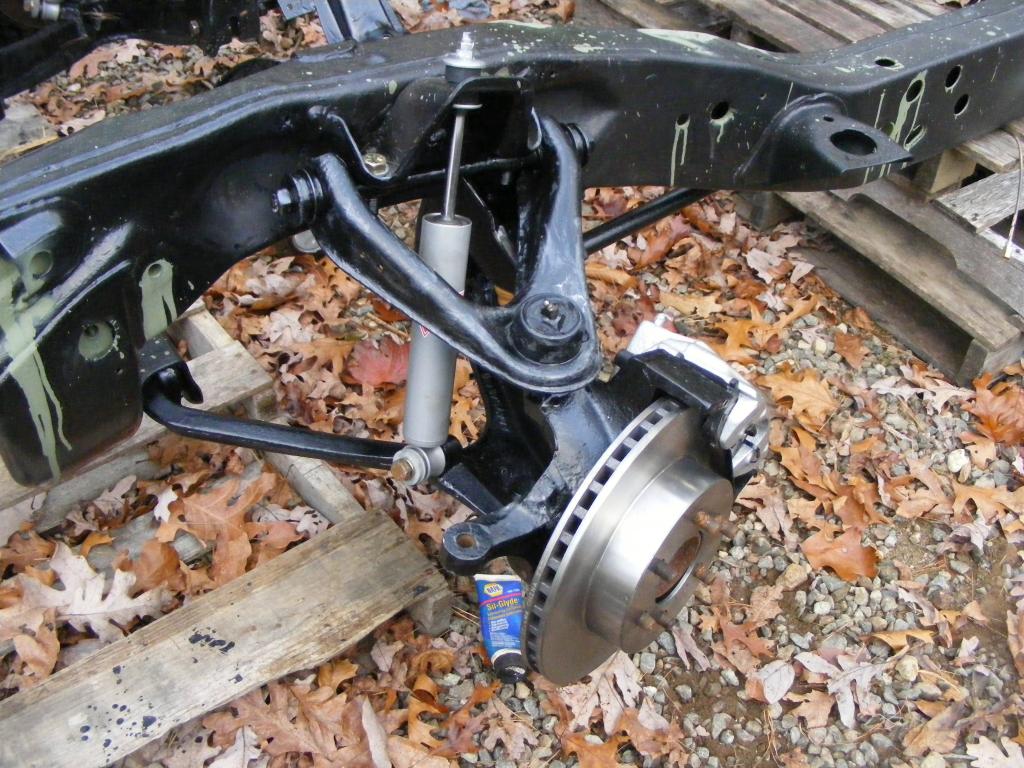
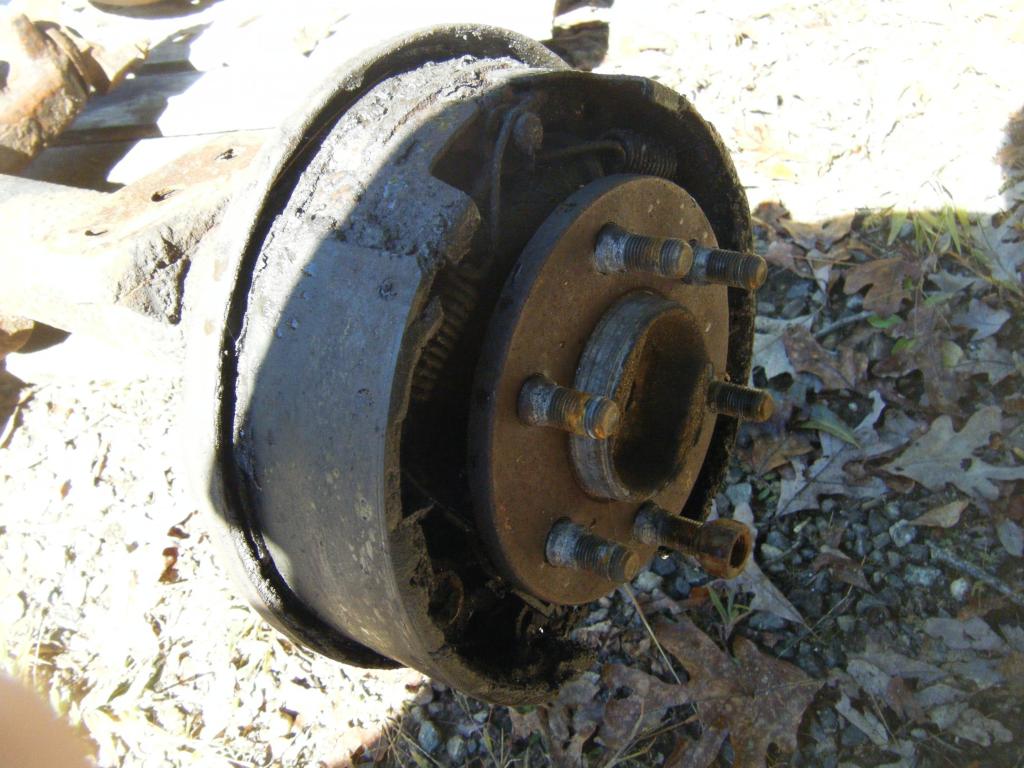
For the rear brakes, I got everything...drums, shoes, hardware.
Yummy! Right side. Gear oil all over the inside!!!
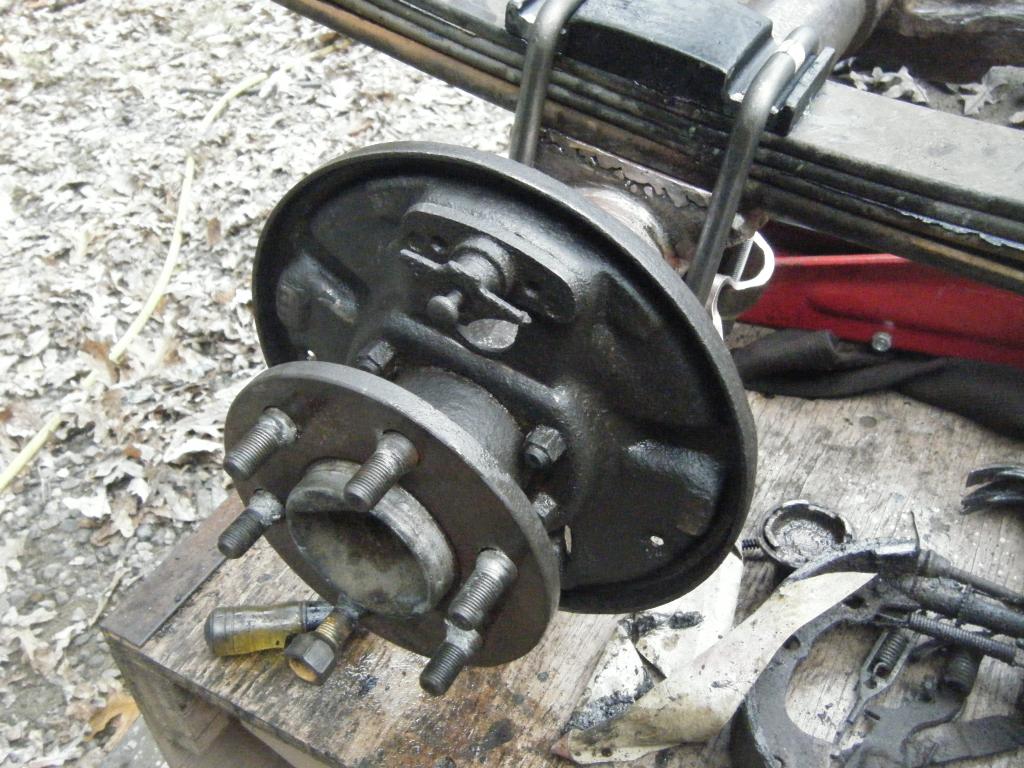
Tore down to the backing plate, cleaned and painted with VHT caliper paint; paint was removed from shoe slide surfaces and surfaces were greased with caliper grease.
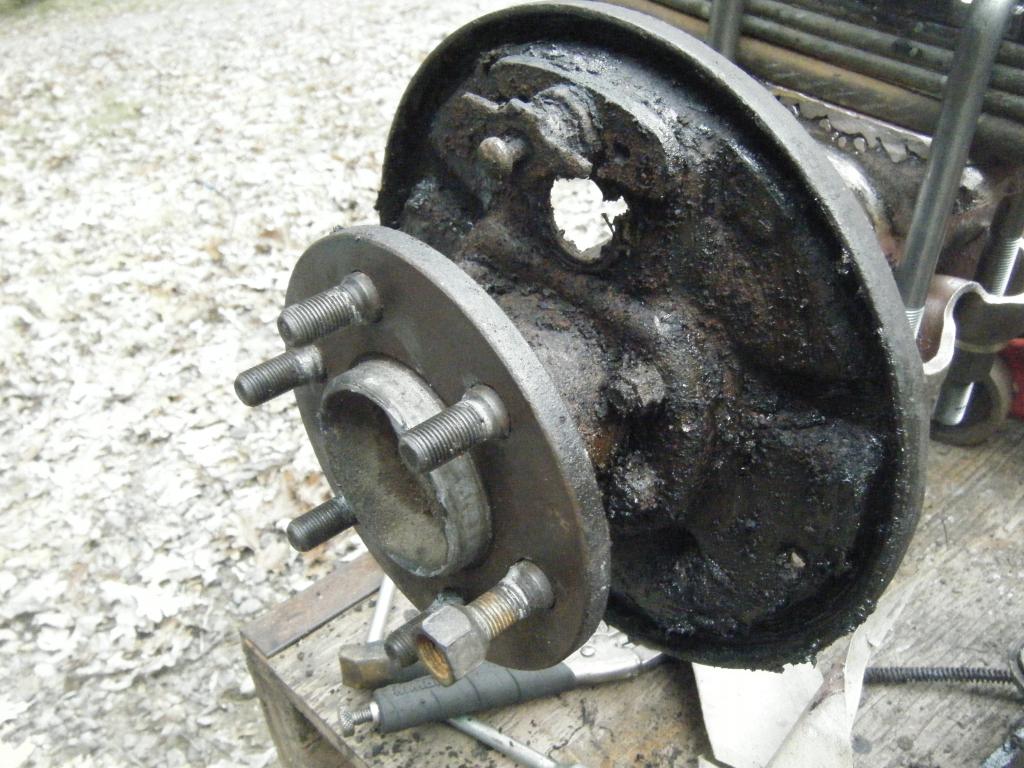
UNFORTUNATELY, (yes really) the axle seal on this (left) side was NOT leaking. If it was, it would have prevented most of the corrosion that you see here. Yes, I literally just wished that my truck spewed gear oil all over the inside of my brakes.

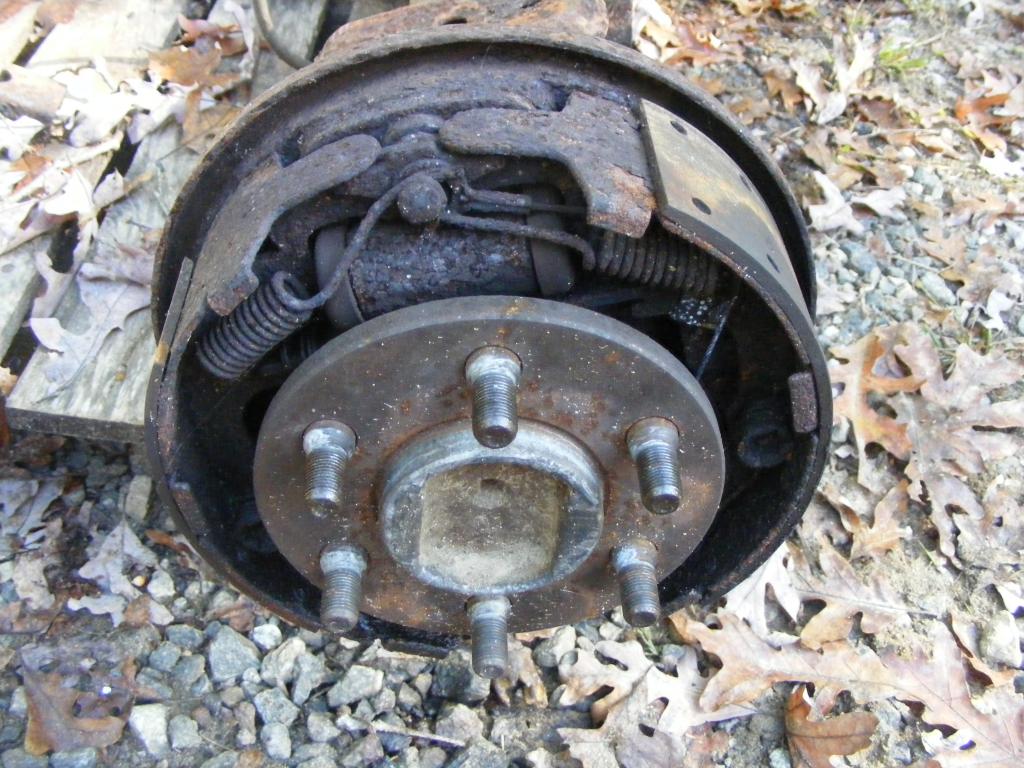
Uhhhh.
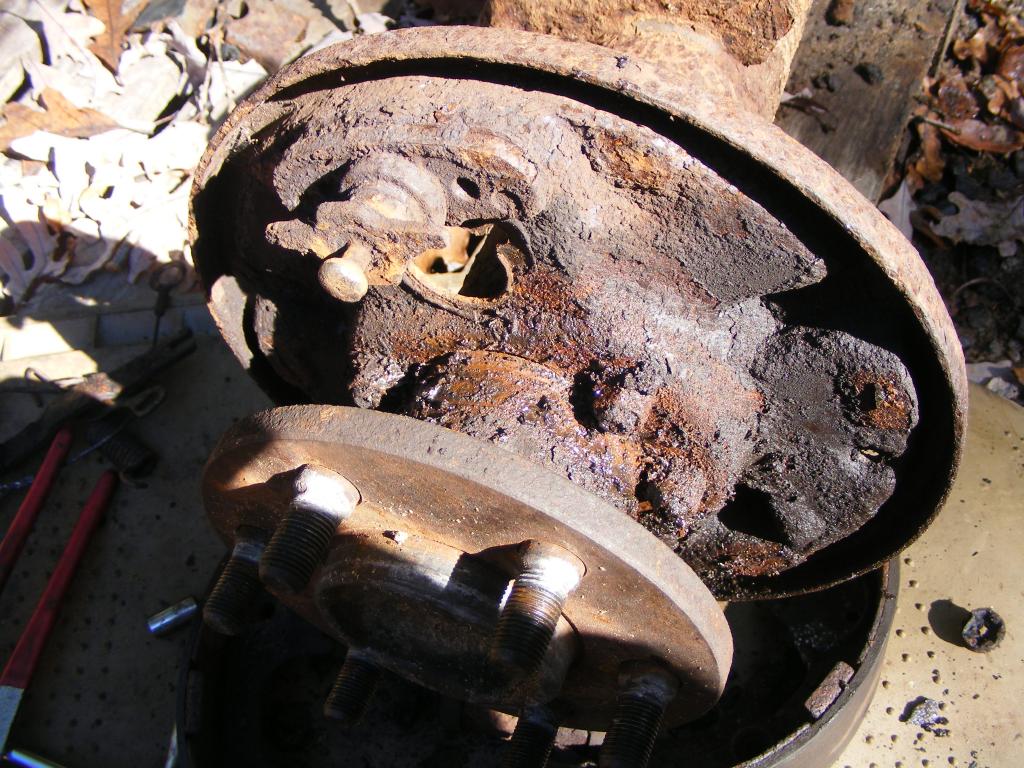
Tore down to the backing plate, cleaned and painted with VHT caliper paint; paint was removed from shoe slide surfaces and surfaces were greased with caliper grease.
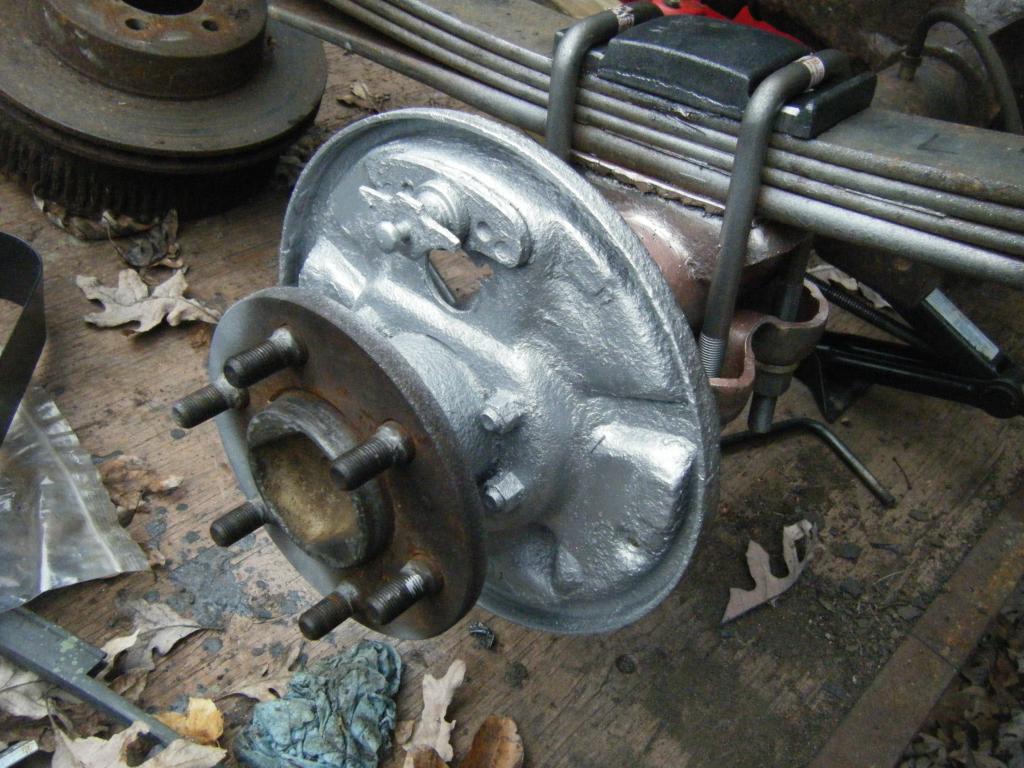
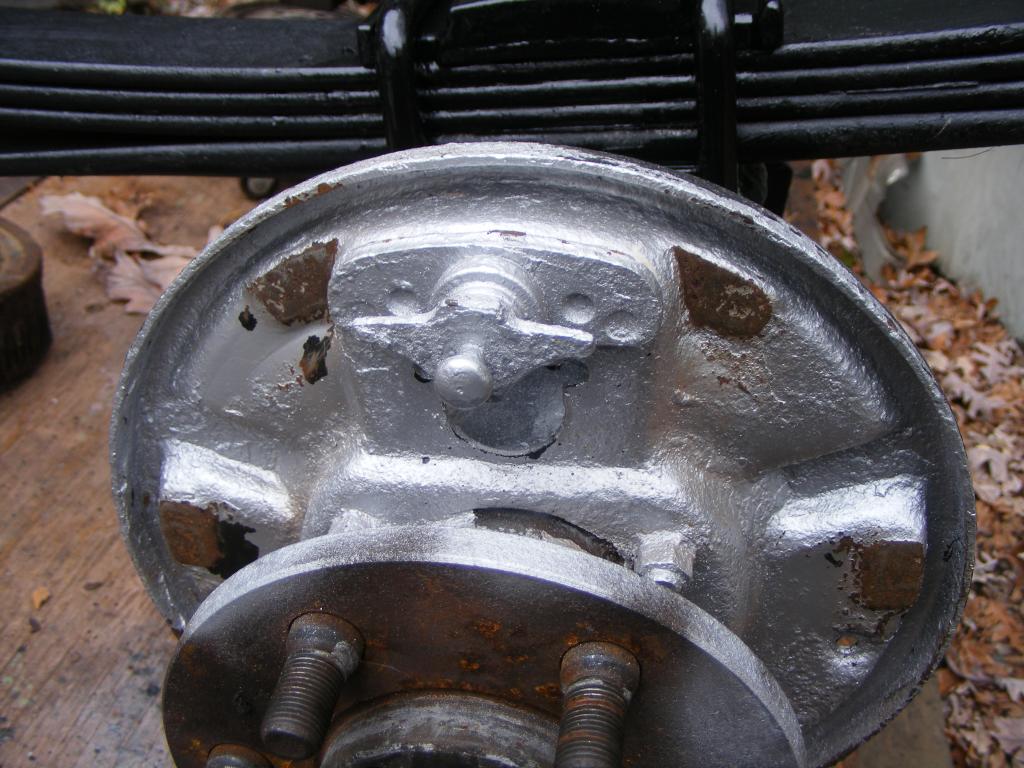
New wheel cylinders, painted. I removed and lubed the pistons with brake fluid.
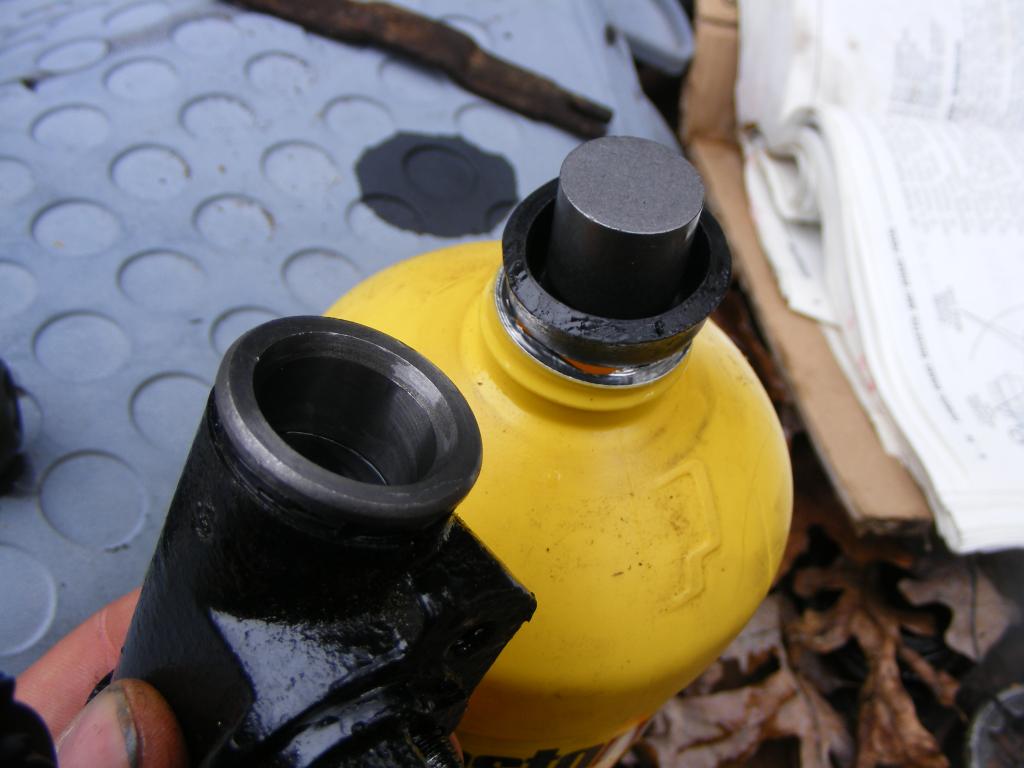
Make sure to grease basically every moving part in the drum brake. Especially take apart the new self adjuster and grease it with caliper grease. It doesn't take much for the already finicky self adjuster to seize up and cease functioning. I don't think I have to tell you not to grease the shoe friction surfaces or the inside of the drum.
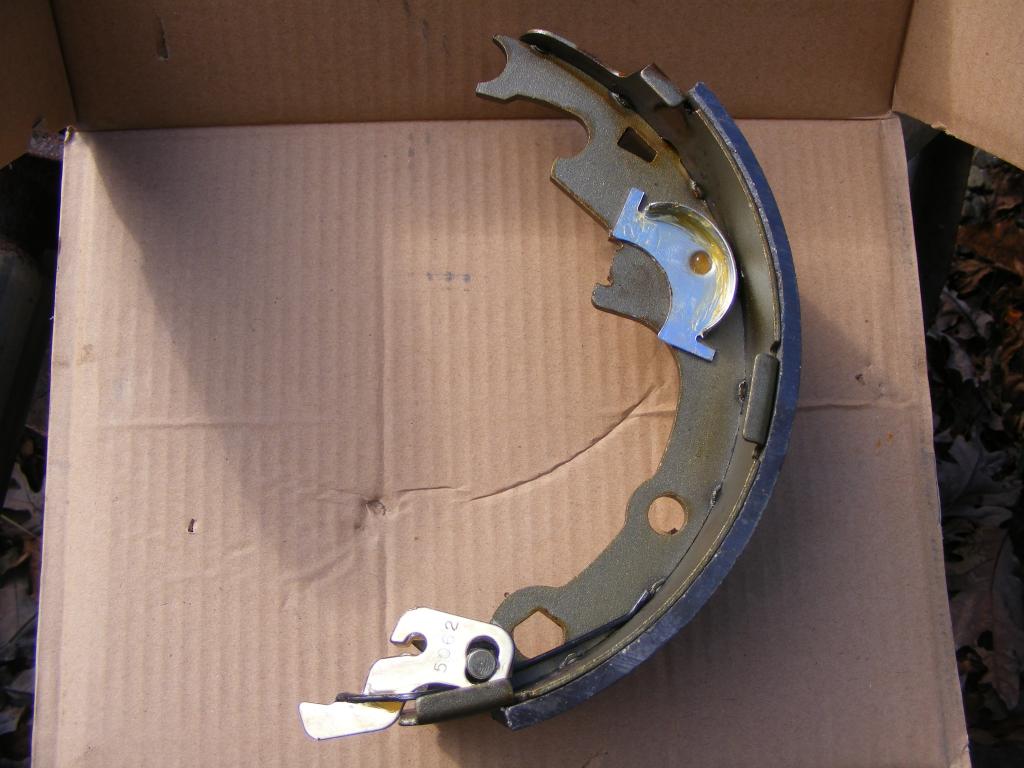
Done! I adjusted the rear brakes with the tires on by using the "the wheel should spin about 1 revolution if you spin the wheel by hand about as hard as you can" method. Ha.
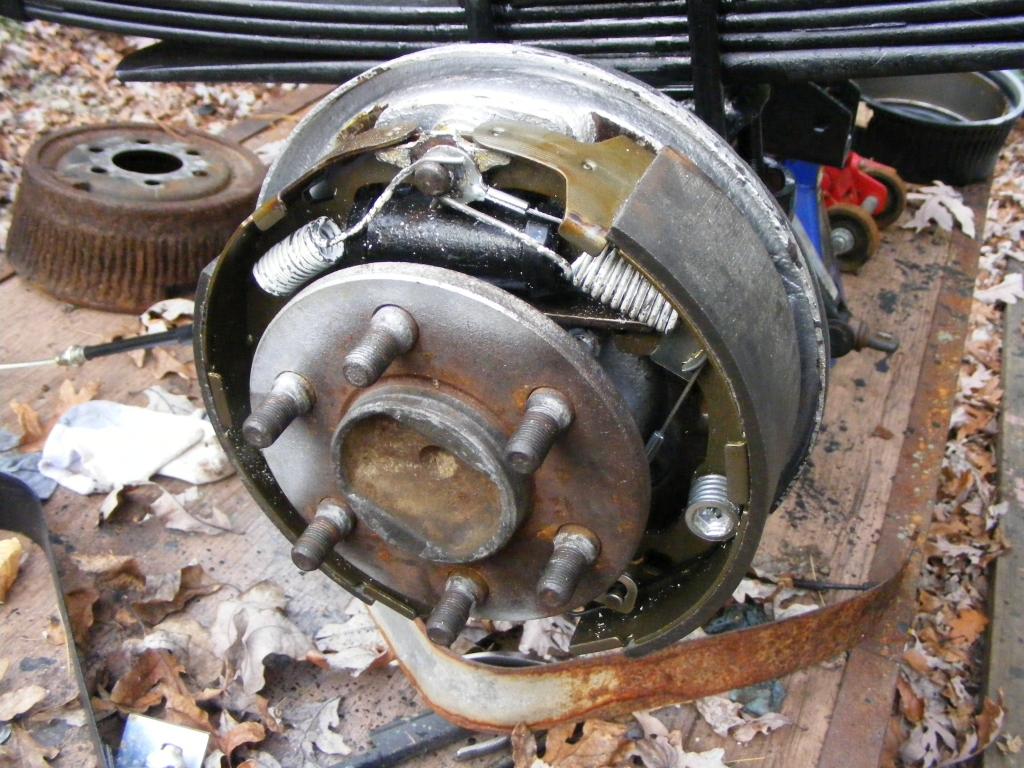
The only things in the brake system that aren't brand new are the master cylinder/proportioning valve/rear ABS valve (no front ABS on this truck) and the rear drum backing plates.
For the front brakes, I wanted to just replace the caliper seals and dust boots and throw the old ones back in. But then I found out that replacing the caliper seals is essentially impossible. So, I did what I should have done in the first place and bought remanufactured calipers. $25 apiece including the core discount...no brainer.
I painted them up.


New pads (Centric Posiquiet part #10405290), new rotors (Bendix part # PRT1577).


For the rear brakes, I got everything...drums, shoes, hardware.
Yummy! Right side. Gear oil all over the inside!!!

Tore down to the backing plate, cleaned and painted with VHT caliper paint; paint was removed from shoe slide surfaces and surfaces were greased with caliper grease.


UNFORTUNATELY, (yes really) the axle seal on this (left) side was NOT leaking. If it was, it would have prevented most of the corrosion that you see here. Yes, I literally just wished that my truck spewed gear oil all over the inside of my brakes.


Uhhhh.

Tore down to the backing plate, cleaned and painted with VHT caliper paint; paint was removed from shoe slide surfaces and surfaces were greased with caliper grease.


New wheel cylinders, painted. I removed and lubed the pistons with brake fluid.

Make sure to grease basically every moving part in the drum brake. Especially take apart the new self adjuster and grease it with caliper grease. It doesn't take much for the already finicky self adjuster to seize up and cease functioning. I don't think I have to tell you not to grease the shoe friction surfaces or the inside of the drum.


Done! I adjusted the rear brakes with the tires on by using the "the wheel should spin about 1 revolution if you spin the wheel by hand about as hard as you can" method. Ha.

Last edited by tbugden; 01-04-2015 at 08:22 PM.
#58
Leaf Springs
I reused the leaf springs that came with my new frame because they were in great shape. The ones on my old frame really weren't suitable for being installed on a "new" truck.
I replaced the bushings with Energy Suspension polyurethane bushings. I have pictures somewhere and will update when I find them. The install is very straightforward, but I had a hell of a time removing the old pressed-in metal inserts from the leaf springs. They must be removed because the poly bushings are too large to be installed with them in place. My air hammer ended up saving the day, but it was still a tremendous pain.
I replaced the u-bolts and the top saddle plate. There was only one place I could find which sold the saddle plate. I absolutely needed them because mine were essentially rotted to nothing. U-bolt saddle plate (sits on top of leaf pack) - Could only find HERE (ATS Springs "Dodge Upper U-Bolt Saddle Plate, fits 2-1/2" Wide Dodge Rear Leaf Spring")
U-bolts (leaf spring) - 9/16" x 2 1/2" x 8 3/4" Square U-bolts, purchased also at ATS Springs HERE
Unfortunately, even though the plates are designed for square 2.5" u bolts, the bolts did not sit properly on the plates.
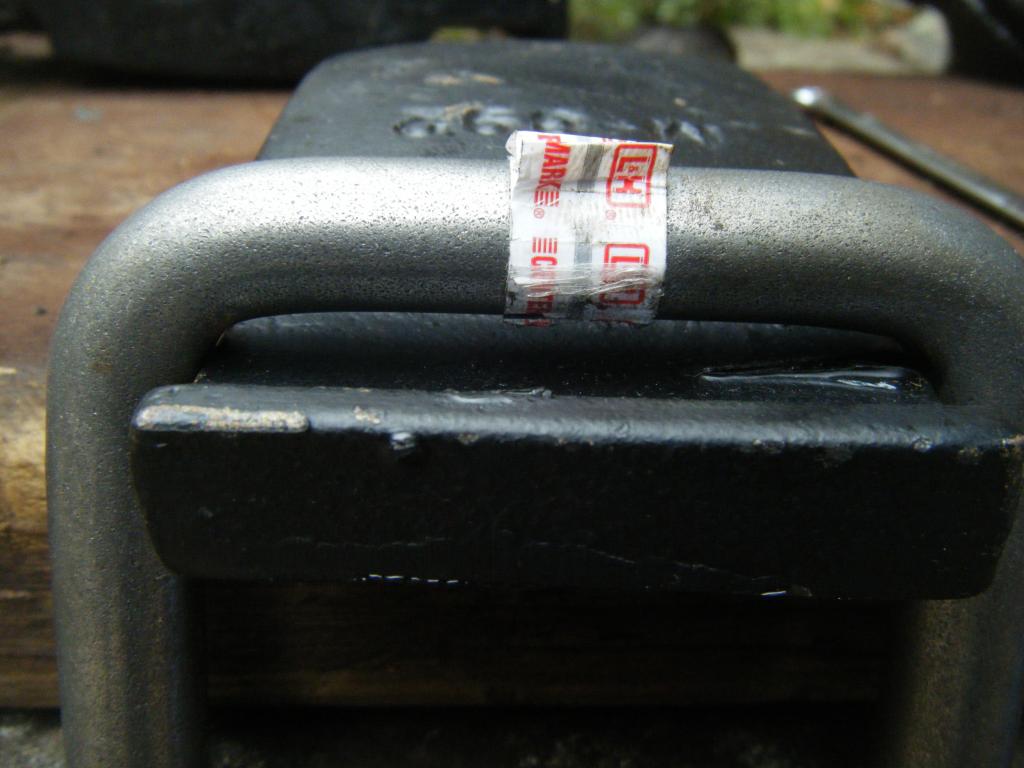
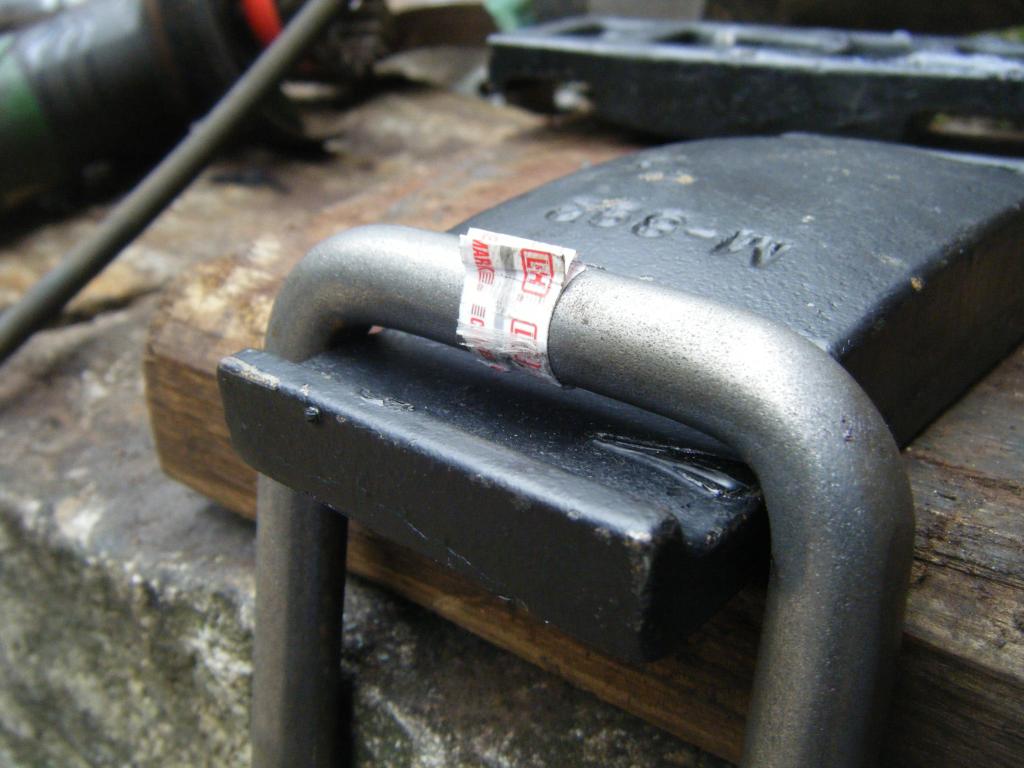
No big deal, I just used my Dremel to take off a little metal off the edges of the plates.
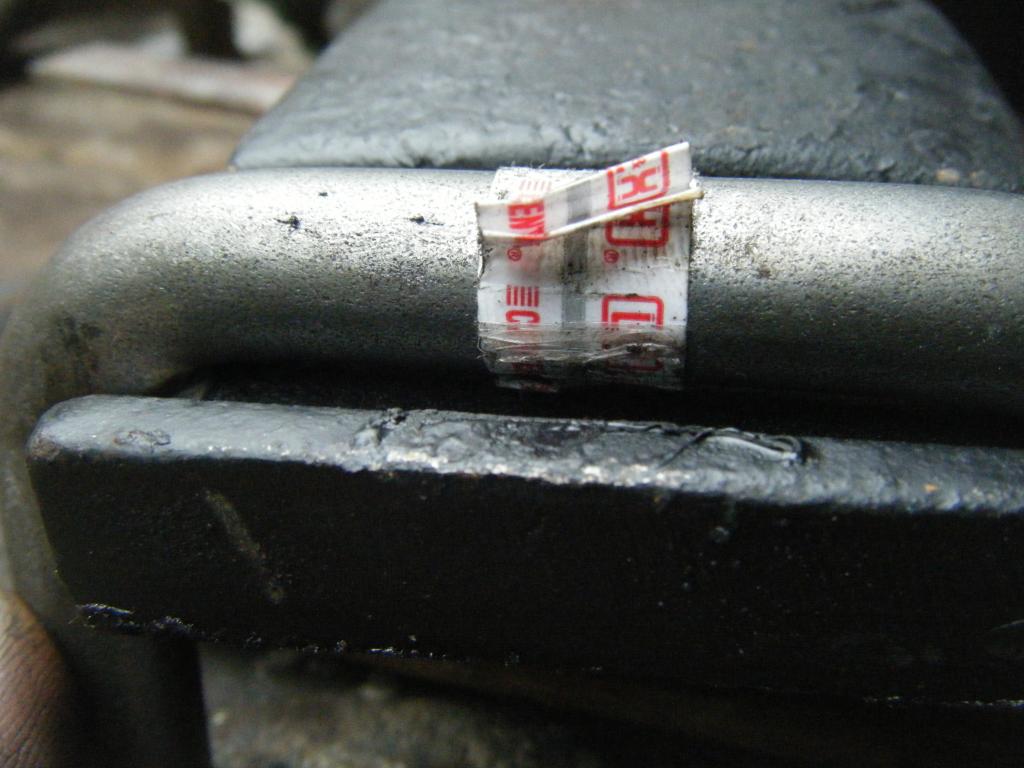
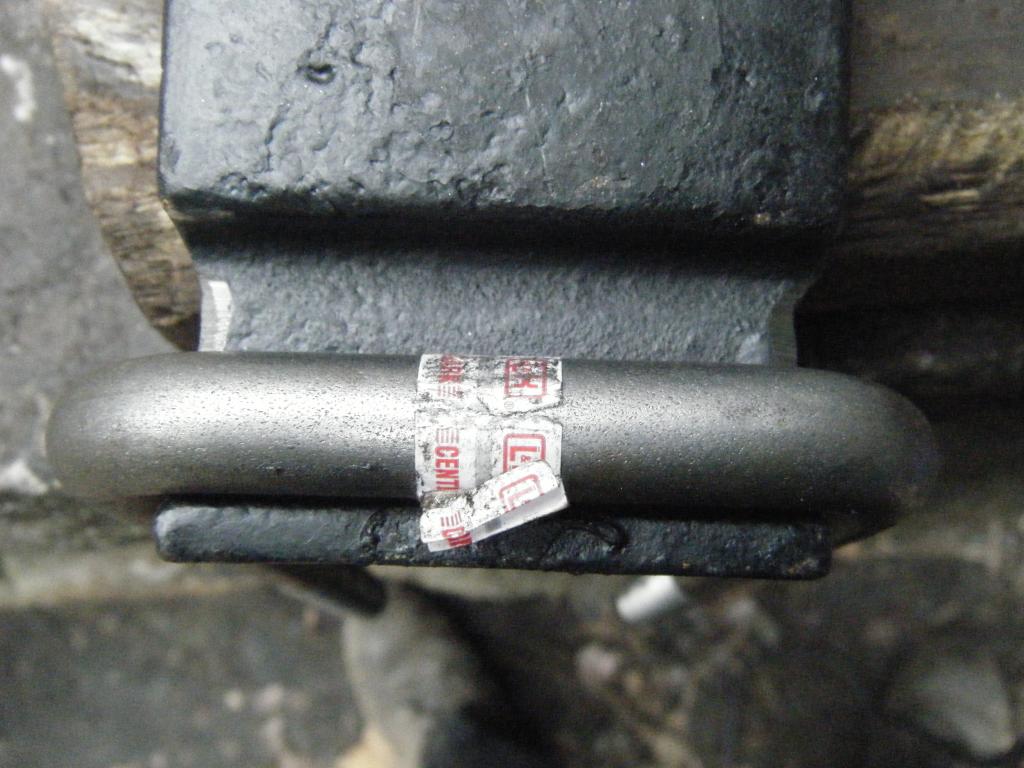
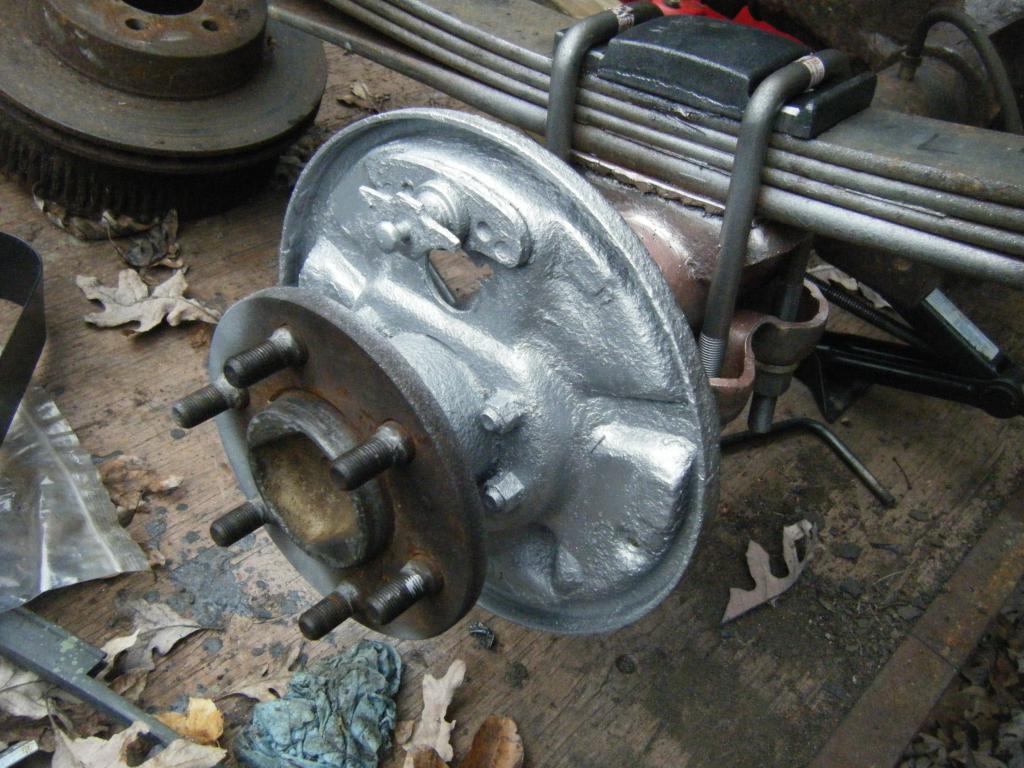
I'm just going to repost this picture because it's the best one I have of the u-bolts and plate all set up. Let me also mention that the only things I've used a torque wrench on in this entire build (no, I'm not proud of this) were the leaf spring u bolts (75 ft lbs) and the exhaust clamp u bolts (35 ft lbs).
I reused the leaf springs that came with my new frame because they were in great shape. The ones on my old frame really weren't suitable for being installed on a "new" truck.
I replaced the bushings with Energy Suspension polyurethane bushings. I have pictures somewhere and will update when I find them. The install is very straightforward, but I had a hell of a time removing the old pressed-in metal inserts from the leaf springs. They must be removed because the poly bushings are too large to be installed with them in place. My air hammer ended up saving the day, but it was still a tremendous pain.
I replaced the u-bolts and the top saddle plate. There was only one place I could find which sold the saddle plate. I absolutely needed them because mine were essentially rotted to nothing. U-bolt saddle plate (sits on top of leaf pack) - Could only find HERE (ATS Springs "Dodge Upper U-Bolt Saddle Plate, fits 2-1/2" Wide Dodge Rear Leaf Spring")
U-bolts (leaf spring) - 9/16" x 2 1/2" x 8 3/4" Square U-bolts, purchased also at ATS Springs HERE
Unfortunately, even though the plates are designed for square 2.5" u bolts, the bolts did not sit properly on the plates.


No big deal, I just used my Dremel to take off a little metal off the edges of the plates.


I'm just going to repost this picture because it's the best one I have of the u-bolts and plate all set up. Let me also mention that the only things I've used a torque wrench on in this entire build (no, I'm not proud of this) were the leaf spring u bolts (75 ft lbs) and the exhaust clamp u bolts (35 ft lbs).

#59
Today I started putting the floor in! Only held in with sheet metal screws right now but it fits DAMN good and is solid. It's hardly professional and it is not perfect, but it surpassed my expectations of what I am capable of. I think I'll chalk it up primarily to a healthy dose of beginner's luck. Pictures to follow soon.
#60
I had the exact same thing happen to the pivot ball on my throwout bearing fork. Expect I was lucky and only the ball itself was broken off, so the rest threaded out of the bell housing with a socket no problem! The truck used to vibrate and make grinding noises like craazy. Took us forever to determine the problem. Interesting to see this has happened to you as well.


