When you click on links to various merchants on this site and make a purchase, this can result in this site earning a commission. Affiliate programs and affiliations include, but are not limited to, the eBay Partner Network.
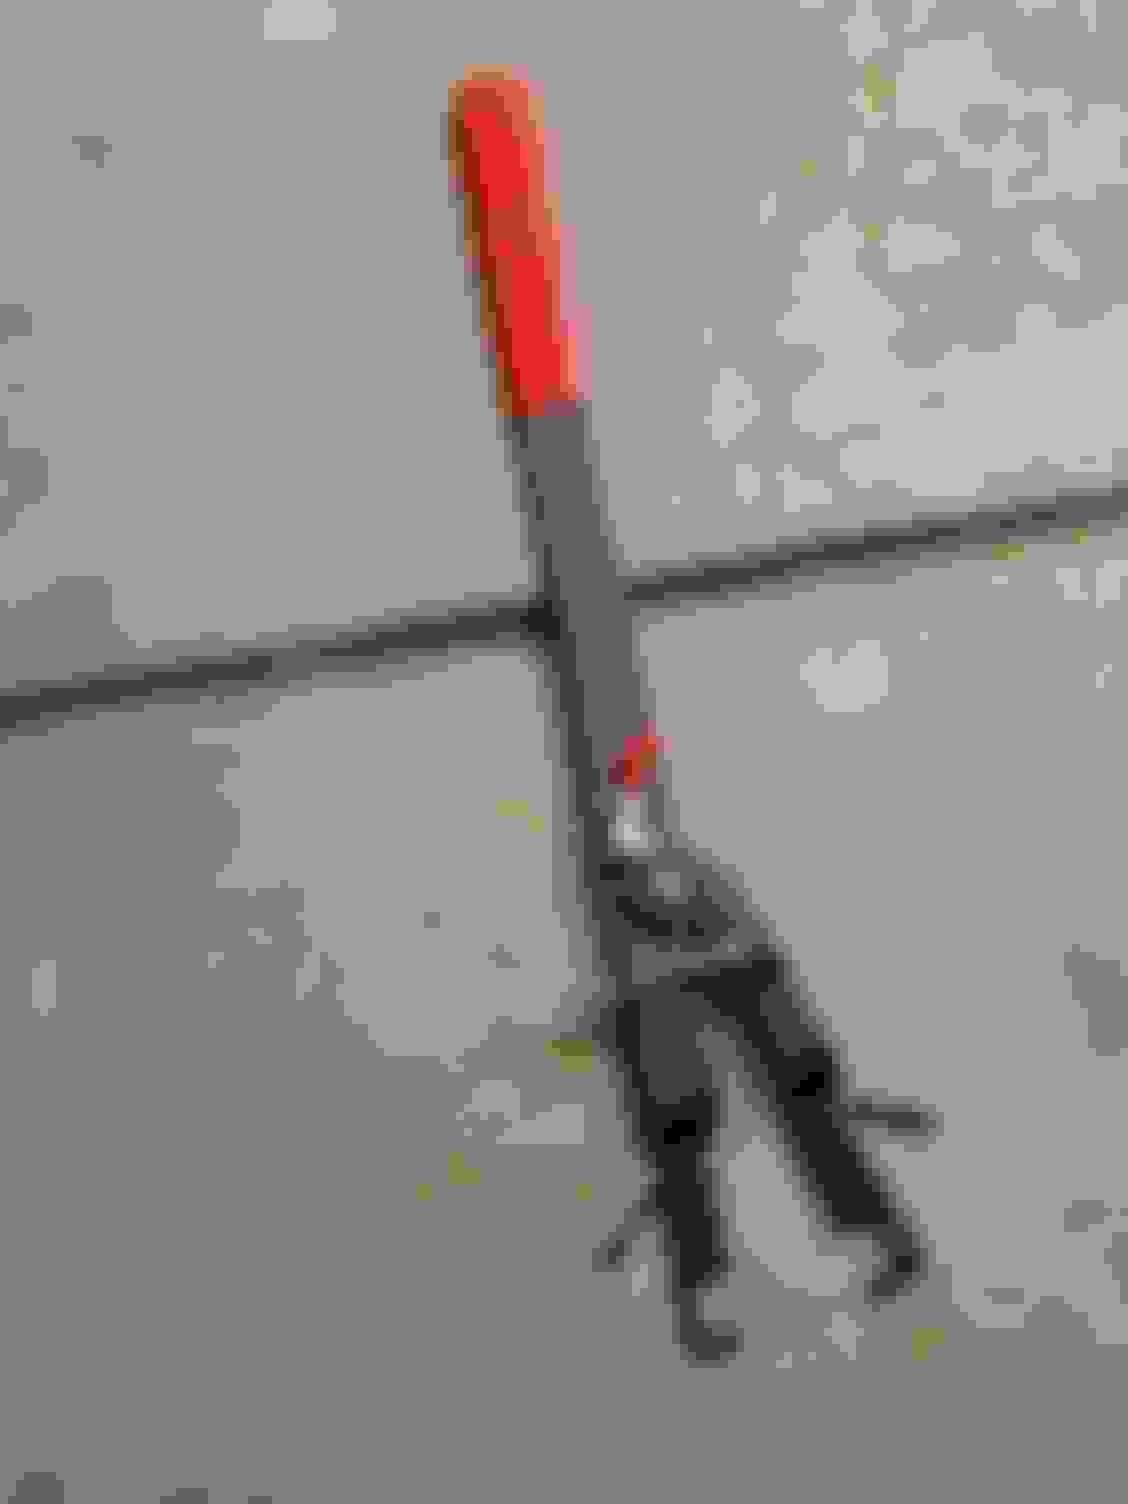
Made progress but now a bit stuck figuring out how to loosen the cam sprocket bolt. I got the lifters and rocker arms out using method by Martinbuilt (thanks Martin for your videos!) Went out and bought a 10mm wrench and found out it was too thick so went to the hardware store and bought a small hand held garden weeder with a fork on the end which cost 5 bucks. Didn't need heat to bend, just bent it in my vise. Then used my dremel with cutting wheel and widened the fork, filed down all the burrs and it worked perfectly
That said, I'll be up all night probably trying to figure out a way to get the cam sprocket bolt. Don't have the taps, drill bits and drill press to follow Martinbuilt's DIY spanner wrench. Would cost a fortune to purchase all those items so trying to come up with something different. bent the weeder widened the fork Here is top of the weeder after I cut it in half
Yay, did it. A little rinky dink but it worked. Got a tool rental from autozone (adjustable fan clutch holding tool part number 27270) that has some holes drilled into it. Found a couple of machine screws I had in the garage that were about an inch long. Rotated the sprocket so two of the holes in the sprocket were at about 10 and 4 o'clock positions. Used the two smallest holes in the rental tool to insert screws and through the sprocket and that was good enough to hold while I busted the nut loose.
This wouldn't work on the right side because there is only one sprocket hole in it but I'm only doing the left head so this works for me.
On to the timing cover and removing the cylinder head!
clutch holding tool from autozone rotate sprocket so two holes positioned roughly at 4 and 10 o'clock positions align small hole in rental tool with holes in sprocket Here you can see end of machine screw through the sprocket Using breaker bar bust the nut loose
Last edited by mopman42; 07-11-2020 at 01:50 PM.
Reason: pictures added between text
Nice job so far , I know from experience how daunting this job can be. As a suggestion, I grabbed one of your pics to make a notation on: Alternate way to hold cam in position to remove/install timing gear
Before I did this to both of my 4.7 Duragno's I consulted my mechanic mentor. He confirmed that if you are grabbing the camshaft at the double "rings" (see above picture circled in red) you can safely hold the cam in position. If you have a good impact wrench, it should come loose fairly easily (think Makita 1/2" drive cordless impact wrench...that thing is a MONSTER ), I bring this up as a way to hold the head "in time" (assuming that it is actually in time) to remove the timing chain gear. Hope this helps someone in the future.
Thank you Sporta, my setup doesn't work on right side so that is good to know!
Have a question on the timing, rotated I think into correct timing but was wondering why they have two different marks on the chain. Does this look right? I was expecting only one mark on the chain.
Really tired of rotating this thing into position... hoping this is right. haha
left side, two marks on timing chain hard to see but right side has two marks as well
When you first set up timing the 2 black links should line up on the idler sprocket at the 4 o'clock and 8 o'clock position and the single black link should line up on the cam shaft sprockets at the corresponding R or L mark depending on side with the V8 emblem at the 12 o'clock position..
Timing setup '01 Durango 6-10-2020
Looks like your damn close...hard to really tell...Hope this helps
Oh ok, that makes sense... those links with two marks should be down in the view port on the idler sprocket! Was thinking it just didn't look right, thanks again sporta!
If you have a good impact wrench, it should come loose fairly easily (think Makita 1/2" drive cordless impact wrench...that thing is a MONSTER
Yeah, anytime you're trying to bust loose a bolt on a rotating shaft, impact wrench all the way. I think even my cheap harbor freight electric impact would bust that loose. Wouldn't even have to do much holding of the shaft either. With chain on the sprocket, the impact would bust that loose without turning the engine. My riding mower engine turns a lot easier than that 4.7 and I bust the crankshaft bolt off with it, no holding. You could also jam in a wedge to wedge to stop the chain from moving.
Yeah, anytime you're trying to bust loose a bolt on a rotating shaft, impact wrench all the way. I think even my cheap harbor freight electric impact would bust that loose. Wouldn't even have to do much holding of the shaft either. With chain on the sprocket, the impact would bust that loose without turning the engine. My riding mower engine turns a lot easier than that 4.7 and I bust the crankshaft bolt off with it, no holding. You could also jam in a wedge to wedge to stop the chain from moving.
Tried to do it the first time without holding it... ad juju...the impact rattled the chain and shattered the guides.
So now I'm cautious and hold the camshafts with a death grip.


 07-08-2020, 09:45 PM


 , I know from experience how daunting this job can be. As a suggestion, I grabbed one of your pics to make a notation on:
 ), I bring this up as a way to hold the head "in time" (assuming that it is actually in time) to remove the timing chain gear. Hope this helps someone in the future.