

E Fan and other work

Thread Starter
|
Legend
Joined: Jul 2011
Posts: 8,259
Likes: 4
From: Austin, TX
So a couple e-mails back and forth with John today. Ordred HS rockers. My list seems to be getting longer instead of shorter!
Can't wait to get all this stuff done to the Ram!
Last edited by gdstock; Apr 30, 2012 at 01:01 AM.
Champion
Joined: Sep 2011
Posts: 3,891
Likes: 8
From: NorCal
Then you should sell me the shroud since you beat me to jasonw ......lol.....
I odered the TCP kit last night. Cost more than I wanted, but shipping was free and I don't have to run all over to get pieces from different places. Trying to decide whether to paint it black before I install it.
I odered the TCP kit last night. Cost more than I wanted, but shipping was free and I don't have to run all over to get pieces from different places. Trying to decide whether to paint it black before I install it.
Excited for you on your overall progress. Big kudos.
Thread Starter
|
Legend
Joined: Jul 2011
Posts: 8,259
Likes: 4
From: Austin, TX
Installed Electric brake controller on Sunday afternoon and routed wiring in convolute tubing. Worked it like a dog yesterday and got it dirty, then installed BW solenoid in tranny while out of town (good excuse to stop by and see grandkids!). Got AC system charged today.
So a couple of items scratched off the list.
John Mercedes sent me an e-mail that HS rockers have shipped and e-fan kit has shipped.
So a couple of items scratched off the list.
John Mercedes sent me an e-mail that HS rockers have shipped and e-fan kit has shipped.
Thread Starter
|
Legend
Joined: Jul 2011
Posts: 8,259
Likes: 4
From: Austin, TX
Since there seems to be a number of members with issues regarding air conditioners, I thought I would post these photos of the work I did last week on mine. As always, work safely. System is a high pressure system and incorrect release is in violation of federal and probably state law, and certainly hazardous. It is best to reclaim the refrigerant especially due to cost. I used a synthetic refrigerant and cost was approx $57 to fully recharge. I do not know about anywhere else, but if you have a shop here recover your refrigerant - you can BUY your refrigerant back from THEM for about $1.00 an ounce!
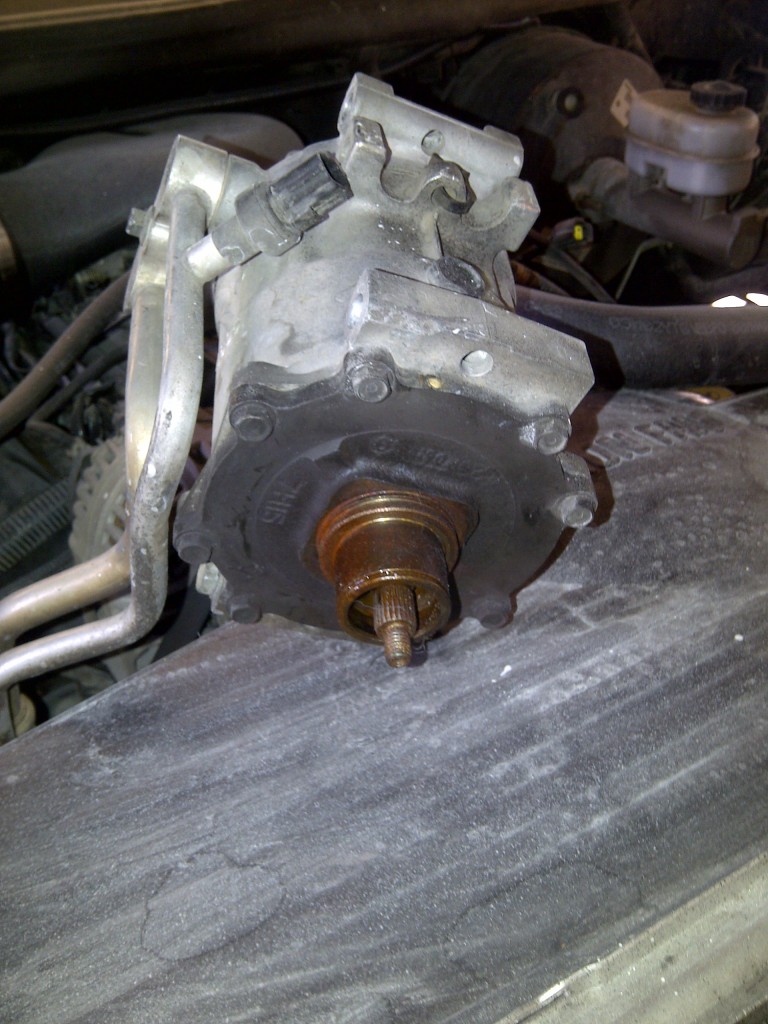
AC compressor clutch went out in November. I had to replace the compressor (found one for $64.00 new) as I could not find a clutch. I installed new compressor without plumbing it in and just tied the old compressor off above the horns due to condition of AC condenser.
Original condenser:
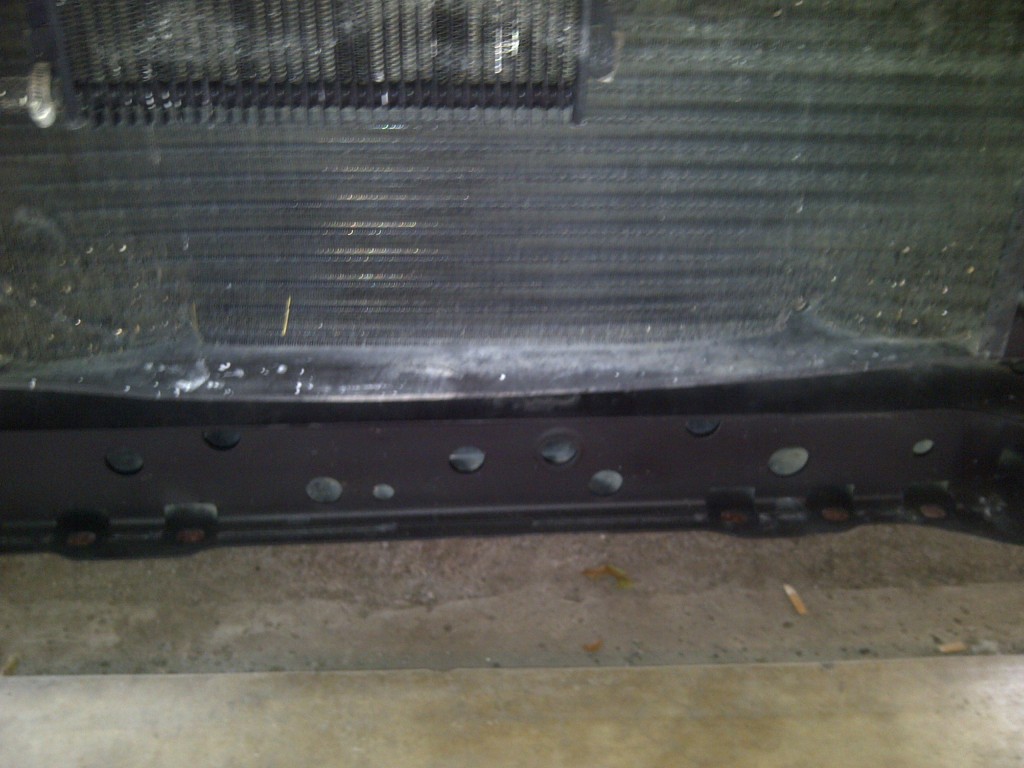
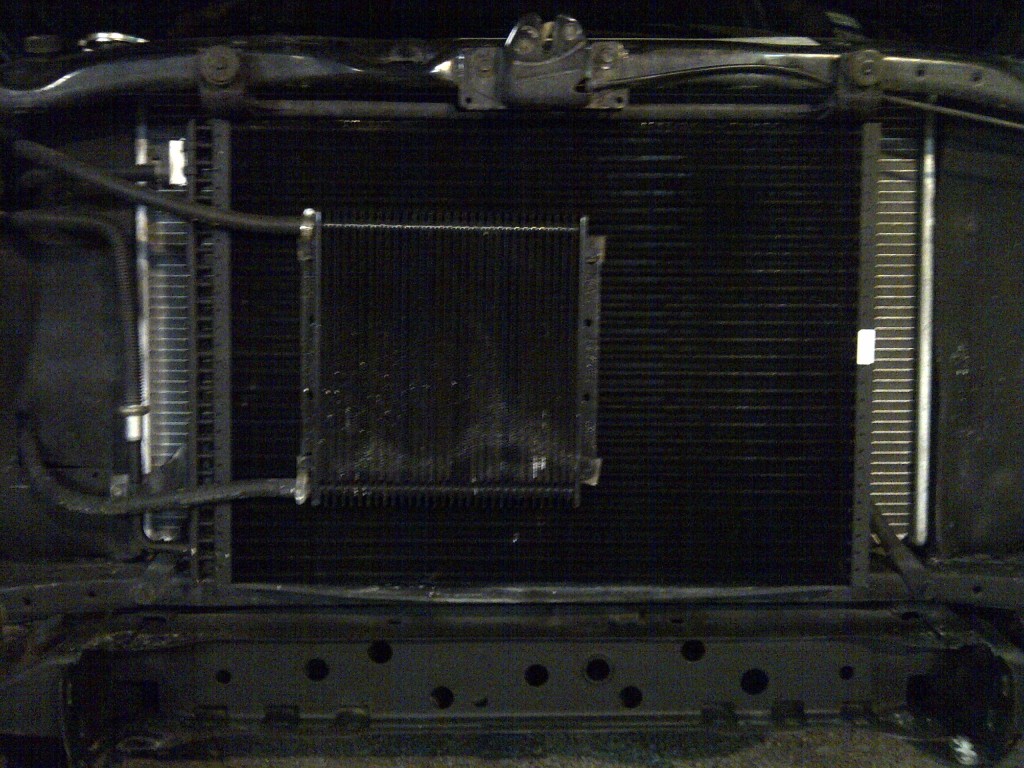
New Condenser:
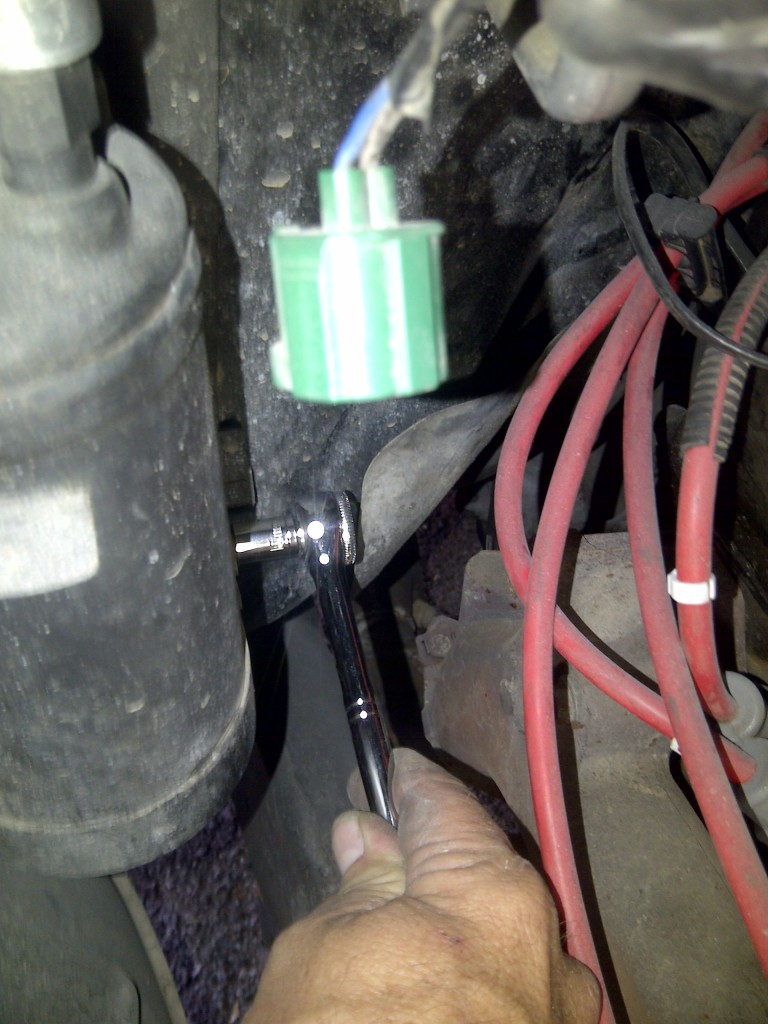
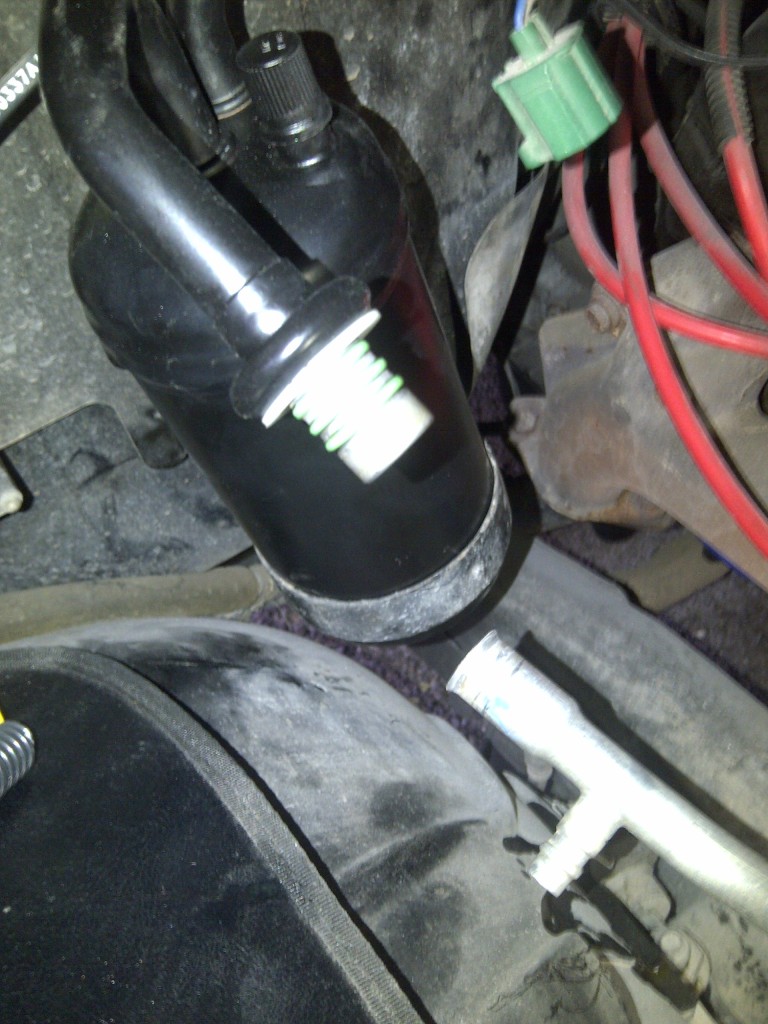
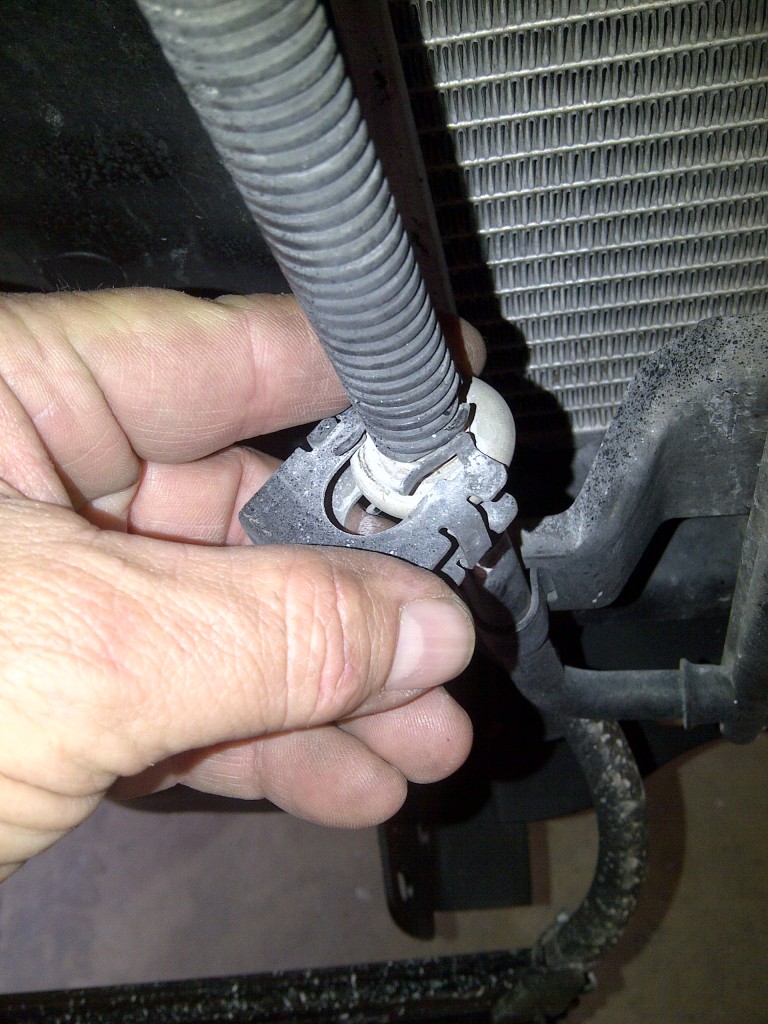
Removing Drier:
You remove the clip from the connector, then use the special Fuel/AC fitting tool to release the internal spring clip. Remove the bolt in the band clamp near the bottom of drier. Also remove the connector from low pressure cut off switch. Make sure you remove the switch form the drier before discarding!

Connector removed:
Fittings on Condenser:
Upper fitting:

Lower fitting:
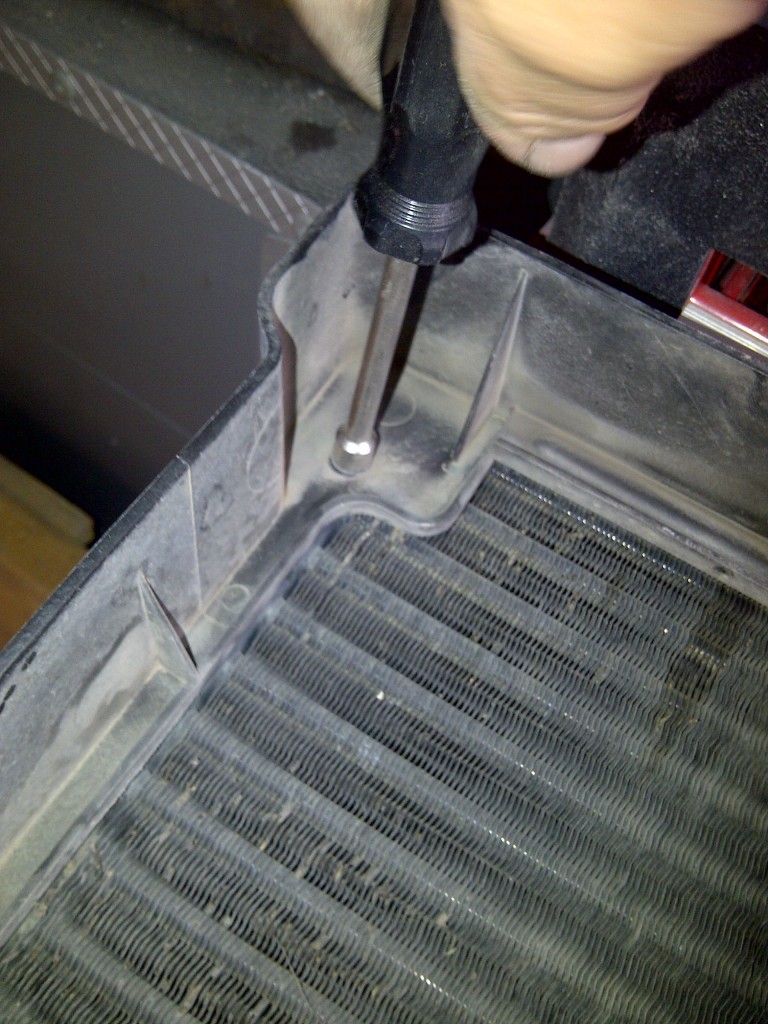
Remove condenser from support:
New Condenser installed with trans cooler replaced:
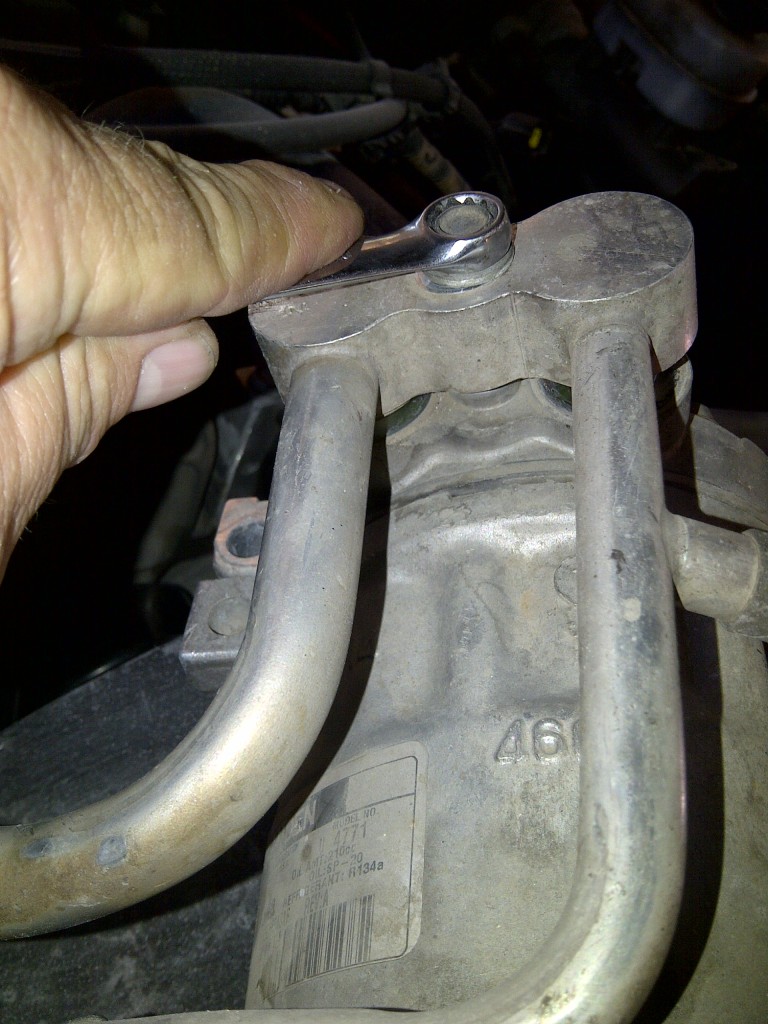
Connector on compressor:
Low pressure filling refrigerant:

High pressure port connected with gauge:

For safety�s sake and to protect your AC system, follow recharge instructions, especially pressure (for fill) in FSM.
AC compressor clutch went out in November. I had to replace the compressor (found one for $64.00 new) as I could not find a clutch. I installed new compressor without plumbing it in and just tied the old compressor off above the horns due to condition of AC condenser.
Original condenser:
New Condenser:
Removing Drier:
You remove the clip from the connector, then use the special Fuel/AC fitting tool to release the internal spring clip. Remove the bolt in the band clamp near the bottom of drier. Also remove the connector from low pressure cut off switch. Make sure you remove the switch form the drier before discarding!
Connector removed:
Fittings on Condenser:
Upper fitting:
Lower fitting:
Remove condenser from support:
New Condenser installed with trans cooler replaced:
Connector on compressor:
Low pressure filling refrigerant:
High pressure port connected with gauge:
For safety�s sake and to protect your AC system, follow recharge instructions, especially pressure (for fill) in FSM.
Thread Starter
|
Legend
Joined: Jul 2011
Posts: 8,259
Likes: 4
From: Austin, TX
Received e-fan kit today from TCP. Sometimes it is like Christmas around here on some days...…..

Here is the shroud:

And the fans and hardware:
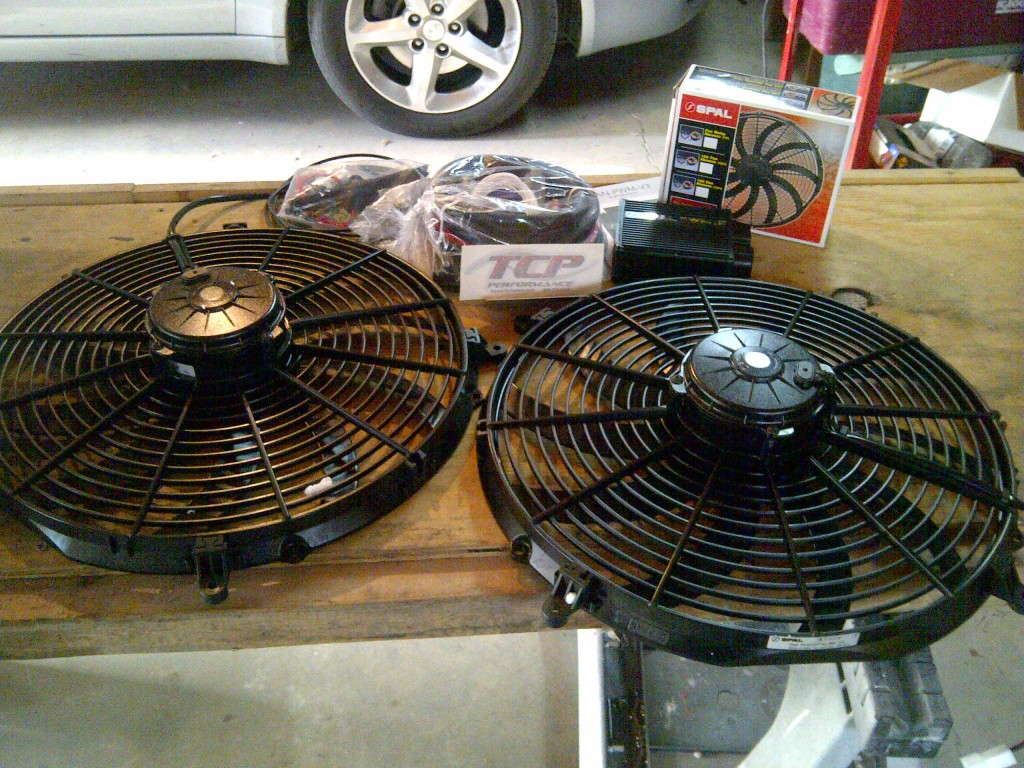
Edges are saw cut and pose potential cut hazard, so I sanded them down and sanded welds to make it look neater. Welds had 100% penetration so grinding does not weaken joint.


I plan to paint the shroud (black, of course….) Gotta figure the prepping and painting aluminum. Several websites mention an alkali cleaner and some kind of chromate…..I don’t want to have to strip it and repaint later. I also plan to remove battery and battery box and treat with rust converter and paint inner fenders this weekend also.
Here is the shroud:
And the fans and hardware:
Edges are saw cut and pose potential cut hazard, so I sanded them down and sanded welds to make it look neater. Welds had 100% penetration so grinding does not weaken joint.
I plan to paint the shroud (black, of course….) Gotta figure the prepping and painting aluminum. Several websites mention an alkali cleaner and some kind of chromate…..I don’t want to have to strip it and repaint later. I also plan to remove battery and battery box and treat with rust converter and paint inner fenders this weekend also.