

Starting the build process


Thread Starter
|
Legend


Joined: Feb 2005
Posts: 8,058
Likes: 184
From: Fort Worth, TX
And back to the Mopar stuff.
Got the primary plate made. The bottom two holes are 1/2" holes for 7/16" bolts, gives about .030" of wiggle room for head gasket, block decking, head shaving, ect.
Had to take the bumper off to fit the truck in the garage. Literally a half inch from clearing.
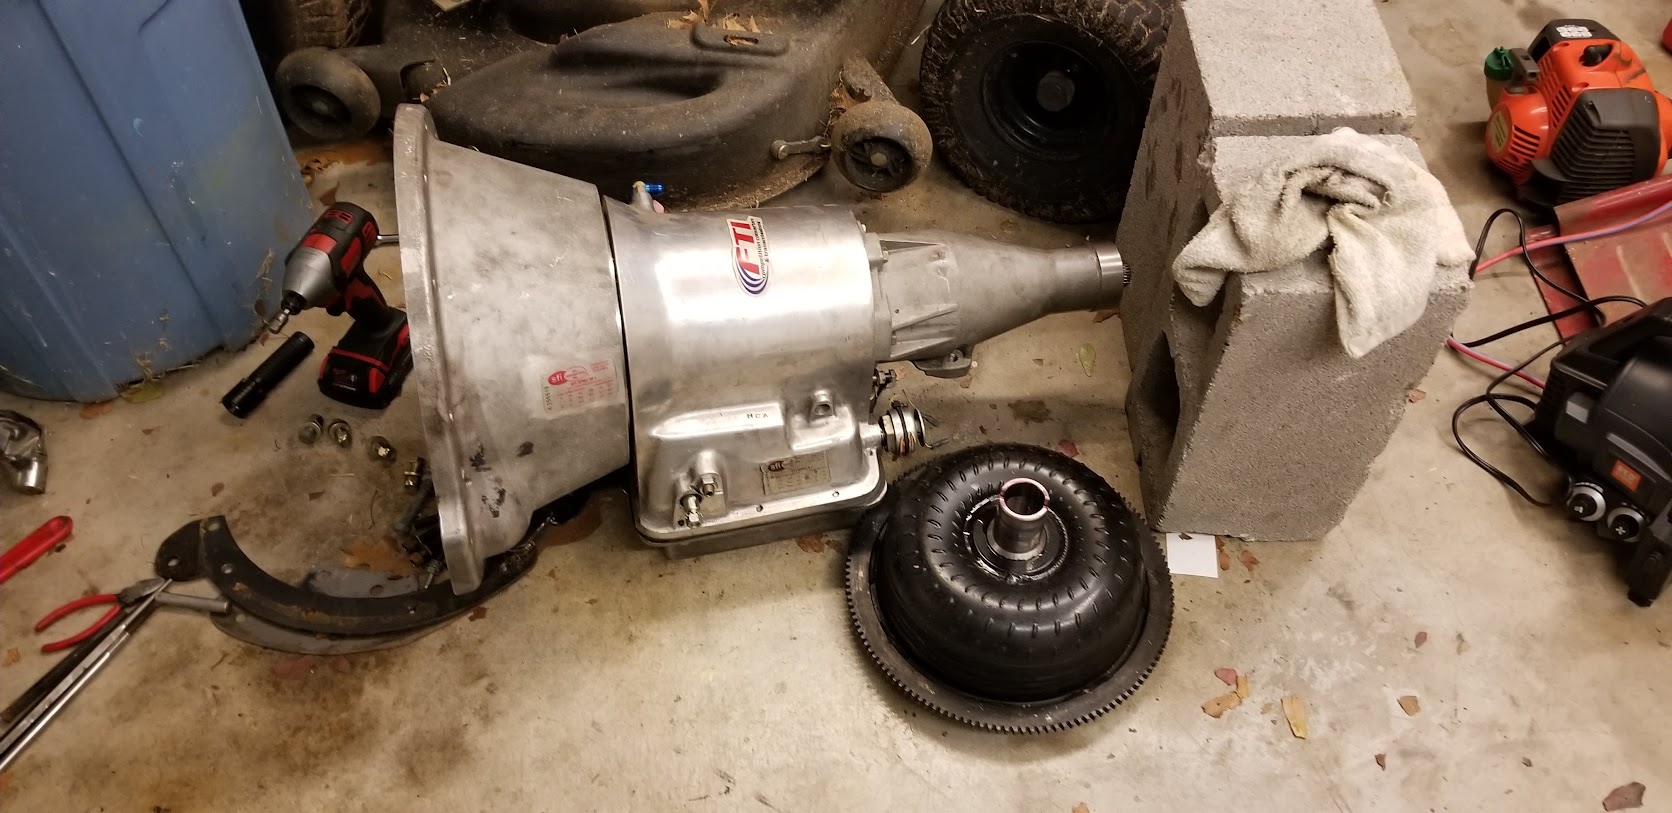
Pulled the trans out so I can chase down a couple leaks and get the converter re-stalled.

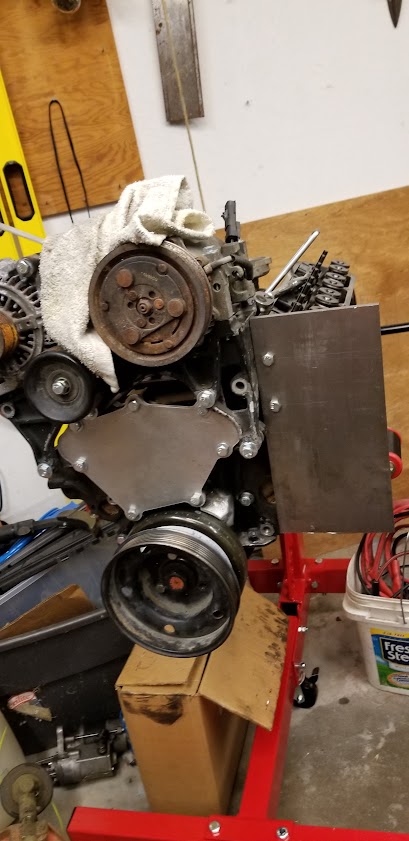


Got the primary plate made. The bottom two holes are 1/2" holes for 7/16" bolts, gives about .030" of wiggle room for head gasket, block decking, head shaving, ect.
Had to take the bumper off to fit the truck in the garage. Literally a half inch from clearing.
Pulled the trans out so I can chase down a couple leaks and get the converter re-stalled.
Thread Starter
|
Legend
Joined: Feb 2005
Posts: 8,058
Likes: 184
From: Fort Worth, TX
Clamped the aluminum plate up to measure. I kinda like that he gave me extra. I bought and paid for 12x12 and I got 12x16.
Knowing that the plate will end at the power stud, that gives me a frame of reference, minding that the V8 will be 4.5" forward of the V6.
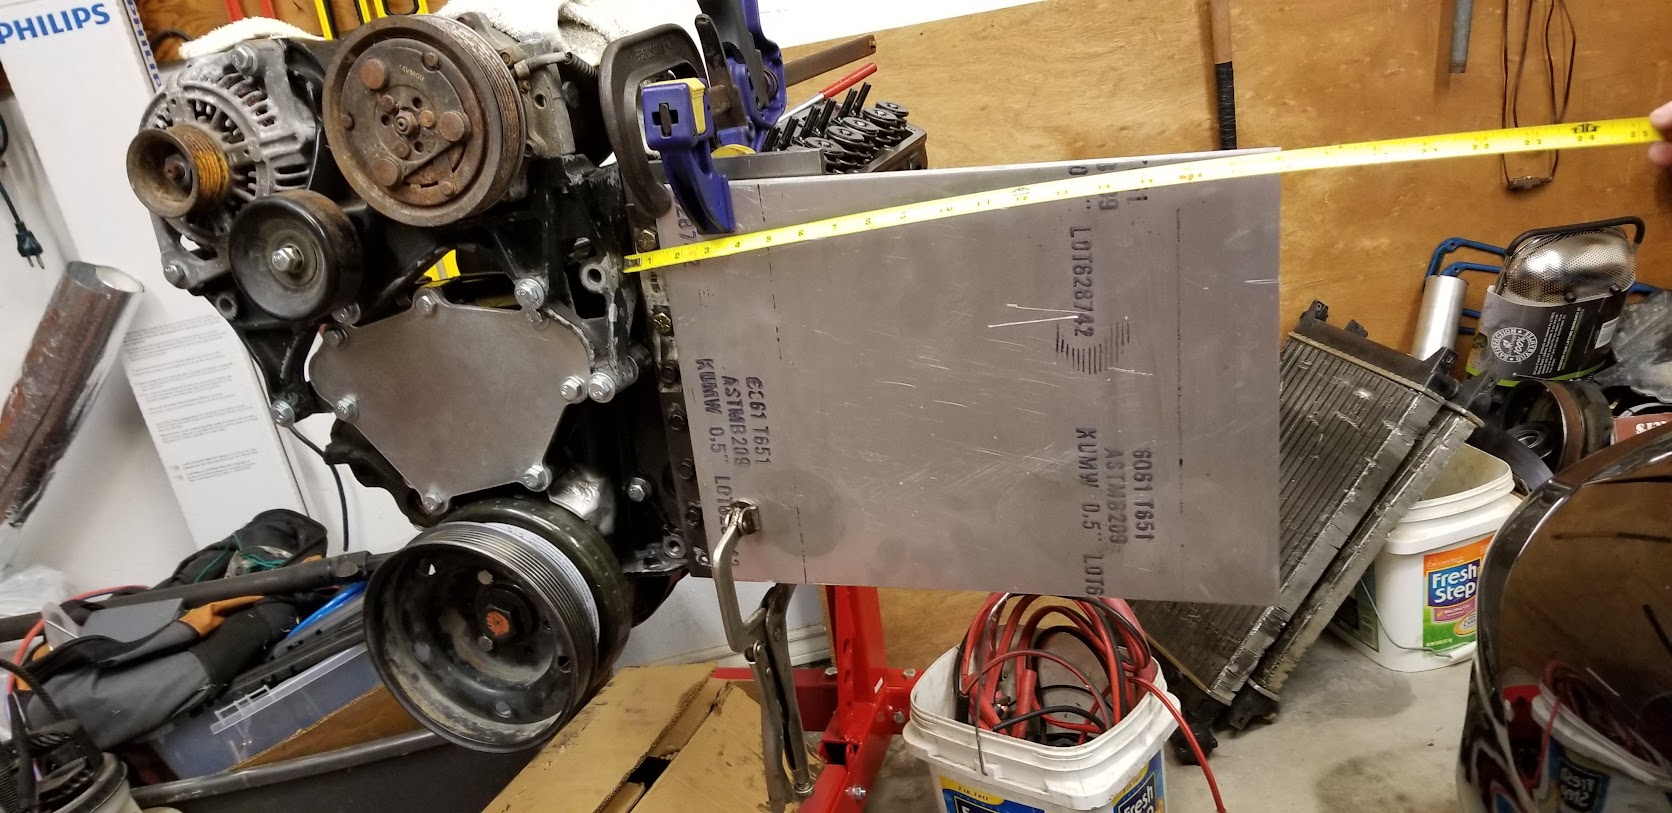


Knowing that the plate will end at the power stud, that gives me a frame of reference, minding that the V8 will be 4.5" forward of the V6.
Thread Starter
|
Legend
Joined: Feb 2005
Posts: 8,058
Likes: 184
From: Fort Worth, TX
Not much progress on the truck this week. Check back next week and I should have more. Spent the weekend getting the dragster closer to complete.
CO2 throttle control system is moved from the throttle body to the pedal. Wiring is done. Rear axle is back together.


CO2 throttle control system is moved from the throttle body to the pedal. Wiring is done. Rear axle is back together.
Thread Starter
|
Legend
Joined: Feb 2005
Posts: 8,058
Likes: 184
From: Fort Worth, TX
Nothing like slapping a head on at 1:00 in the morning to verify the math. Aluminum plate and the factory serp and the LS steering conversion ain't gonna quite fly. At least it is survivable, just have to notch the aluminum plate for the pulley and the static idler between the pump and compressor. Steel plate needs more notching around the supply hose, but it is good enough until I am further along.
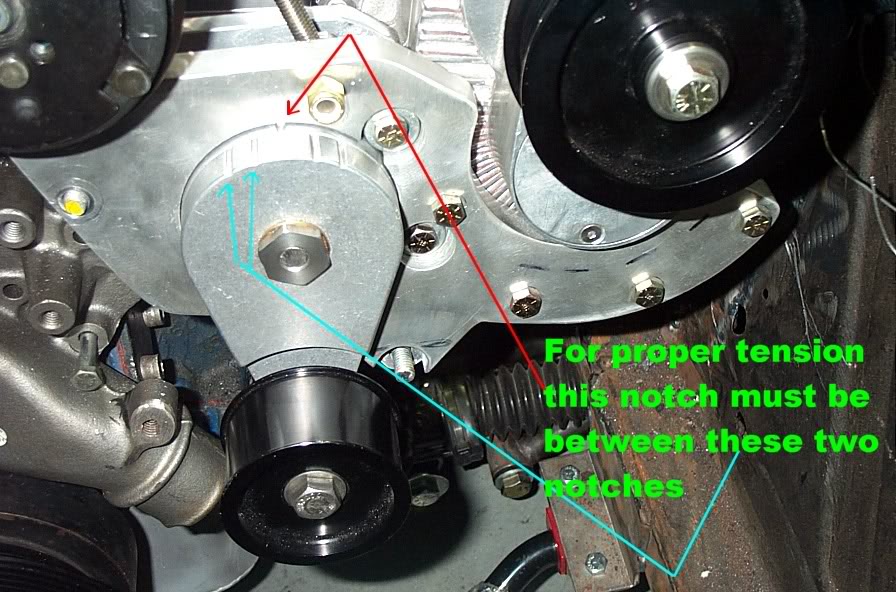
On the blower side, It's overly complicated compared to most, but I want to have a static idler next to the blower pulley so that I have the same % of belt wrap for all the pulley and belt sizes. Most kits only have the tensioner next to the blower pulley, but if you can only use the next size larger belt and you're running a tiny pulley, you might only have 50% wrap, versus a big pulley and proper belt, might be 75% wrap. Using the static idler guarantees me to have no less than 75% wrap at all times, at the cost of having a much longer belt to fit the tensioner in. With a 12 rib belt, I'm not as worried about belt wrap % on the 7.65" bottom pulley.
I'm done with metal working for the time being. Not going to be able to use as many 1/2" bolts as I would like, hopefully four 1/2-20 NF grade 8 bolts will be enough. Tapping and threading the 3/8" plate will be fun. I should be able to cut 7 threads into the plate. Not sure I'll be able to do much more until I get a blower pulley and have the transmission back in the truck to put the engine back at the correct angle.
Thread Starter
|
Legend
Joined: Feb 2005
Posts: 8,058
Likes: 184
From: Fort Worth, TX
Nothing new this weekend. I tapped the steel plate to 1/2-20 threads and ordered matching bolts from Fastenal. They'll be here Thursday, hopefully.
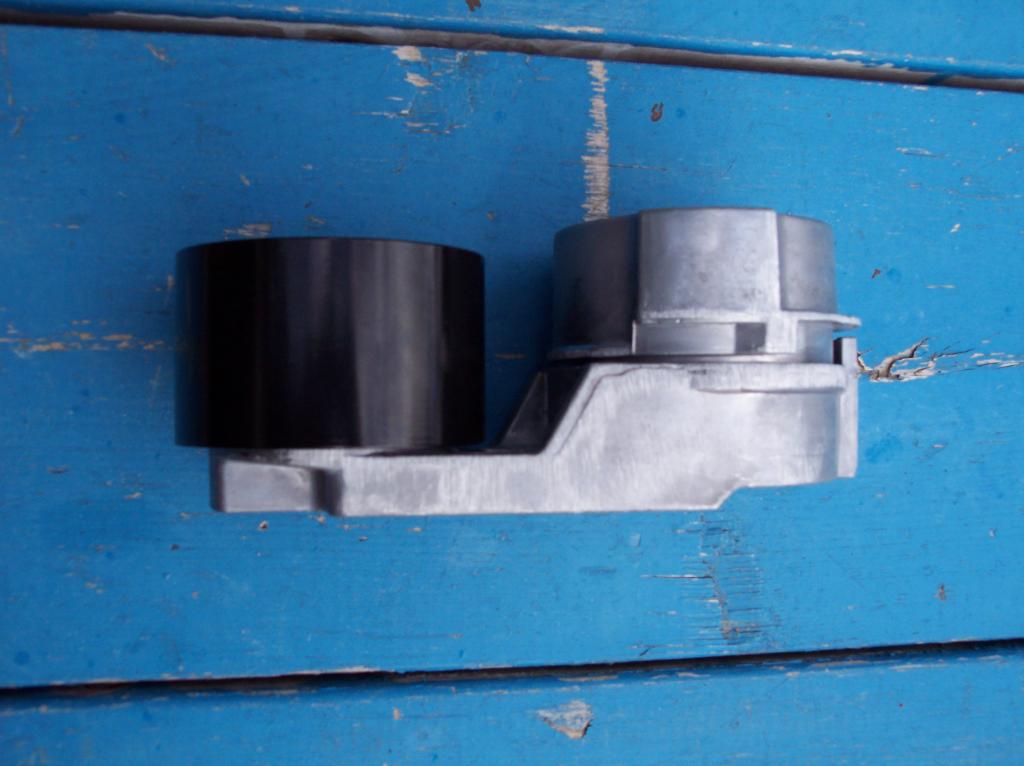
I still need to figure out which tensioner setup I am going to go with. I have a couple ideas, but nothing very concrete. I'll have three options:
1) space the blower pulley out 1/8"
2) Mill the aluminum plate where the tensioner sits, by 1/8"
3) space the tensioner pulley -1/8" or +1/8" depending on which style tensioner I use
For any tensioner, the pulley will need to come in towards the plate 1/8" because the systems are designed around 3/8" plate and I'm using 1/2" plate
The main difference is that tensioner #1 is for use with offset shank pulley, #2 is for a centered shank pulley.
For tensioner #1, the pulley would likely rub the arm. The arm is already pretty thin...
For tensioner #2, the pulley would just need a 1/8" shim/spacer behind it, but the head of the retaining bolt may hit the aluminum plate....may have to notch the plate for it!
I have a third option.... use an offset pulley on the blower, with tensioner #2 mounted to a spacer block of proper thickness..... but that would look like absolute hell.
Last edited by magnethead; Feb 4, 2018 at 07:06 PM.
Thread Starter
|
Legend
Joined: Feb 2005
Posts: 8,058
Likes: 184
From: Fort Worth, TX
No big news in the last 2 weeks. Both torque converters shipped today and will be here Wednesday. Intake manifold and accessory bracket are at powdercoater, should be done Tuesday or Wednesday. I'm still trying to find a decent set of valve covers, and figure out what the OEM setup was for the idler pulley between AC and alternator. I could have sworn there was an insert that went on the bolt, and the pulley's bearing rode on.


Thread Starter
|
Legend
Joined: Feb 2005
Posts: 8,058
Likes: 184
From: Fort Worth, TX
I sure hope I don't leave one center stripe! I'd much rather leave two on a 65" center spacing.....