When you click on links to various merchants on this site and make a purchase, this can result in this site earning a commission. Affiliate programs and affiliations include, but are not limited to, the eBay Partner Network.
Incandescent to LED conversion for your HVAC controller!
So if you don't know how to remove your HVAC controller, you shouldn't be doing this mod.
Tools needed:
Screw driver
Pliers
Soldering iron and solder
Materials needed:
HVAC controller
Sylvania 168 LED bulbs
So when I got my Dakota the HVAC bulbs were burned out. I couldn't find replacement bulbs anywhere but the dealership. I found that the Sylvania 168 LED bulbs perfectly. This is my old controller with blue bulbs.
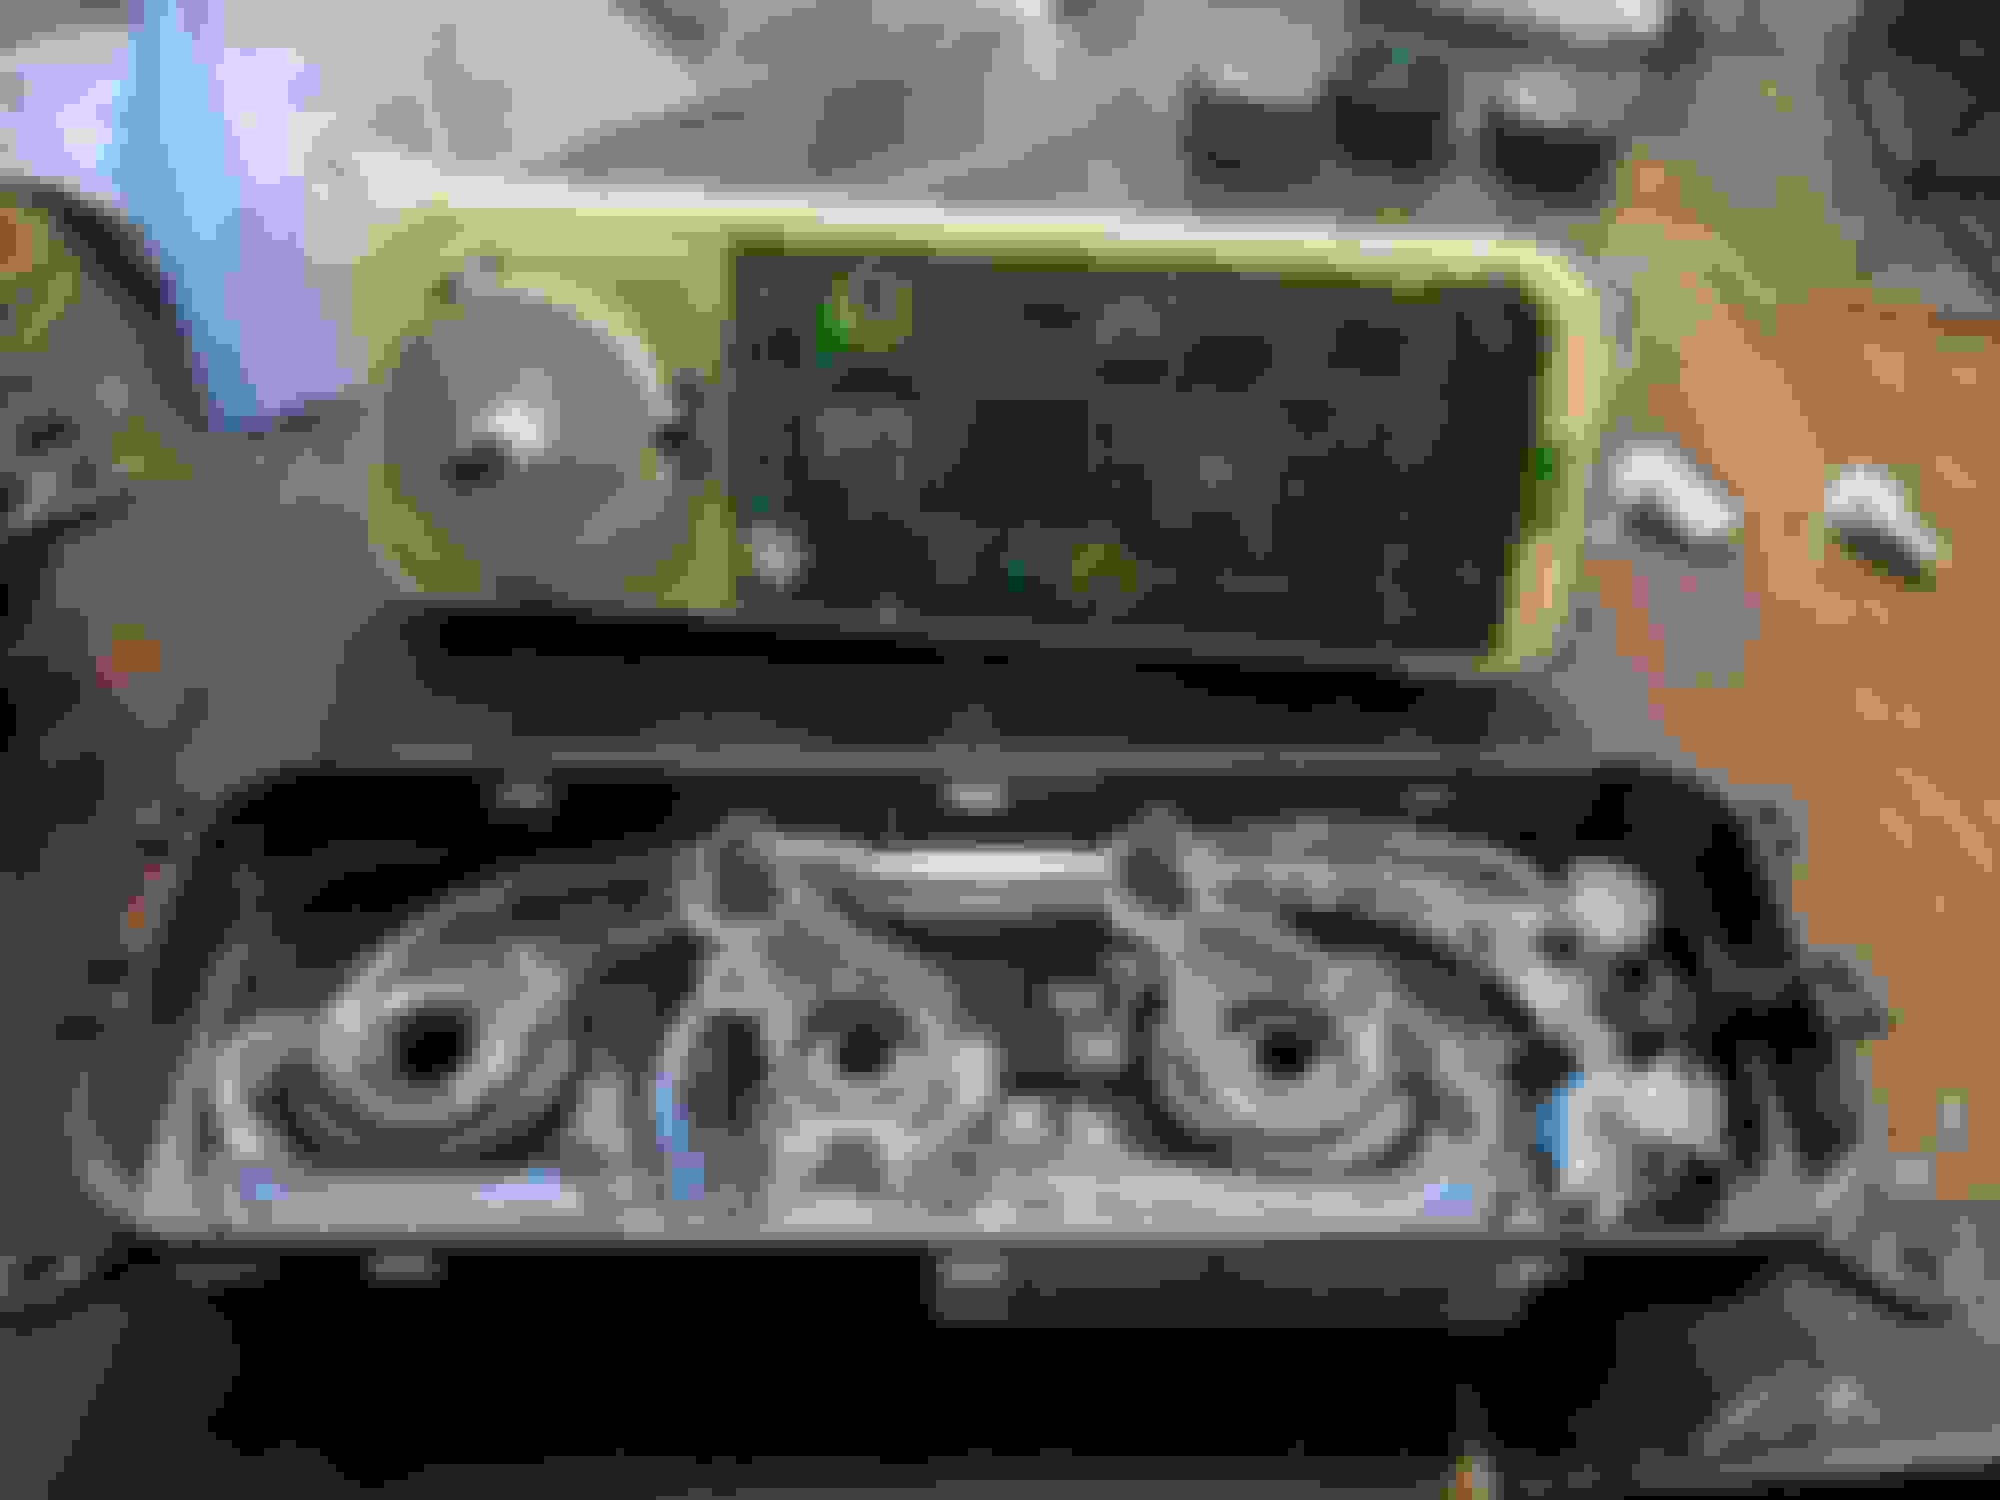
Once you have the controller out, pull the ***** off and pry open the controller back.
This is what the controller looks like opened up.
Check the bulbs fitment in the light track. They should fit the cup perfectly. Red dot is the positive terminal on the bulb.
The most frustrating part of this mod is getting the bulb between the face and the board. With the new bulbs being LED, they'll be polarity sensitive. Positive is towards the center of board, negative is towards the outside of the board. Once they're oriented and the board is in the face, press the ***** back on to hold the board onto the face for soldering. Bend the wires over the contacts and solder contacts to the board. It's best to solder the bulbs to the board this way to set the depth.
Make sure the wires aren't touching any other contacts.
What the board will look like after the bulbs are soldered to the board.
For testing afterwards, these are the terminals you'll need to apply power to test the lights. The positive terminal is the very bottom left.
This is what it looks like afterwards.
Happy modding! This mod works for all 2001+ Dakota's and Durango's, and Rams. This new controller was from a 2004 Ram 2500.
Last edited by Ryan LaRue; 12-19-2020 at 12:47 AM.
Reason: Adding more info.
I thought about doing this to the Dak, but all I could find were really bright bulbs, which I didn't want. It looks good, but would probably be a bit too bright for my taste. I believe the originals have blue or green rubber caps over them for that reason.
I found direct fit LED replacements on Amazon.
Search for "T5 NEO wedge" and you'll find numerous sources for them.
The ones I purchased came in a package of six for under $6.
They all get that way eventually, and make doesn't matter. Incandescent bulbs get to over 300 degrees in a matter of seconds, and sometimes those bulbs are on for hours at a time. I'm really surprised that the plastic lasts as long as it does when subjected to heat like that.
I found direct fit LED replacements on Amazon.
Search for "T5 NEO wedge" and you'll find numerous sources for them.
The ones I purchased came in a package of six for under $6. https://www.amazon.com/gp/product/B00S92Q93S/
I just installed them, and they work great. Nice, even illumination.
Nice! The output of yours is about the same as my 192 bulb mod. the T5 neowedge is probably a better route to go imo since there is no soldering or disassembling required
Originally Posted by Dodgevity
I can't recall. Do the original bulbs have colored rubber caps over them or is the color a part of the the unit itself?
Yes, I've done this mod a few times. The original controller that i took out of my truck had colored caps on the bulbs.

 12-19-2020, 12:45 AM