When you click on links to various merchants on this site and make a purchase, this can result in this site earning a commission. Affiliate programs and affiliations include, but are not limited to, the eBay Partner Network.
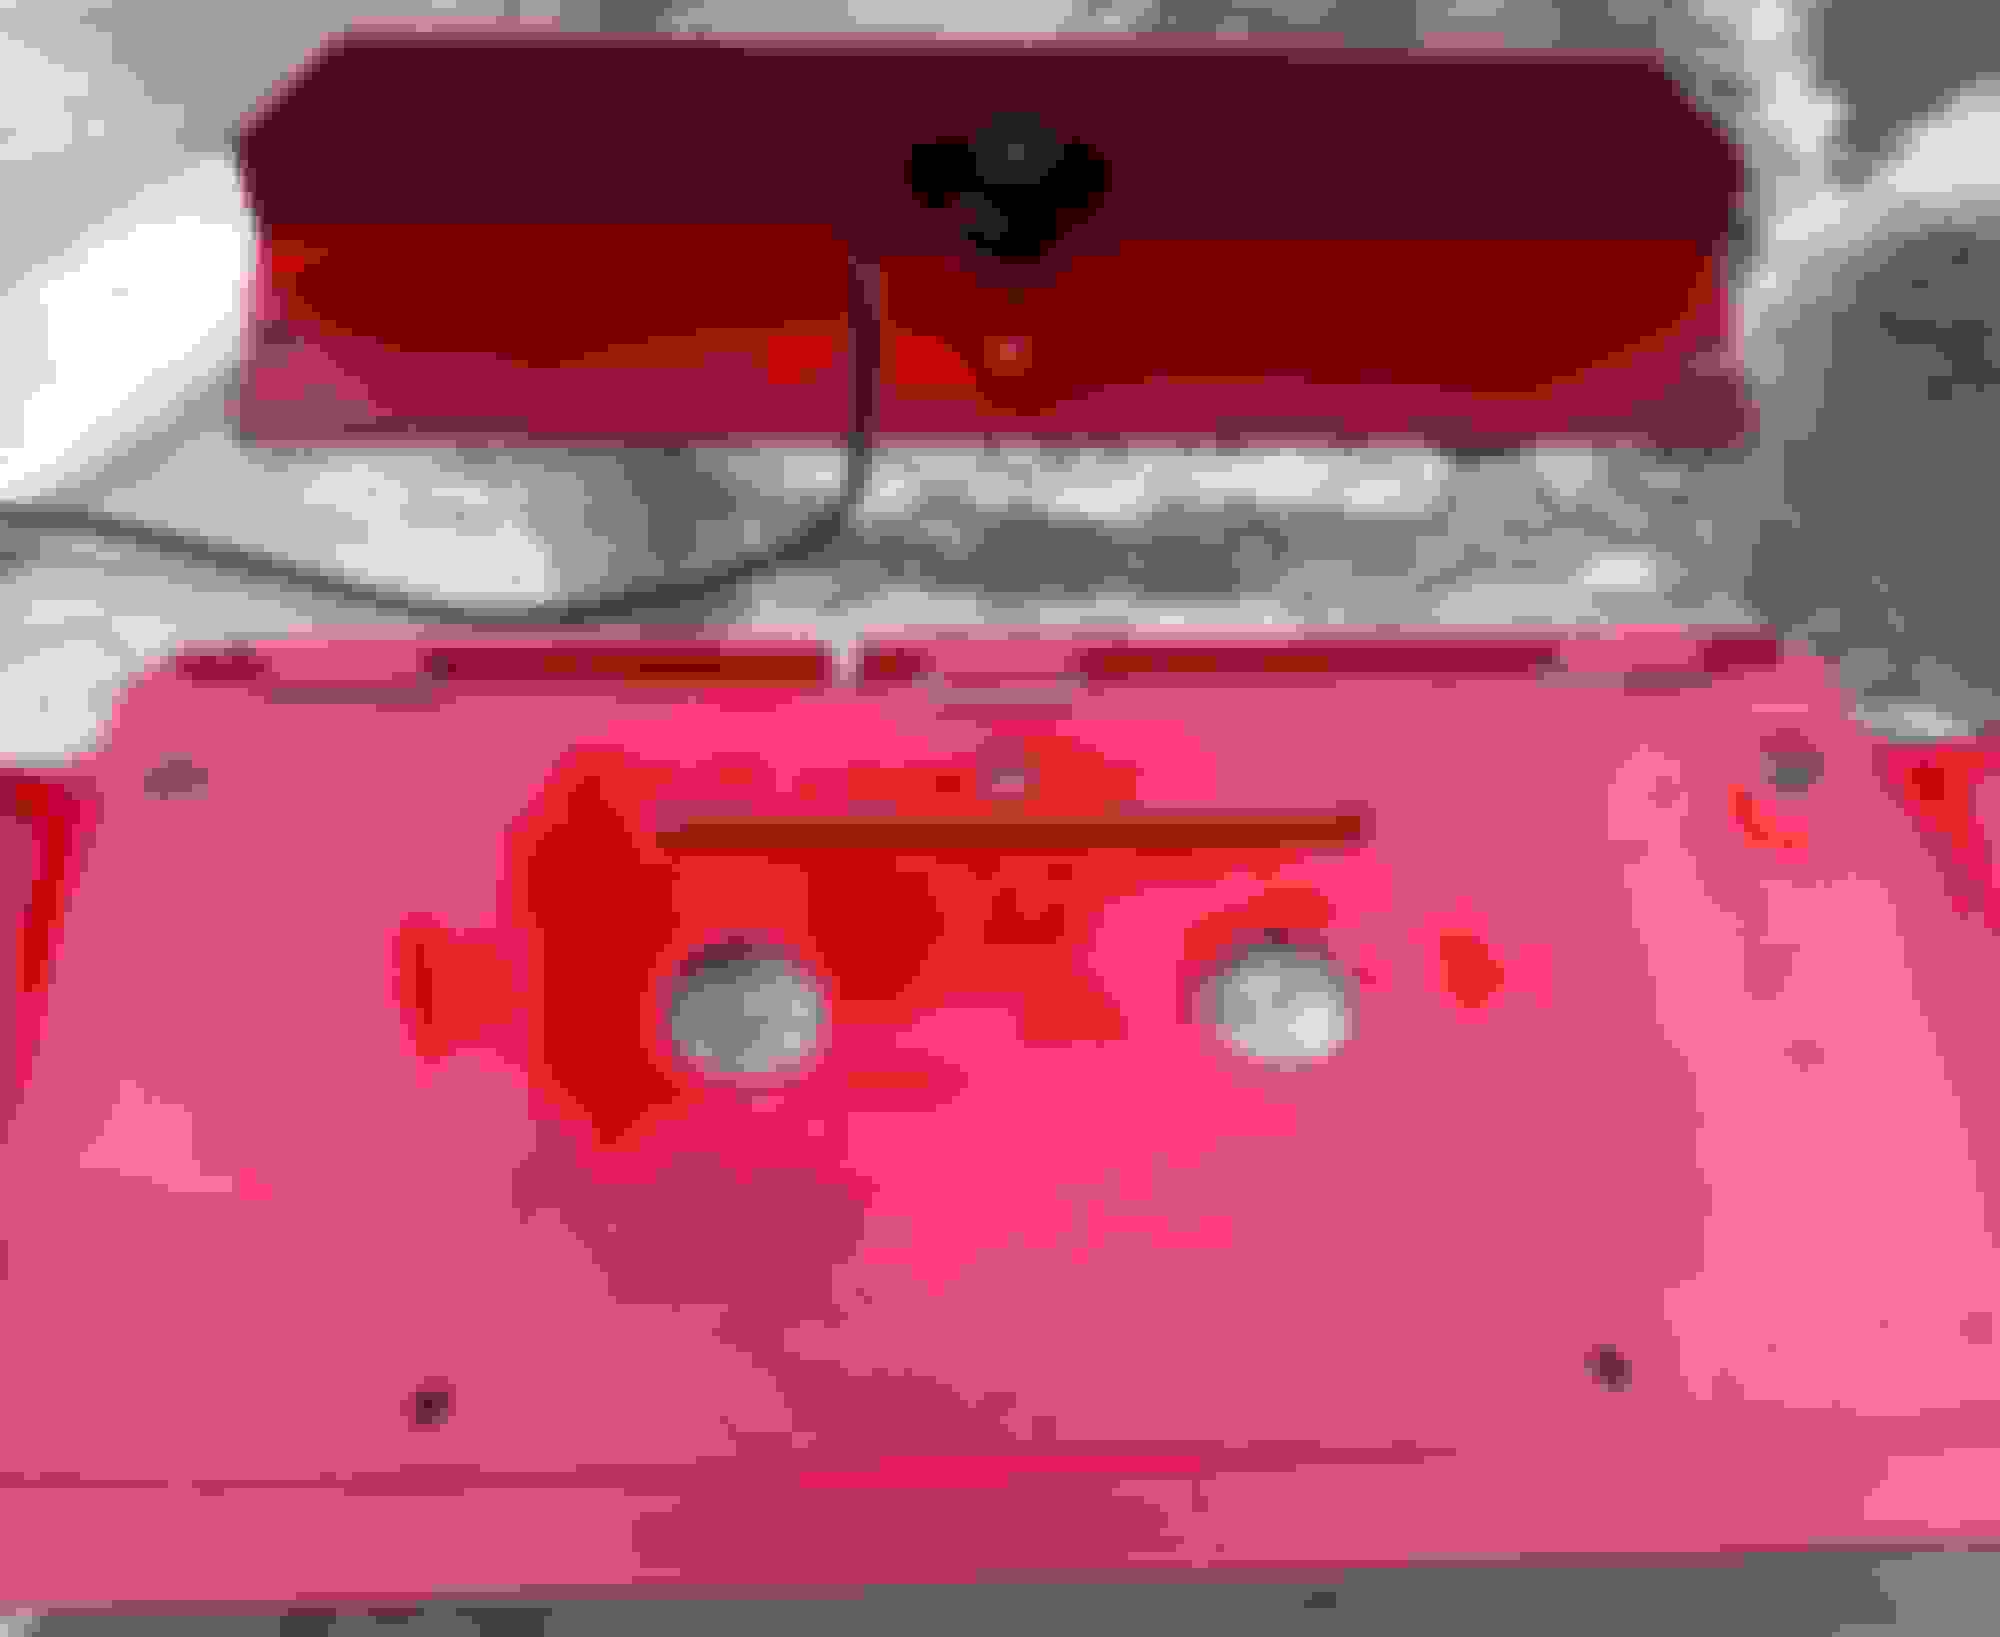
I did manage to make my backup camera mount yesterday (finally).
So today I fitted it to the truck.
The bracket is 2�x2�x1/8� aluminum angle.
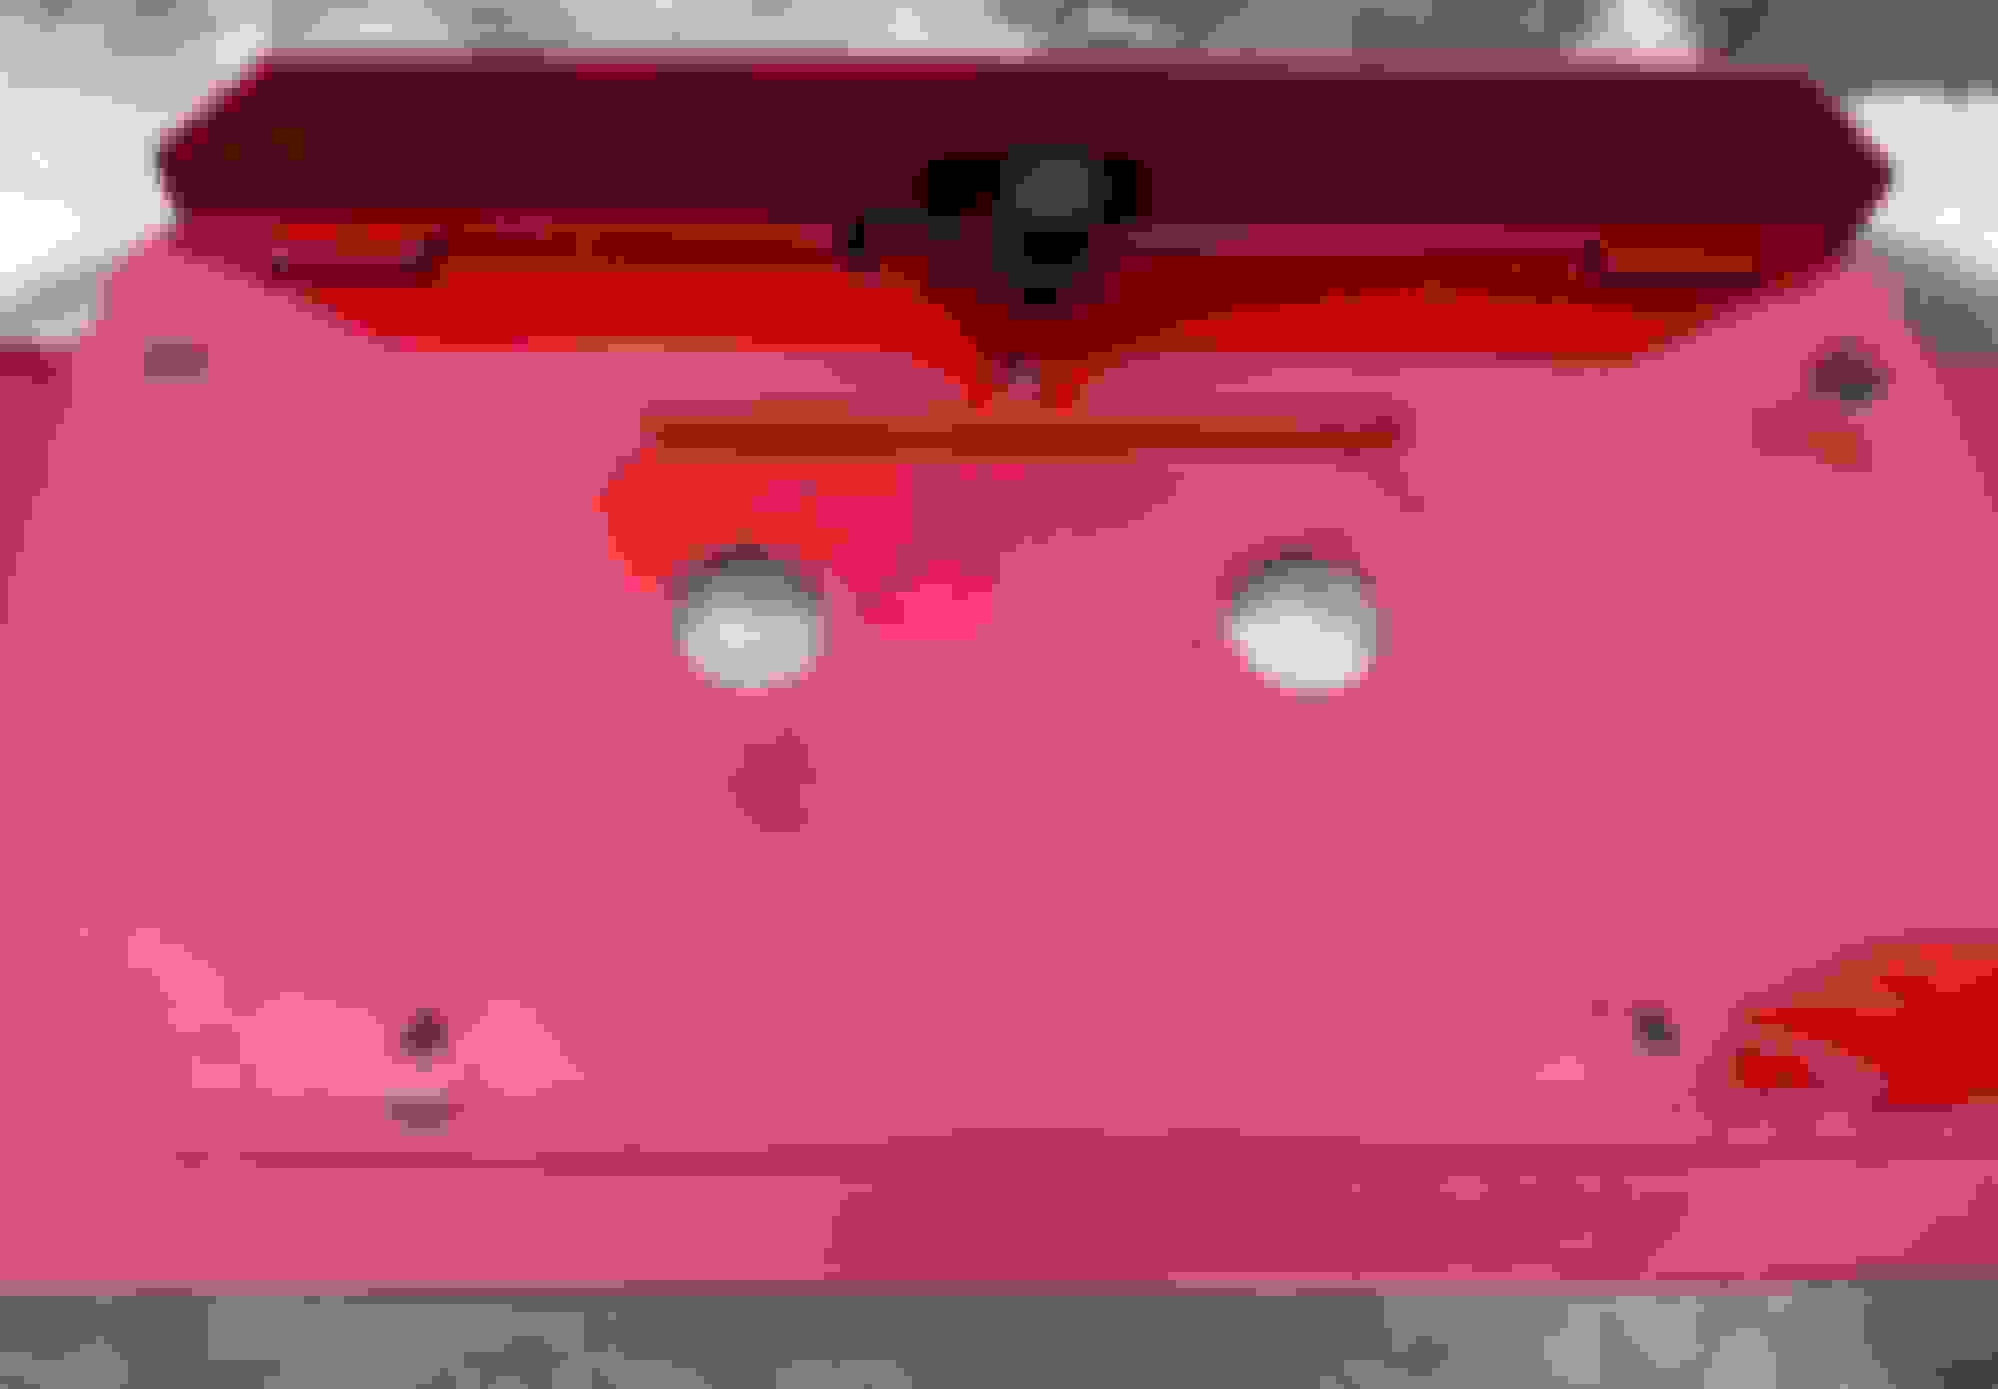
The slot allows the cable to lay between the back of the bed and the number plate mount, without being pinched.
The top flange protects the camera from debris falling between the bed and tailgate.
And we have picture... I�ve got to work out how to adjust the guidelines on the radio (they are adjustable), then I�ll decide which set I�ll use (the camera guidelines aren�t adjustable).
Not bad. I like them, but I�m staying out of it until I can get the front end rebuilt. Hopefully this weekend or next will see new ball joints, tie rods, pitman arm, control arm bushings, shocks, and a mild 1.5 inch leveling kit. The Goodyear�s are definitely an improvement over the coopers though. Never getting coopers ever again.
I will say going from what was effectively a 29� tire to a 32 has taken some of the fire out of an already lackadaisical truck. I feel a regearing is in order.
So a while back I replaced my intake gaskets and in the process also installed a new thermostat seal in the intake manifold. Ever since I had done that the temp gauge had started to go a little under the 210 mark on my gauge, but not overheat, when I would be at an idle for more that a few minutes. It never used to do that and I just assumed it had something to do with the new seal I put in. Well, the other day I had the hood up checking the temp at the thermostat housing and when I went to shut the engine off, the fan kept spinning. Aha, the fan clutch is bad. I just replaced it a little under two years ago, and it decided to go out right after I reinstalled it from other repairs.
Looks good Bryan! I must've missed the dash install because that looks custom and really fits the double din well!
But my question is, how did you remove the cigarette lighter? Mine has never worked (since I bought in 2001) and I've tried to remove it but that section will not budge. I have a replacement to use power. How do I get that part of the dash out or the lighter socket?
Post #16447 in this thread has some pics of the radio going in (the dash was a project over several months).
The double DIN kit is a Metra 95-6551.
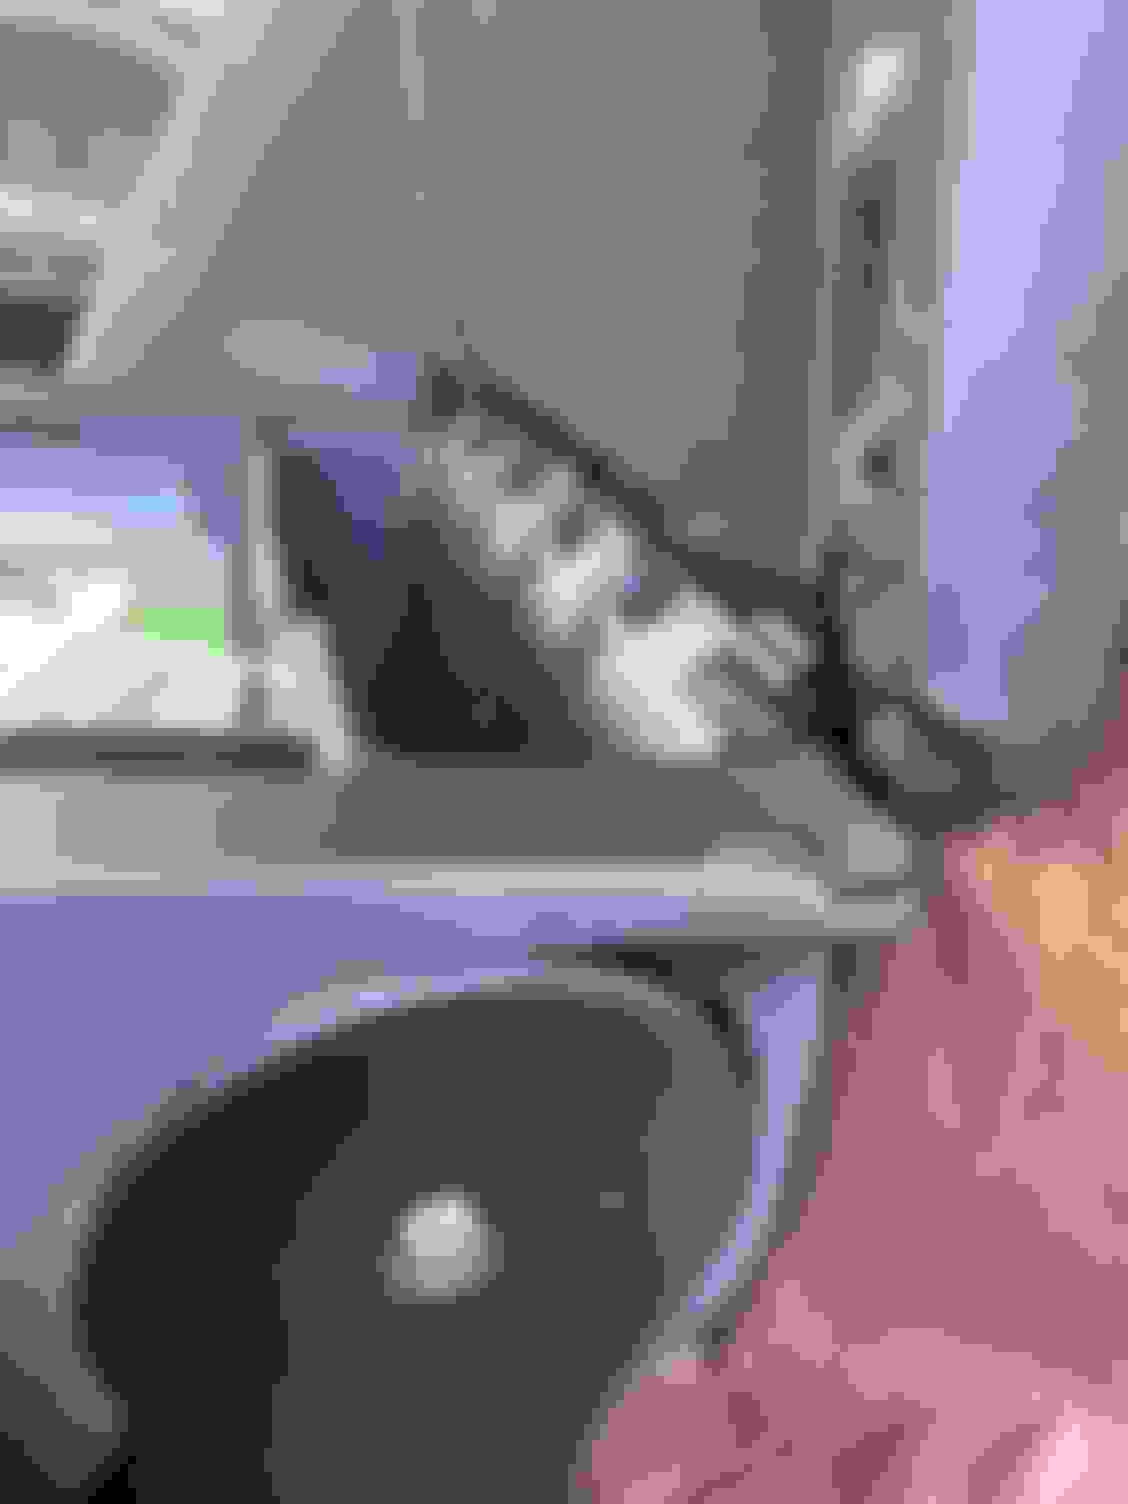
The floor of the standard opening gets cut out, so accessing the lighter from the top is easy... I will admit it didn�t want to come out, so I used a Dremel to remove the tabs holding it in from the back... I�ll see if I can find the lighter in the shed, and get you a pic of the back of it.
[Edit] Post #16419 you can see that the section that holds the lighter is part of the dash frame.
And here�s a pic of the lighter... there�s a tab missing from the pocket on the side... both sides are the same.
Today I adjusted the guidelines on the backup camera... the l/r yellow lines are spaced at mirror width... the red line is 12� clear of the bumper at ground level... things at ground level disappear behind the bumper at 24�, and where the bumper is at bumper height is in plain view ;-)... the green line is vehicle length clearance.
After fitting one of the two new e-fans (not enough rivnuts in stock), I moved on to getting the lid off the center console/ armrest.
I started out using a door panel separating tool to pry off the interior trim around the bottom of the lid... you can see the point of flex, so you know where the clips are... once I got a few up, I could see that the clips actually are (a barb), so changed to a small screwdriver to release the remaining clips... even being cautious, I broke 7 of 13, but there�s enough left to get it back together.
With the trim out of the way, I used a punch to start driving the pivot pin out... once started I grabbed the other side with pliers and pulled it out... it then just lifts vertically off the tail of the spring.
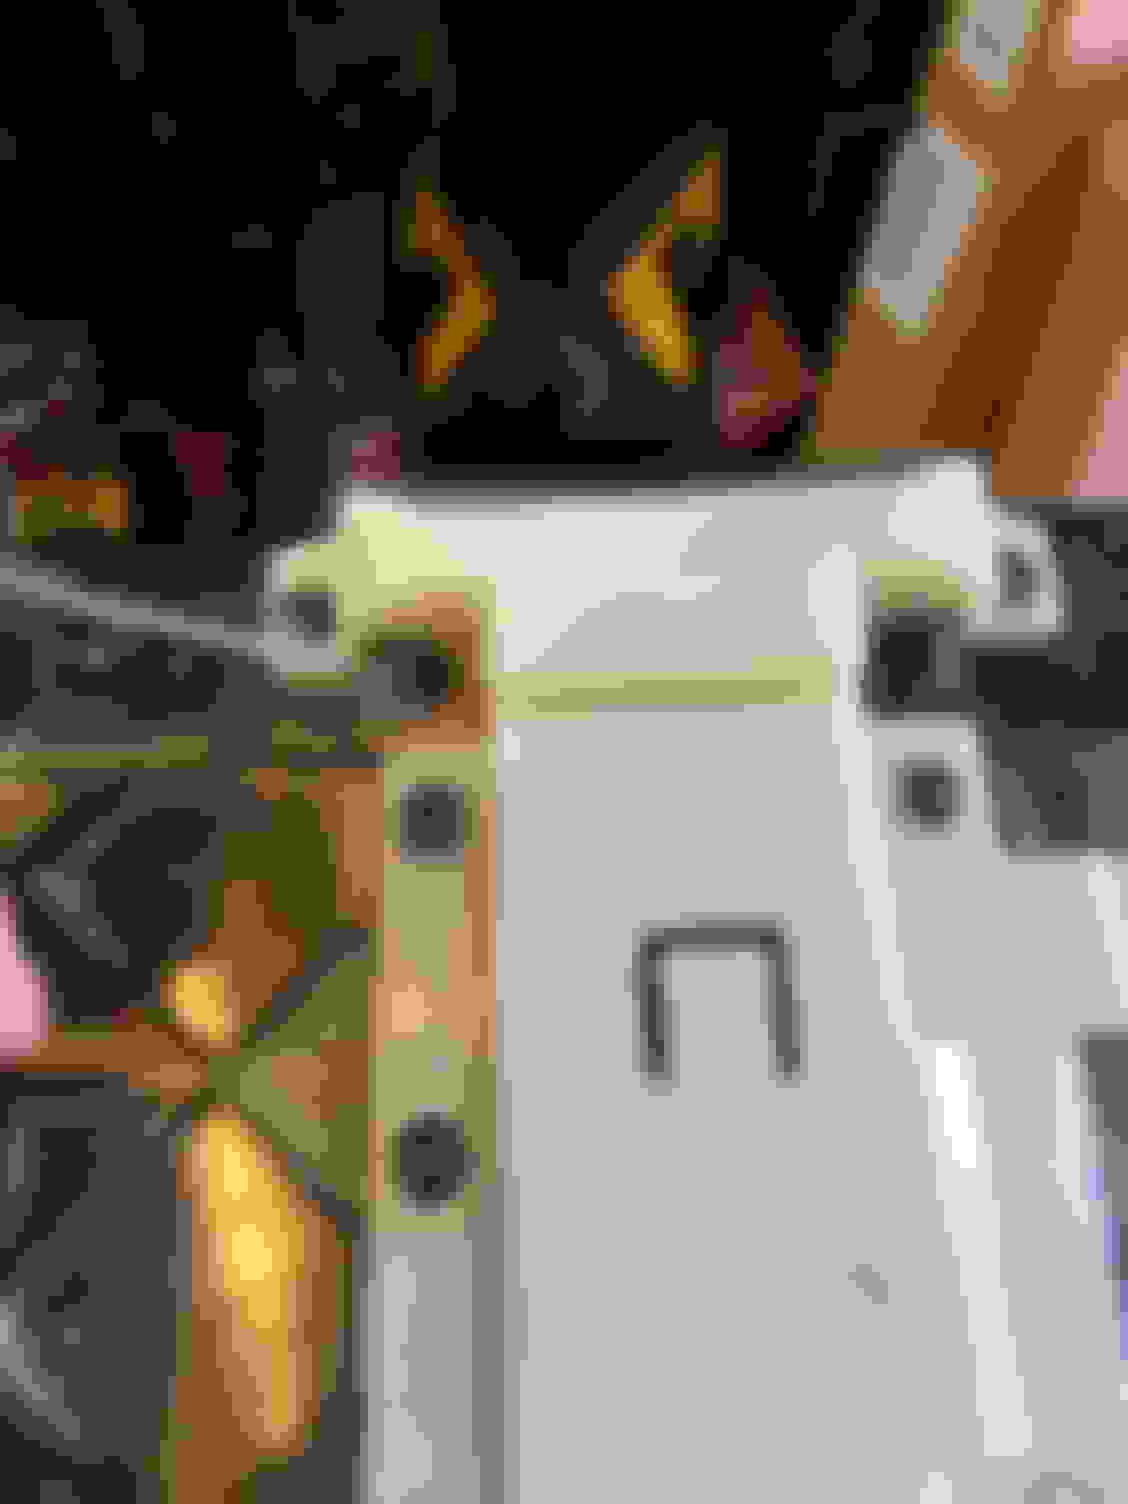
The vinyl is stapled to the plastic frame... pull the staples and fold the vinyl back... remove the foam pad... the back edge of the vinyl has a pocket stitched in that has a nylon rod in it... this slides into a groove in the plastic frame.
The vinyl slid out from under the trim around here release button... this trim has two bards to get it off, so it will be easier to put back together.
There�s a small steel tube in the frame... the tail of the spring goes into the tube, and the tube distributes the load over the lid.
So far, it�s been an easy job... more updates as I get around to rebuilding it.
After fitting one of the two new e-fans (not enough rivnuts in stock), I moved on to getting the lid off the center console/ armrest.
I started out using a door panel separating tool to pry off the interior trim around the bottom of the lid... you can see the point of flex, so you know where the clips are... once I got a few up, I could see that the clips actually are (a barb), so changed to a small screwdriver to release the remaining clips... even being cautious, I broke 7 of 13, but there�s enough left to get it back together.
With the trim out of the way, I used a punch to start driving the pivot pin out... once started I grabbed the other side with pliers and pulled it out... it then just lifts vertically off the tail of the spring.
The vinyl is stapled to the plastic frame... pull the staples and fold the vinyl back... remove the foam pad... the back edge of the vinyl has a pocket stitched in that has a nylon rod in it... this slides into a groove in the plastic frame.
The vinyl slid out from under the trim around here release button... this trim has two bards to get it off, so it will be easier to put back together.
There�s a small steel tube in the frame... the tail of the spring goes into the tube, and the tube distributes the load over the lid.
So far, it�s been an easy job... more updates as I get around to rebuilding it.