

Project New Suspension: 2500 2WD


Thread Starter
|
Record Breaker
Joined: Dec 2008
Posts: 1,585
Likes: 0
Well its finally time to do it all. Upper ball joints are shot as well as most of the bushings and the shocks. So I decided just to replace everything. The only things that dont need replaced is the tie rod ends and pitman arm so I will just leave them alone due to cost and time. I was going to make this a project for this weekend but had a slow day at work today and jumped the gun, ill admit a little too early since I havent had a chance to research it all. Time for some pictures. 
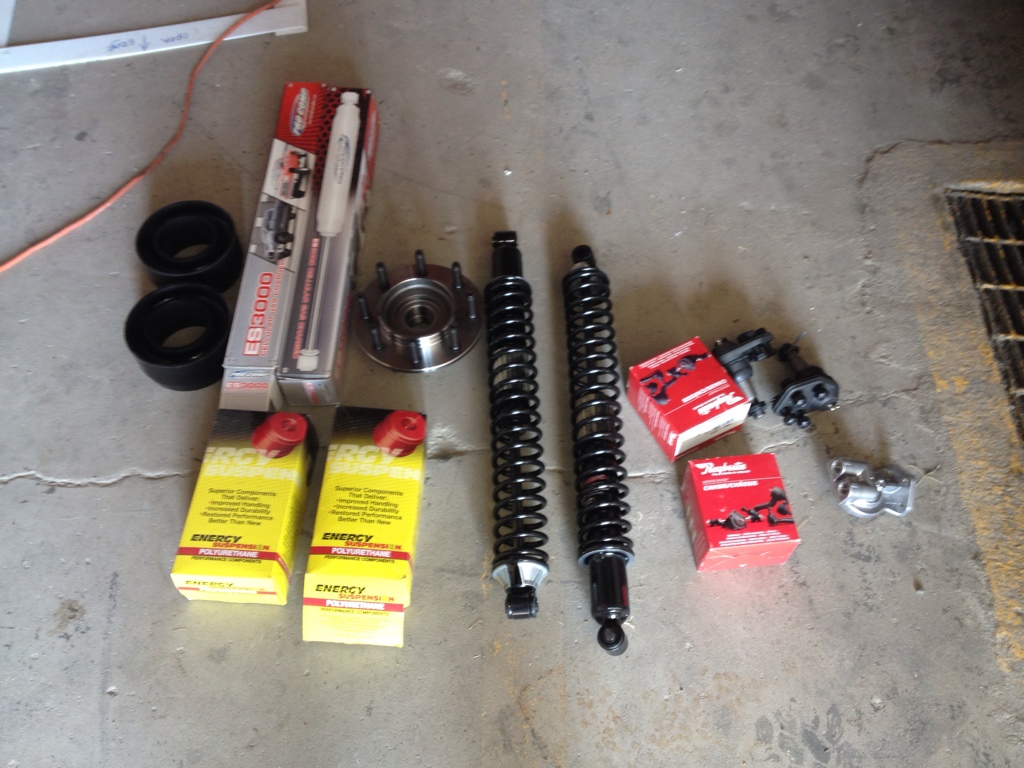
What I have here is: full set of Raybestos service grade ball joints, wheel bearing and hub assembly, Pro-Comp ES3000 shocks with 2" level kit, Monroe Sensa-Trac Load rear shocks, Energy suspensions complete front end kit, Speedway remote transmission filter plate, and I also have a set of borg warner selonoid and transducer.
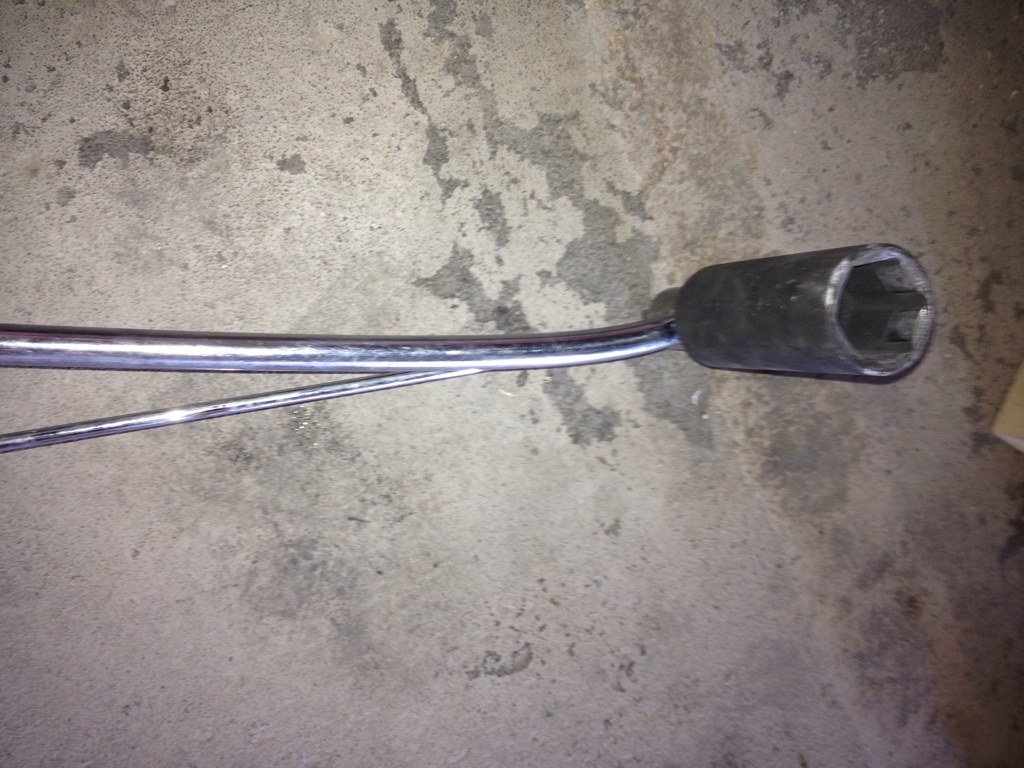
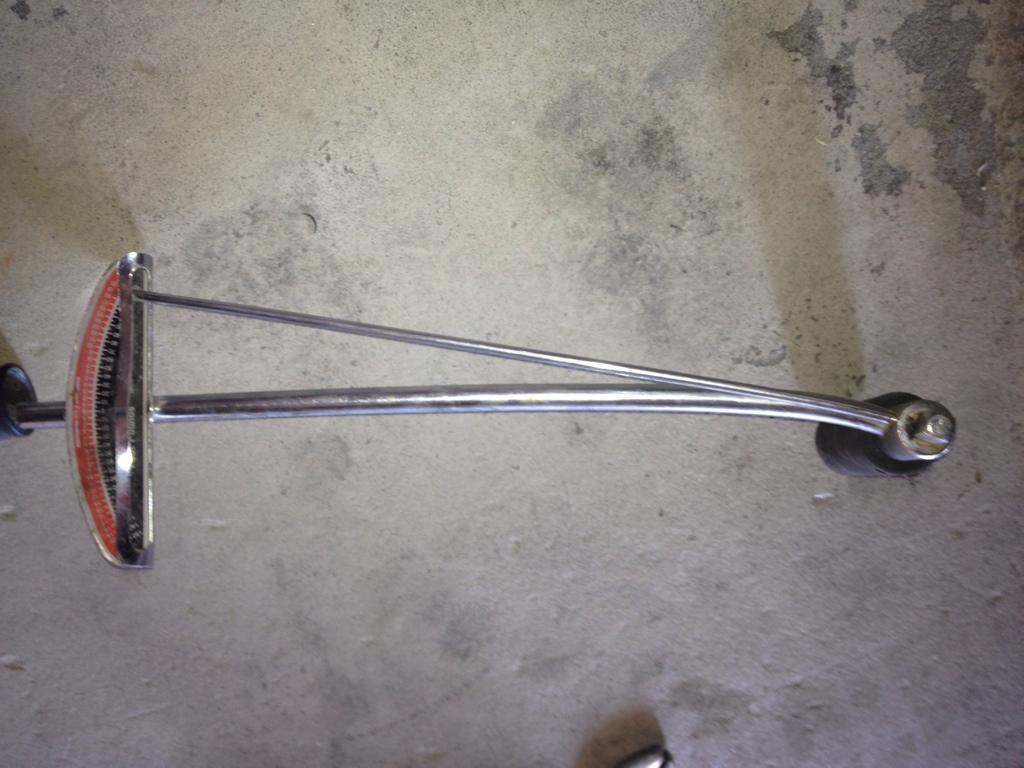
This project did not start off well. I had a hard time getting the lug nuts off on the drivers side. My impact with 170lbs running through it couldn't break them loose. I didn't have a breaker bar handy so i used my old school torque wrench and sheared off the tip. So i got out another slightly better torque wrench and proceeded to bend it really bad getting the lugs loose. Is this normal for a 3/4 ton?

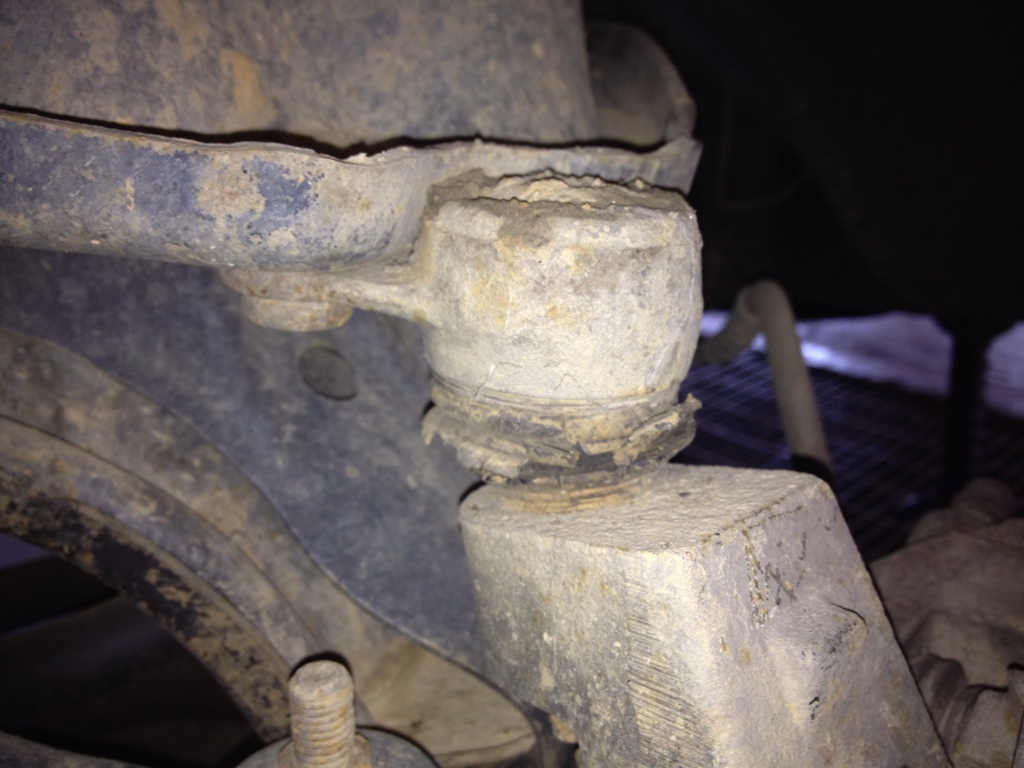
But i finally got them all off and starting with removing the upper control arm. This is real easy to do, just the two bolts on top and the nut on the upper ball joint. I was able to get the ball joint separated really easy with the ball joint separator. See how bad it was

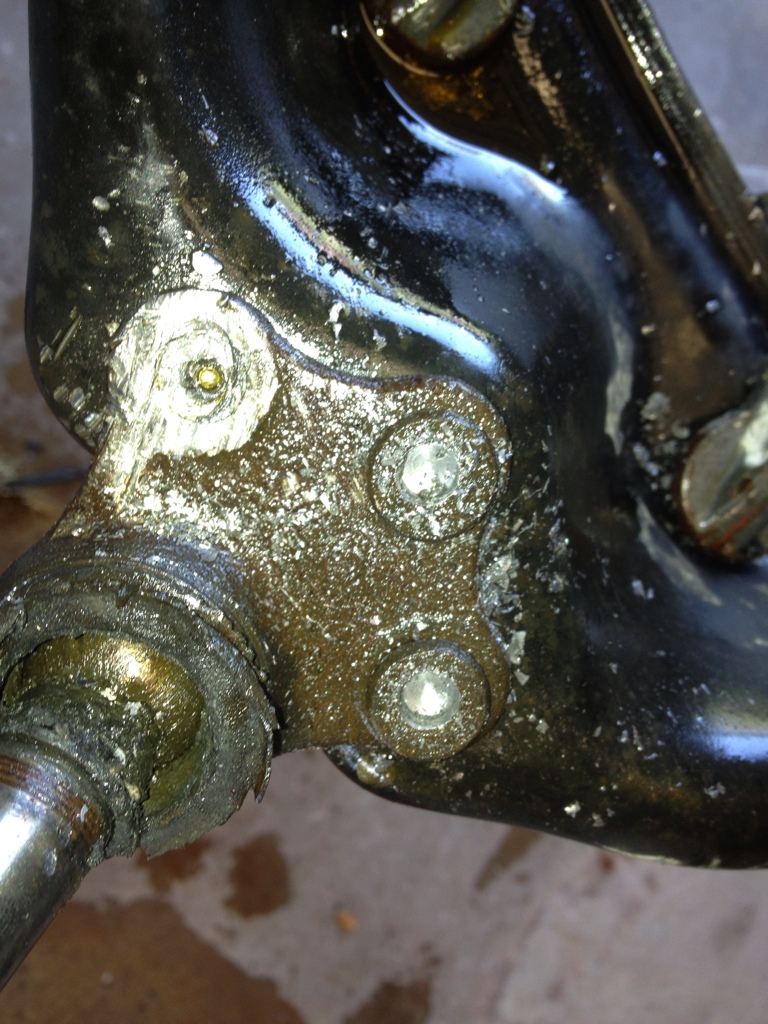
I then used a couple of c-clamps to clamp it to one of our fab tables. I used the technique of drilling into the rivet first and then using a pneumatic air hammer with a chisel to remove the head.
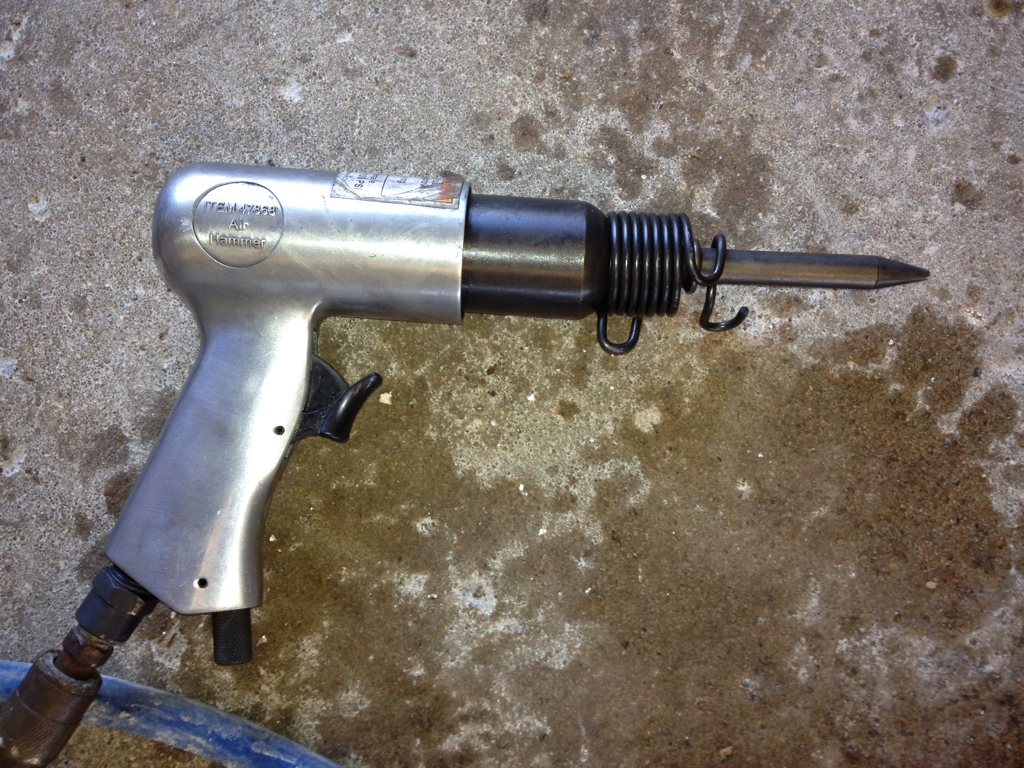
btw i bought this air hammer and 12 piece chisel set at harbor freight for $20
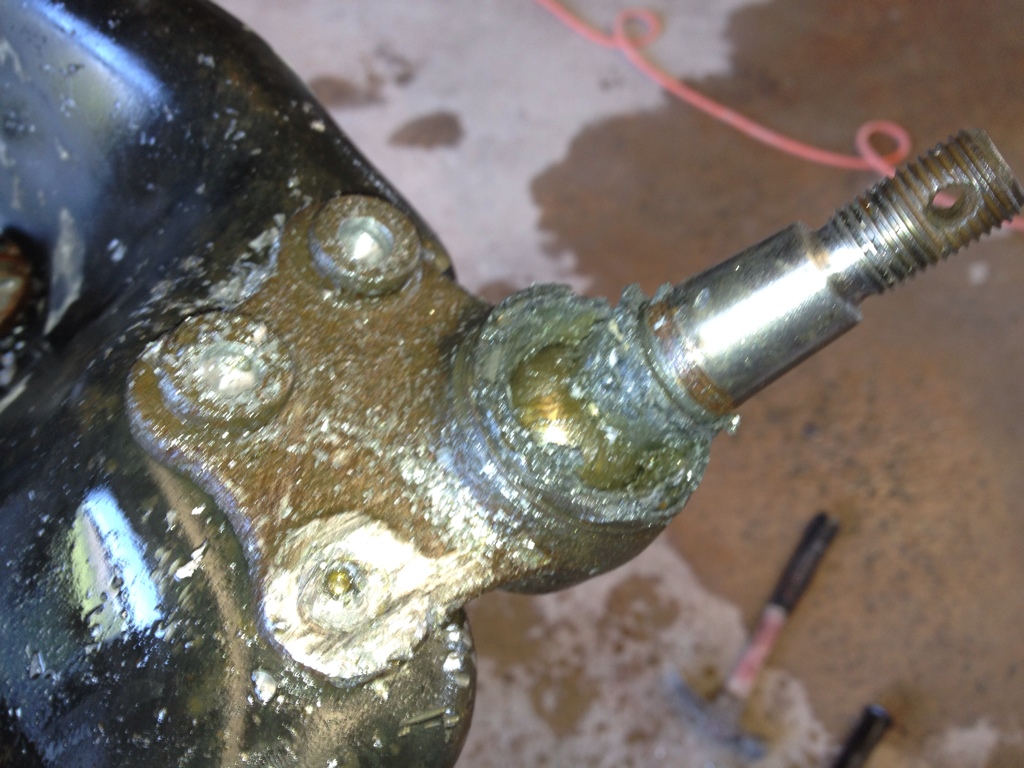
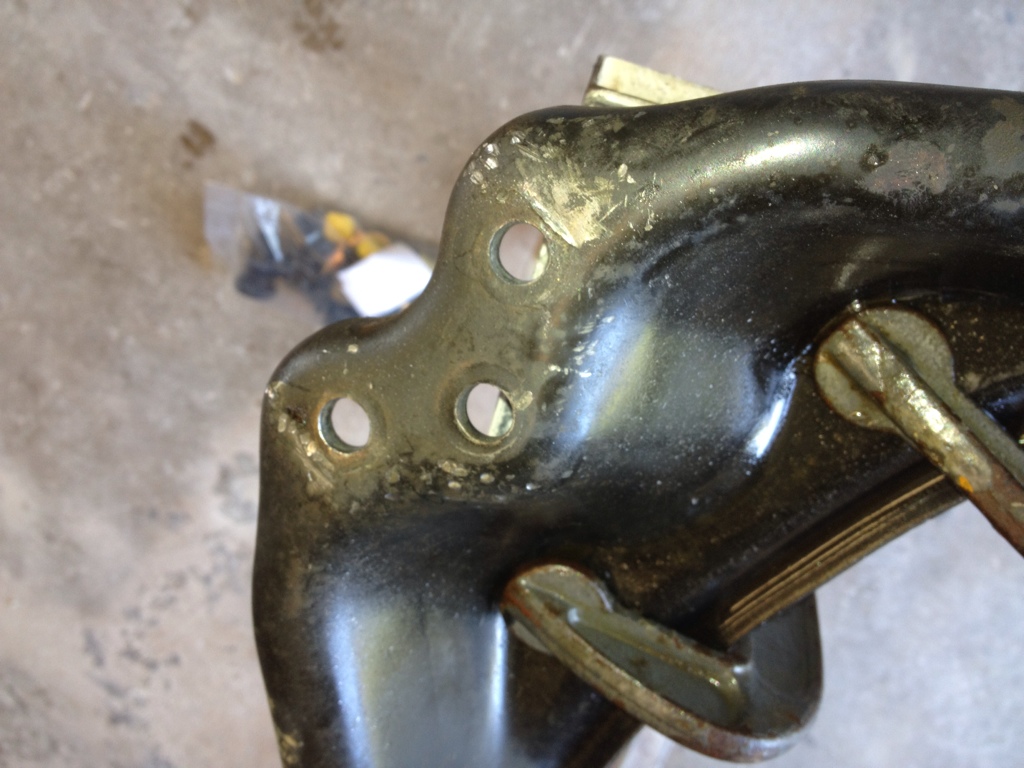
After I had knocked all the heads out I tried using a punch on the air hammer but it did not work. I ended up using a punch and a hammer and proceeded to cuss and scream for the next 30 mins as I brutalized my hands. But I learned a technique after a few repeat blows to the same knuckle. I found I was able to hold the punch with a pair of vice grips and still smack it really hard without the worry of hitting my hand lol.

I have some more pictures of the rest of my progress which really wasnt a whole lot, but my phone is acting stupid and not uploading them.
Replacing the control arm bushings and separating the lower ball joint is where I ran into problems. I worked on separating the lower ball joint for about 1.5 hrs. I was smacking the separator so hard that I bent the forks. The control arm bushing were stuck extremely well too. I found the trick to both of those problems was a lot more PB blaster and a much larger heavier hammer. Now the issue seems to be that I cant get the new bushings all the way in. I am stuck halfway. I think im just going to take the whole control arm to the shop down the road that's going to do my alignment and let them press the bushing in and out. Than way I can be working on the lift spacers and shocks, as well as the sway bar bushings.
So a couple of questions I have is,
1. Am I going to need a spring compressor when I remove the lower control arm, and will I need it to put it back together? The suspension is hanging there and the upper control arm is off as well as the shock, sway bar end-link, and the ball joints (spindle, hub, and brakes are off to the side) So I figure that the spring should be unsprung
2. I noticed that the leveling spacers do not mount to anything in any sort of way, they just sit on the springs, should i be worried about that?
3. I noticed that the torque specs for the spindle nut is 280 ft lbs, ummmm how do I manage with that?
And also the FSM was unable to help me with the control arm bushings, said they were not replaceable....
What I have here is: full set of Raybestos service grade ball joints, wheel bearing and hub assembly, Pro-Comp ES3000 shocks with 2" level kit, Monroe Sensa-Trac Load rear shocks, Energy suspensions complete front end kit, Speedway remote transmission filter plate, and I also have a set of borg warner selonoid and transducer.
This project did not start off well. I had a hard time getting the lug nuts off on the drivers side. My impact with 170lbs running through it couldn't break them loose. I didn't have a breaker bar handy so i used my old school torque wrench and sheared off the tip. So i got out another slightly better torque wrench and proceeded to bend it really bad getting the lugs loose. Is this normal for a 3/4 ton?
But i finally got them all off and starting with removing the upper control arm. This is real easy to do, just the two bolts on top and the nut on the upper ball joint. I was able to get the ball joint separated really easy with the ball joint separator. See how bad it was
I then used a couple of c-clamps to clamp it to one of our fab tables. I used the technique of drilling into the rivet first and then using a pneumatic air hammer with a chisel to remove the head.
btw i bought this air hammer and 12 piece chisel set at harbor freight for $20
After I had knocked all the heads out I tried using a punch on the air hammer but it did not work. I ended up using a punch and a hammer and proceeded to cuss and scream for the next 30 mins as I brutalized my hands.
I have some more pictures of the rest of my progress which really wasnt a whole lot, but my phone is acting stupid and not uploading them.
Replacing the control arm bushings and separating the lower ball joint is where I ran into problems. I worked on separating the lower ball joint for about 1.5 hrs. I was smacking the separator so hard that I bent the forks. The control arm bushing were stuck extremely well too. I found the trick to both of those problems was a lot more PB blaster and a much larger heavier hammer. Now the issue seems to be that I cant get the new bushings all the way in. I am stuck halfway. I think im just going to take the whole control arm to the shop down the road that's going to do my alignment and let them press the bushing in and out. Than way I can be working on the lift spacers and shocks, as well as the sway bar bushings.
So a couple of questions I have is,
1. Am I going to need a spring compressor when I remove the lower control arm, and will I need it to put it back together? The suspension is hanging there and the upper control arm is off as well as the shock, sway bar end-link, and the ball joints (spindle, hub, and brakes are off to the side) So I figure that the spring should be unsprung
2. I noticed that the leveling spacers do not mount to anything in any sort of way, they just sit on the springs, should i be worried about that?
3. I noticed that the torque specs for the spindle nut is 280 ft lbs, ummmm how do I manage with that?
And also the FSM was unable to help me with the control arm bushings, said they were not replaceable....
Legend
Joined: Mar 2011
Posts: 8,914
Likes: 4
From: Fredericksburg, Virginia
I think get you can by with floor jacks to remove and install the springs. Just be CAREFUL.
Spacers should just sit in there, I think the 4x4 spacers are bolted down, not sure though.
Go as high as your torque wrench will go, then go whatever the difference is...
Oh, the torque on the lug nuts probably shouldn't be that high, it's in the FSM though. If you haven't had those wheels on/off then somebody probably over tightened them.
Record Breaker
Joined: Feb 2009
Posts: 1,145
Likes: 0
From: Amarillo, Texas
Sweet project! I'm anxious to see how you like it as mine is due for some work soon. You can do the spring spacer with a floor jack and a crowbar/prybar. The spring is not under as much compression as most think, but still be careful. The spacer just sits on top of the spring and that in turn sits in the spring bucket. Use the prybar to pry the lower control arm down enough to remove the spring. Then when putting back together, use the prybar to pull the upper control arm down, while using the floor Jack to push the lower control arm up. I had the spindle attached to the lower control arm and 'fished' the upper ball joint into the top. Worked fine.
Trending Topics
Record Breaker
Joined: Feb 2009
Posts: 1,145
Likes: 0
From: Amarillo, Texas
