

97 1500 "build"


Thread Starter
|
Rookie
Joined: Jun 2015
Posts: 52
Likes: 0
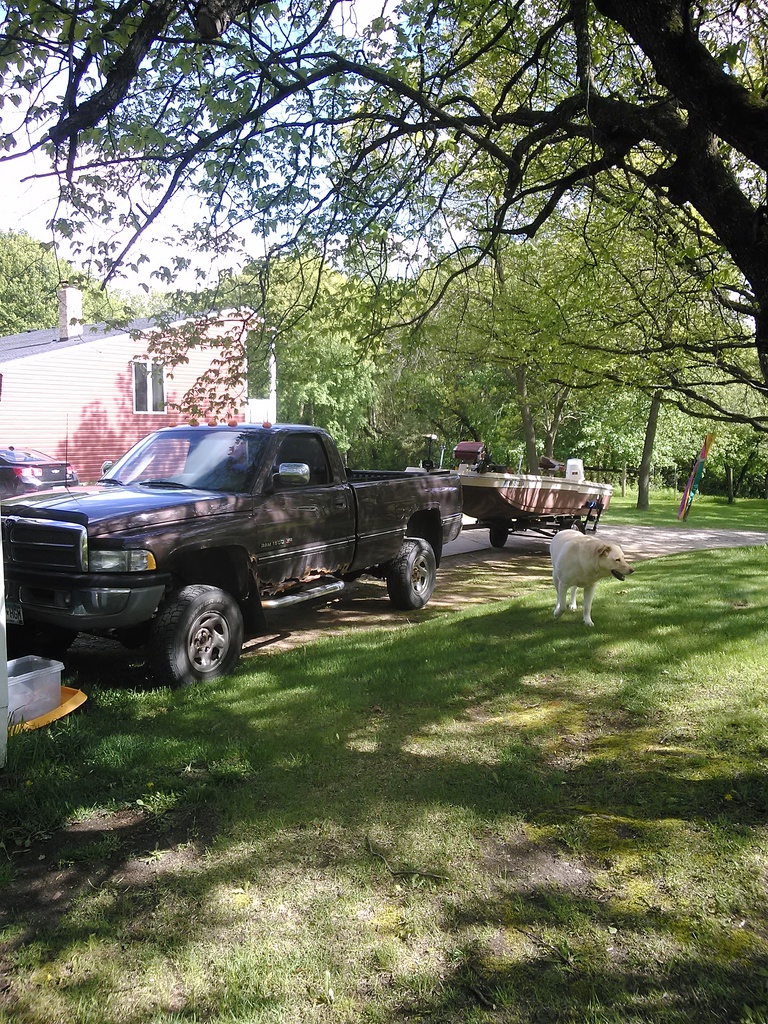
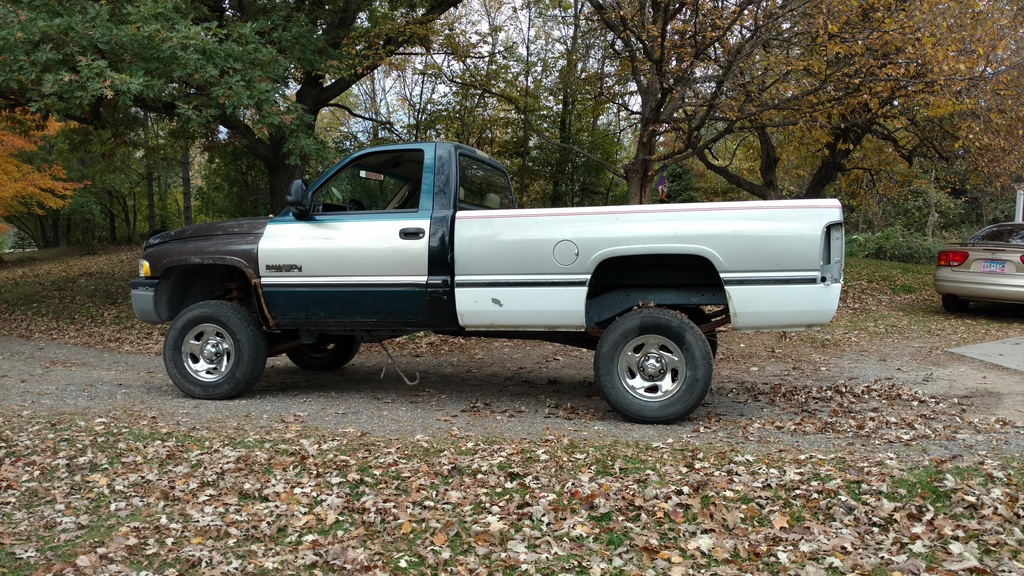
I guess i'm not sure i'd call this a build, as much as a rebuild. I traded my '84 Trans Am for this truck that was supposed to only be used to pull my boat. I evidently can't leave anything alone. Its a 1997 1500 5.9 gas single cab long box, with only 128k miles! Previous owner told me it has a 6" lift, after some research I have surmised that it has a 4-5" skyjacker lift. Has the tan leather interior which is actually in very good shape. I live in the rust belt, and rust seems to plague these trucks worse than any others.
This is the only picture I have of when I first got it.
After getting bored with not having a project, I decided due to some safety issues (I'll touch on that in a bit), I decided to fix the rust on the cab.
This is my passenger side rocker panel
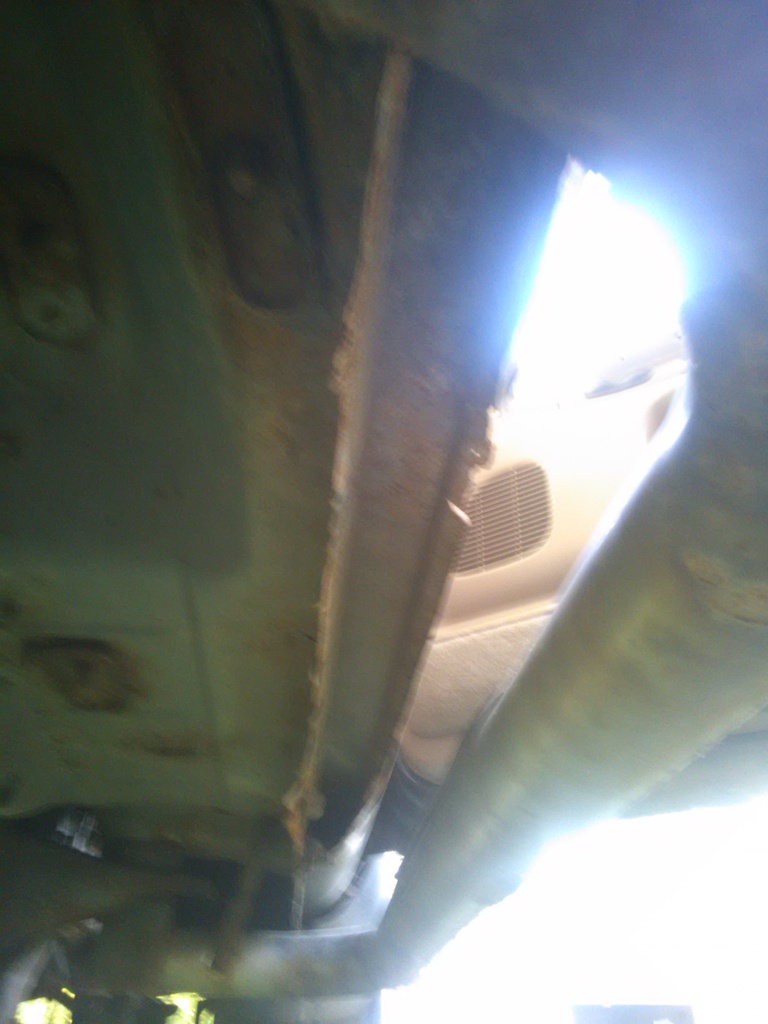
Here is whats left of my drivers side
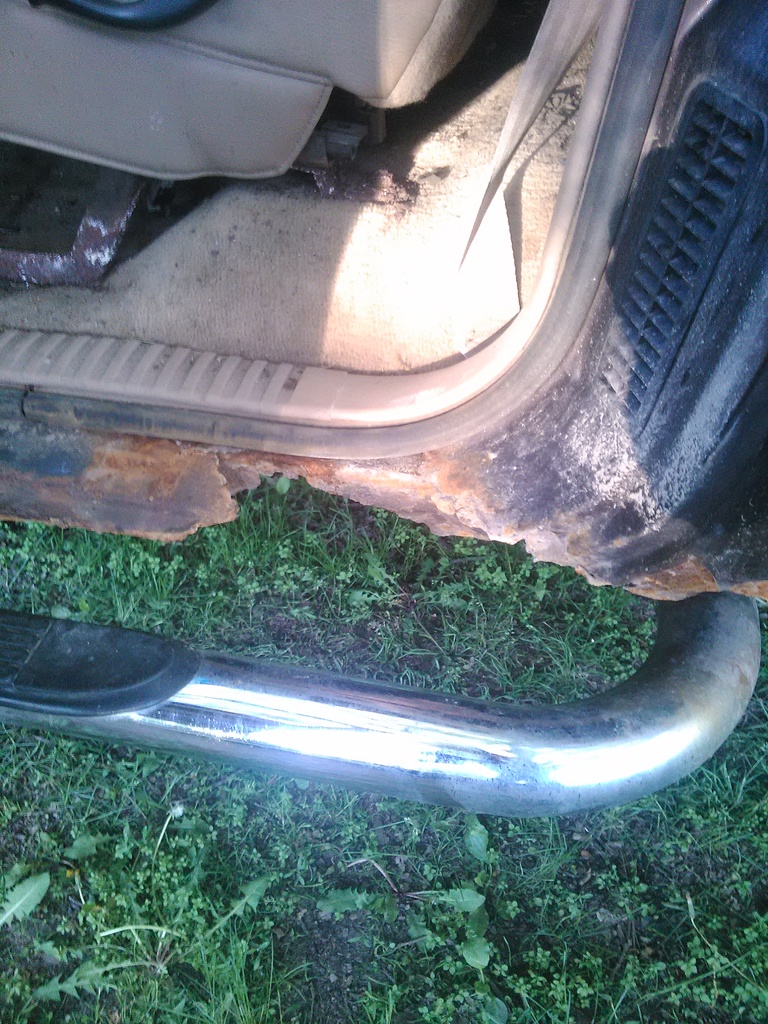
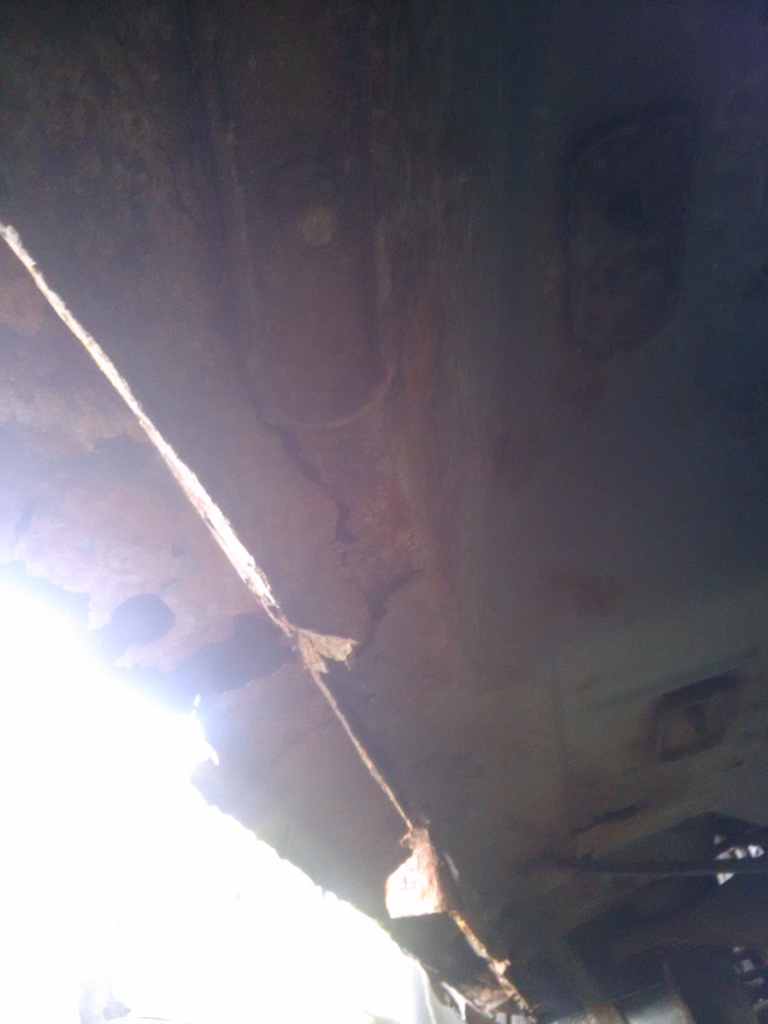
See that bolt in the top left? Yeah, thats for my seat belt. Not safe. Brought it in to see what itd cost to fix. Tore out some of the plastic, turns out the only thing holding my rocker on was what is left of the pinch weld. Luckily, the guy who was going to do it actually tracked down a rust free cab from Texas and rust free doors from Washington. For the cab and doors total I paid $400. Then the labor for the cab swap. Heres some pics from that (I didnt do this, shop did)
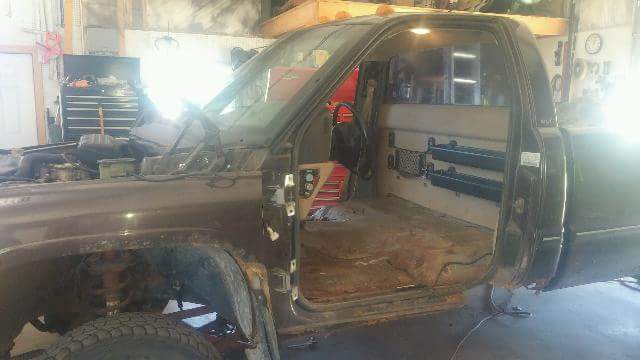
Here it is after

This is the only picture I have of when I first got it.

After getting bored with not having a project, I decided due to some safety issues (I'll touch on that in a bit), I decided to fix the rust on the cab.
This is my passenger side rocker panel

Here is whats left of my drivers side


See that bolt in the top left? Yeah, thats for my seat belt. Not safe. Brought it in to see what itd cost to fix. Tore out some of the plastic, turns out the only thing holding my rocker on was what is left of the pinch weld. Luckily, the guy who was going to do it actually tracked down a rust free cab from Texas and rust free doors from Washington. For the cab and doors total I paid $400. Then the labor for the cab swap. Heres some pics from that (I didnt do this, shop did)


Here it is after


Last edited by HerpDerp1919; Sep 8, 2016 at 11:09 PM.
Thread Starter
|
Rookie
Joined: Jun 2015
Posts: 52
Likes: 0
Oh, I also added tow mirrors due to one factory one being broken. Figured what better excuse to upgrade? I went to my local pick n pull to grab a few misc interior parts that got lost during the cab swap and got some nice center caps for the wheels.
Also, I forgot to say that on the way home from purchasing it, my oil pressure sensor went out (thanks to this forum I figured that out). I also have all new calipers, rotors, and pads up front. Needed a u-joint up on the passenger side as I could literally move the joint with my hand.

Also, I forgot to say that on the way home from purchasing it, my oil pressure sensor went out (thanks to this forum I figured that out). I also have all new calipers, rotors, and pads up front. Needed a u-joint up on the passenger side as I could literally move the joint with my hand.
Thread Starter
|
Rookie
Joined: Jun 2015
Posts: 52
Likes: 0
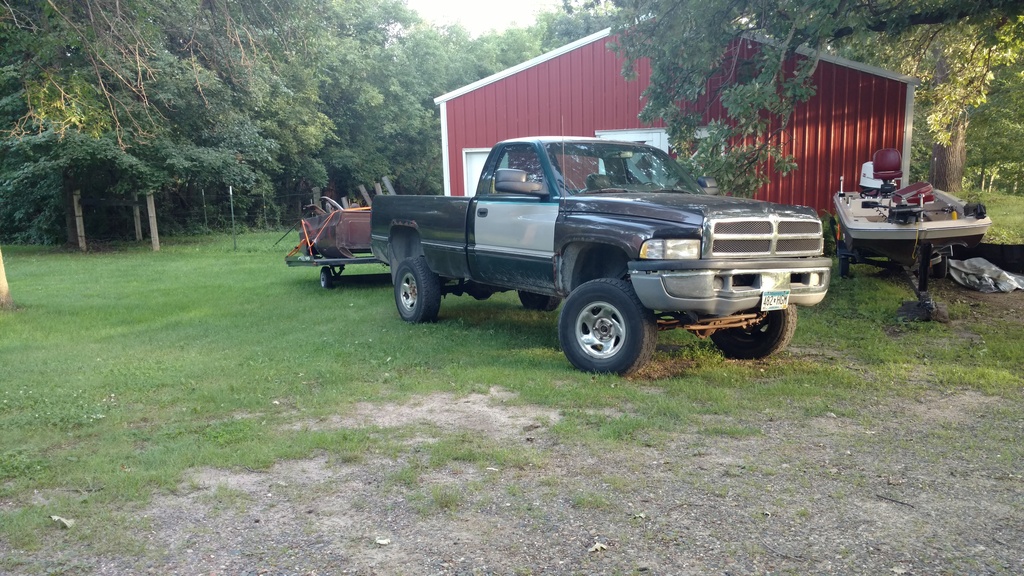
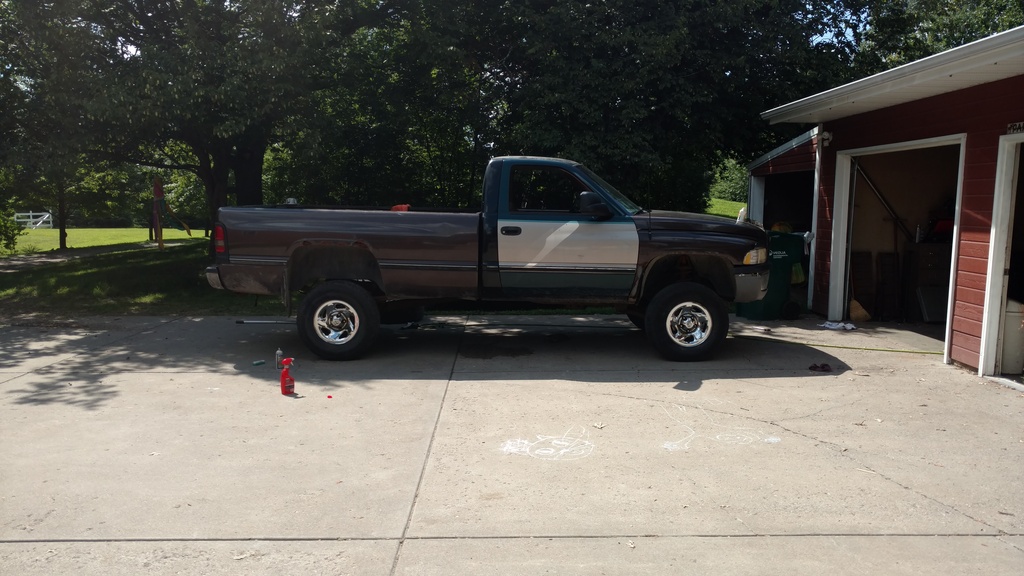
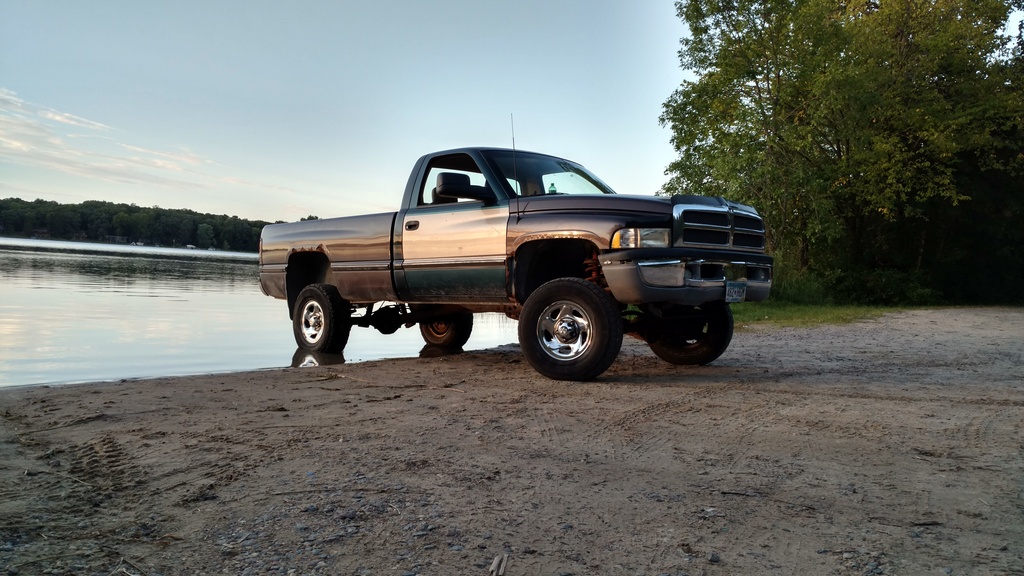
Here it is next to its sister, my winter beater, a 98 K2500.

Also, stopped by the lake to get a couple shots since it was such a nice night for a drive.
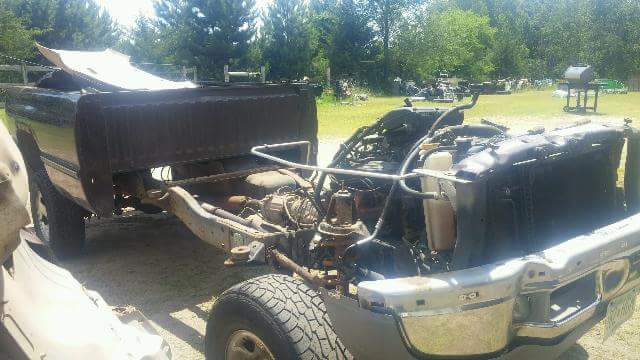
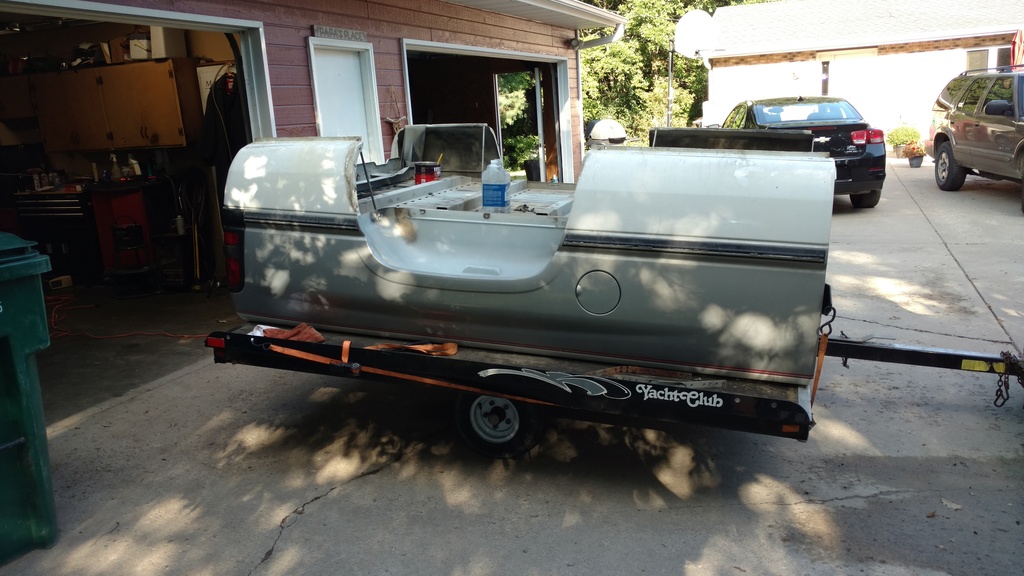
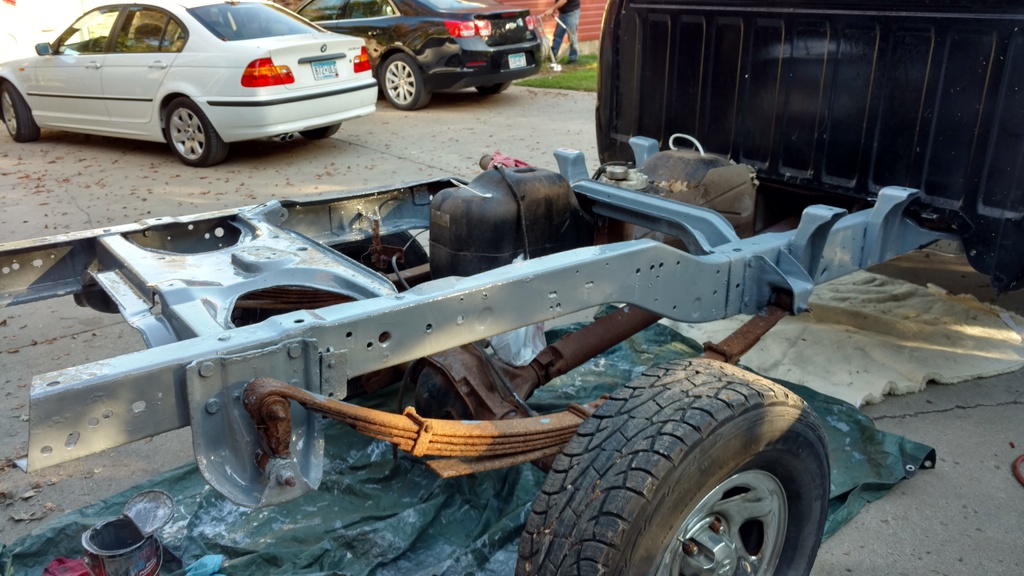
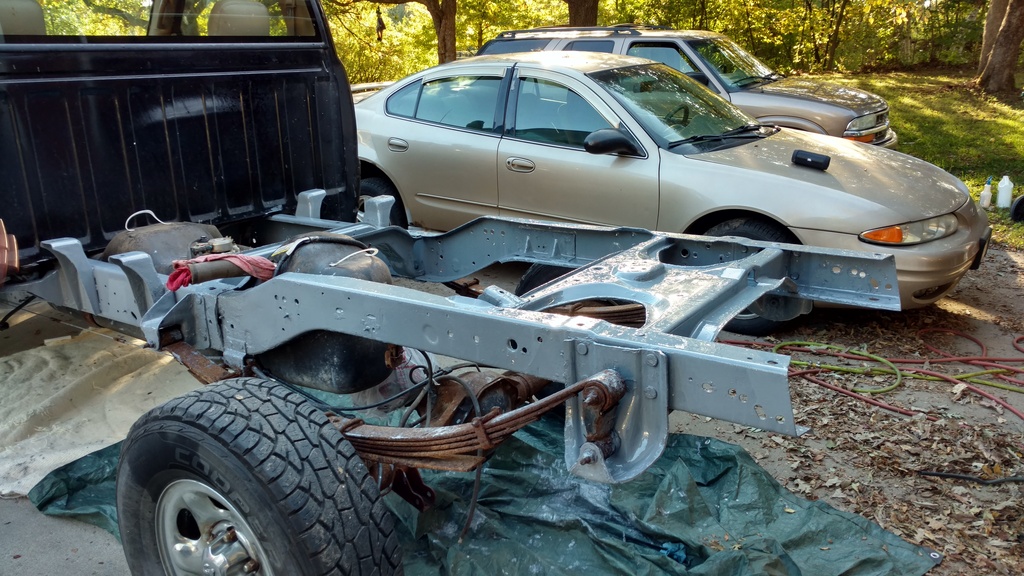
So, now I'm all caught up. The bed was rusty and that was one of the most expensive pieces to get my body rust taken care of. Picked up a rust free bed out of Montana to the tune of $1400.
Of course, I cant leave well enough and decided to give the bed an extra layer of protection and POR15 the bottom. That was a Labor Day weekend of fun, or not so much
Scraping off all the undercoating that was sprayed all over the bottome, you know, so it rusts from the inside out.
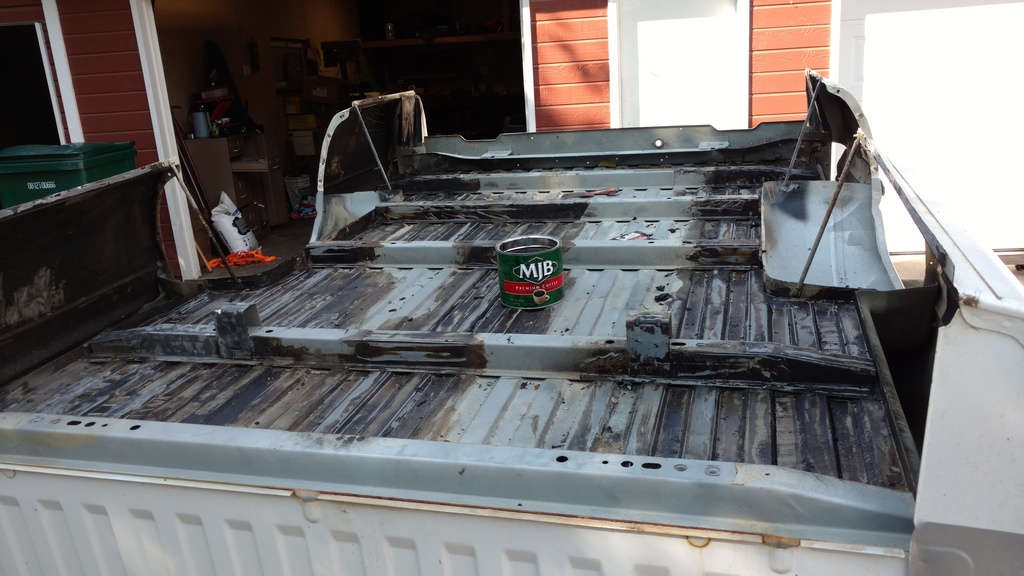
Three days later, a ton of Aircraft Stripper, elbow grease and multiple wire wheels on an angle grinder later. Most of the bed is stripped.
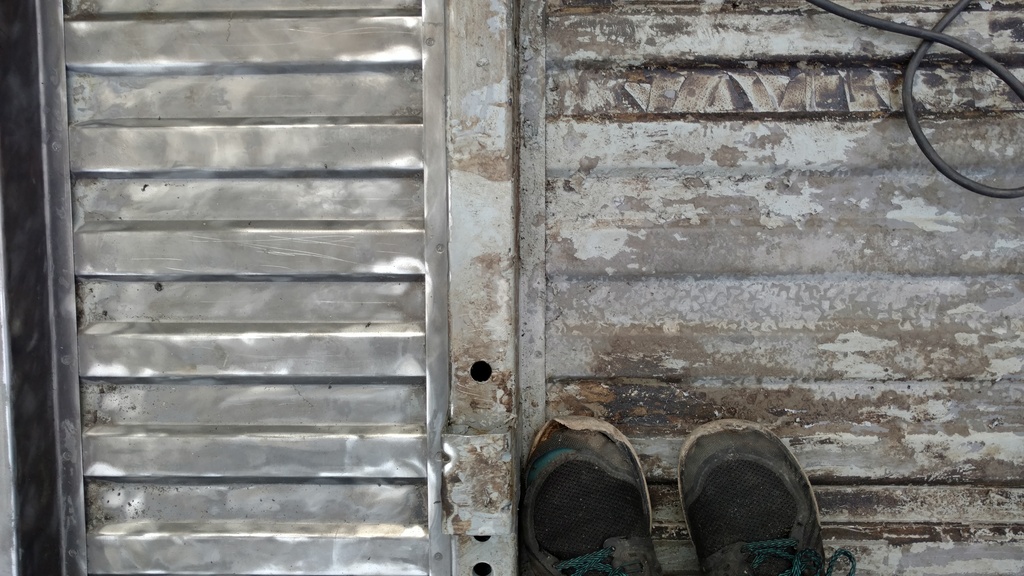
Got the POR15 on, but it bubbled. From my reading I laid it on too thick. So now to sand down all these bubbles and re-paint. That'll be this weekends project.
Its a mad rush to get as much body work done as possible before it goes in to storage for the winter. It spent most of its life up on the shores near Duluth, MN, It paid its dues.

Also, stopped by the lake to get a couple shots since it was such a nice night for a drive.

So, now I'm all caught up. The bed was rusty and that was one of the most expensive pieces to get my body rust taken care of. Picked up a rust free bed out of Montana to the tune of $1400.

Of course, I cant leave well enough and decided to give the bed an extra layer of protection and POR15 the bottom. That was a Labor Day weekend of fun, or not so much
Scraping off all the undercoating that was sprayed all over the bottome, you know, so it rusts from the inside out.

Three days later, a ton of Aircraft Stripper, elbow grease and multiple wire wheels on an angle grinder later. Most of the bed is stripped.

Got the POR15 on, but it bubbled. From my reading I laid it on too thick. So now to sand down all these bubbles and re-paint. That'll be this weekends project.

Its a mad rush to get as much body work done as possible before it goes in to storage for the winter. It spent most of its life up on the shores near Duluth, MN, It paid its dues.


Thread Starter
|
Rookie
Joined: Jun 2015
Posts: 52
Likes: 0
After a brief hiatus to spend some time on other stuff I got back after my truck. Old bed is off, a lot of other stuff got taken off and sent to be sandblasted and powder coated. Hit some of the scaly stuff with a wire wheel. Getting the frame prepped for painting what I can get to before it gets cold here.
Heres how it sits now:
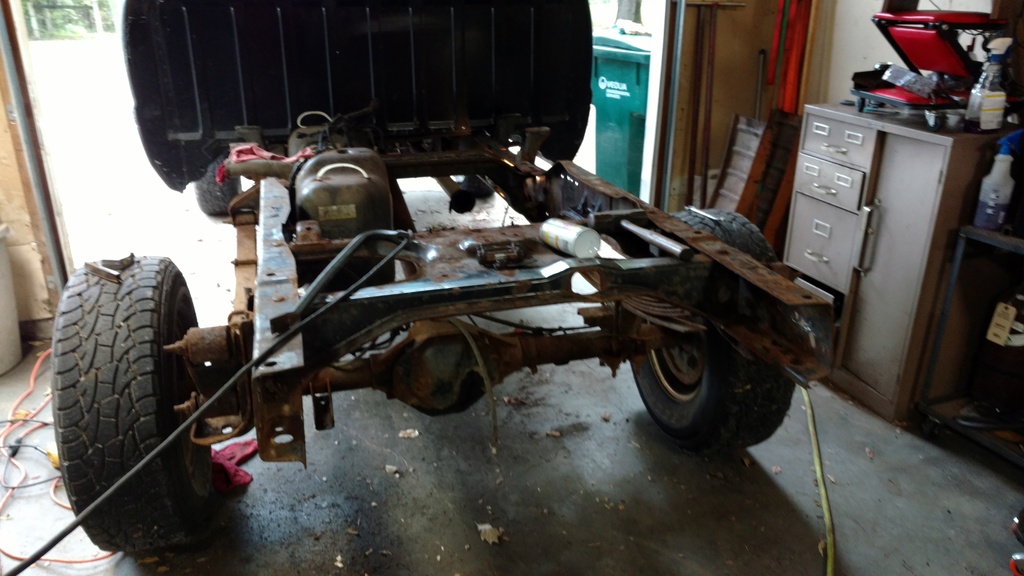

Heres how it sits now:


Trending Topics
Thread Starter
|
Rookie
Joined: Jun 2015
Posts: 52
Likes: 0
Been quiet for awhile with all the commotion of getting our new place in order and other life events. I did manage to get a little work done it. Just got the frame POR15'd and the Rust free box on. I don't have a picture on hand but I did get the tonneau cover that was on it fixed.
Now I just gotta get new fenders, and decide what I'm gonna do with the bumpers


Now I just gotta get new fenders, and decide what I'm gonna do with the bumpers