


TCP Performance E-FAN DYI


Thread Starter
|
Veteran
Joined: Jun 2011
Posts: 325
Likes: 0
From: California
Heres a Link to the writeup that I made for my E-Fan install. Pictures are included. THANKS DODGEFORUM MEMBERS FOR ALL YOUR HELP!!!!!
http://www.sendspace.com/file/k0uazi
http://www.sendspace.com/file/k0uazi
Last edited by TheycallmeLaramie; Jul 12, 2011 at 03:15 AM.


Thread Starter
|
Veteran
Joined: Jun 2011
Posts: 325
Likes: 0
From: California
HeyYou! SOOOO DEMANDING :P JUST FOR YOU BUDDY!
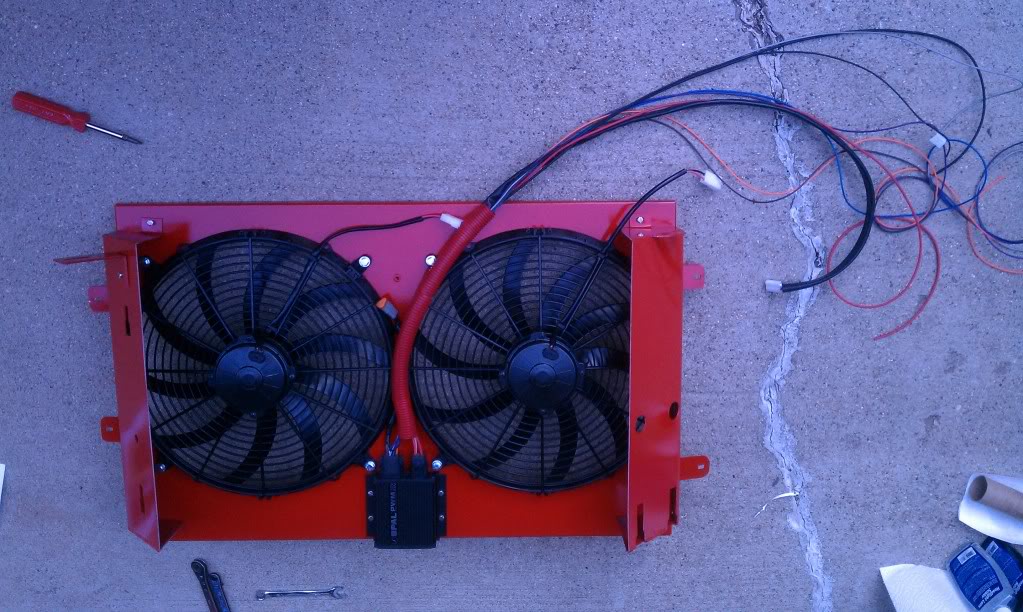
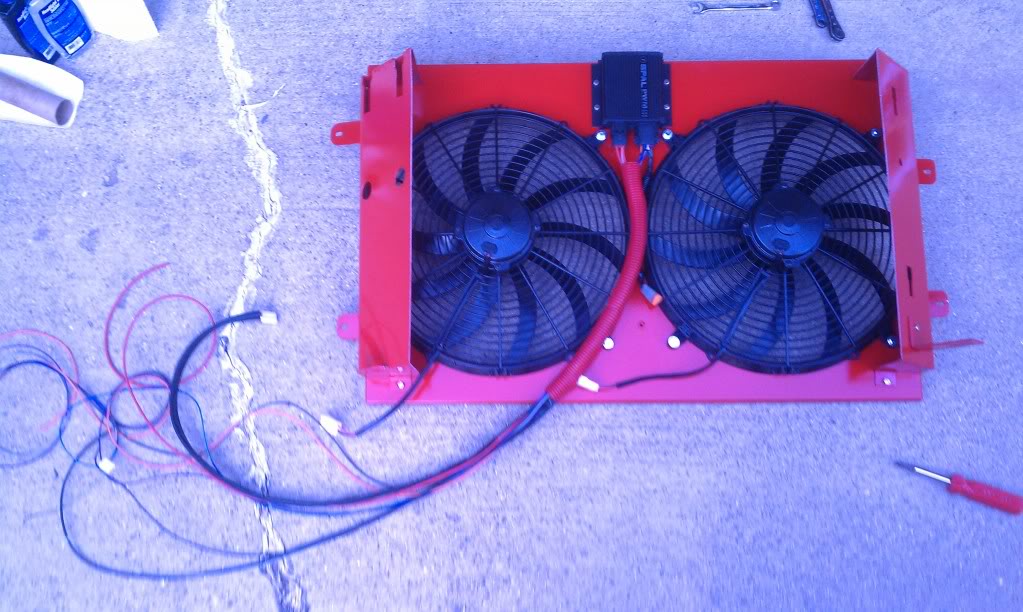
� Get everything ready to assemble
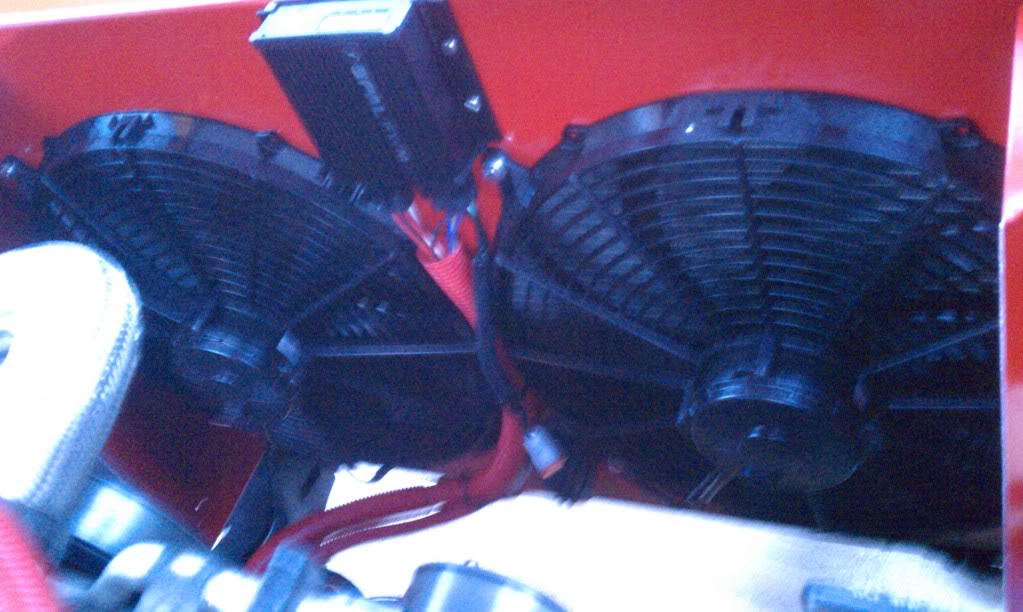
� Put on both fans with attachment clips FIRST on to FLAT surface and make sure bolts with included washers and lock washers are TIGHT
� Screw on both drivers side and passengers side aluminum flares that hole engine coolant and windshield washer reservoirs
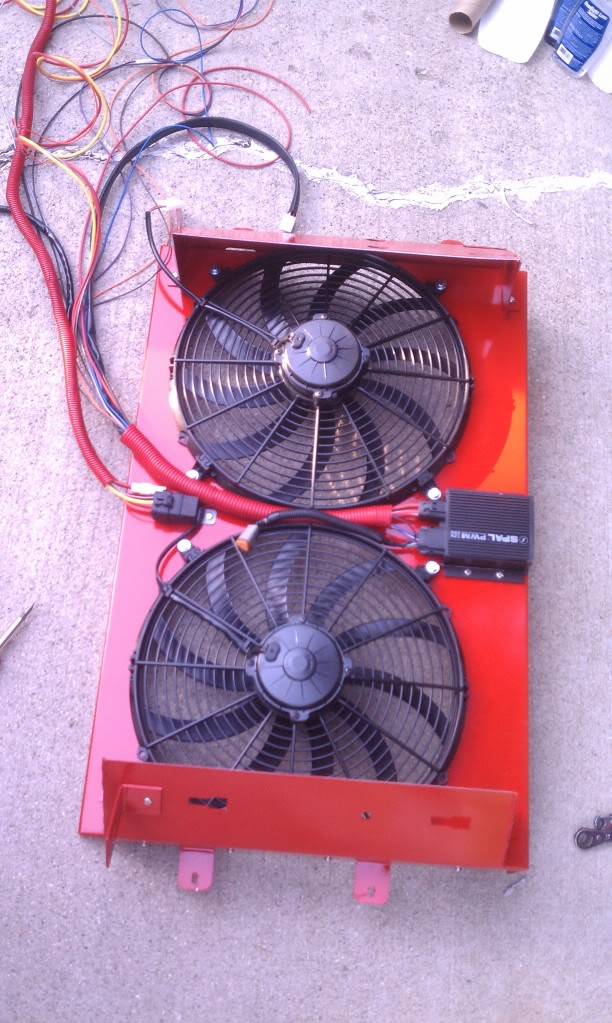
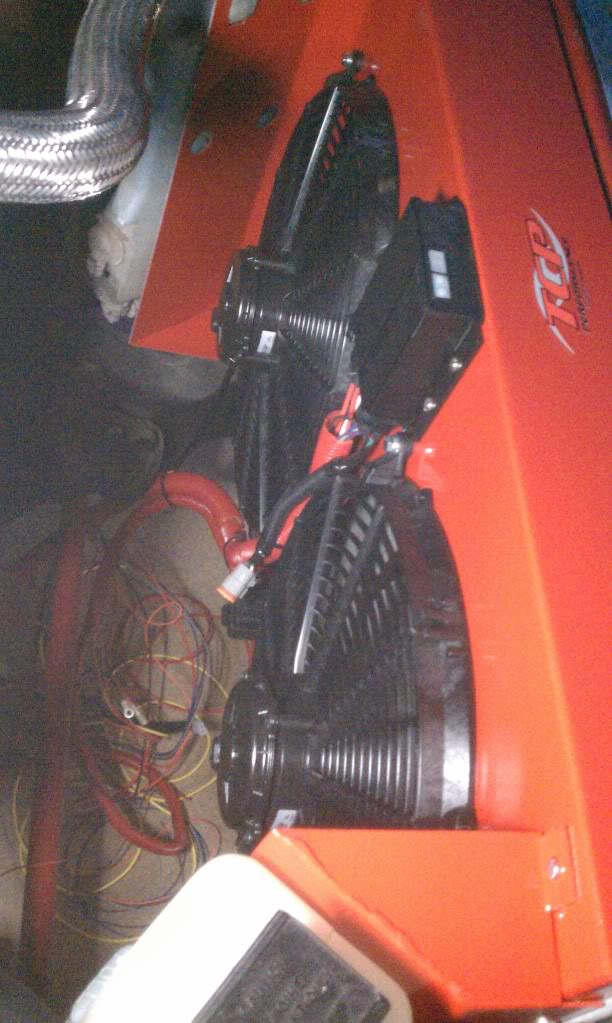
� Screw on SPAL v3 controller and relay for secondary fan as shown below in pictures

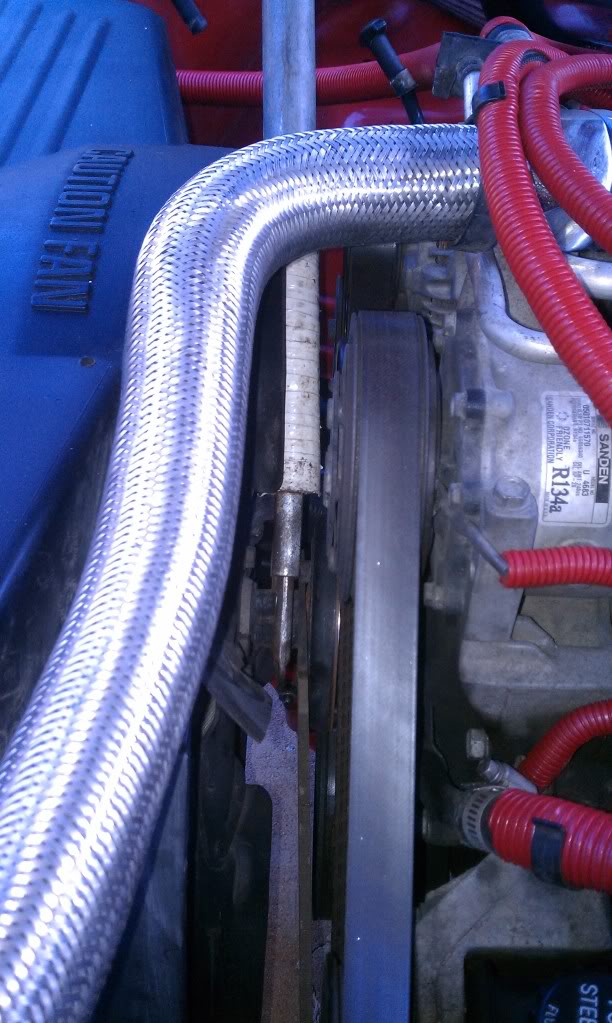
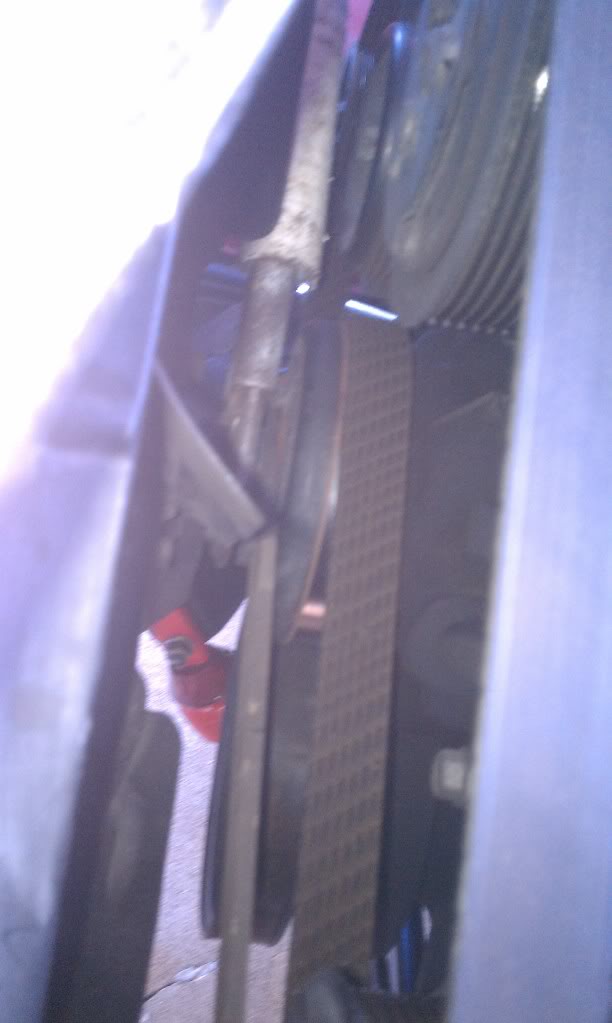
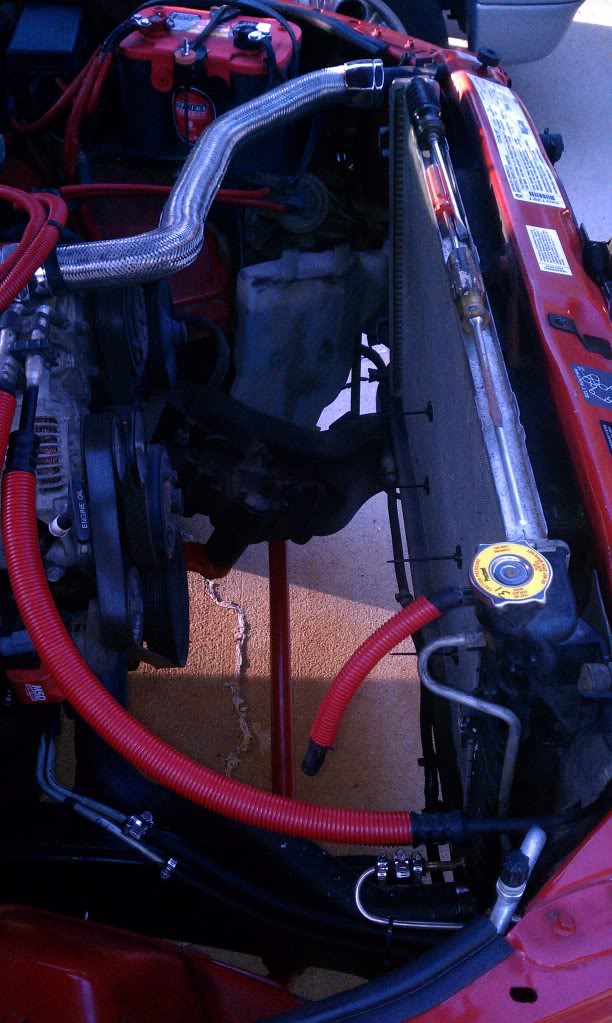
� Now you have to remove the old fan. I used a metal File in-between the two screws to hold the clutch while a friend unscrewed the fan assembly see below
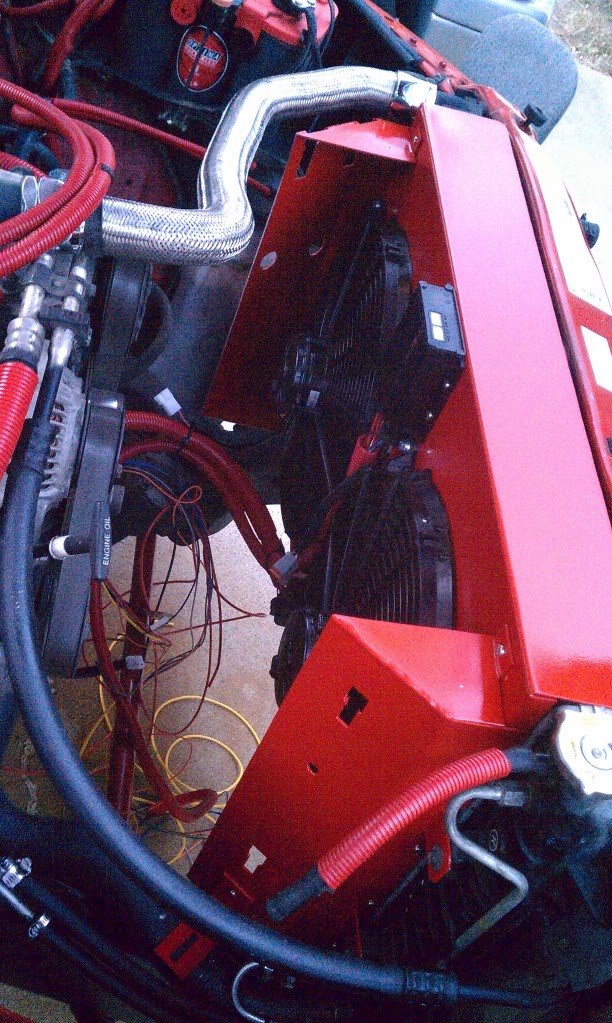
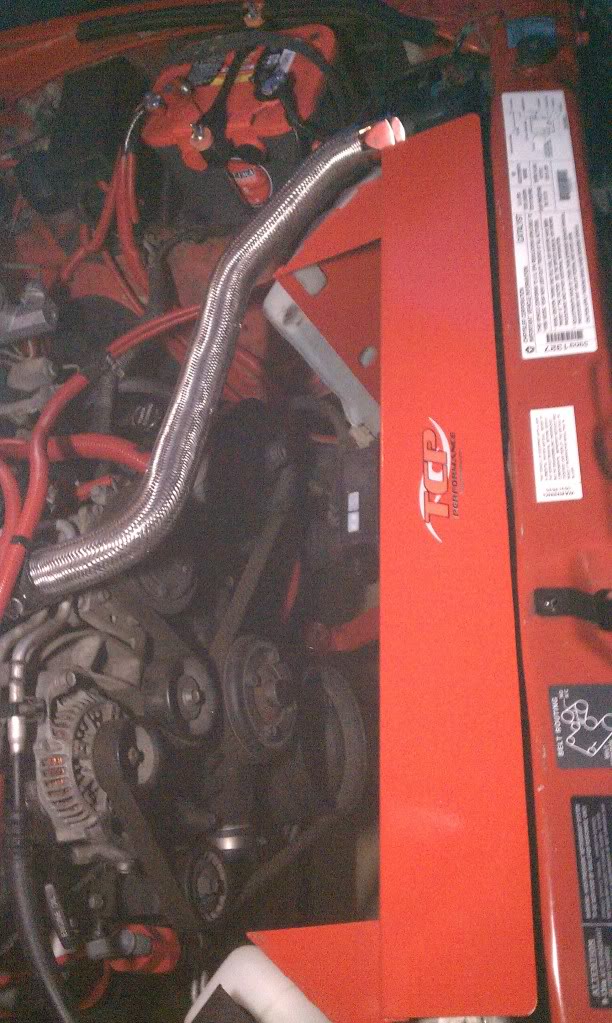
� Now after its been removed get your new setup all ready to go move the two reservoir tanks to the sides put the new assembly in (just drop all wires down) and bolt in the four bolts. Re-attach the coolant tanks and your should look like below:
� A/C line gets attached to the positive side of the A/C plug, my switched ignition I ran into the front fuse box and attached onto my cigarette lighter. This is so when I turn the turn off everything turns off. Some people will attach to there battery so when they turn off the fan must get it below a set temp before the fans turned off. Really your choice if you want to hear the fan or not after vs quicker cool down.
� Follow the instructions for the controller Dual OEM fans. Only thing not completely explanatory is the Engine Temperature Sensor. In The Dodge ram it is right behind the thermostat housing. Long needle nose will be able to pull it out so you can hook onto it.
� Last is programming, I held PRG till it blinked amber then hit enter. If you hit enter 1 more time 160 degree thermostat 2 more times 180 3 more 195.You will see the fan light blink the number of the program and then hit PRG to exit.
� Viola! You now have an E-Fan! Thanks to SPAL and TCP Performance and HeyYou! for making this possible!
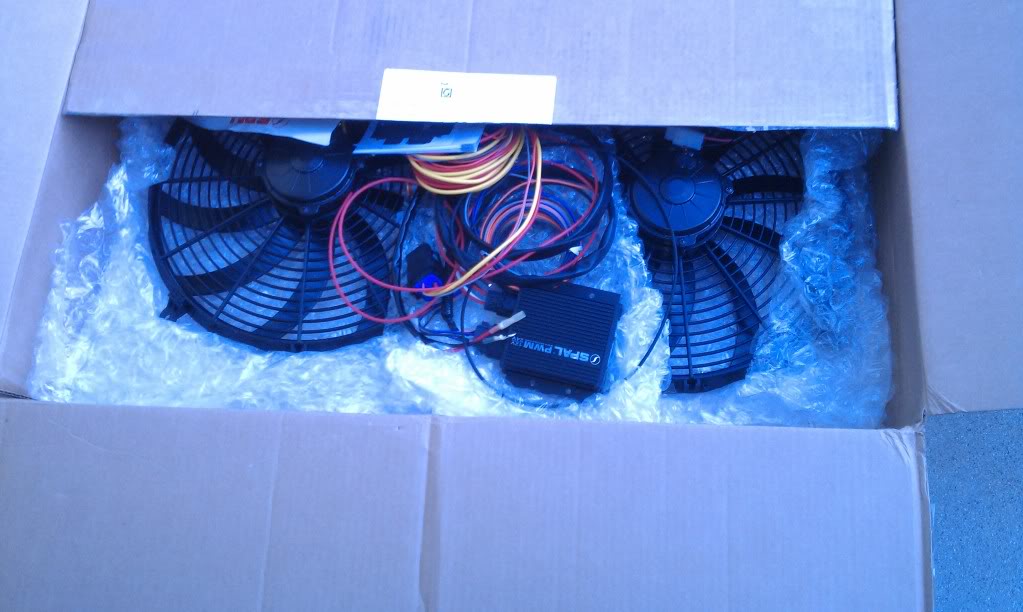
- Unpack box and make sure all equipment on packing list is included
- Sit out all of your necessary parts and check for damages
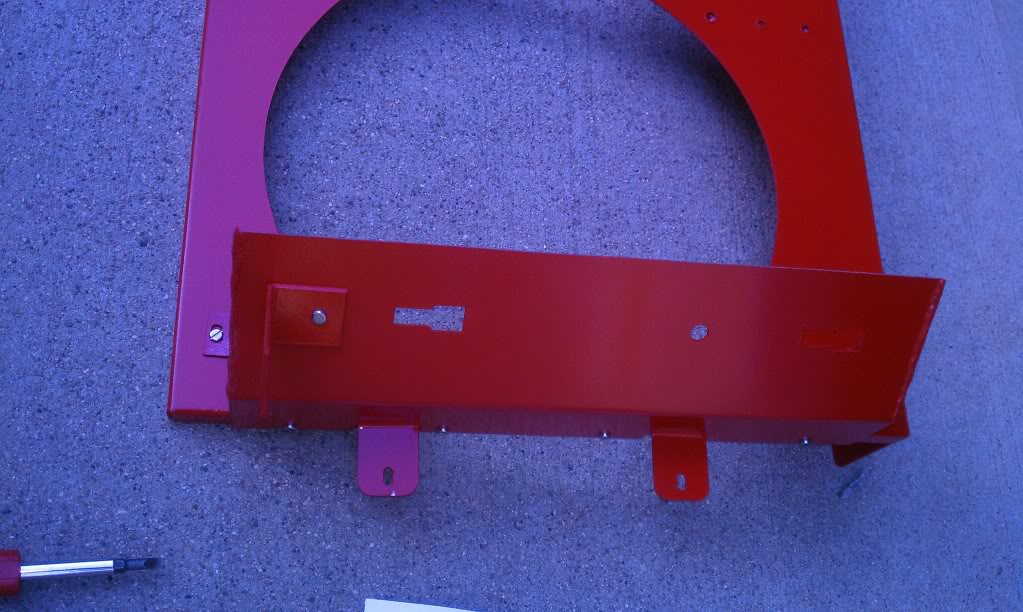
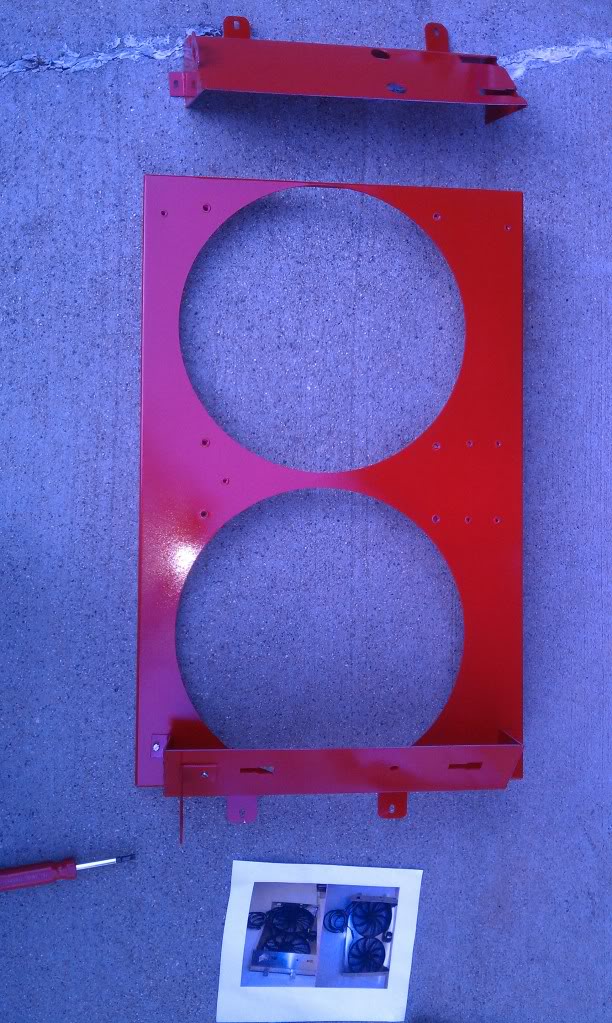
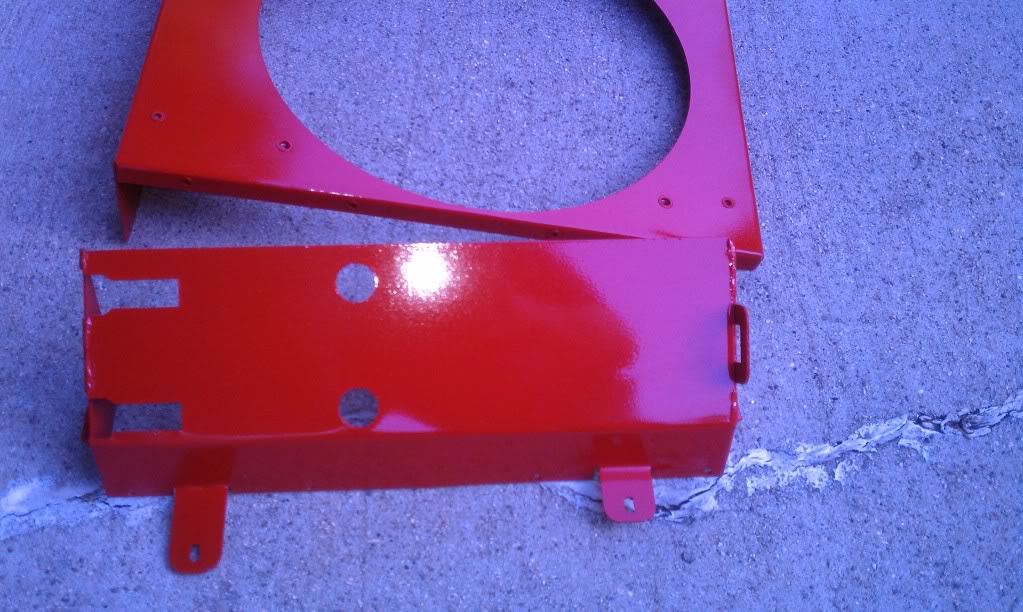
- If painting grind and clean all weld seams
- Hang and paint aluminum shroud (high heat and optional) – See Below
� Get everything ready to assemble
� Put on both fans with attachment clips FIRST on to FLAT surface and make sure bolts with included washers and lock washers are TIGHT
� Screw on both drivers side and passengers side aluminum flares that hole engine coolant and windshield washer reservoirs
� Screw on SPAL v3 controller and relay for secondary fan as shown below in pictures
� Now you have to remove the old fan. I used a metal File in-between the two screws to hold the clutch while a friend unscrewed the fan assembly see below
� Now after its been removed get your new setup all ready to go move the two reservoir tanks to the sides put the new assembly in (just drop all wires down) and bolt in the four bolts. Re-attach the coolant tanks and your should look like below:
� A/C line gets attached to the positive side of the A/C plug, my switched ignition I ran into the front fuse box and attached onto my cigarette lighter. This is so when I turn the turn off everything turns off. Some people will attach to there battery so when they turn off the fan must get it below a set temp before the fans turned off. Really your choice if you want to hear the fan or not after vs quicker cool down.
� Follow the instructions for the controller Dual OEM fans. Only thing not completely explanatory is the Engine Temperature Sensor. In The Dodge ram it is right behind the thermostat housing. Long needle nose will be able to pull it out so you can hook onto it.
� Last is programming, I held PRG till it blinked amber then hit enter. If you hit enter 1 more time 160 degree thermostat 2 more times 180 3 more 195.You will see the fan light blink the number of the program and then hit PRG to exit.
� Viola! You now have an E-Fan! Thanks to SPAL and TCP Performance and HeyYou! for making this possible!
Last edited by TheycallmeLaramie; Jul 11, 2011 at 07:19 PM.
 This should be put in the DIY section. Nice write up.
 Retired Moderator - RIP
Joined: May 2008
Posts: 18,729
Likes: 17
From: NH

Oh damn, almost forgot, I agree, this needs to be in the DIY's.
Last edited by zman17; Jul 11, 2011 at 08:06 PM.
Professional
Joined: Dec 2009
Posts: 122
Likes: 0
Wow that looks like a good kit. Ive been looking around for a setup that holds both reservoirs and this one is the cleanest ive seen. Nice work!
Trending Topics
Thread Starter
|
Veteran
Joined: Jun 2011
Posts: 325
Likes: 0
From: California
554.95 Parts TCP
35 Shipping to my door
13 high temp engine ram red paint
1 hour cleaning welds with grinder and sanding them smooth
1 hour figuring out how to wire it
4 hours removal, taking pictures, installing
35 Shipping to my door
13 high temp engine ram red paint
1 hour cleaning welds with grinder and sanding them smooth
1 hour figuring out how to wire it
4 hours removal, taking pictures, installing