


Dodge Ram 2001 Rebuild


Hello this is the 2nd thread on my truck.
Backstory:
2001 dodge ram 4x4 sport 5.9 v8 1500 46 re QC
I bought the truck for 3K due to the fact the engine light was on and had a slight miss.
Brought the truck home started looking at it. Scanned it with code reader
came up with about 8 codes... o2 sensor before cat... cam sensor.. idle air control... changed the cap and rotor and spark plugs o2 sensor idle air all the codes went away.
Kept driving and a misfire code kept coming back... on cylinder 6 and 8
kept looking had one of the throttle body spacers... and a broken airbox that was sucking in from behind...
also found a paint marker laying on the intake and a diaper under the rear bench... so lovely...
Other than that it was my dream truck so I am going all through it.
Here is my first thread
https://dodgeforum.com/forum/2nd-gen...-headache.html
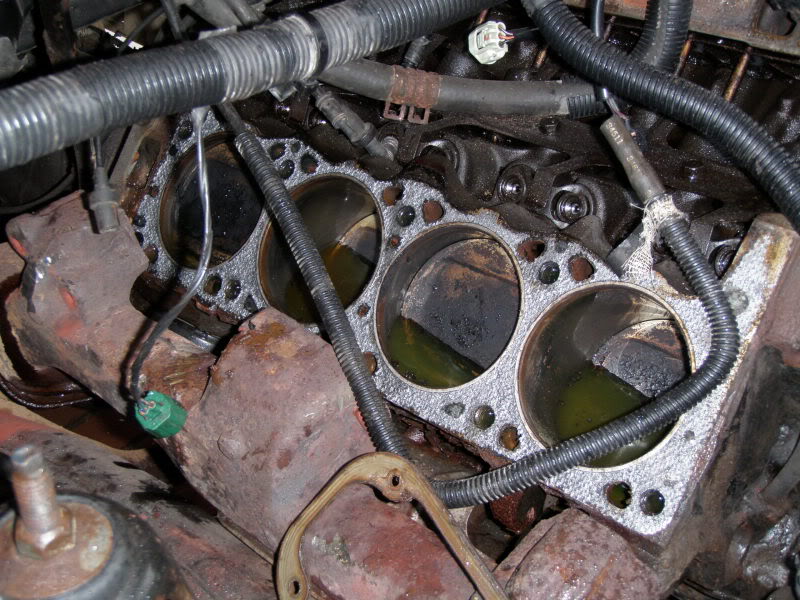
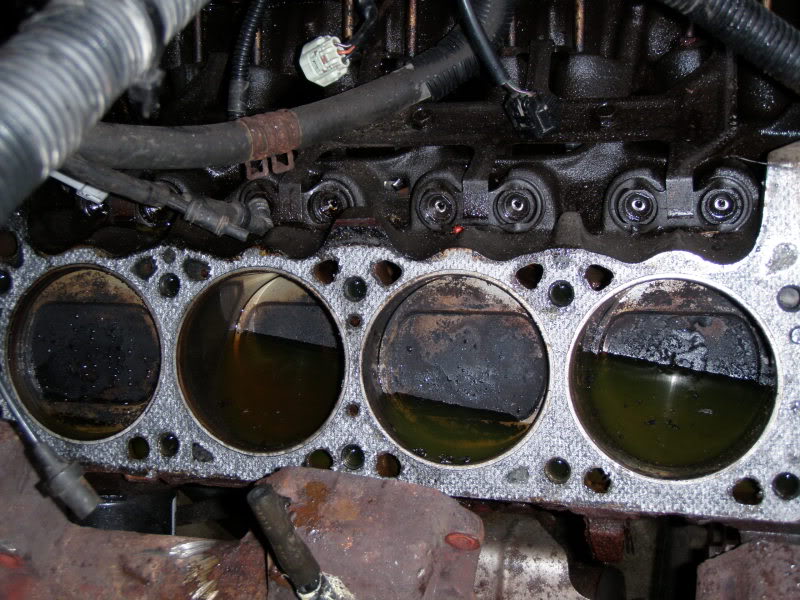
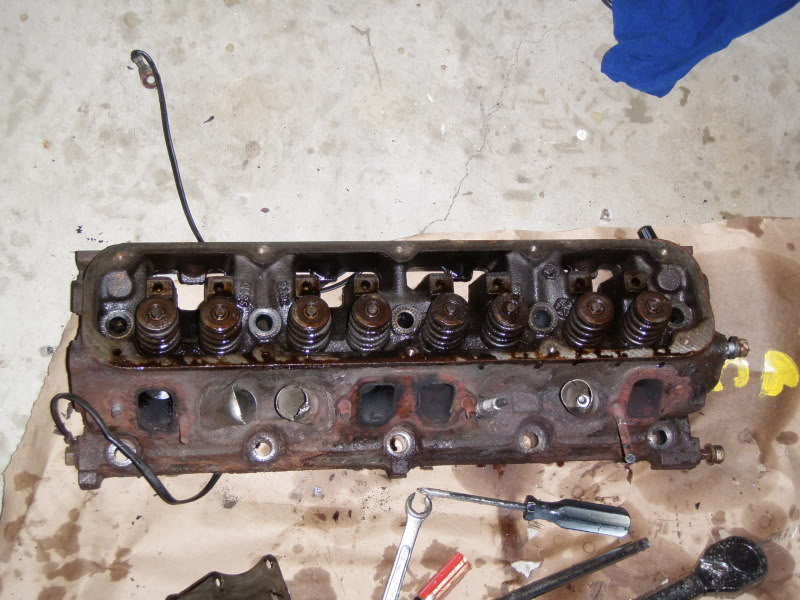
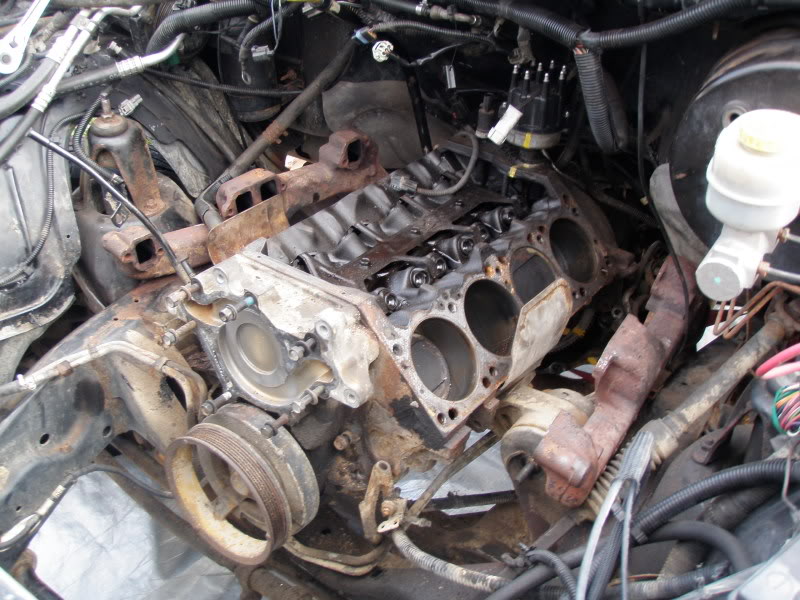
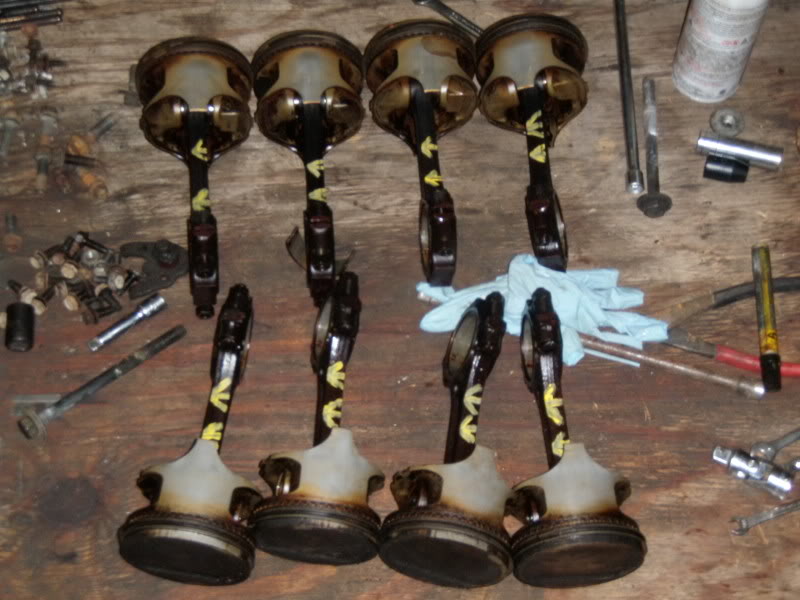
So on and on had really low compression in one of the cylinders
I realized the heads were shot
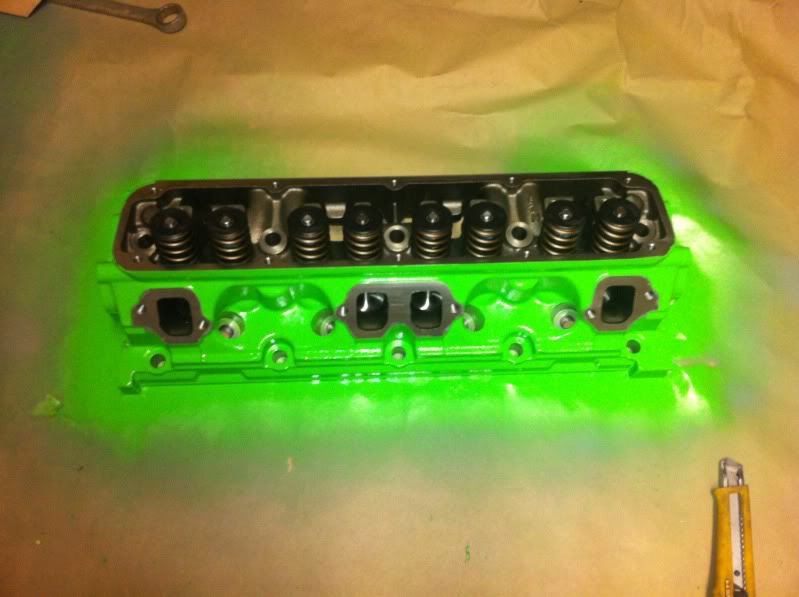
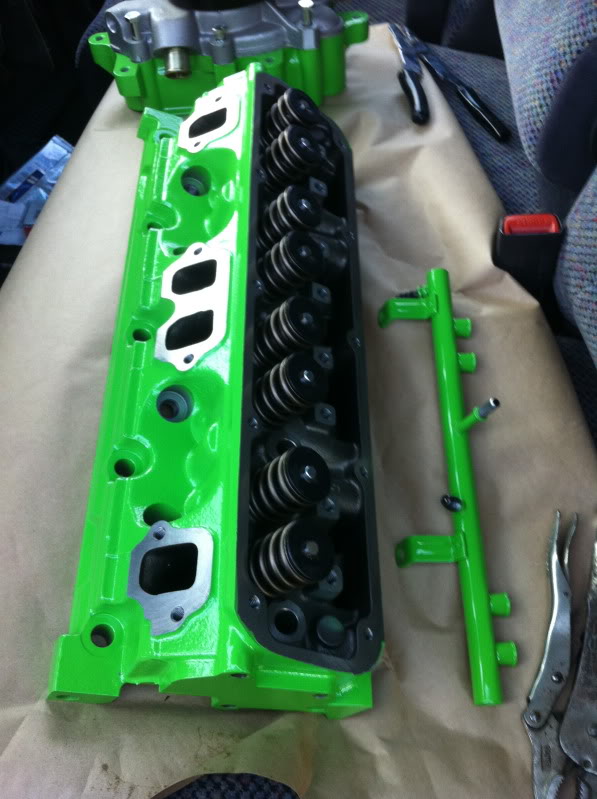
so just got my New Heads from Hughes Engines they are really nice
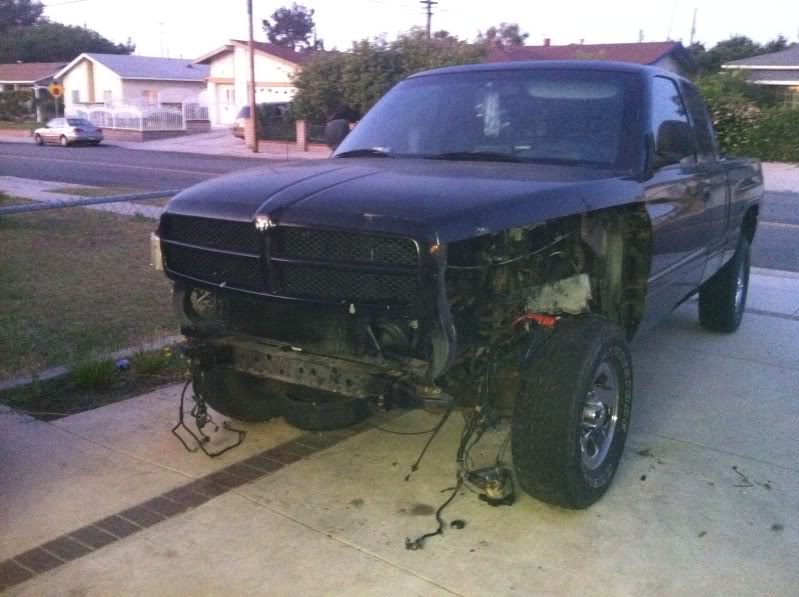
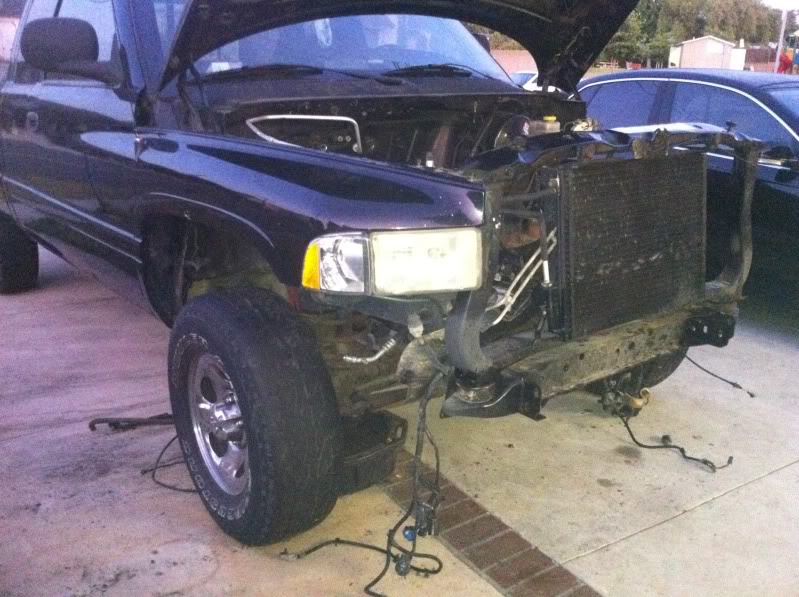
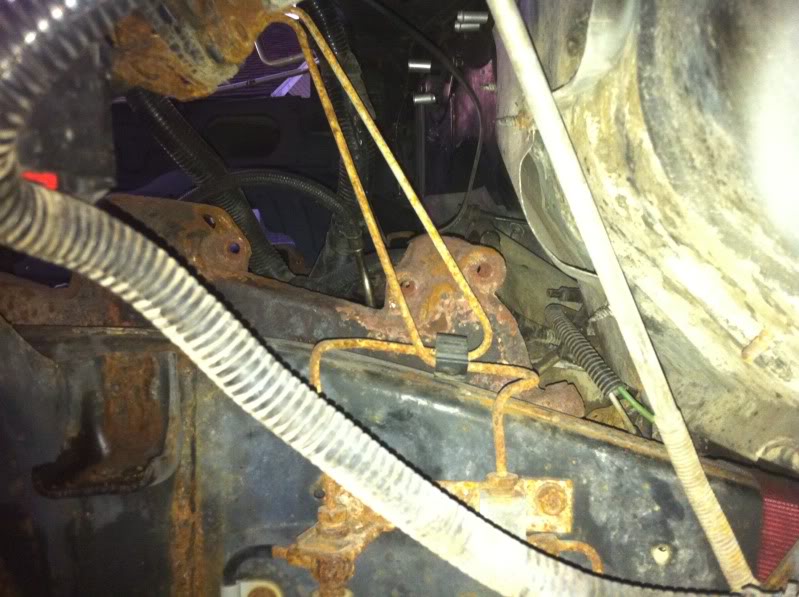
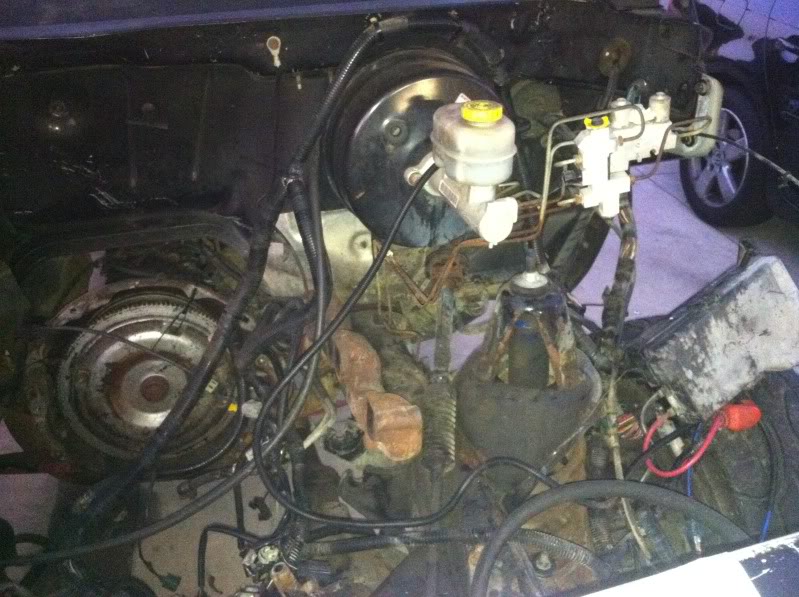
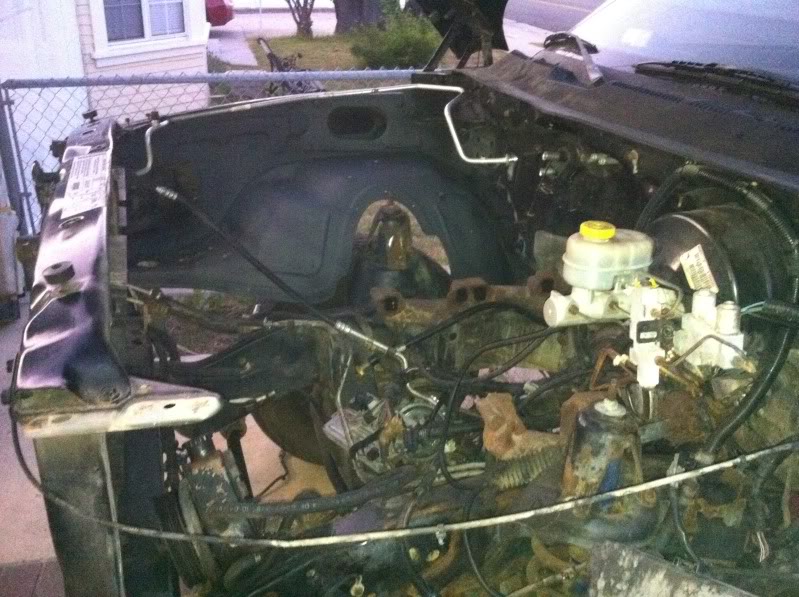
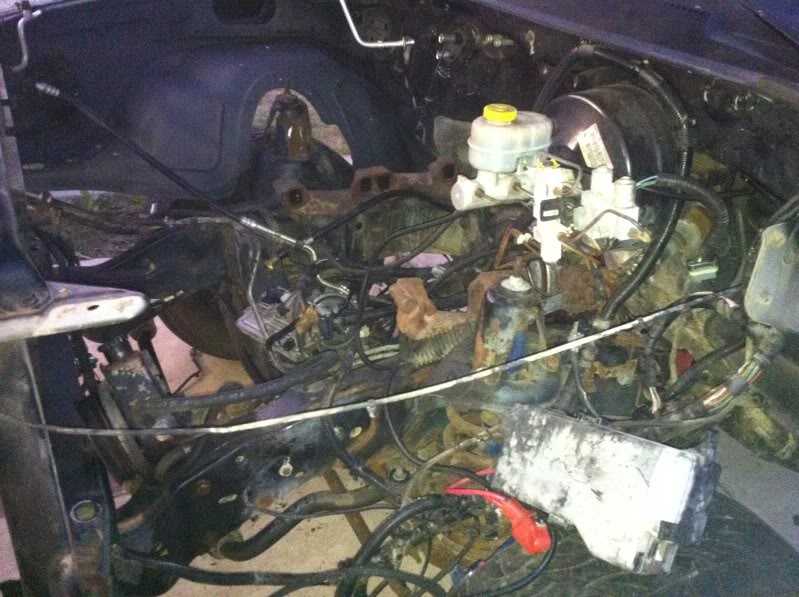
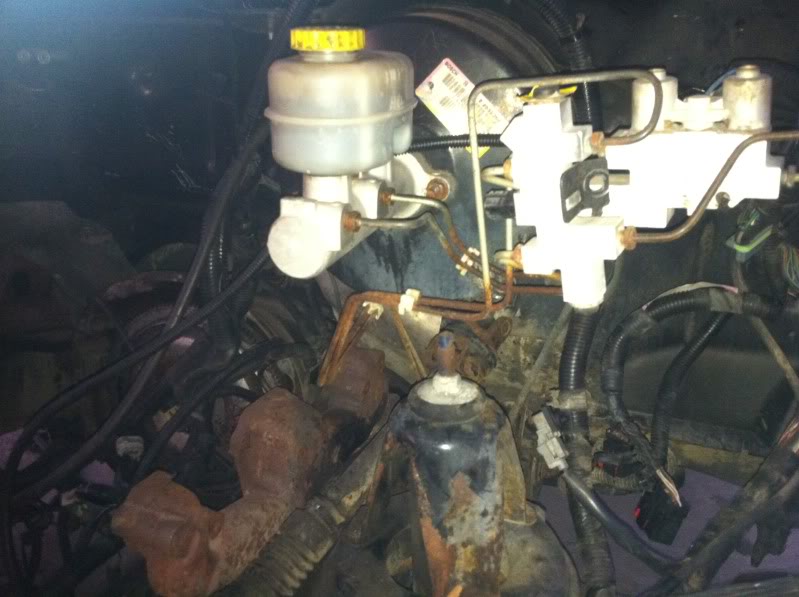
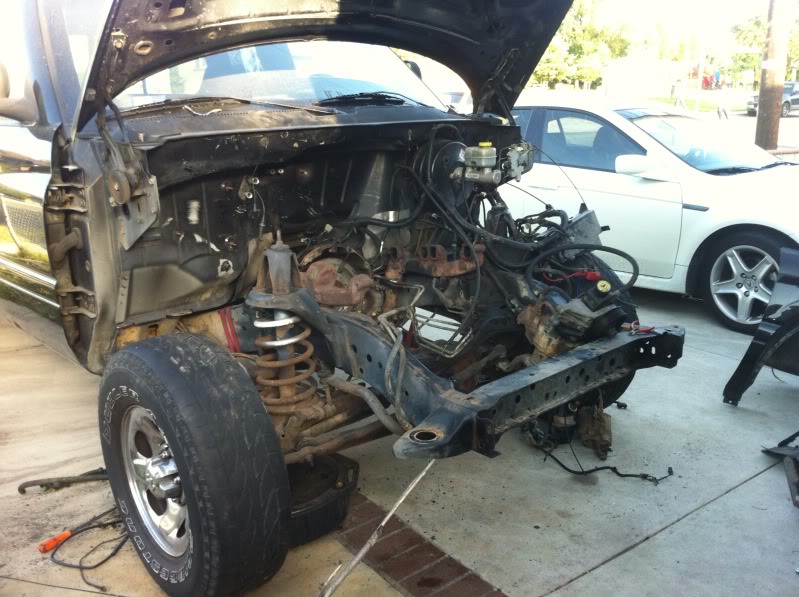
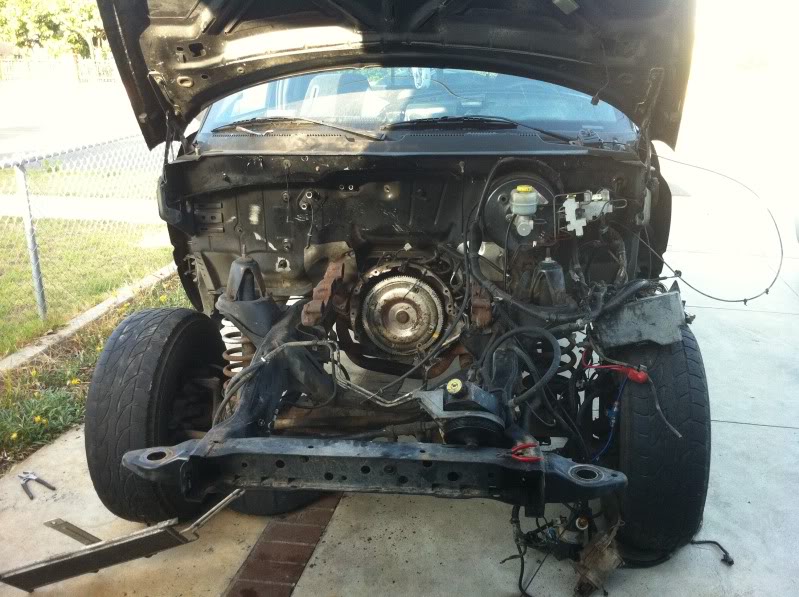
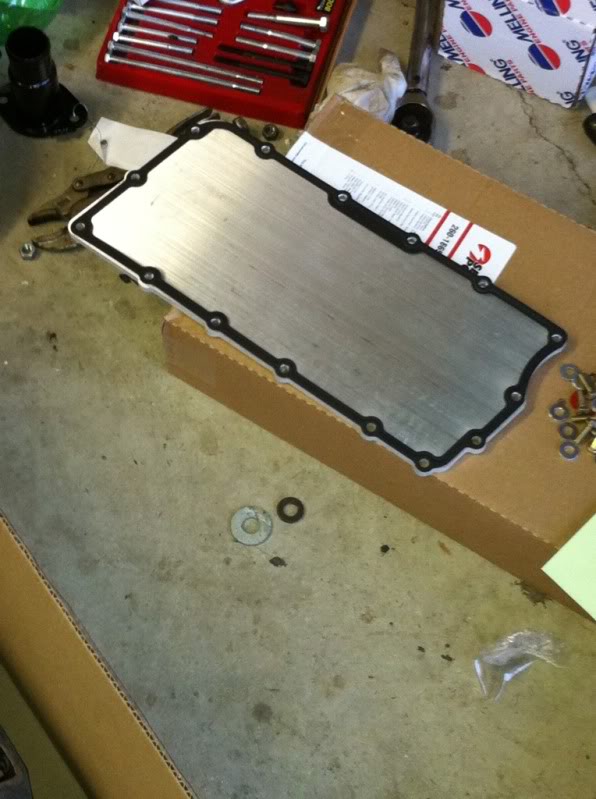
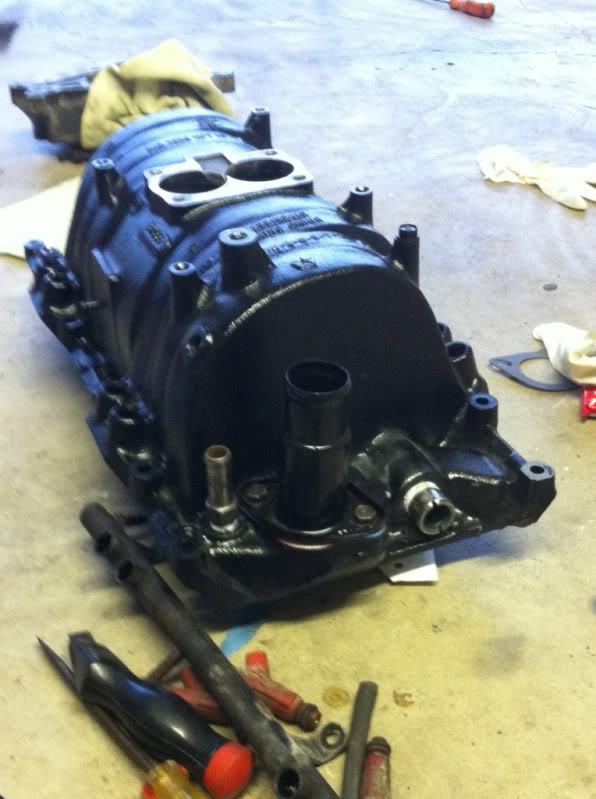
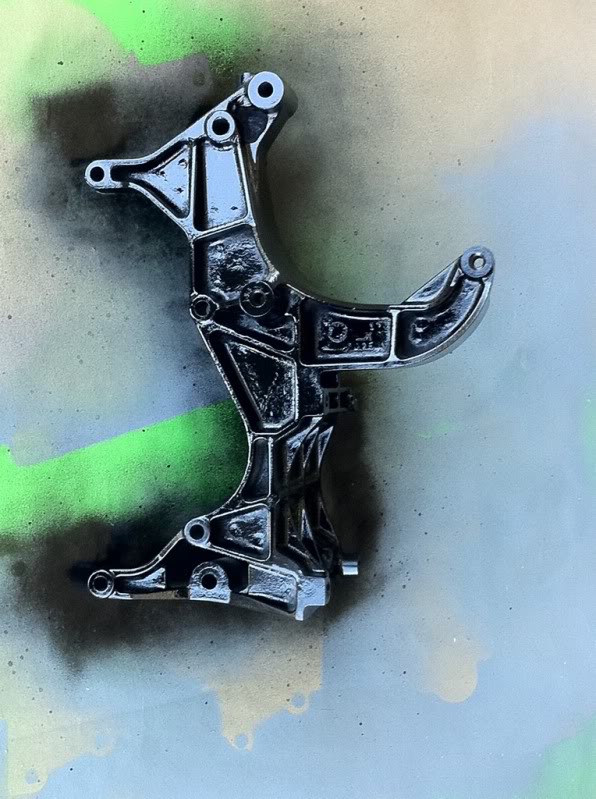
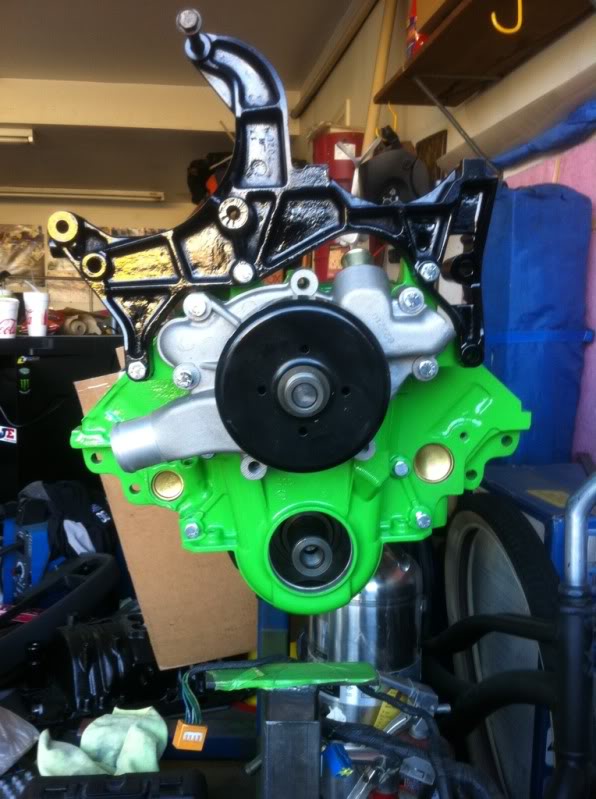
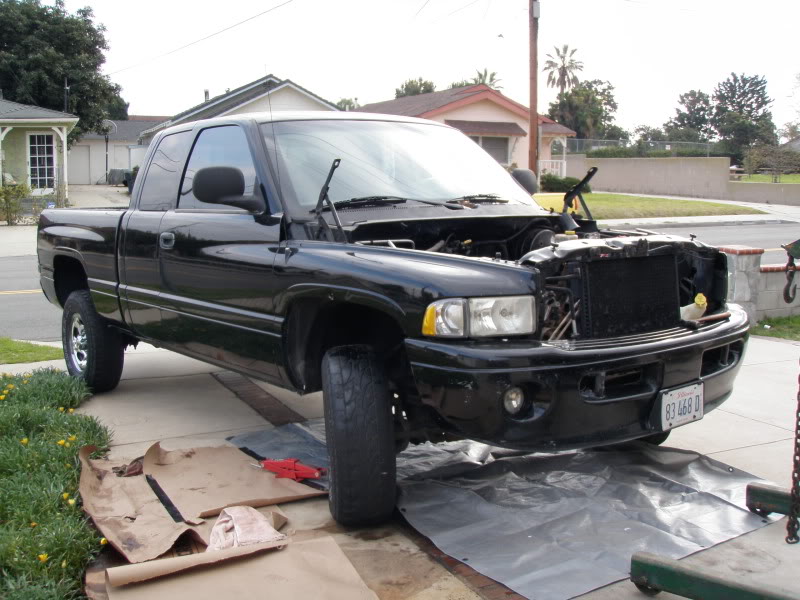
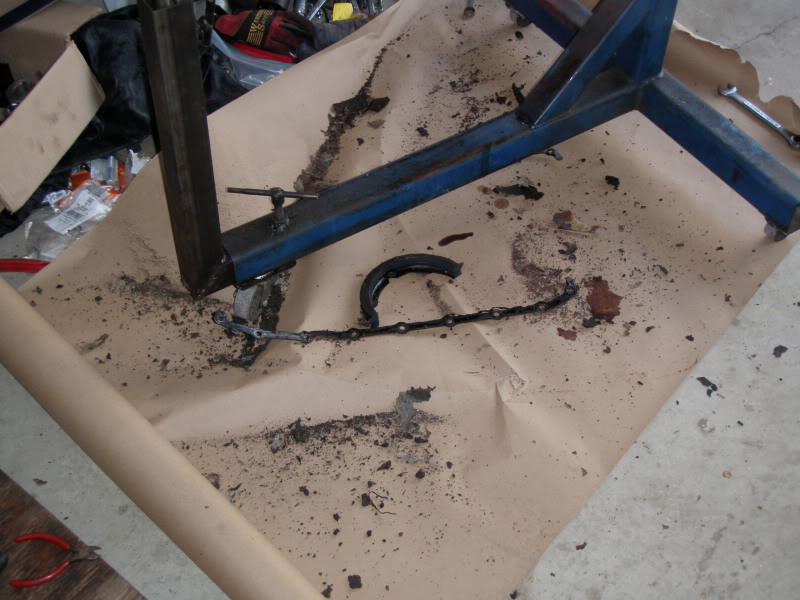
Starting to take the front end apart to repaint and fix a few things

Backstory:
2001 dodge ram 4x4 sport 5.9 v8 1500 46 re QC
I bought the truck for 3K due to the fact the engine light was on and had a slight miss.
Brought the truck home started looking at it. Scanned it with code reader
came up with about 8 codes... o2 sensor before cat... cam sensor.. idle air control... changed the cap and rotor and spark plugs o2 sensor idle air all the codes went away.
Kept driving and a misfire code kept coming back... on cylinder 6 and 8
kept looking had one of the throttle body spacers... and a broken airbox that was sucking in from behind...
also found a paint marker laying on the intake and a diaper under the rear bench... so lovely...
Other than that it was my dream truck so I am going all through it.
Here is my first thread
https://dodgeforum.com/forum/2nd-gen...-headache.html
So on and on had really low compression in one of the cylinders
I realized the heads were shot
so just got my New Heads from Hughes Engines they are really nice
Starting to take the front end apart to repaint and fix a few things
Last edited by Overstreet; Jul 16, 2011 at 03:19 PM.


 I like it.
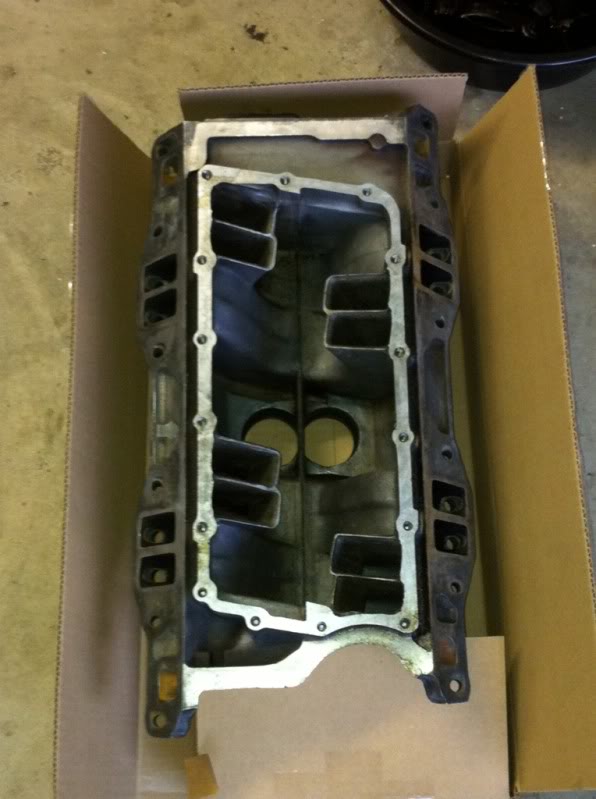


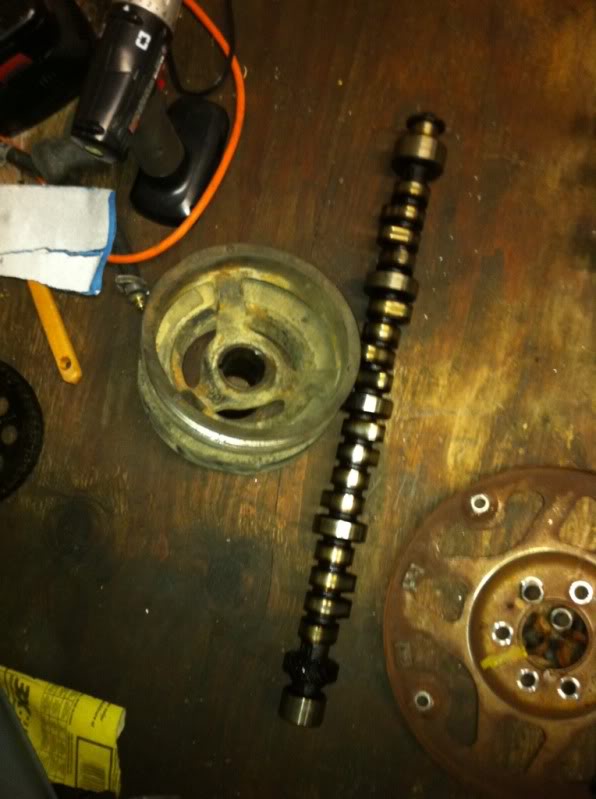


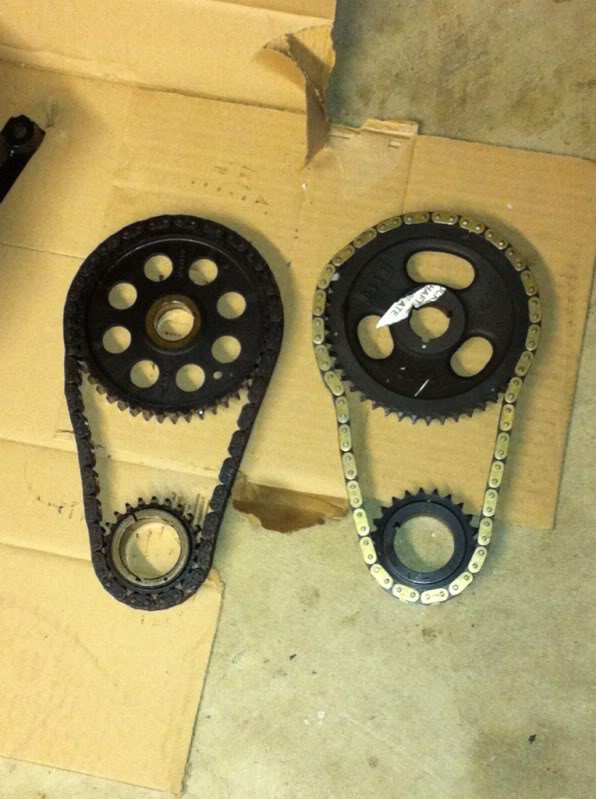
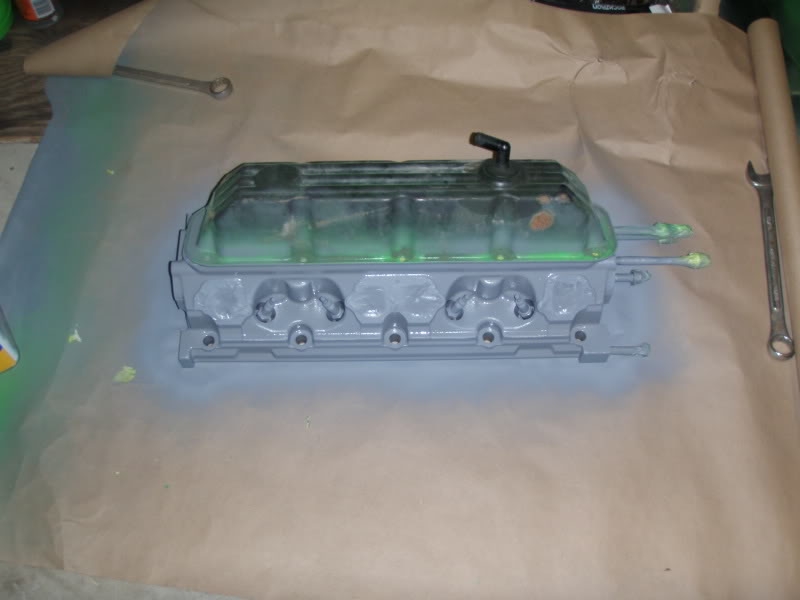
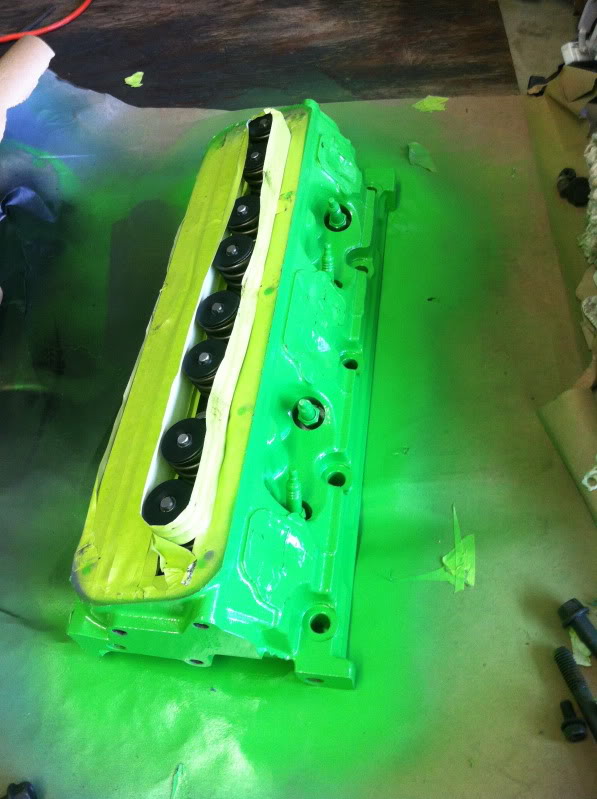
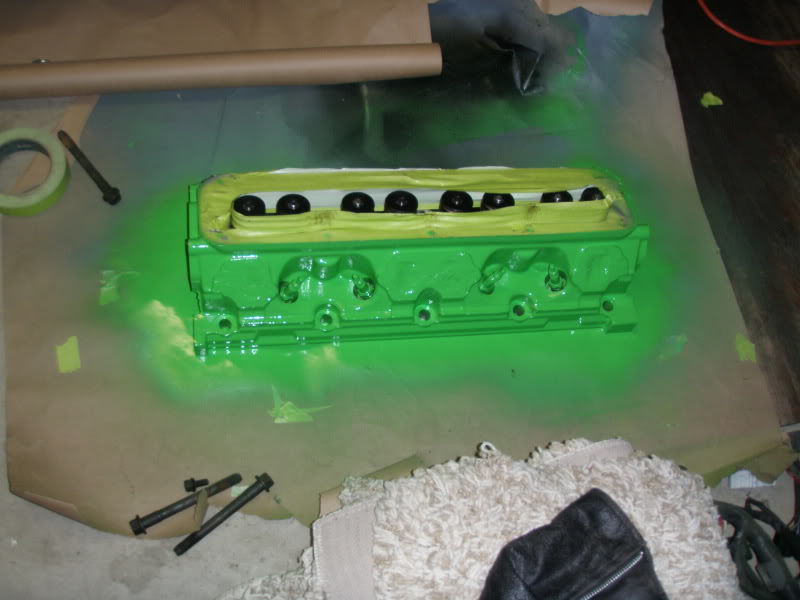
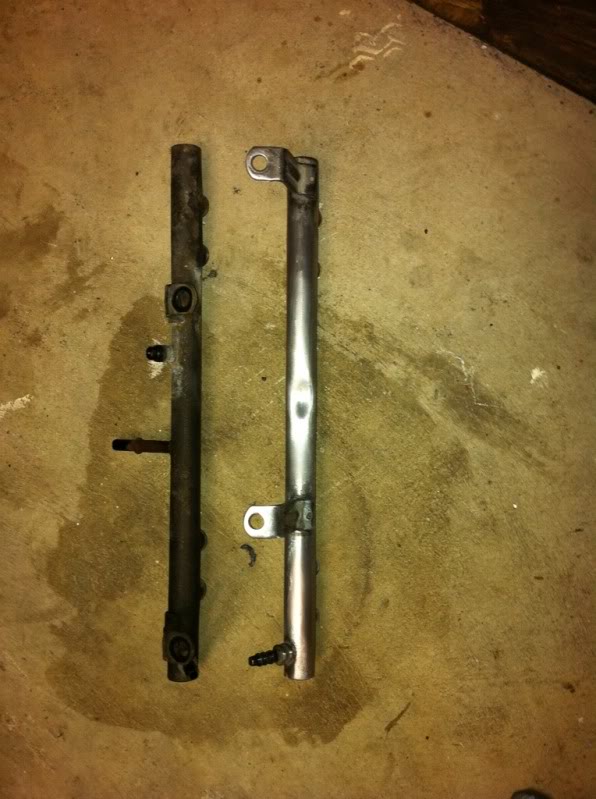
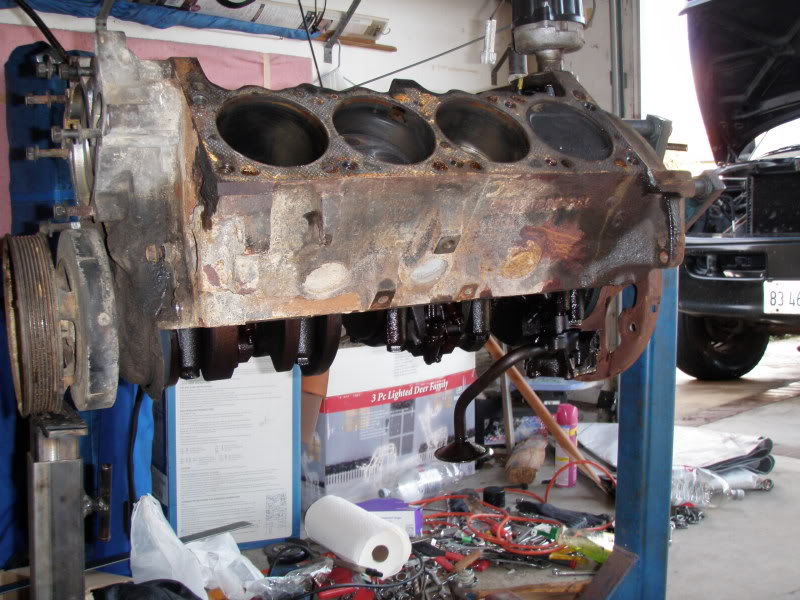
old and new
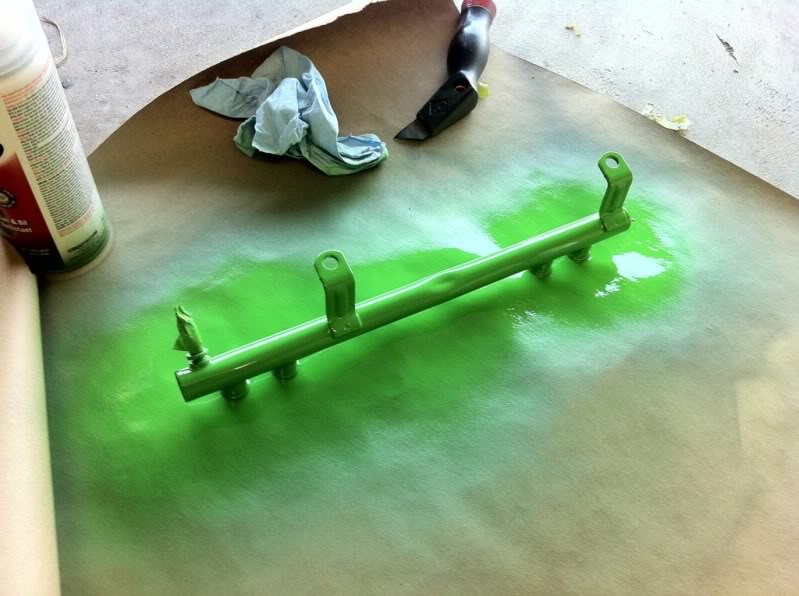
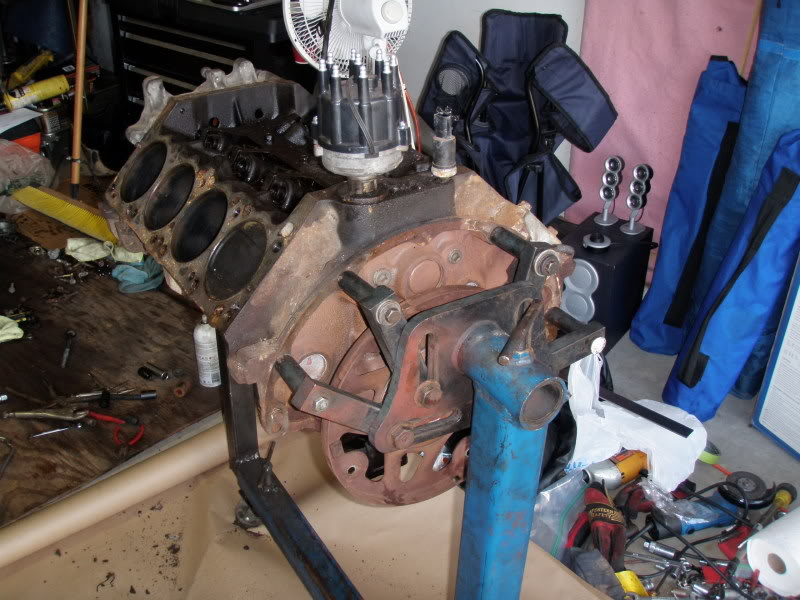
before after
and after that
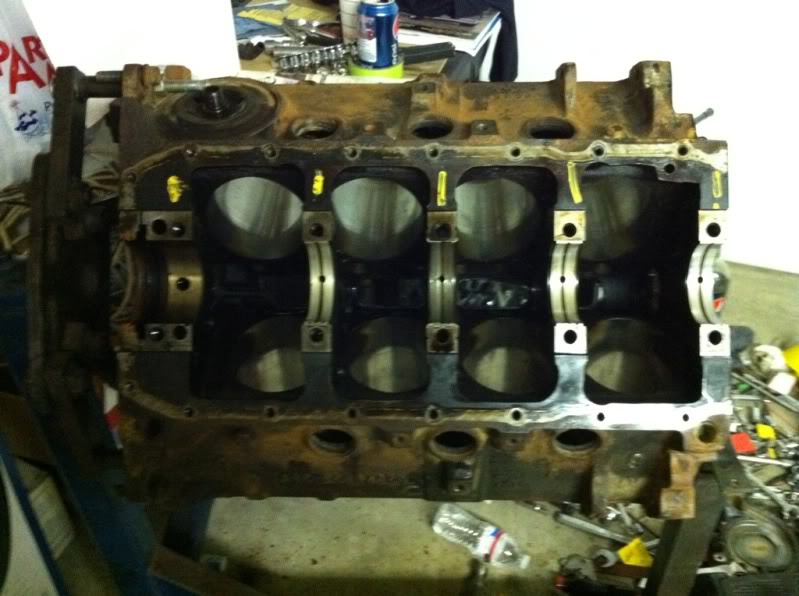
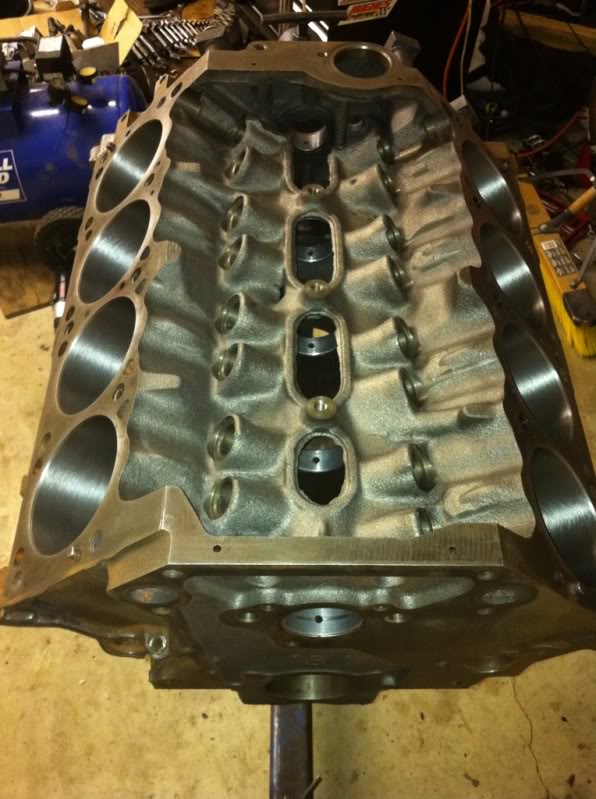
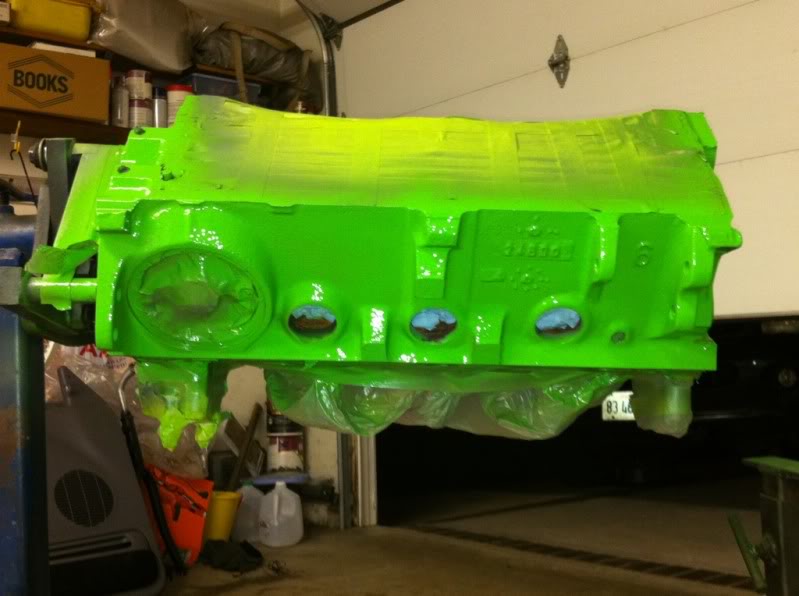
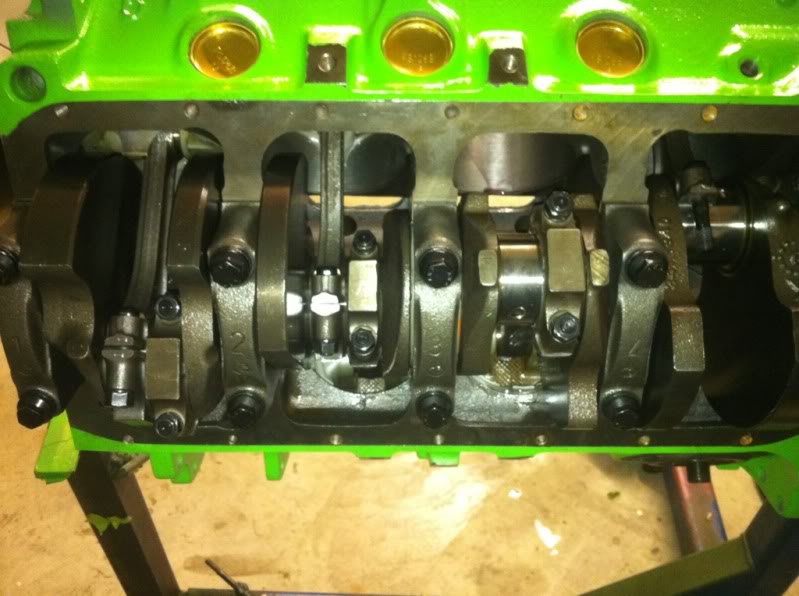
After the hot tank and machine shop
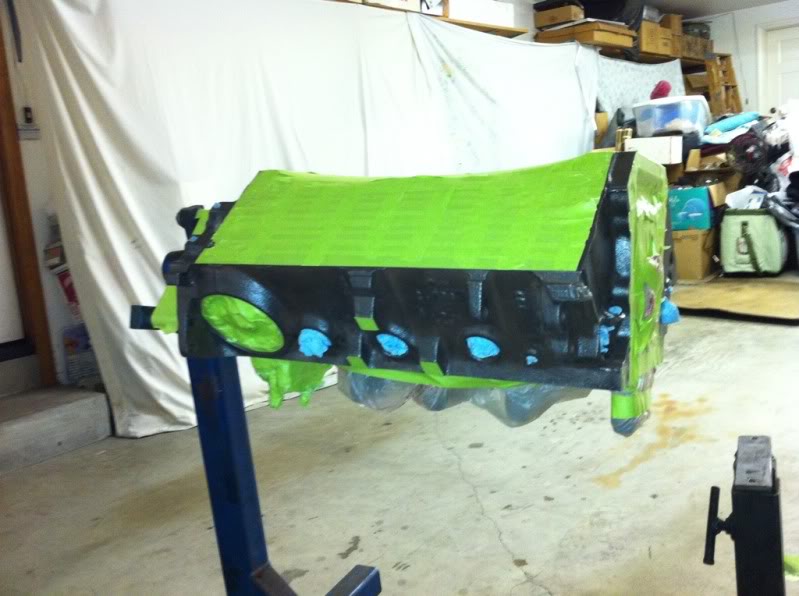

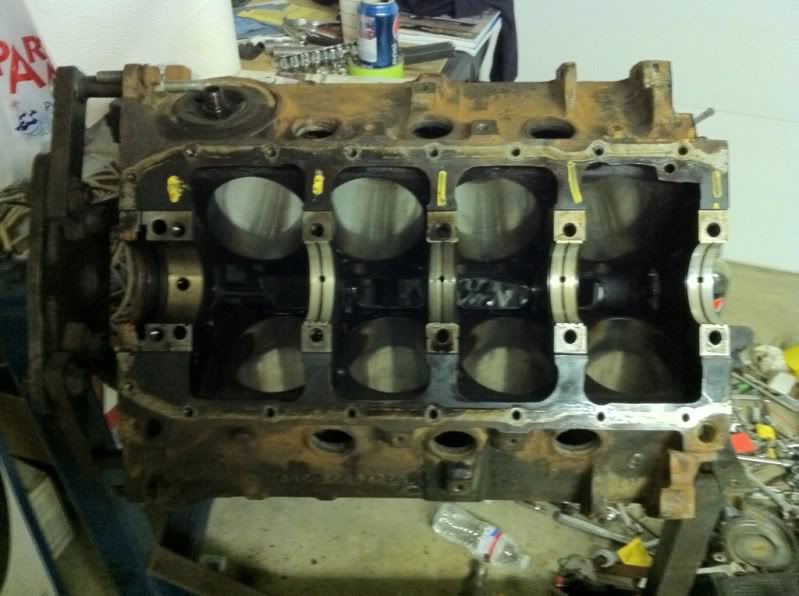
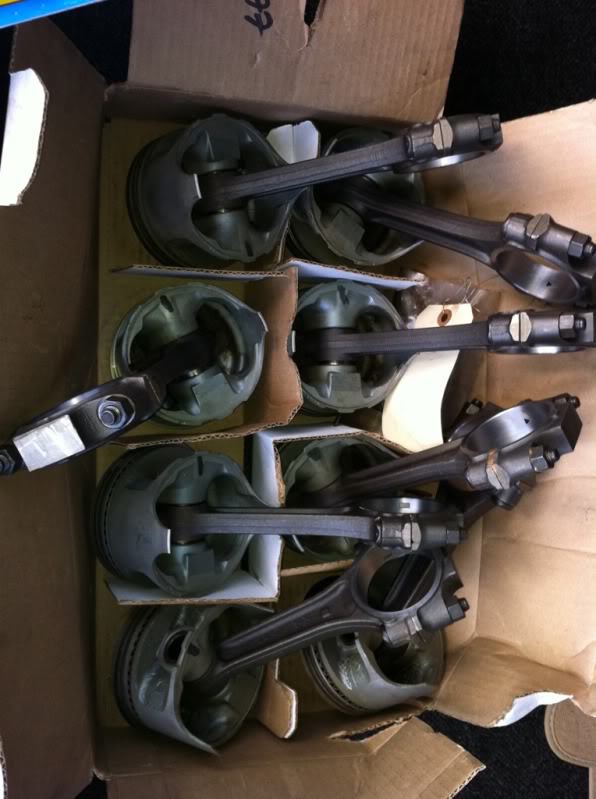
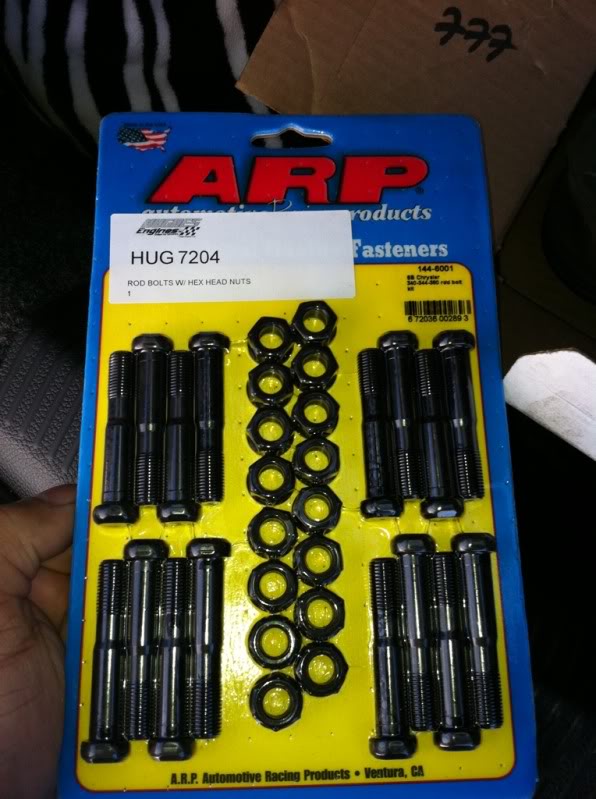
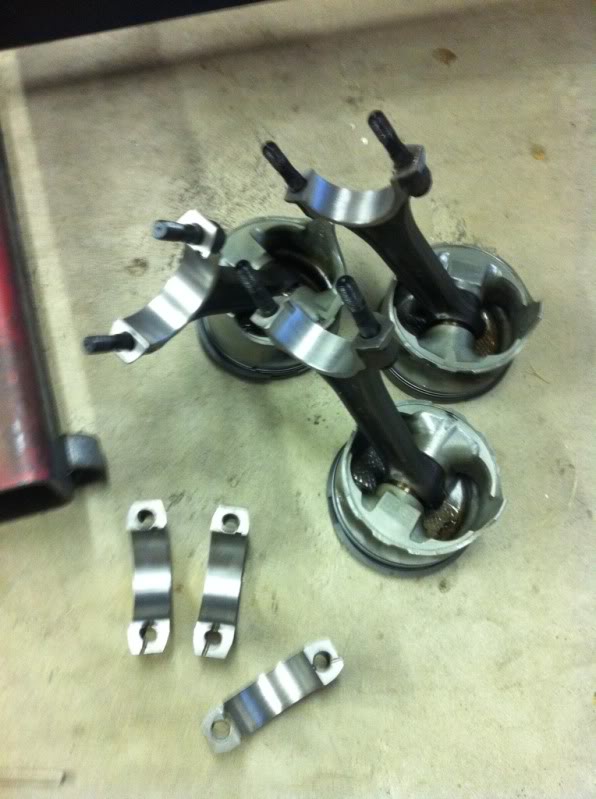
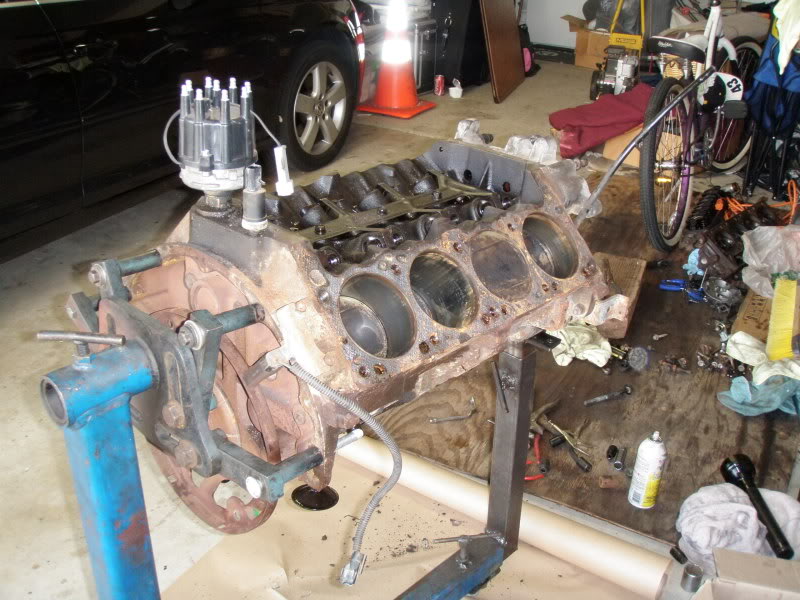
Putting bearings in


Trending Topics
Im glad you guys like it ! ask away if you have questions
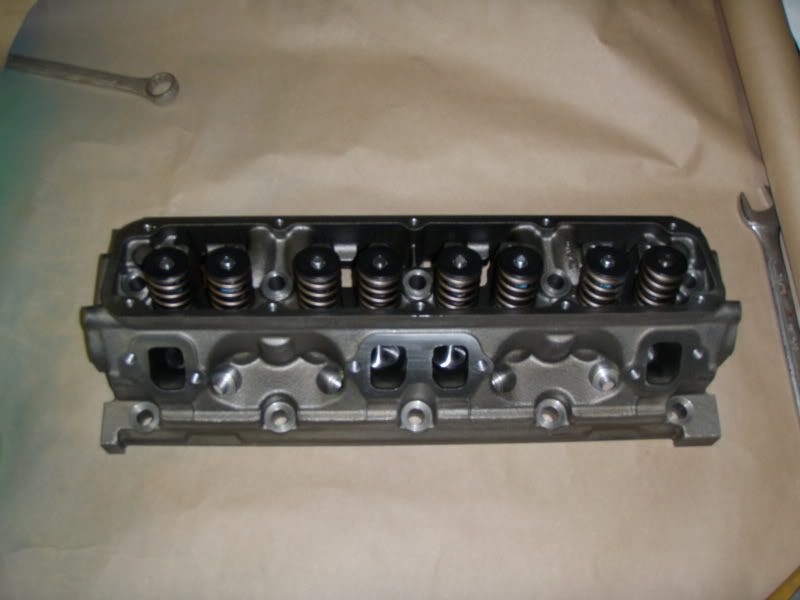
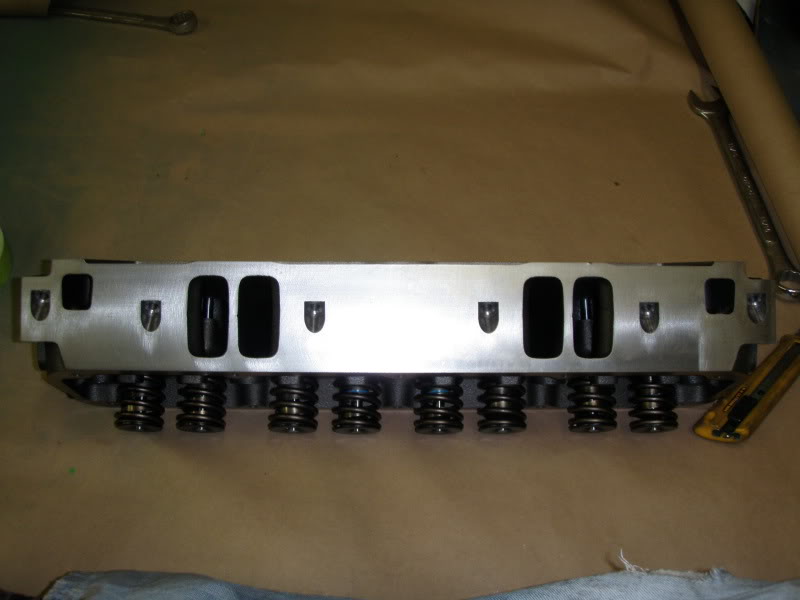
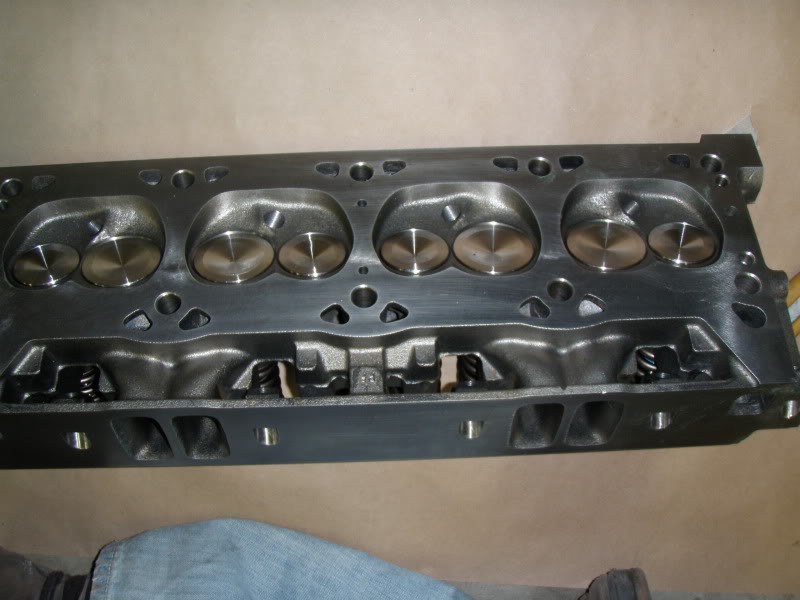
The heads are
MAGNUM IRON RAMS W/ 1.92' VLVS & SPRNGS
MAGNUM STYLE INTAKE PATTERN W/ 1.92' INT, 1.620' EXH & 1110 SPRING
hese heads are brand new castings. They have been cleaned and then assembled with new one-piece, polished, stainless steel valves (1.920" intakes and 1.620" exhaust). The heads come complete with Viton valve stem seals and our 1110 spring kit. These are replacement heads for your stock Magnum truck heads and will accept all of the stock valvetrain and accessories. Our Iron Ram heads feature pressed-in hardened seats and modern port design to enhance airflow. From hughes engines website


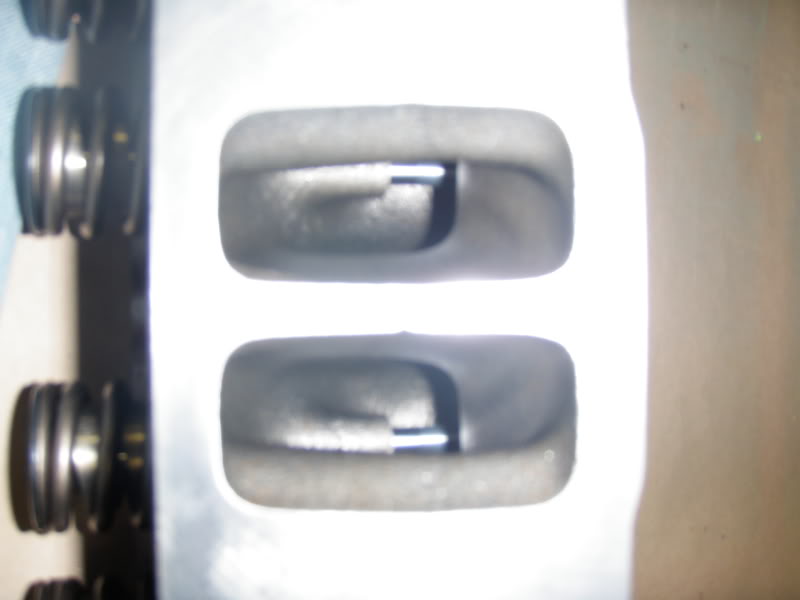
 bought these door panels off of ebay and rec'd them broken
