When you click on links to various merchants on this site and make a purchase, this can result in this site earning a commission. Affiliate programs and affiliations include, but are not limited to, the eBay Partner Network.
2nd Gen Ram Tech1994-2001 Rams: This section is for TECHNICAL discussions only, that involve the 1994 through 2001 Rams. For any non-tech discussions, please direct your attention to the "General discussion/NON-tech" sub sections.
It was actually an extremely easy task. Took me less than an hour to take them off, clean them (paint them if you want) and replace with proper torque. You need a deep 12 mm I believe, could be smaller
Blow off all the debris at the intake manifold side of the covers first with compressed air. Or you will end up with all kinds of crap getting in the heads when you pull the VC's off.
Blow off all the debris at the intake manifold side of the covers first with compressed air. Or you will end up with all kinds of crap getting in the heads when you pull the VC's off.
Great idea =). I'll be tackling this task in a week or two myself. Is there any other maintenance I should consider attempting, that may be easier when the covers are off?
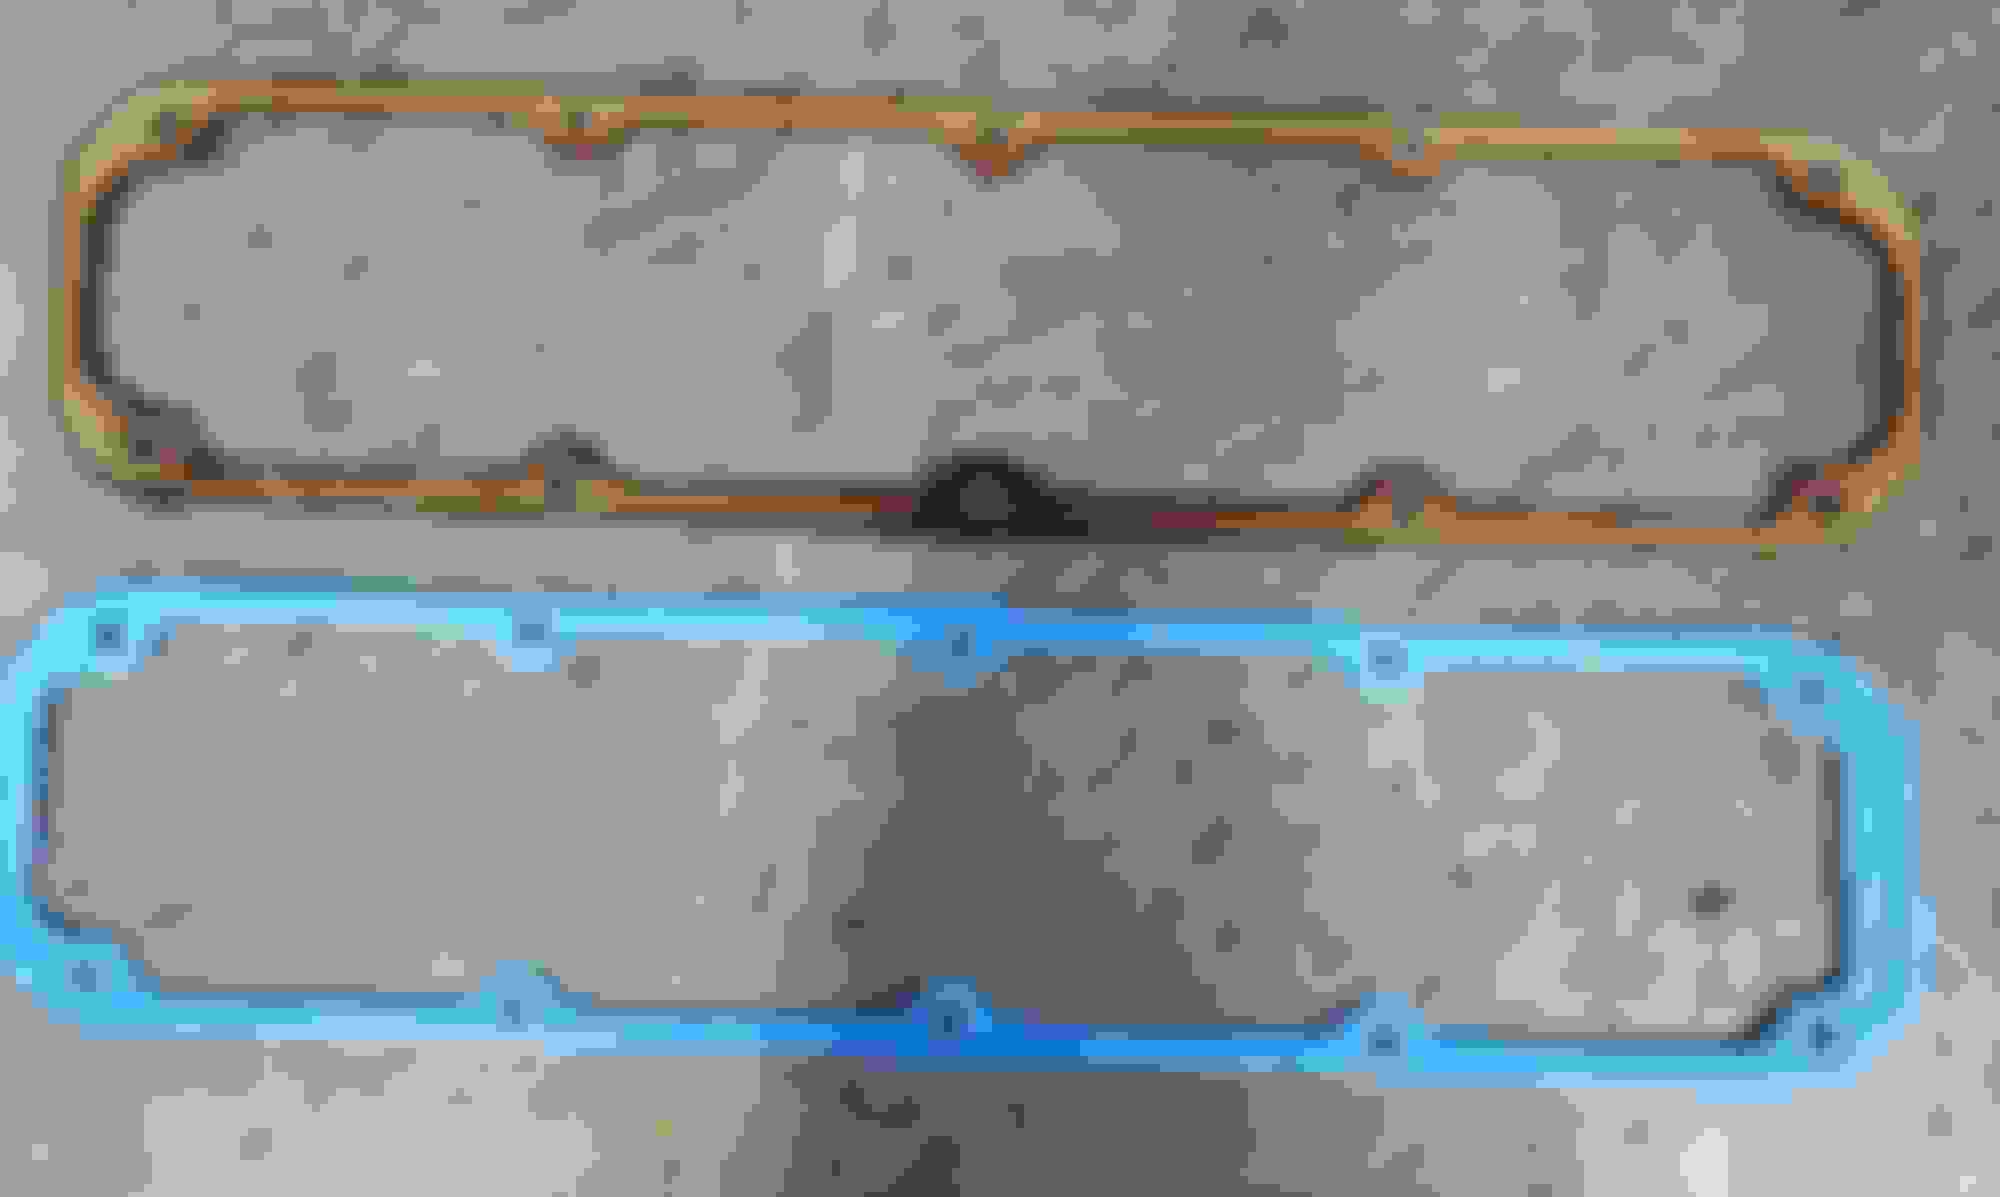
I realize this is an ancient thread, but this is on-topic... With those Fel-Pro gaskets, it looks like they're asymmetrical front to back. One end has a larger edge than the other. Unfortunately, I didnt pay attention when I took the old gasket out, so I've no idea which way is front on these. There's no markings...
Look at the underside of the valve cover, if things aren't all the same size, should be able to see it... But then, I don't think I have ever seen a valve cover gasket that wasn't symmetrical...
Sorry, a pic's worth a gazillion words - Front-to-back, one side has a wider tab (it's definitely intentional - there's part info on the extra space - just no "FRONT" label to be found). The valve cover itself is symmetrical. I can't get a decent view of the front vs back of the cylinder head because it's too cramped in there.
That extra lip might be part of the manufacturing process, and doesn't serve any actual purpose. If you look from the Rockauto catalog, Fel-Pro and Apex have same design, whereas Mahle and Victor Reinz have symmetrical desing wihtout that lip.
I just did this on a '00 5.9, and I'll include a few notes to maybe help others in the future. Overall it is what should be a very straightforward job. The biggest problem on this '00 was the random things Dodge found it amusing to put on the rear-most studs at the back of the valve cover:
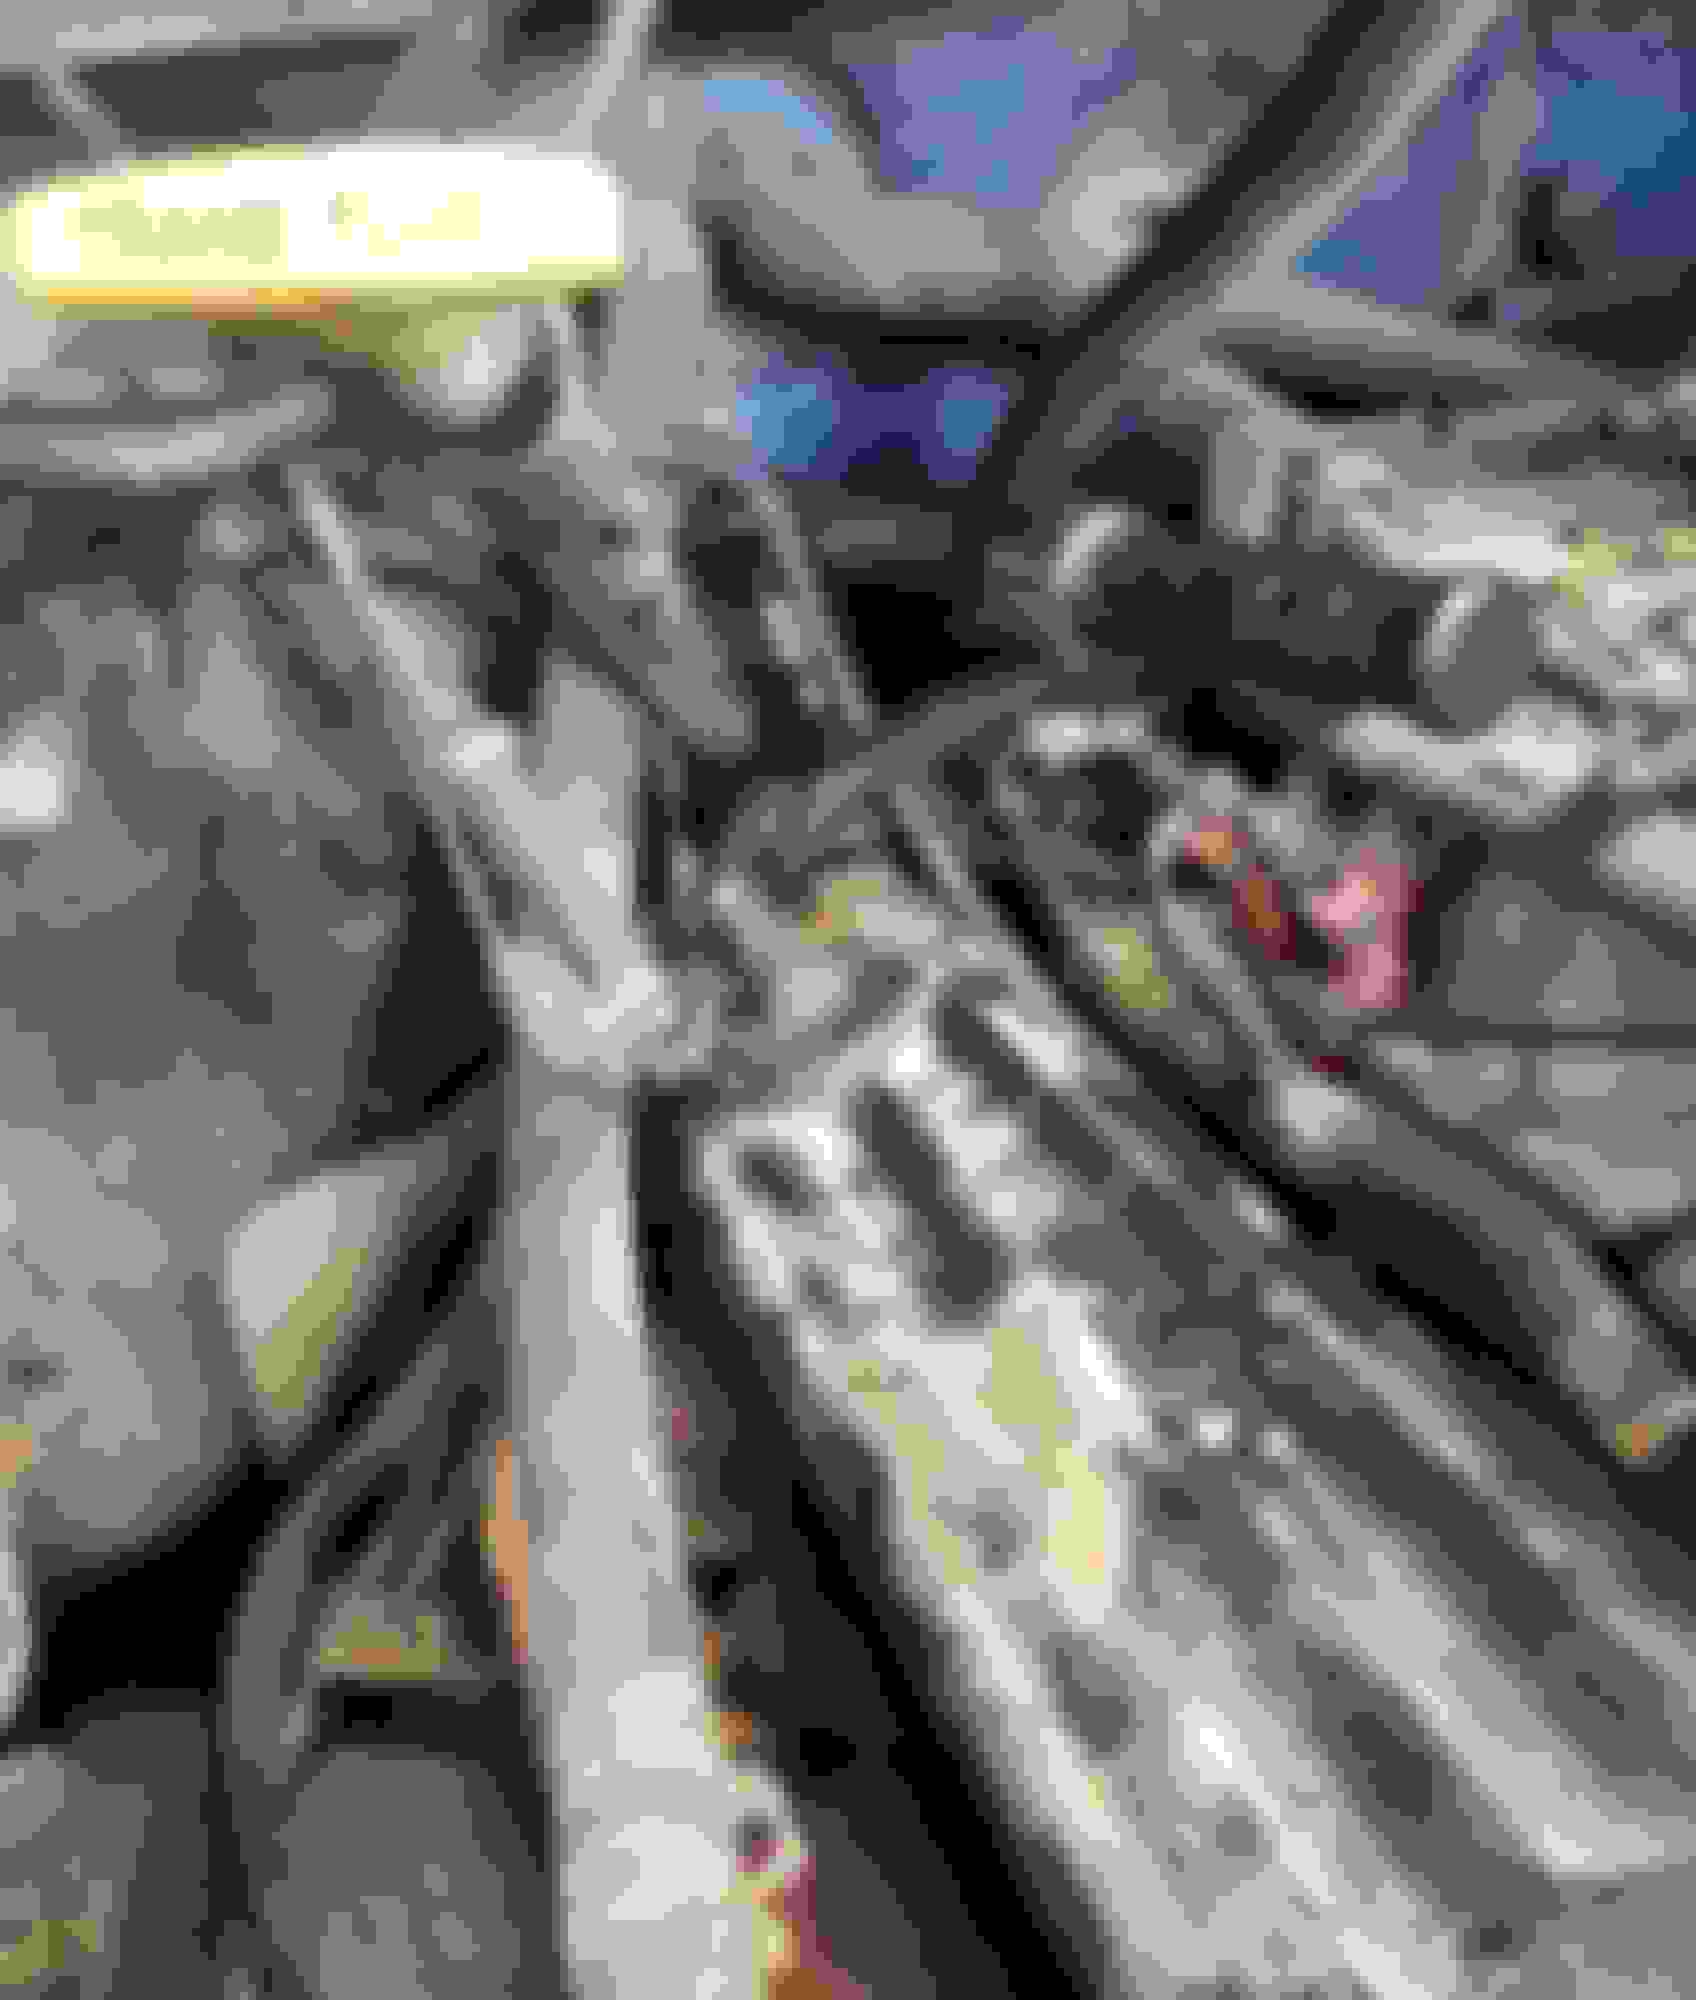
1) on the passenger side inboard (closest to plenum) rear they elected to put a ring terminal for a ground strap. This location is shown in pics below. I opted to move the ground to outboard rear stud where access and visibility is much better.
2) on the driver side inboard rear the wiring harness slips over the stud with a plastic ring retainer integrated into the loom. This broke causing me too fight this plastic ring for WAY WAY WAY WAY too long. It's a situation where if you could come straight at it with pliers and pull straight up you'd be done in 30 seconds. You can't get a socket over the stud/nut until you've removed the ring.
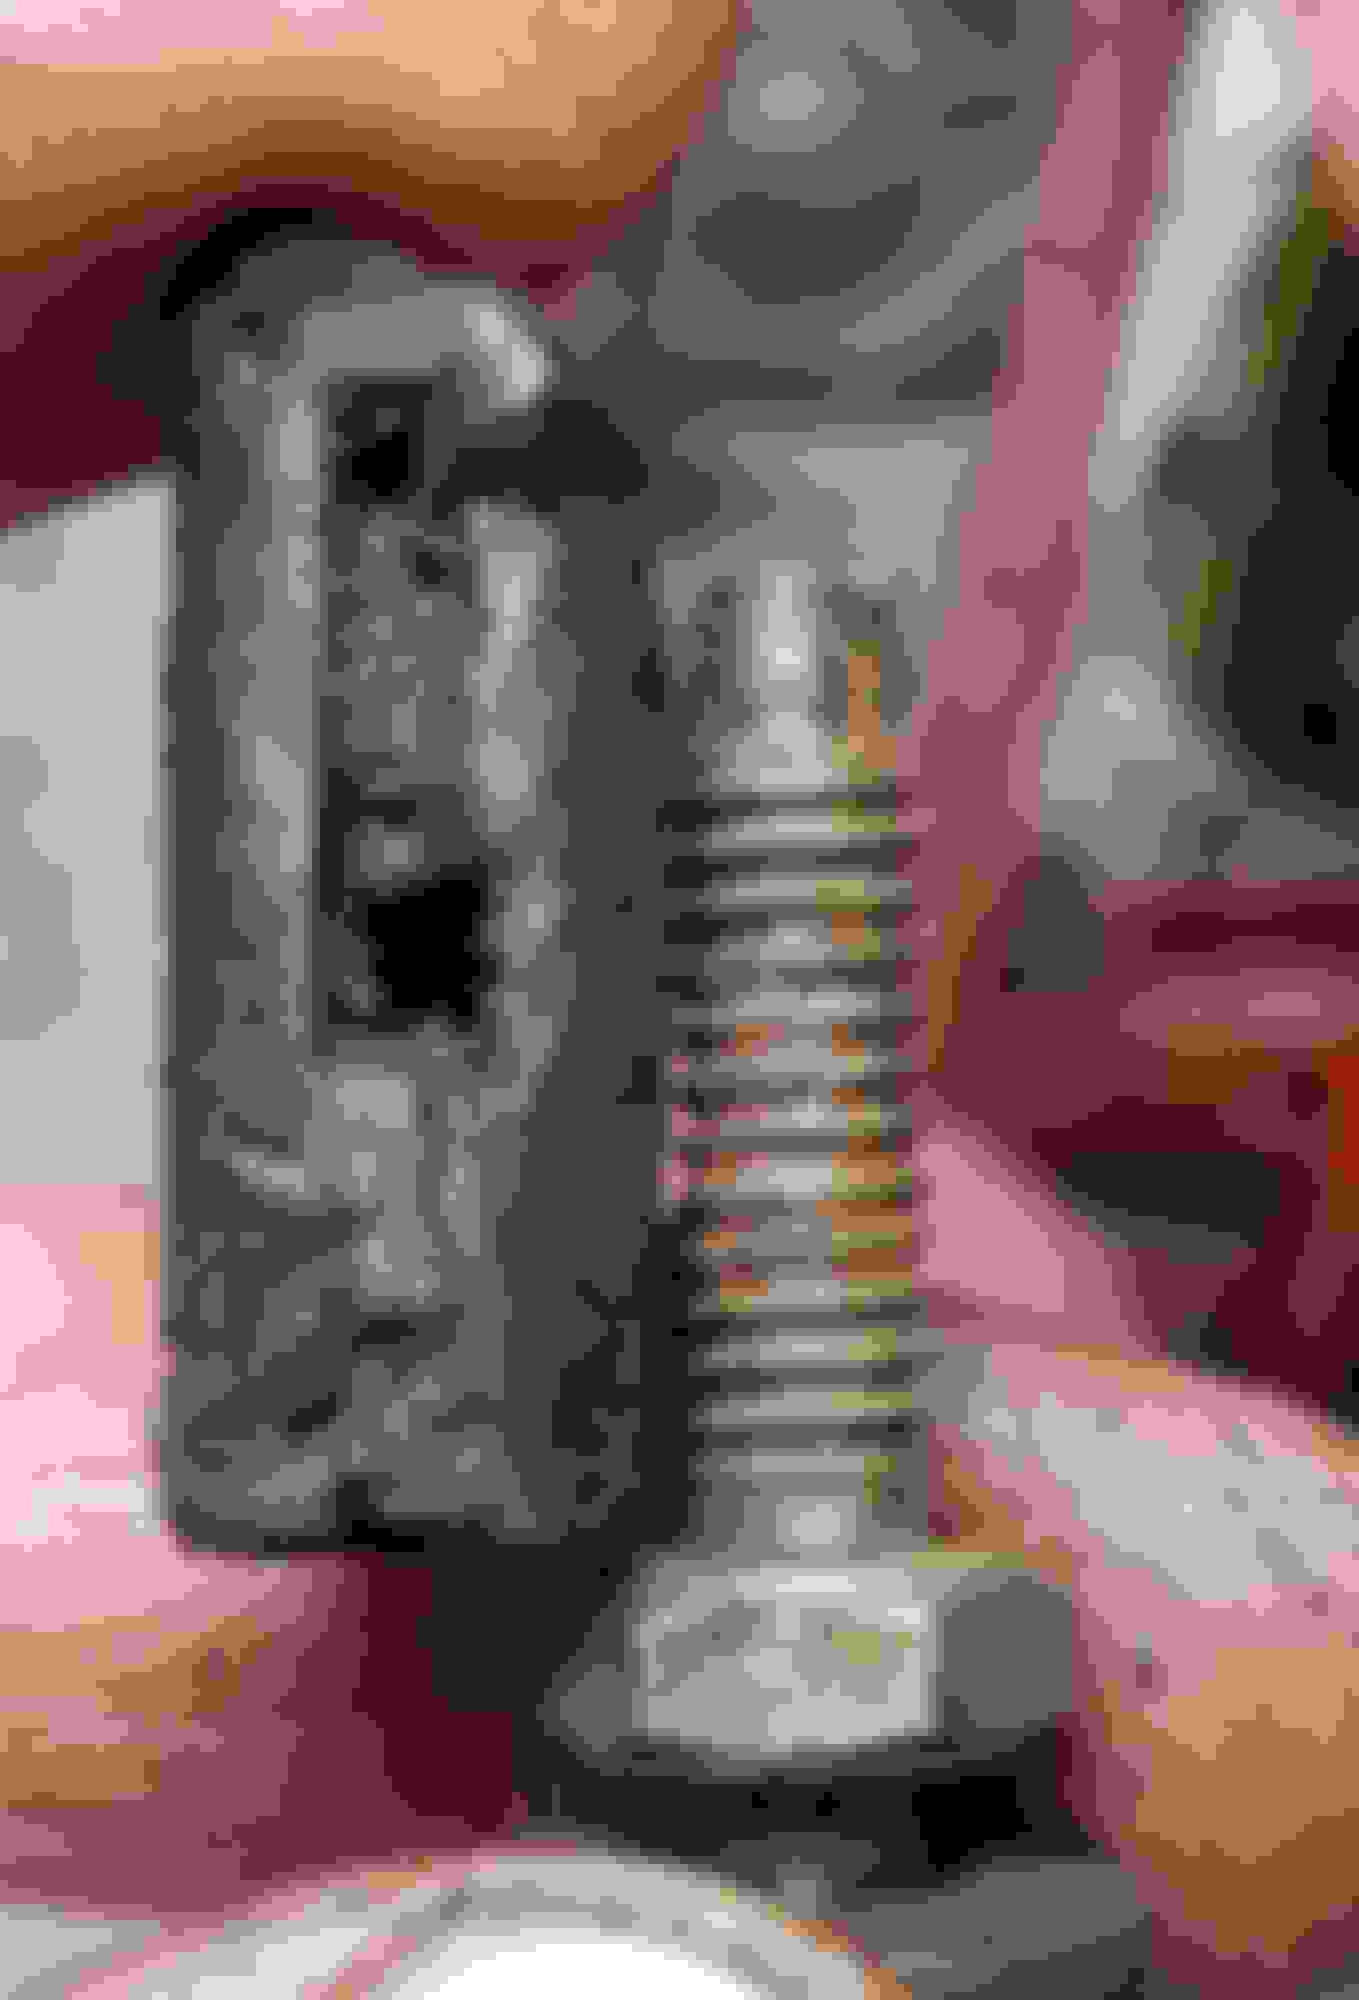
3) on the driver side outboard rear stud they had a plug wire keeper. This was also broken but still has to come off completely to access the hex nut of the stud. Creative use of foul language and pry bars finally got it off.
Assembly actually goes much faster since you're not fighting stupid engineers.
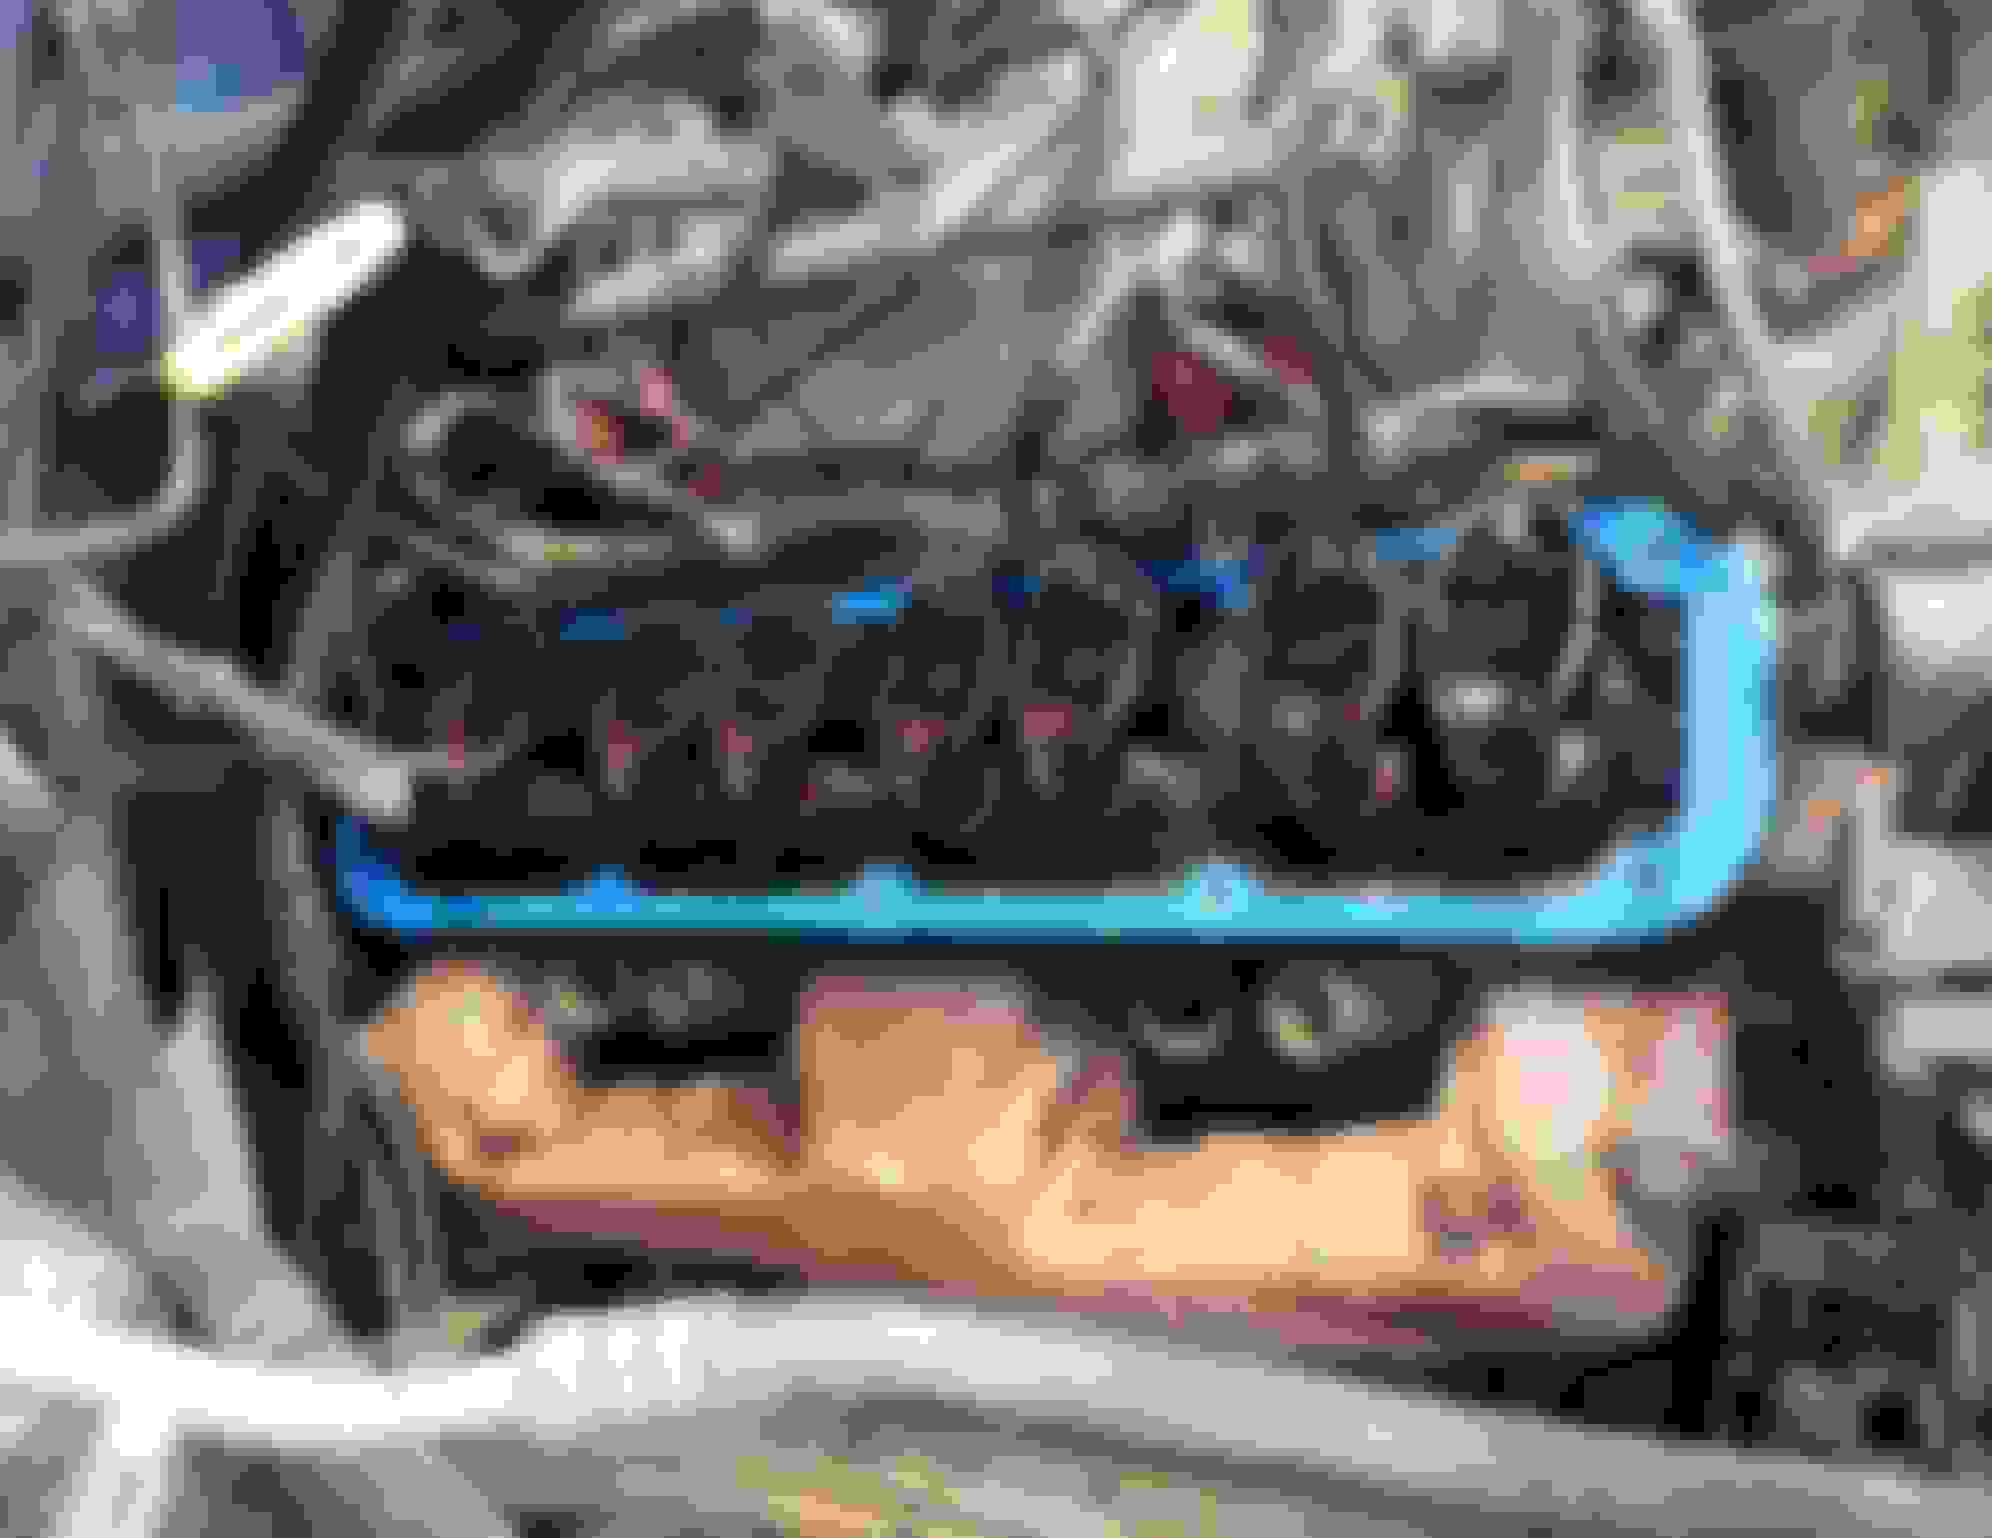
I also see what @StinkyC was asking about on the FelPro design. I opted to put the fatter part at the front solely because it was slightly easier. Here you can see torque wrench on passenger rear inboard where a ground lived These plug wire keepers break but still prevent access to hex until you've pried them off OEM vs Fel-pro I put fatter part at front