


Engine and Plenum fixes...


Thread Starter
|
Veteran
Joined: Jul 2011
Posts: 317
Likes: 0
From: Gagetown, New Brunswick, Canada
Hey All,
So started working on my truck engine this long (in New Brunswick) weekend. Taking my time, labeling the HELL out of everything and taking pictures of _EVERYTHING_ I do. So far the project has been going well. About the only issues I've run into have been: Fuel line (luckily Princess Auto was open in Moncton early enough to go get a 3/8 fuel line disconnect tool), the fan clutch (did NOT want to come off, so off came the whole water pump) and the fact that the two front bolts on the manifold snapped (which I've never dealt with before... so gonna have to research solving that problem).
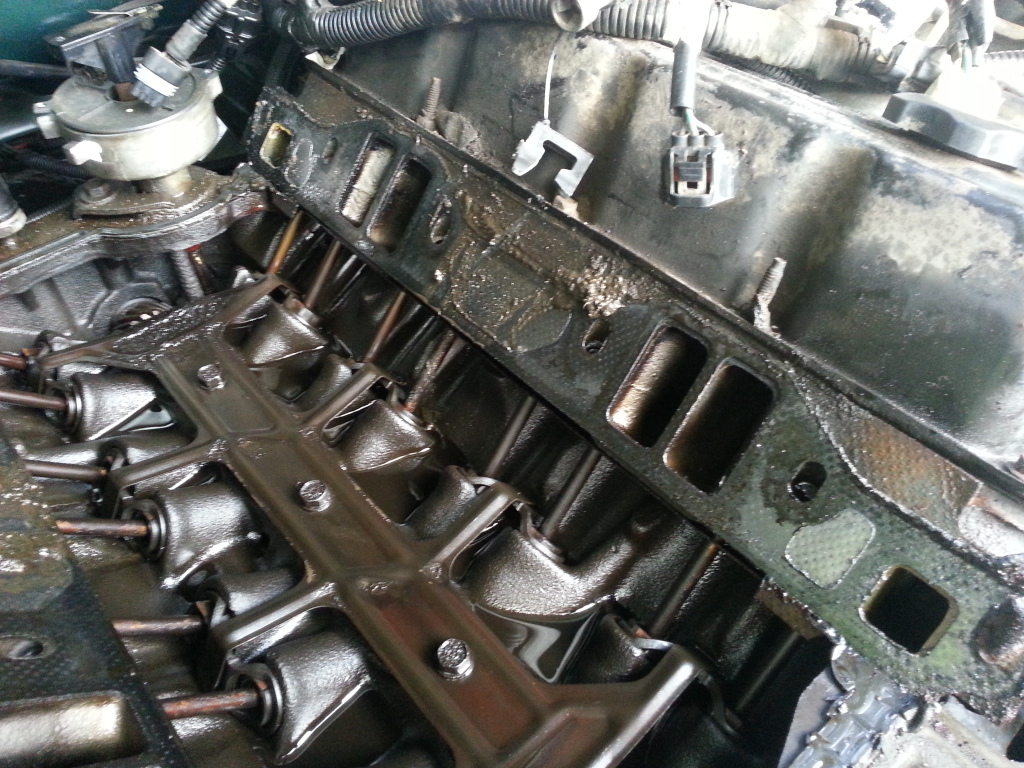
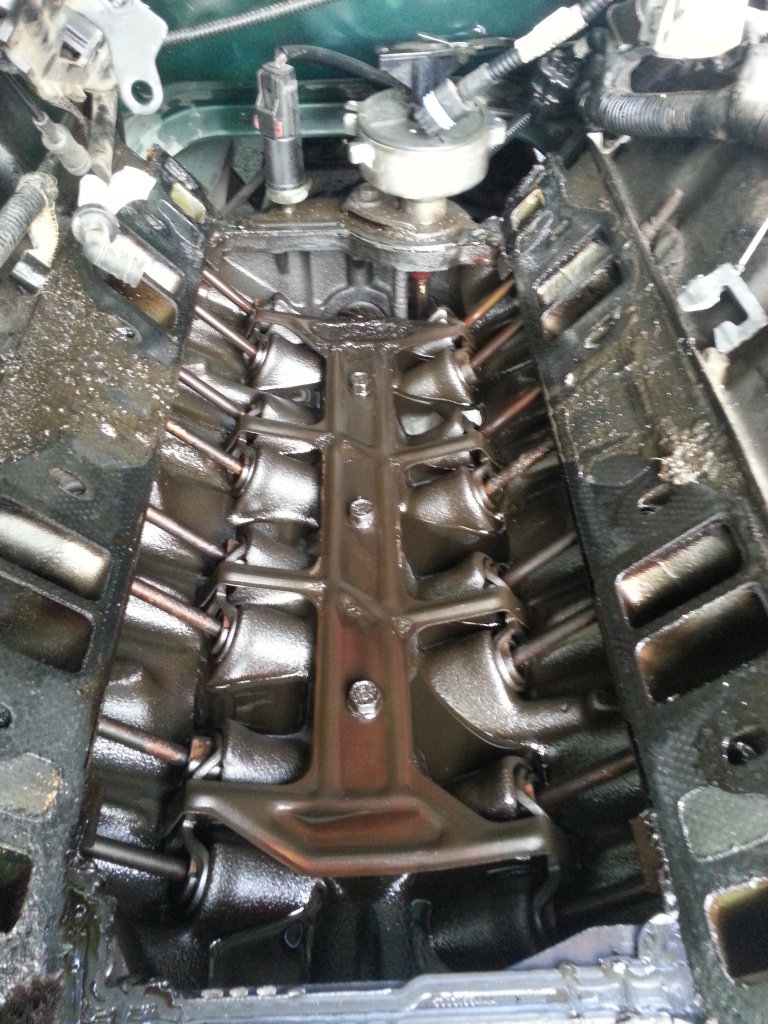
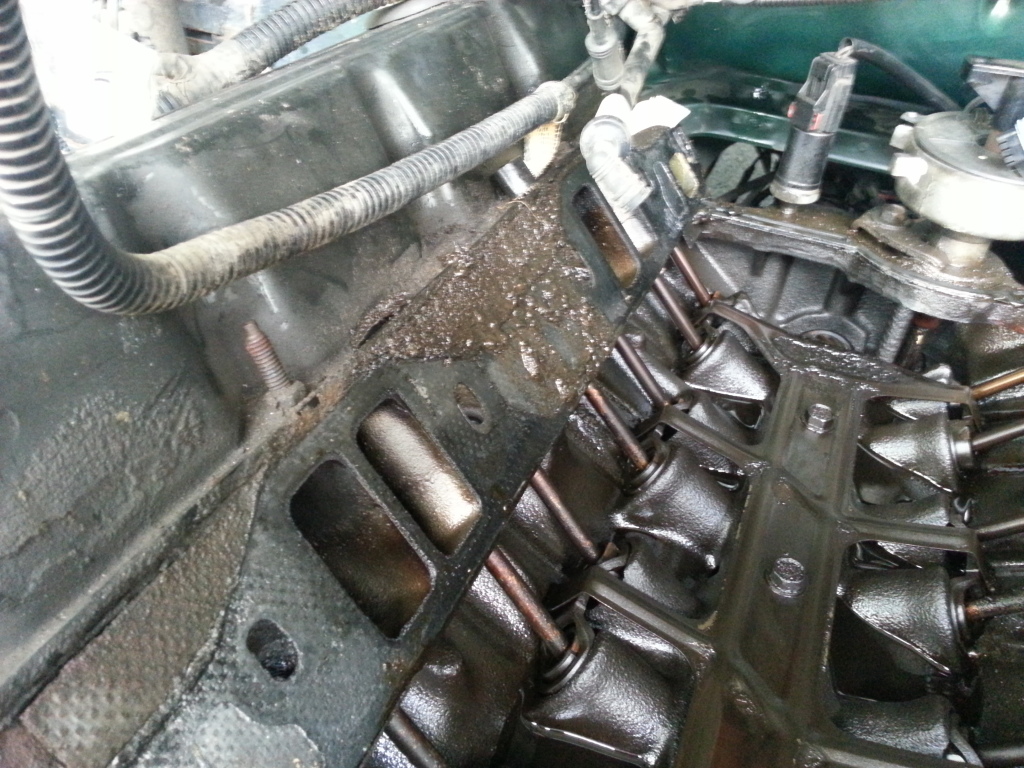
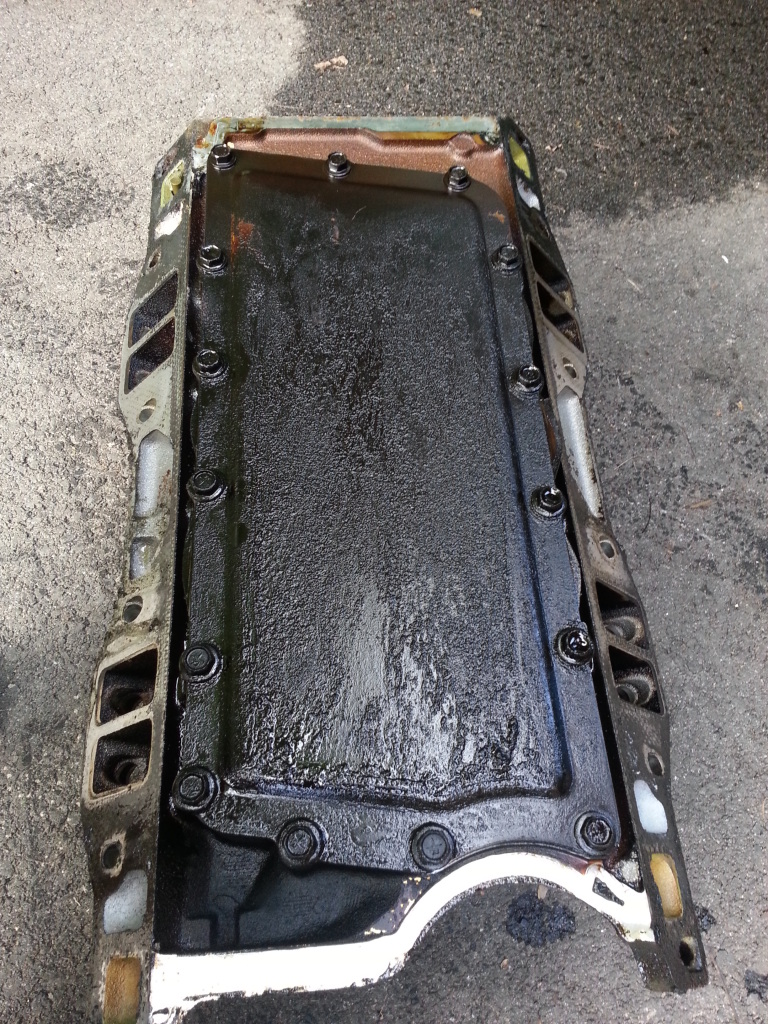
Pulled the A/C (to the side), alternator, accessory bracket, radiator, etc - all the good stuff and managed to pull the intake tonight. The gasket was DEFINITELY blown.
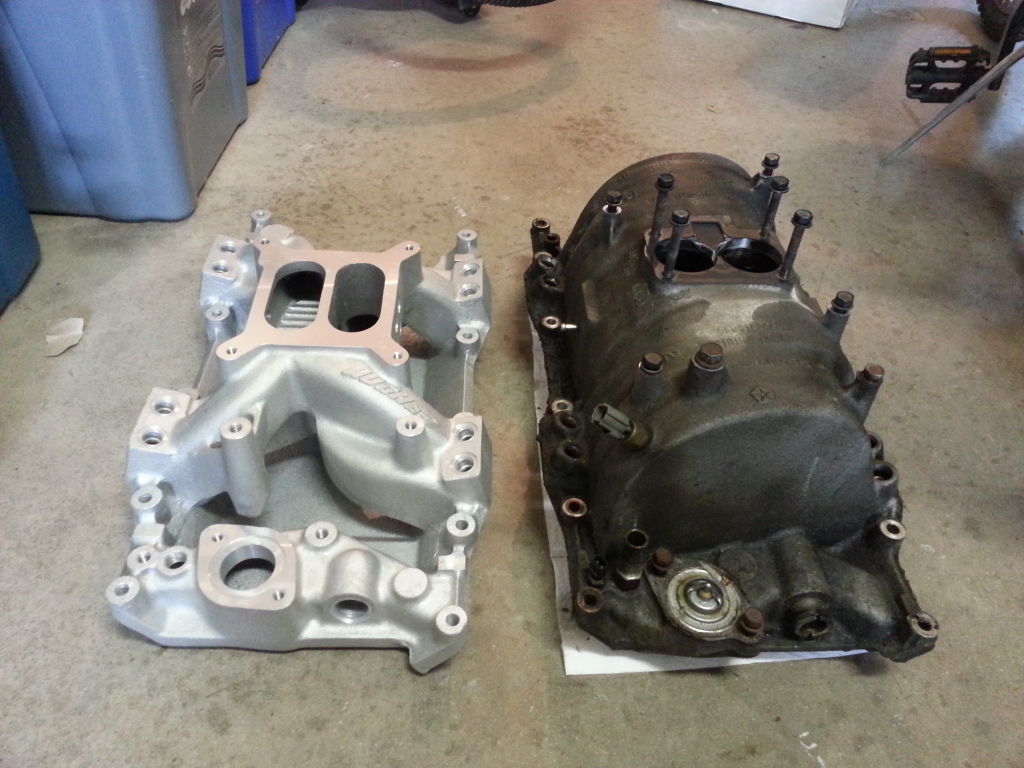
I'll be replacing the whole assembly with a Hughes Engine FI airgap. I've picked up a double roller rocker timing chain. I've also picked up a set of Harland Sharp 1.7" roller rockers.
I've decided since I'm in that far, I'm going to clean up what is a pretty embarrassingly dirty engine bay as well. Going to clean up/sand some areas, prime and paint. Probably going to paint a few other parts.
Once this is done, I'll be ordering a set of the cast Mopar valve covers (I don't have the cash right now to order that, but I do have the time to work on the truck - something I don't often have). I also want to replace the throttle body I believe, but I do not have the cash for that yet. This is the biggest project I've taken on, but by far also the most fun and educational. I'll toss up some pictures next.
InfO.
So started working on my truck engine this long (in New Brunswick) weekend. Taking my time, labeling the HELL out of everything and taking pictures of _EVERYTHING_ I do. So far the project has been going well. About the only issues I've run into have been: Fuel line (luckily Princess Auto was open in Moncton early enough to go get a 3/8 fuel line disconnect tool), the fan clutch (did NOT want to come off, so off came the whole water pump) and the fact that the two front bolts on the manifold snapped (which I've never dealt with before... so gonna have to research solving that problem).
Pulled the A/C (to the side), alternator, accessory bracket, radiator, etc - all the good stuff and managed to pull the intake tonight. The gasket was DEFINITELY blown.
I'll be replacing the whole assembly with a Hughes Engine FI airgap. I've picked up a double roller rocker timing chain. I've also picked up a set of Harland Sharp 1.7" roller rockers.
I've decided since I'm in that far, I'm going to clean up what is a pretty embarrassingly dirty engine bay as well. Going to clean up/sand some areas, prime and paint. Probably going to paint a few other parts.
Once this is done, I'll be ordering a set of the cast Mopar valve covers (I don't have the cash right now to order that, but I do have the time to work on the truck - something I don't often have). I also want to replace the throttle body I believe, but I do not have the cash for that yet. This is the biggest project I've taken on, but by far also the most fun and educational. I'll toss up some pictures next.
InfO.
Thread Starter
|
Veteran
Joined: Jul 2011
Posts: 317
Likes: 0
From: Gagetown, New Brunswick, Canada
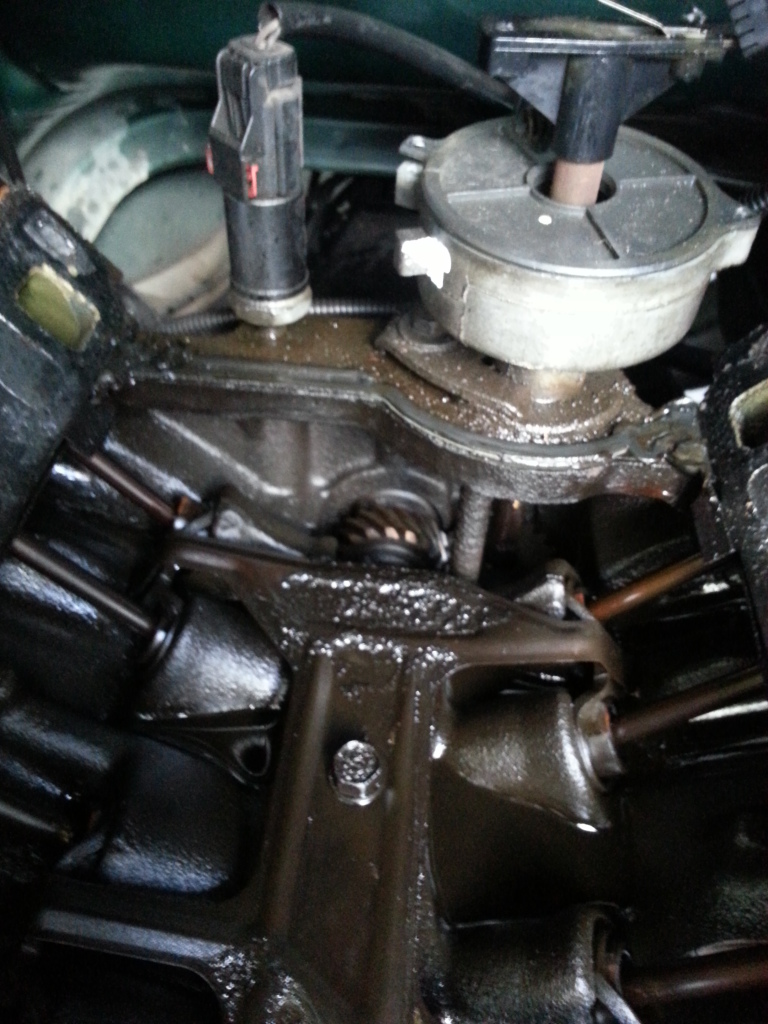
One of the first thing I did was #1 TDC as per the service manual. Assuming this will come in handy when I get into the timing chain.
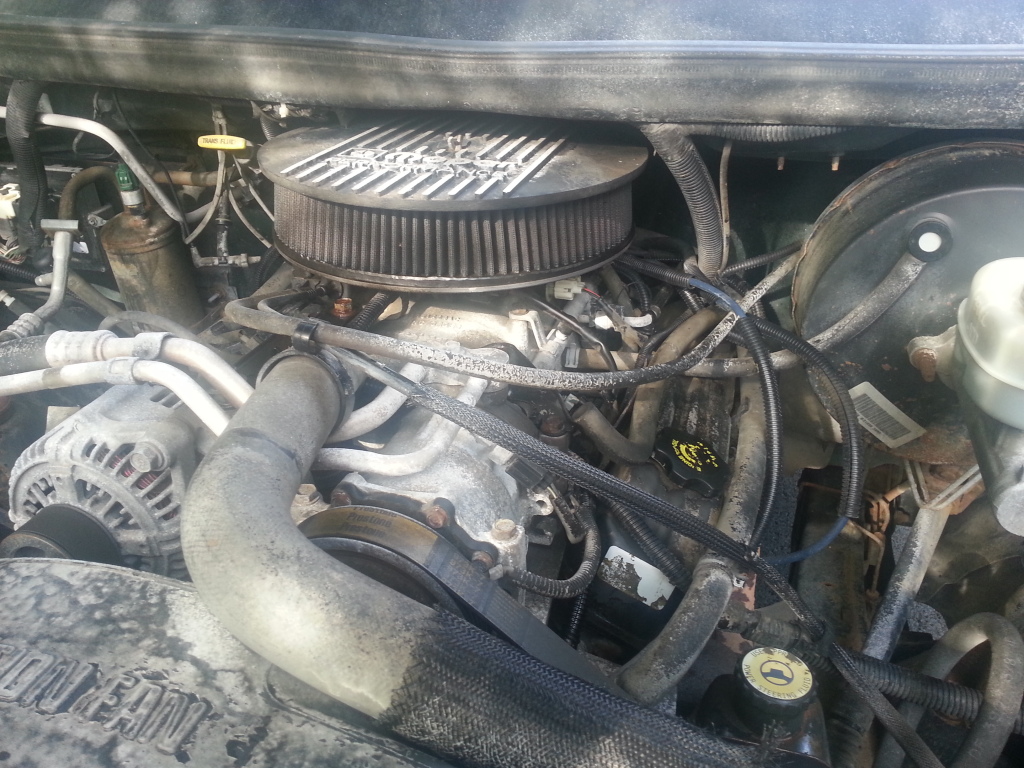
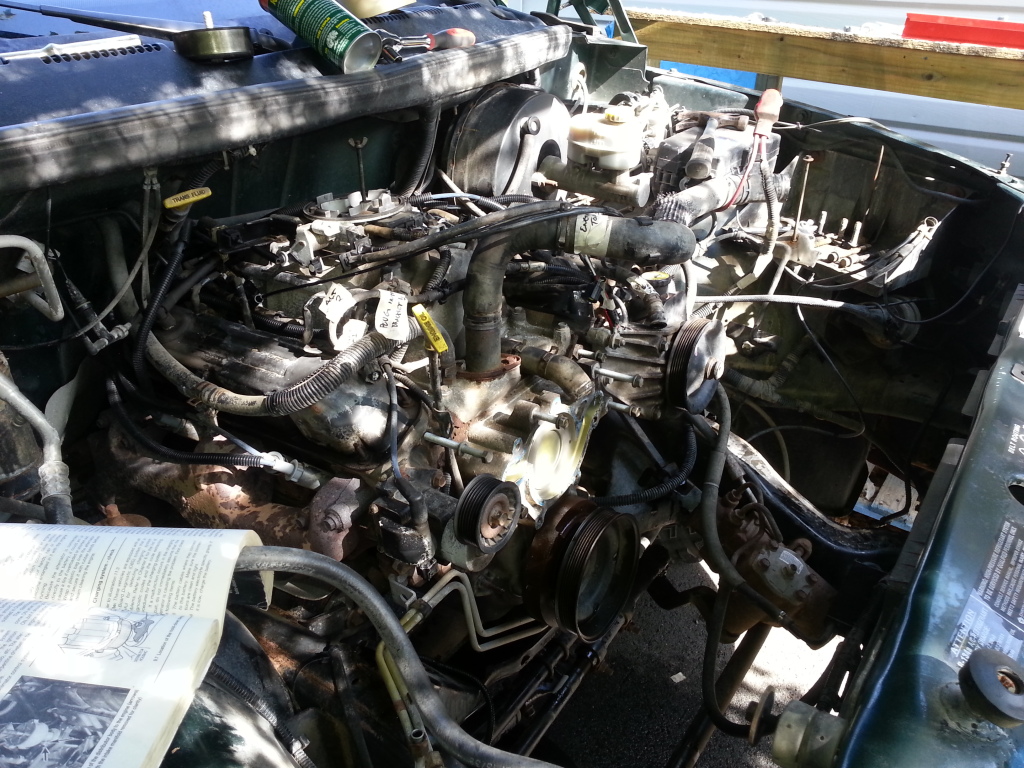
A very embarrassingly dirty engine bay that has been horribly neglected...
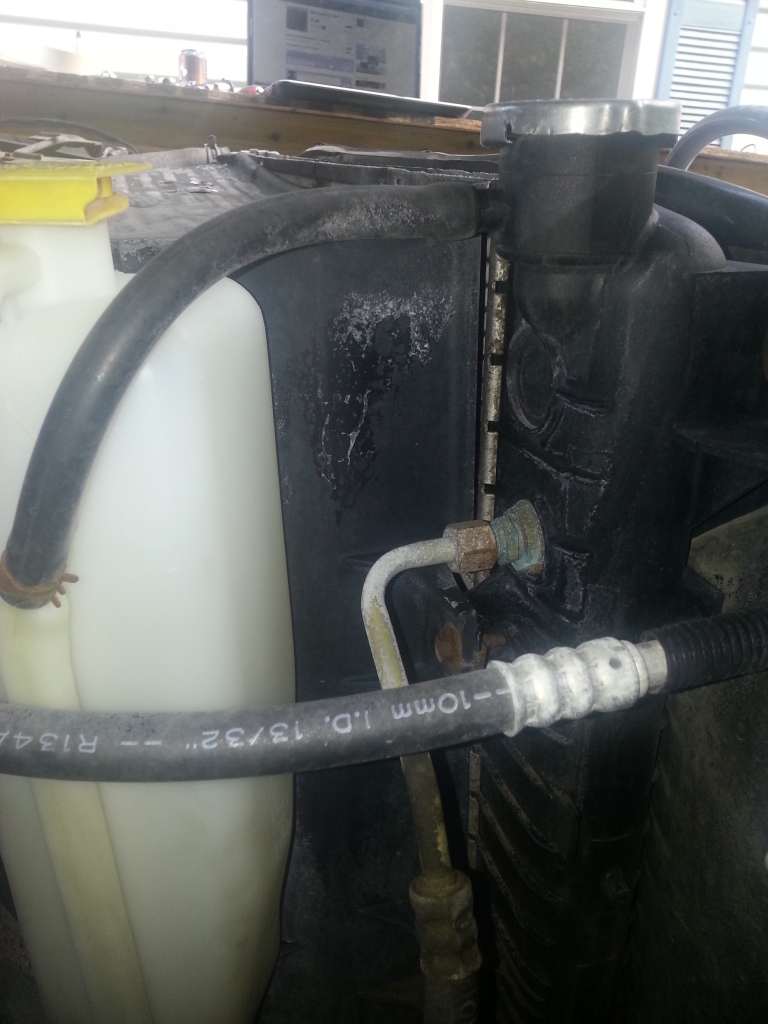
These can be trickier than the service manual explains... parts of the bottles in the middle slip into holes in the fan shroud. In fact, ANY time the manual said words such as 'simple' or 'easy' I had to remind myself that whatever it is I'm fiddling with, good chance the last time it was fiddled with was '99!
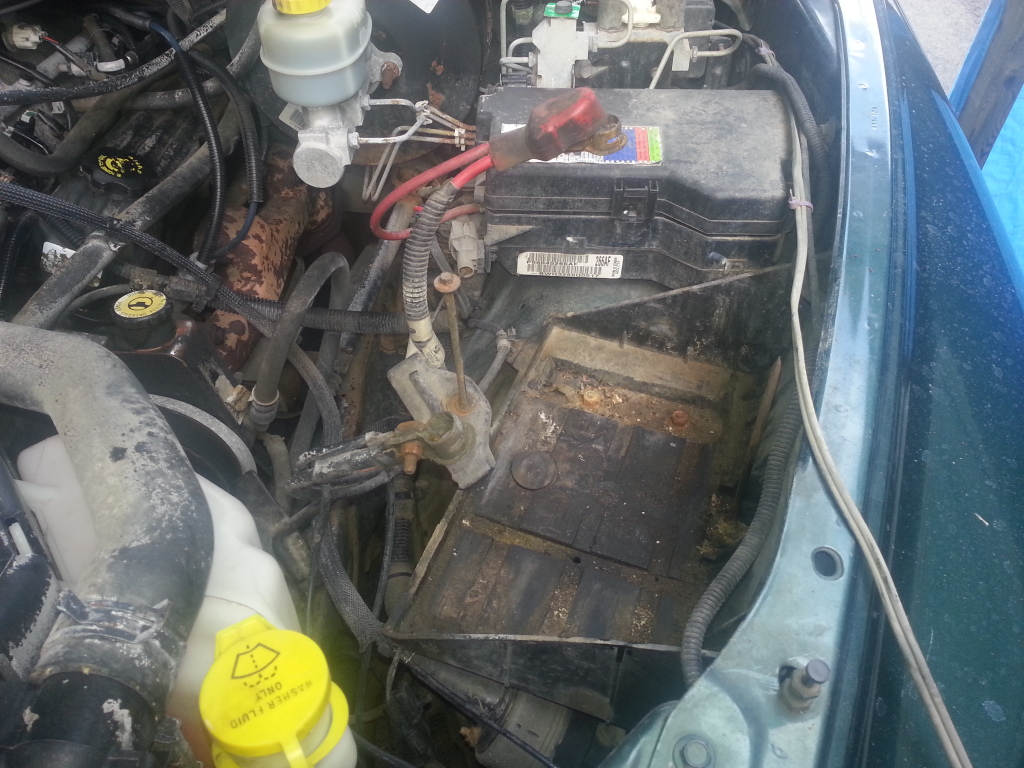
Very beat up battery tray. Ordering new clamps before I put it back together - will clean it all up. Interestingly, the previous owner setup a lot of winter equipment on this truck. There is a battery heater, block heater, and some type of vent heater under the driver seat to heat up the cabin, but I've never been able to get it to work...
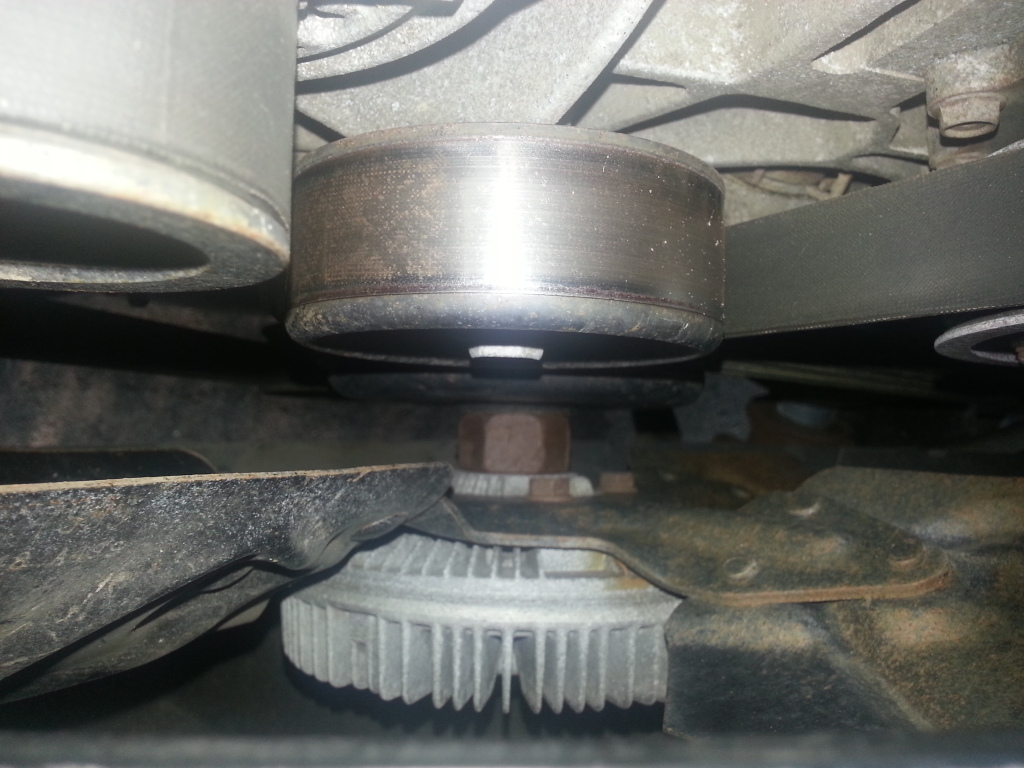
This was a pain in the ***. I couldn't find a 36mm wrench, so I used a large crescent wrench to no avail. I left it on with the water pump on removal. One of the big things that is making this easier (that I learned when rebuilding my motorcycle) is putting bolts and such back in place as soon as possible.
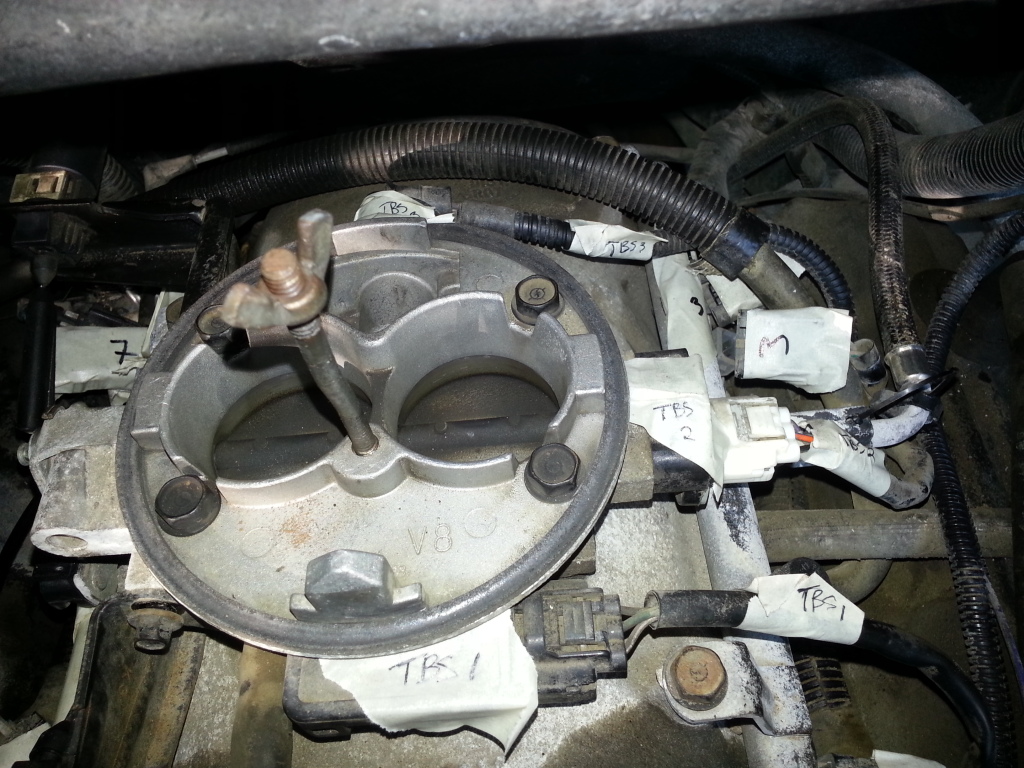
Label, label, label. Labelled everything... The labels may not make sense to you, but they do to me and that is what matters in the end
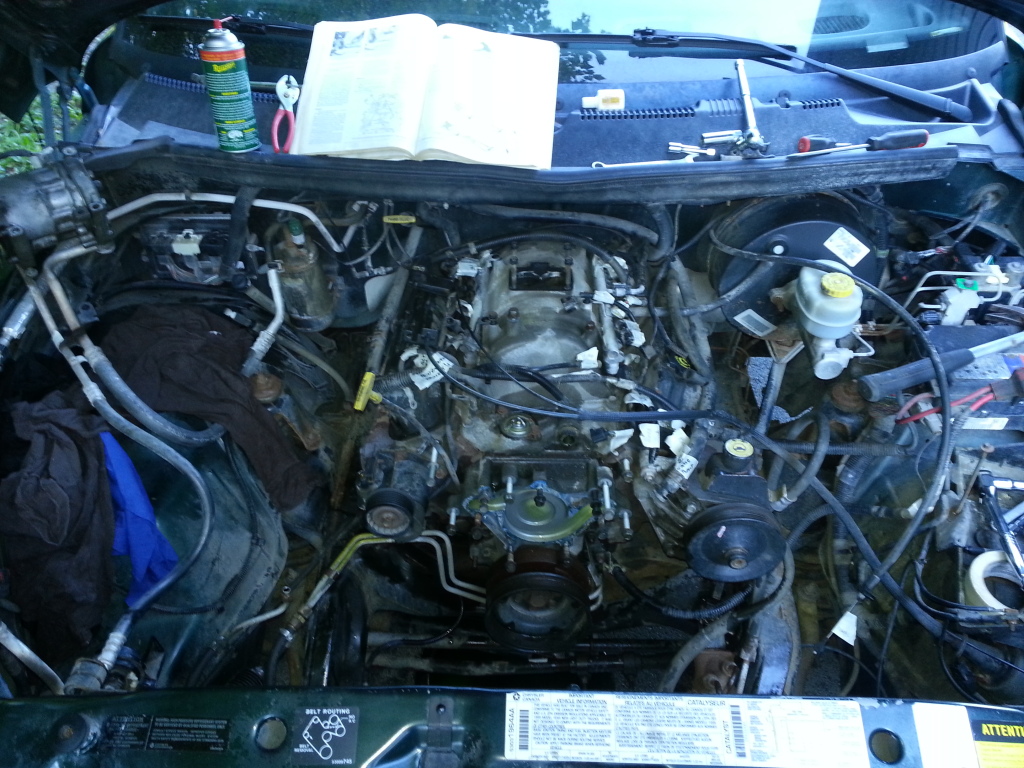
It continues...
THIS.... _THIS_ was a _MASSIVE_ ***** to get out to drain. To be honest, the other one is still in. Tomorrow I'll be dropping the oil pan and such (or attempting to) and as such I'll remove the other one once I take off the starter.
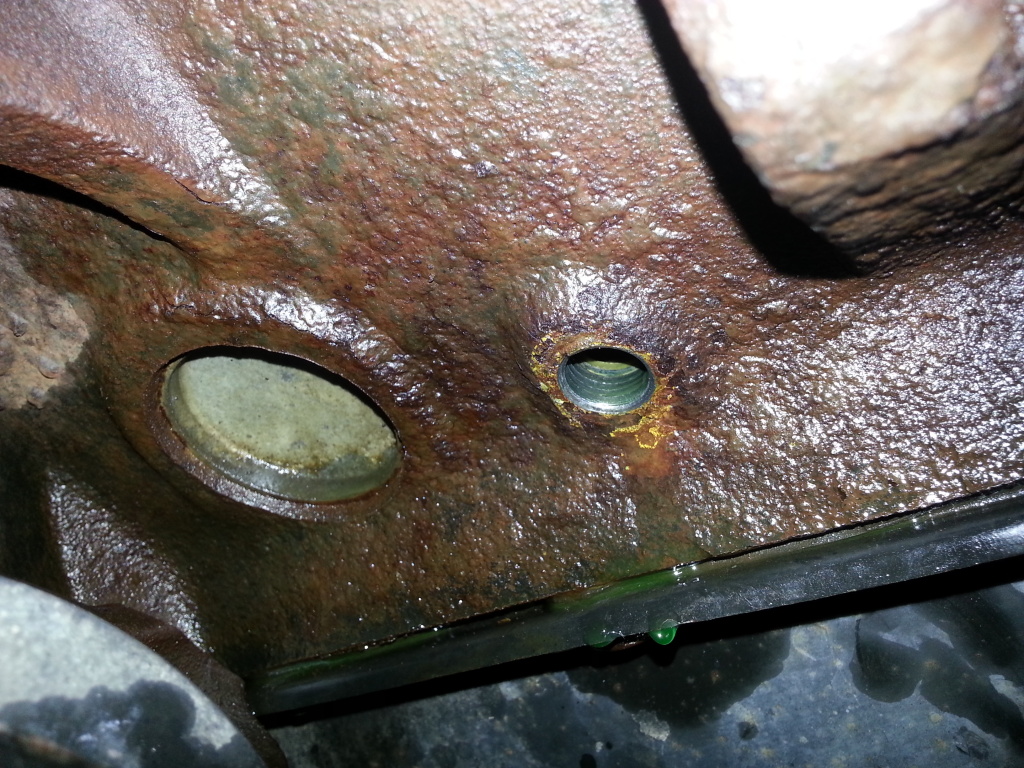
I broke the front two bolts as I said, BUT... the manifold came off. Here is what is left...

Anyways... I am _NO_ expert nor mechanic. A lot of this is learning as I go. I plan to really clean up the engine bay, so we'll see how (long) this goes.
I have a lot more pictures in my photobucket, so if anyone wants to see - just hollar.
InfO.
A very embarrassingly dirty engine bay that has been horribly neglected...
These can be trickier than the service manual explains... parts of the bottles in the middle slip into holes in the fan shroud. In fact, ANY time the manual said words such as 'simple' or 'easy' I had to remind myself that whatever it is I'm fiddling with, good chance the last time it was fiddled with was '99!
Very beat up battery tray. Ordering new clamps before I put it back together - will clean it all up. Interestingly, the previous owner setup a lot of winter equipment on this truck. There is a battery heater, block heater, and some type of vent heater under the driver seat to heat up the cabin, but I've never been able to get it to work...
This was a pain in the ***. I couldn't find a 36mm wrench, so I used a large crescent wrench to no avail. I left it on with the water pump on removal. One of the big things that is making this easier (that I learned when rebuilding my motorcycle) is putting bolts and such back in place as soon as possible.
Label, label, label. Labelled everything... The labels may not make sense to you, but they do to me and that is what matters in the end
It continues...
THIS.... _THIS_ was a _MASSIVE_ ***** to get out to drain. To be honest, the other one is still in. Tomorrow I'll be dropping the oil pan and such (or attempting to) and as such I'll remove the other one once I take off the starter.
I broke the front two bolts as I said, BUT... the manifold came off. Here is what is left...
Anyways... I am _NO_ expert nor mechanic. A lot of this is learning as I go. I plan to really clean up the engine bay, so we'll see how (long) this goes.
I have a lot more pictures in my photobucket, so if anyone wants to see - just hollar.
InfO.
Thread Starter
|
Veteran
Joined: Jul 2011
Posts: 317
Likes: 0
From: Gagetown, New Brunswick, Canada
Oh yeah? I guess that is pretty positive then. Makes me feel a bit better. Still going to go through the process for cleaning it as I've read it on these forums (kerosene I believe is called for?).
InfO.
InfO.
Thread Starter
|
Veteran
Joined: Jul 2011
Posts: 317
Likes: 0
From: Gagetown, New Brunswick, Canada
Question about installing the brass nipples into the new intake. It says to use a thread sealant. Having never really played with this aspect of stuff, I looked around in my garage to see what I had. Found two products, both Permatex.
One is "Ultra Black":
http://www.permatex.com/products/aut...sket_maker.htm
The other is "Ultra Copper":
http://www.permatex.com/products/Aut...sket_Maker.htm
It seems perhaps a silly question to put out there, but since I don't typically use the stuff I figure it couldn't hurt to ask.
InfO.
One is "Ultra Black":
http://www.permatex.com/products/aut...sket_maker.htm
The other is "Ultra Copper":
http://www.permatex.com/products/Aut...sket_Maker.htm
It seems perhaps a silly question to put out there, but since I don't typically use the stuff I figure it couldn't hurt to ask.
InfO.
Trending Topics
Thread Starter
|
Veteran
Joined: Jul 2011
Posts: 317
Likes: 0
From: Gagetown, New Brunswick, Canada
Alright, ultra black it'll likely be then. Not sure why I even have the ultra copper... hrm...
I'm going to start on the timing chain cover today I believe, and possibly the valve covers.
Need to pick up a new oil pump tomorrow (will likely go high flow based on what I've read here), and a new main rear seal. Doesn't look like it'll be too difficult, and worth the effort since I'm this far in.
I've read a lot about people having issues with their oil pressure reading wonky. Should I look to change over to a different system? Not something I've ever done, but can easily look into it.
InfO.

Record Breaker
Joined: Dec 2008
Posts: 1,585
Likes: 0
For thread seleant i like to use great white compound, its a liquid version of teflon tape.
As for the oil pump, most peoples pressure isues are related to either bearings bein worn to much or ****ty gauge. So slap that new oil pump on and call it a day.
As for the oil pump, most peoples pressure isues are related to either bearings bein worn to much or ****ty gauge. So slap that new oil pump on and call it a day.