When you click on links to various merchants on this site and make a purchase, this can result in this site earning a commission. Affiliate programs and affiliations include, but are not limited to, the eBay Partner Network.
2nd Gen Ram Tech1994-2001 Rams: This section is for TECHNICAL discussions only, that involve the 1994 through 2001 Rams. For any non-tech discussions, please direct your attention to the "General discussion/NON-tech" sub sections.
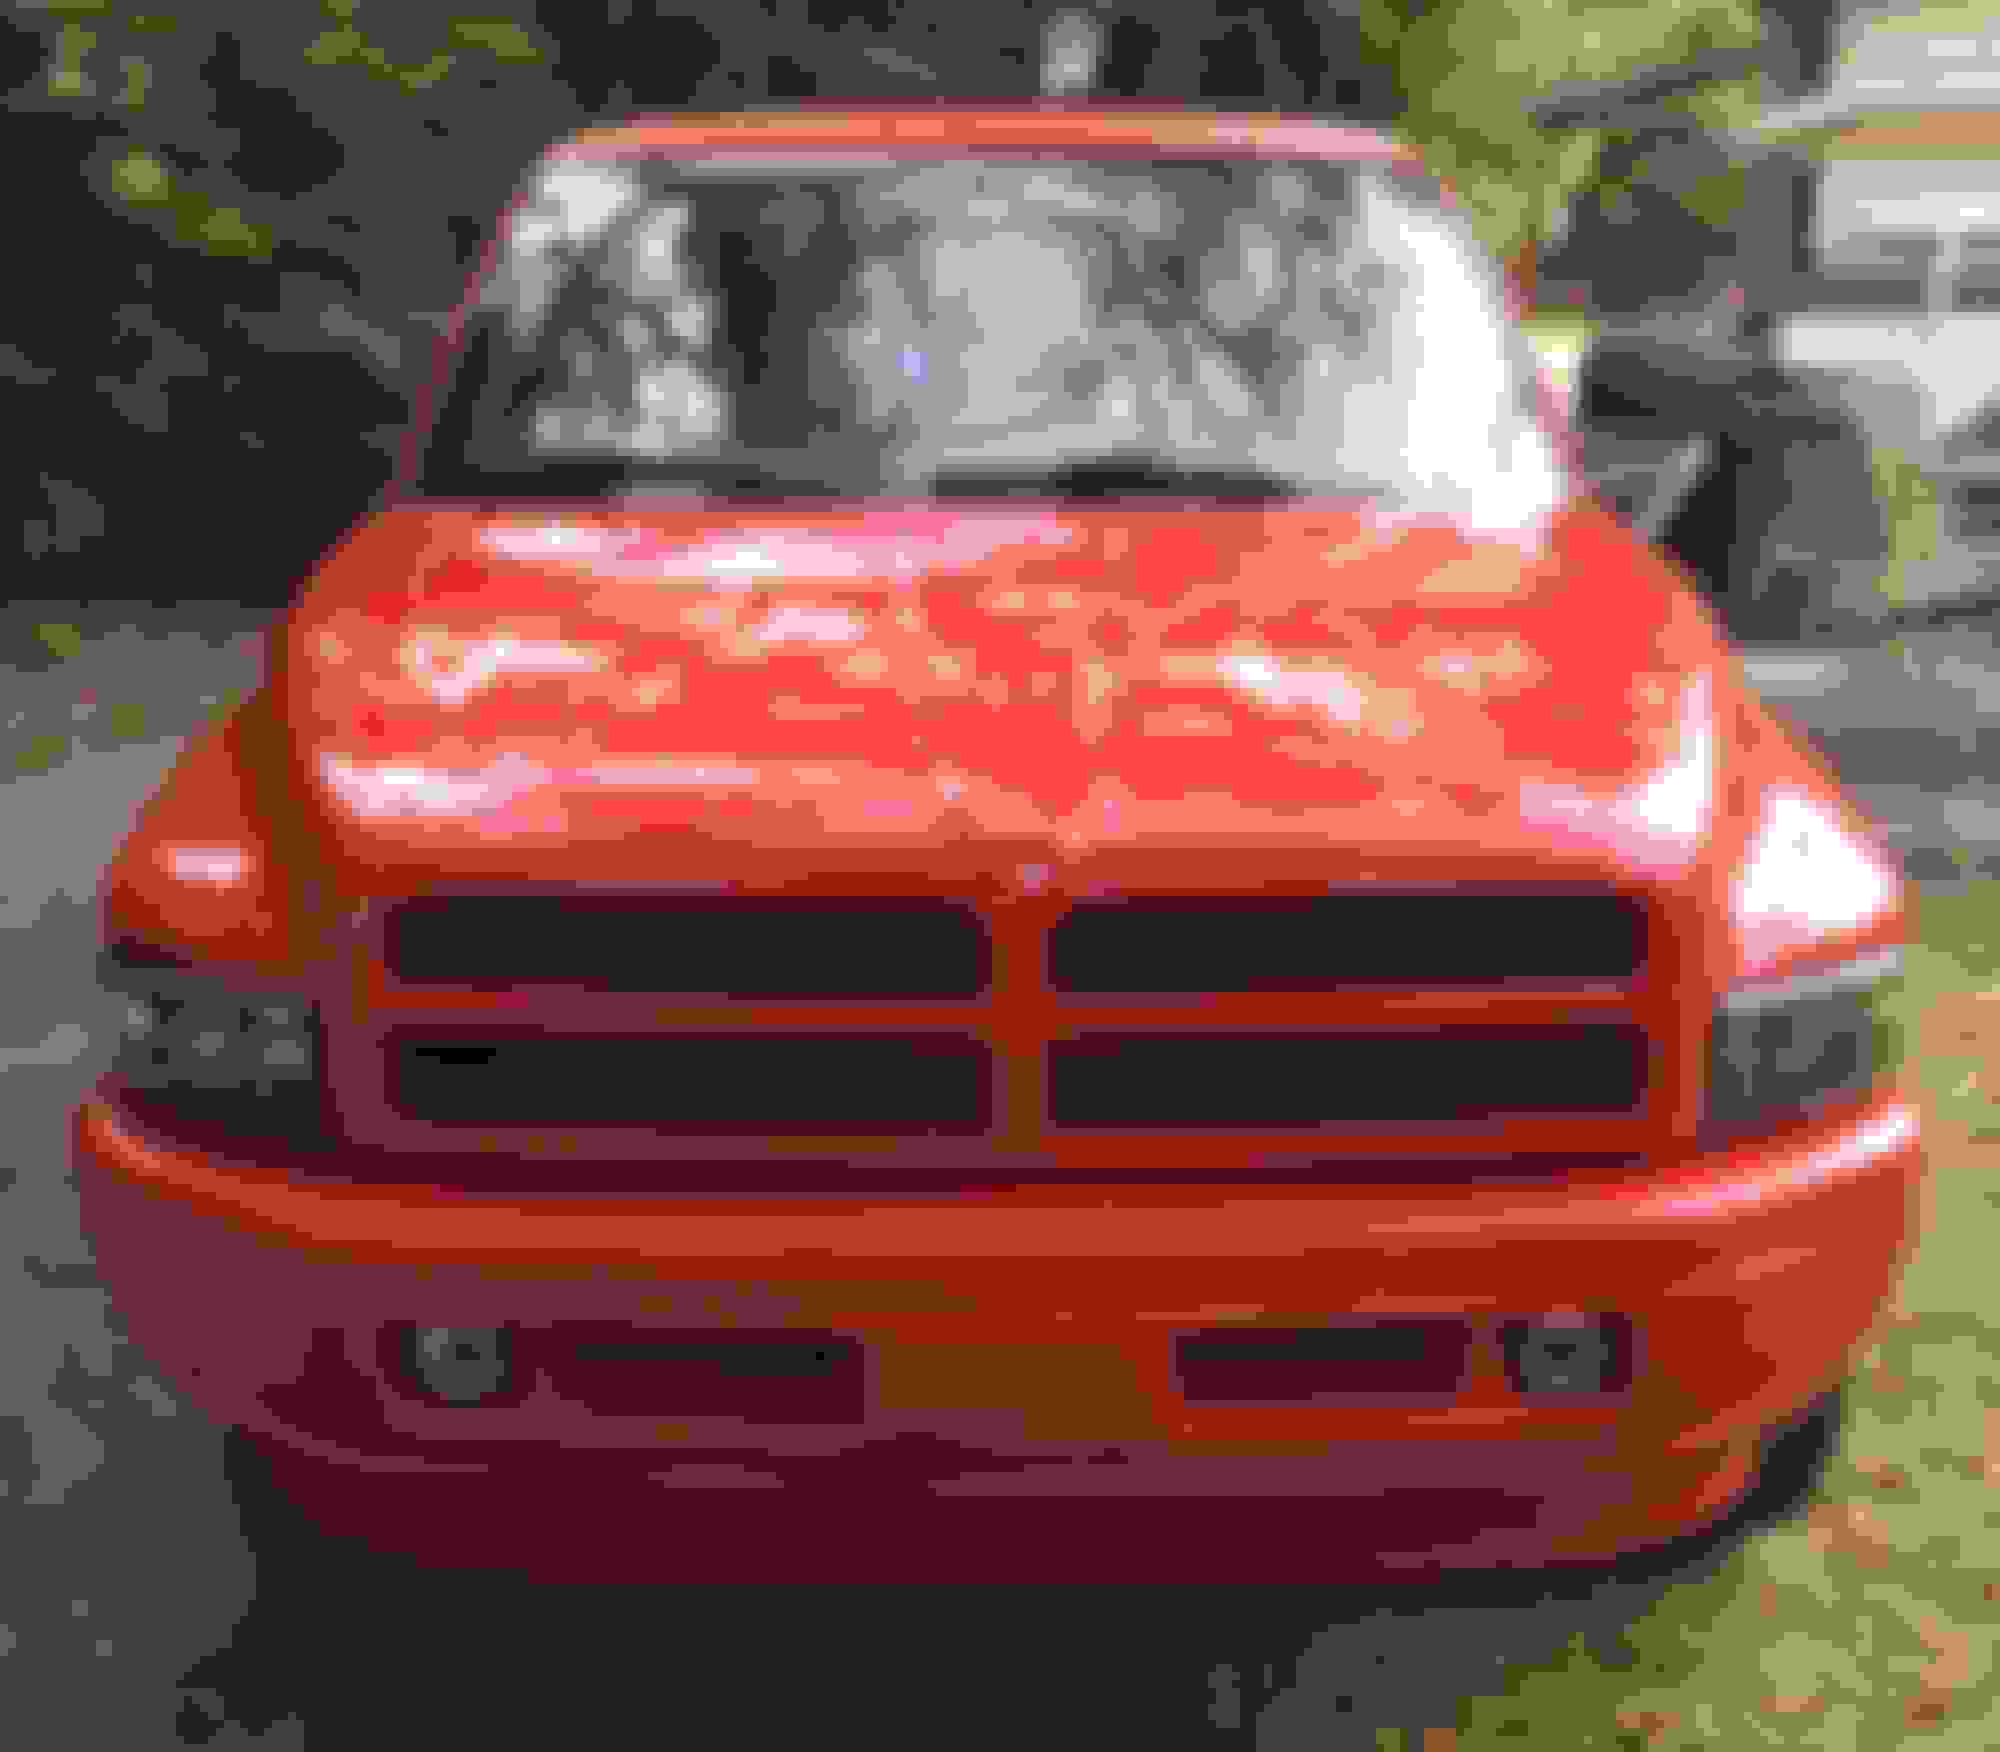
I was looking into painting my 99 ram 1500. Im hoping I can get some advice on what paints to go with, how to prep the painting surface, etc.
I'm not looking for a $2000 paint job here, but it needs to look good! I cant stand uneven looking paint, it just looks sloopy. I've seen some good matte/satin black paint jobs here and there and originally was interested in a paint kit by SEM... Advice/pictures woukd be greatly appreciated.
You going to rattle can it? It's all in the prep. If you are not familiar with painting/never painted a vehicle, you will probably be disappointed doing it yourself. It's not easy. I'd start looking at videos on you tube. You have to prep the body, fix any rust, dents, sand, depending on current condition of the paint you may have to take it to bare metal, prime, sand again, prime, sand more, base coat, sand, etc....it is not a task to be taken lightly if you want a nice finish.
You going to rattle can it? It's all in the prep. If you are not familiar with painting/never painted a vehicle, you will probably be disappointed doing it yourself. It's not easy.
Not looking to rattle can it!! Looks like way more of a PITA doing it that way rather than just spending the extra cash on a sprayer.
Im totally aware its not going to be easy doing it for the first time, but I think I can handle it.. What I really need to know more about is the prep work, what kind of sprayer to get, and what grits of sand paper I'm going to need.
Luckily, my trucks body is real straight. No big dents, just small parking lot dings and some scratches here and there. For an SEM kit, or something similar how much prep work is needed? Do I need to just sand/smooth out the surface of my current paint, or do I need to take it down to bare metal?
It's manufactured for use on their farm equipment.
Any paint job prep is KEY. Ever hear a paint job id 90% preparation and 10% actual painting. Well it's true. What does you paint look like now? Where will you be doing the paint and prep work? You may want to look into the water based paints out today. A lot of the paint manufactures are making environmentally friendly paints that (from what i hear) are actually easier to use than the solvent paints and have good results. Down side is you need a gun that has stainless internals so it doesn't rust.
+1 on the prep... it is key to a good finish, and 90% of the work.
They say you can hide a myriad of sins with a good coat of paint, but a good coat of paint is reliant on good prep.
If you've not painted before, go get a door (or other panel) from a wrecker, and practice your technique... doesn't come out so good, let it harden, sand it back and start over.
On these trucks, the clear-coat gives out and delaminates from the base-coat... so sand back far enough to get rid of all the clear-coat, and give the primer a solid surface to key into.
If you're through to bare metal, don't leave bare for too long, or it will start to rust... dry it and hit it with some primer.
Watch some YouTube videos for techniques.
Practice until you feel good about your work, and have at your truck.
Spillage, is that an OEM paint job? That truck looks the nuts!! If you dont mind me asking, how much you got into that paint job, and what did you use for materials/paint?
As for the prep, I was going to do most of that outdoors and find/rent a garage for the paint. My truck has a lot of scratches and small dings, but is otherwise is great shape (no rust!). With a palm sander to do most of the work, it shouldnt be so bad.. Filling in the small dents will be a bit tedious for sure though. Lol What paper grits do you recommend using from start-finish? Thanks for all the help thus far!
+1 on the prep... It is key to a good finish, and 90% of the work.
They say you can hide a myriad of sins with a good coat of paint, but a good coat of paint is reliant on good prep.
If you've not painted before, go get a door (or other panel) from a wrecker, and practice your technique... Doesn't come out so good, let it harden, sand it back and start over.
On these trucks, the clear-coat gives out and delaminates from the base-coat... So sand back far enough to get rid of all the clear-coat, and give the primer a solid surface to key into.
If you're through to bare metal, don't leave bare for too long, or it will start to rust... Dry it and hit it with some primer.
Watch some youtube videos for techniques.
Practice until you feel good about your work, and have at your truck.
...What paper grits do you recommend using from start-finish?
Use Wet & Dry paper... have a bucket of water and a sponge to flush the slurry away and keep the paper clear (it lasts longer).
240 to quickly get rid of the old clear-coat, and feather the edge of chips and scratches, without making too much work for yourself later... don't be heavy handed, better to work a light and a little longer, than heavy and make more work for yourself later.
Scuff the bottom of bents with something coarse (80) to give the filler something to key into.
Apply filler (bondo)... if deep, a couple of thin coats is better than one thick... sand flush with 240.
If you get to bare metal, don't leave it exposed for too long... shoot it with some primer (spray can is fine for this).
Then give everything a once over with 320.
Mask it off.
Shoot a light dust coat of primer... look for low spots and fix as needed.
Light sanding with 400 to smooth out any remaining swirl marks from the 320, then shoot a full coat of primer.
Shoot the first base-coat within 24hrs of priming so it keys in, else scuff it up with 400 again before painting.
Let the first coat tack off a little before shooting the second base-coat.
Don't make the coats too heavy... you're better to do lighter coats and applying a third coat than you are going heavy and getting sags or runs.
Let the base-coat dry for 24hrs... if you need to, gently use some 600 to sand out any bugs that get stuck in the paint.
Shoot one of two clear-coats depending on the depth of shine you want.
Give it 24hr to dry, then buff it out with compound to get the full gloss.
Use a tack-rag before spraying to remove any surface dust and fingerprint oils.
Plenty of other tips and techniques to be had, but as we've said, hit up YouTube for tutorials.