2001 Dodge Ram 2500 Restoration
#472
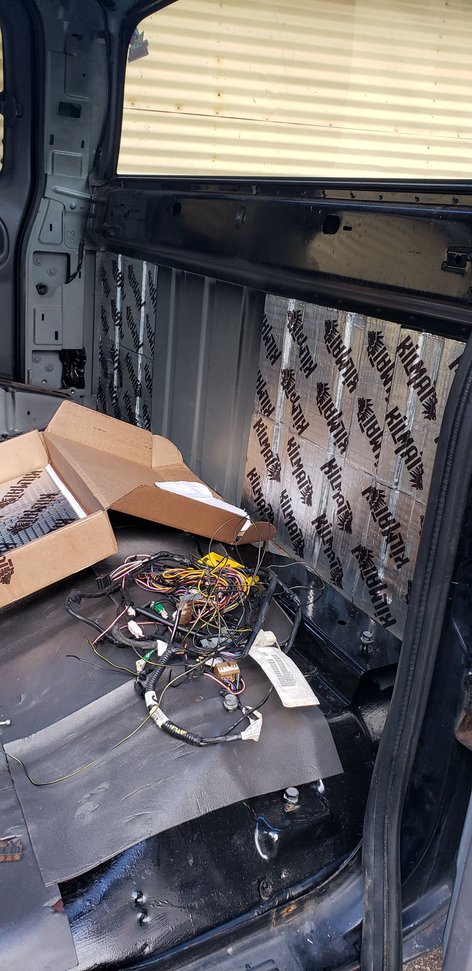
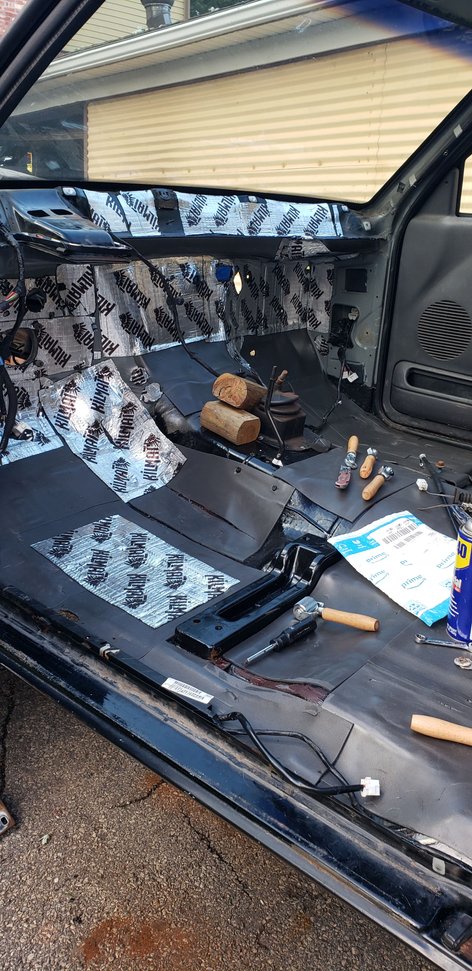
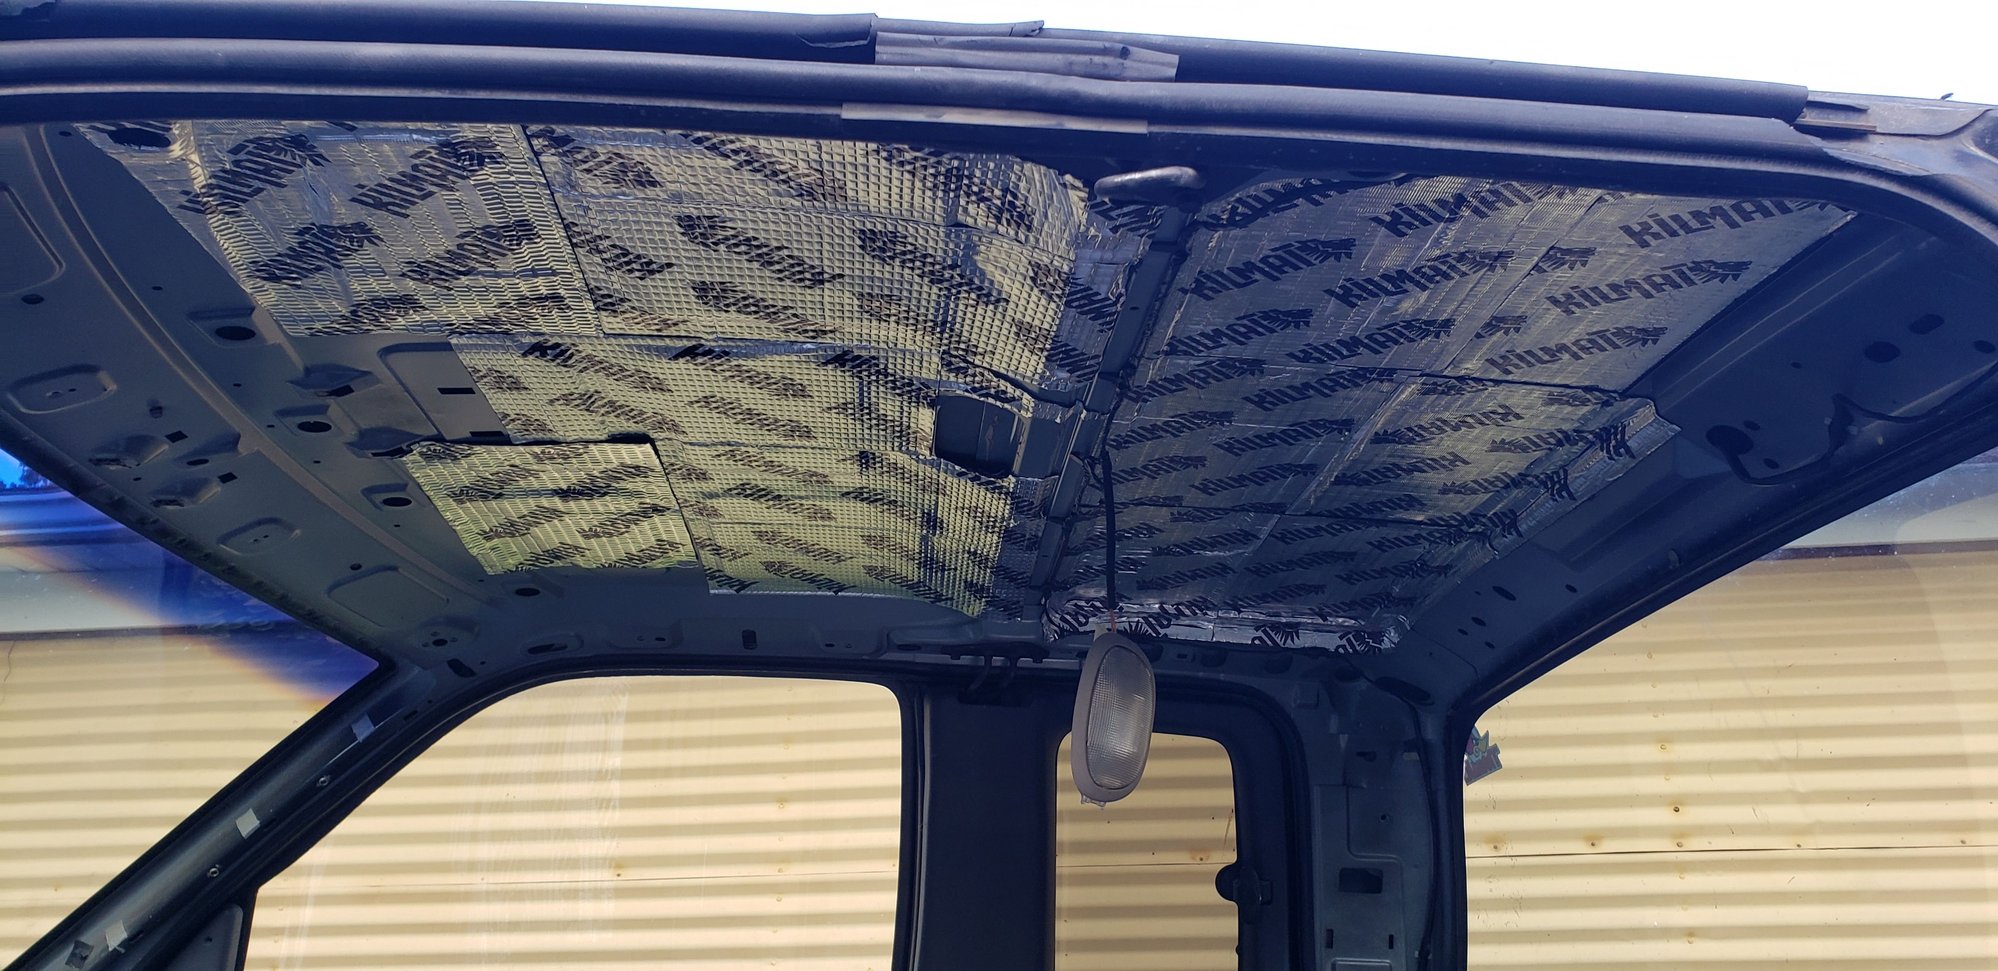
Haven't driven the truck with the sounds deadening in yet, but I did get a decibel reading before it. I will say so not but the Noico 180mil foam crap. Doesn't stick with a cows ***. You can see in the floor picture where it didn't stick. Top do what I did it will take 2 36sqft boxes of the Killmat. I will compare it to my readings from my 3rd gen that had Dynamat professionally installed.
#474
#475
#476
I folded the fabric in half and positioned it over the back half of the backer, making sure I had coverage.
Sprayed adhesive on the exposed front portion of the backer and the inside of the fabric.
When itís tack free (~15min) you and a helper take a corner each, and hold the front edge of the fabric vertical... with your other (clean) hand start at the center and run your hand forward maybe halfway, then from the center halfway to the corner, then halfway to the side... repeat working this radial pattern closer to the edges working the fabric into the contours of the backer... the fabric will stretch to conform to the backer, but you just have to watch for areas that it might need to be compressed as this is where you might get a wrinkle... if it looks like this might be the case, work down the middle of that area and then the two smaller sections either side (gives two areas with less material to compress in).
Now that you have one quadrant done, take the other corner from your helper and repeat the process.
Go back over it and press it down firmly all over, so you donít have any pockets the arenít adhered (these would bubble later).
Flip the back half of the fabric forward over the completed front section and start again applying the adhesive.
Again, when tack free get your helper and start laying it down from the center halfway out to the back and edges.
When you get to the second half of the quadrant, work into the corner first, then to the back, as the corners are higher (more material to compress), and this will give you a longer area to work in any excess material (without getting a wrinkle).
When done, trim the fabric around the edges, and open up any holes.
Now that wasnít too-ooo difficult, was it. ;-)
#477
Yup, working with contact adhesive doesnít give you the option of repositioning as you go... putting it down is a one shot event.
I folded the fabric in half and positioned it over the back half of the backer, making sure I had coverage.
Sprayed adhesive on the exposed front portion of the backer and the inside of the fabric.
When itís tack free (~15min) you and a helper take a corner each, and hold the front edge of the fabric vertical... with your other (clean) hand start at the center and run your hand forward maybe halfway, then from the center halfway to the corner, then halfway to the side... repeat working this radial pattern closer to the edges working the fabric into the contours of the backer... the fabric will stretch to conform to the backer, but you just have to watch for areas that it might need to be compressed as this is where you might get a wrinkle... if it looks like this might be the case, work down the middle of that area and then the two smaller sections either side (gives two areas with less material to compress in).
Now that you have one quadrant done, take the other corner from your helper and repeat the process.
Go back over it and press it down firmly all over, so you donít have any pockets the arenít adhered (these would bubble later).
Flip the back half of the fabric forward over the completed front section and start again applying the adhesive.
Again, when tack free get your helper and start laying it down from the center halfway out to the back and edges.
When you get to the second half of the quadrant, work into the corner first, then to the back, as the corners are higher (more material to compress), and this will give you a longer area to work in any excess material (without getting a wrinkle).
When done, trim the fabric around the edges, and open up any holes.
Now that wasnít too-ooo difficult, was it. ;-)
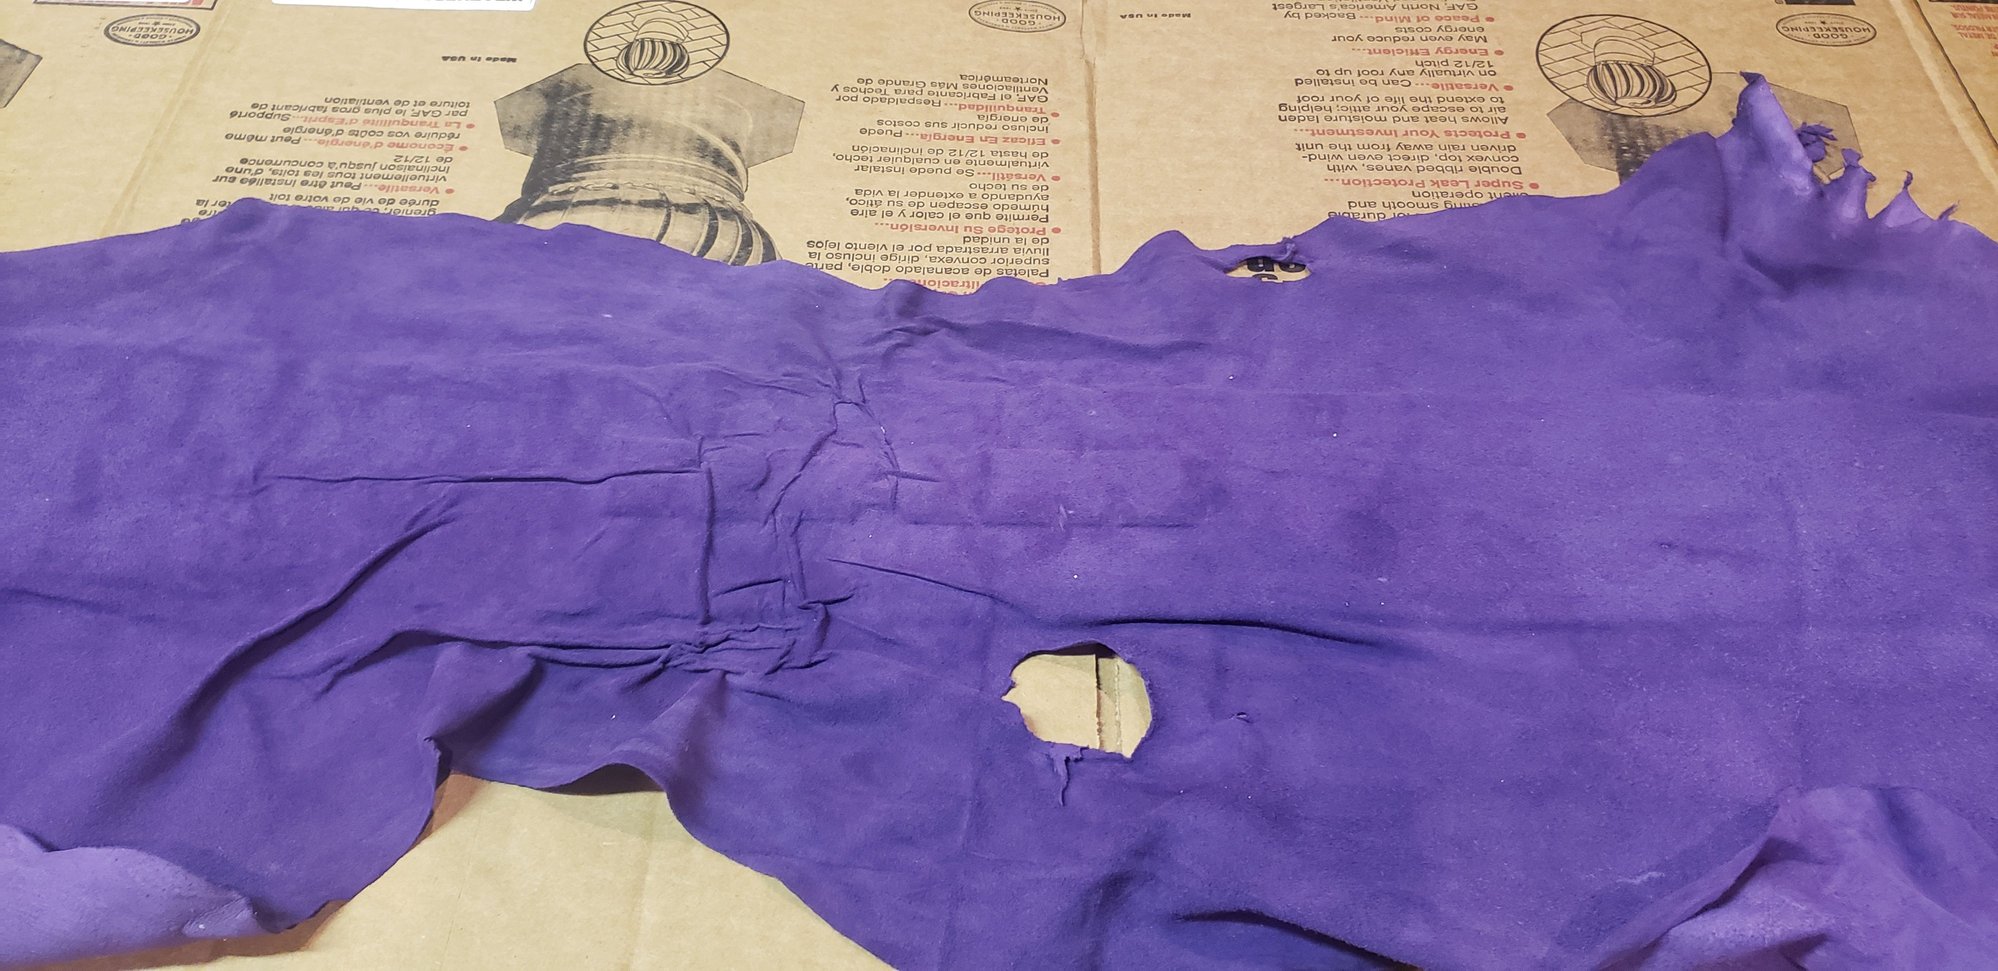
Here I was practicing to do the bottom of the doors. It's leather and says RAM. First time with contact adhesive and....it folded over in itself (that's why the lines are there). It was crappy leather anyhow. I have to redo it

Last edited by MoparFanatic21; 09-05-2020 at 09:37 AM.
#478
Hereís a link to their site:
https://headlinermagic.net/
This is the part# HM180872
Keep in mind I have a regular cab... anything bigger, youíll need more material.
I used 3M Headliner Fabric Adhesive.
#479
I got it from Headliner Magic (via Amazon).
Hereís a link to their site:
https://headlinermagic.net/
This is the part# HM180872
Keep in mind I have a regular cab... anything bigger, youíll need more material.
I used 3M Headliner Fabric Adhesive.
Hereís a link to their site:
https://headlinermagic.net/
This is the part# HM180872
Keep in mind I have a regular cab... anything bigger, youíll need more material.
I used 3M Headliner Fabric Adhesive.
#480


