When you click on links to various merchants on this site and make a purchase, this can result in this site earning a commission. Affiliate programs and affiliations include, but are not limited to, the eBay Partner Network.
2nd Gen Ram Tech1994-2001 Rams: This section is for TECHNICAL discussions only, that involve the 1994 through 2001 Rams. For any non-tech discussions, please direct your attention to the "General discussion/NON-tech" sub sections.
Ok, here I go again. I have to replace the rear main seal on my 1999 Ram Sport 5.2L. I�m good until I get to the install. I�ve watched multiple videos on YouTube but they don�t cover what I�m confused about.
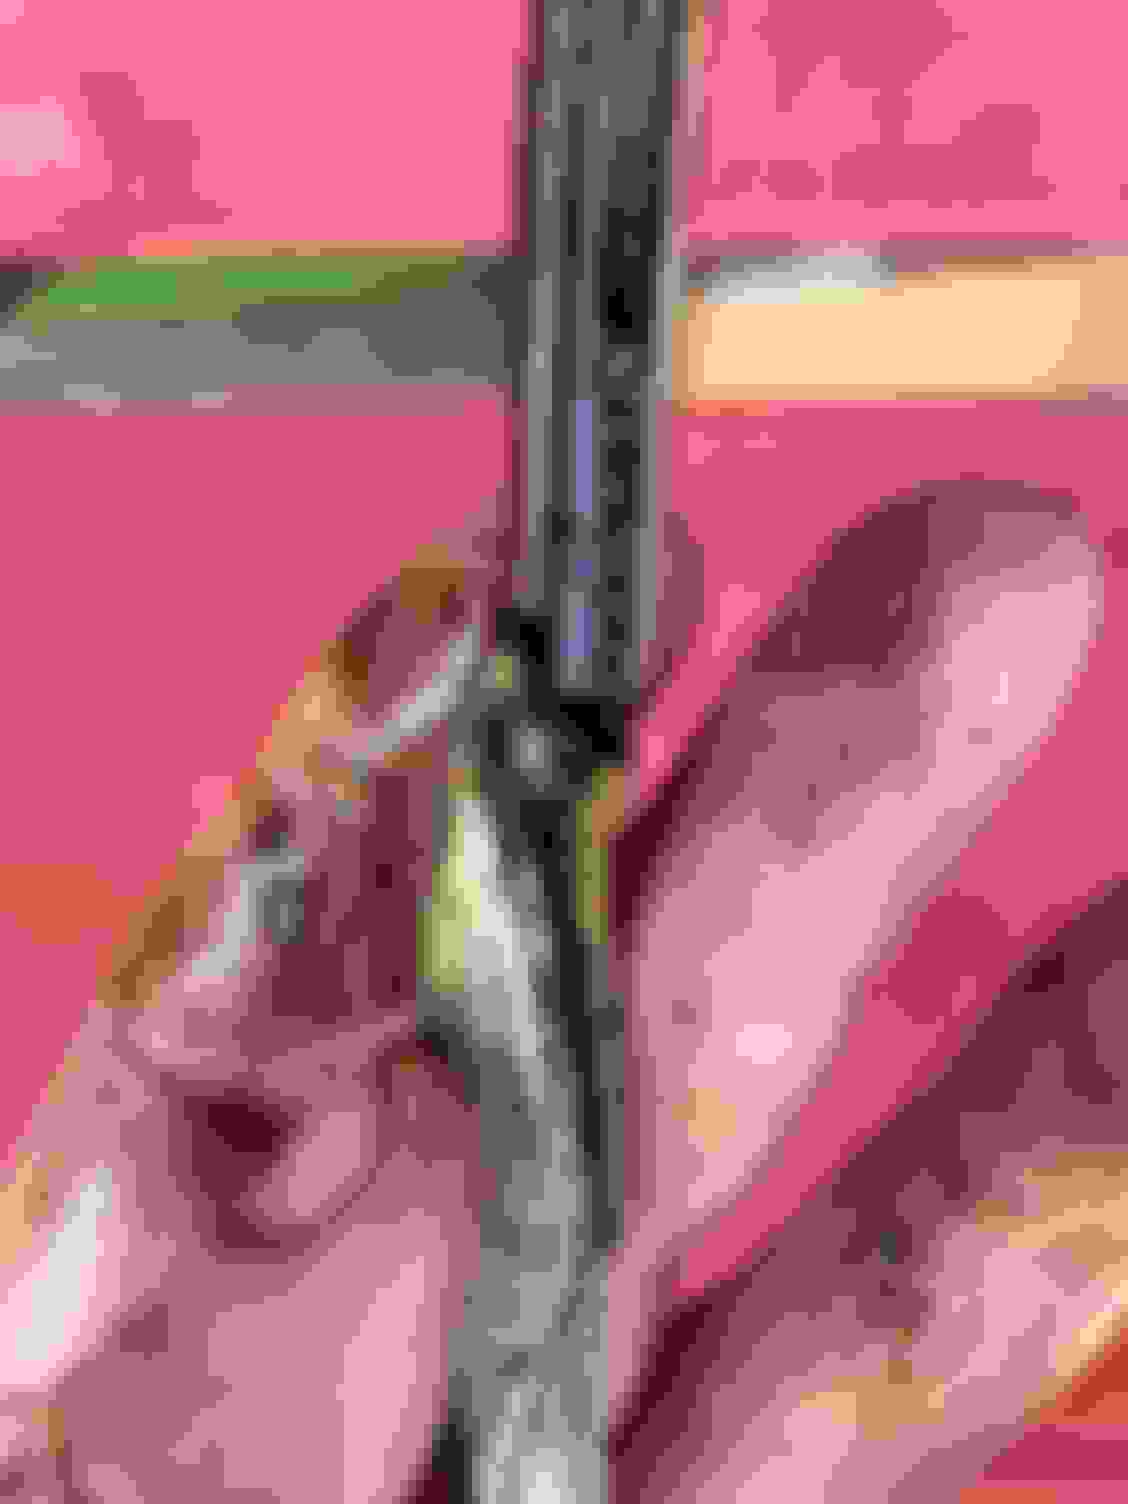
�Carefully install upper seal (cylinder block) into its groove with undercut side of the seal (rubber type) toward FRONT of the engine by rotating it on the seal journal of the crank shaft until approximately 3/8 in protrudes below the parting surface.�
I don�t understand the 3/8 inch part. I�ve tried to find an image showing this but can�t. Help would be appreciated.
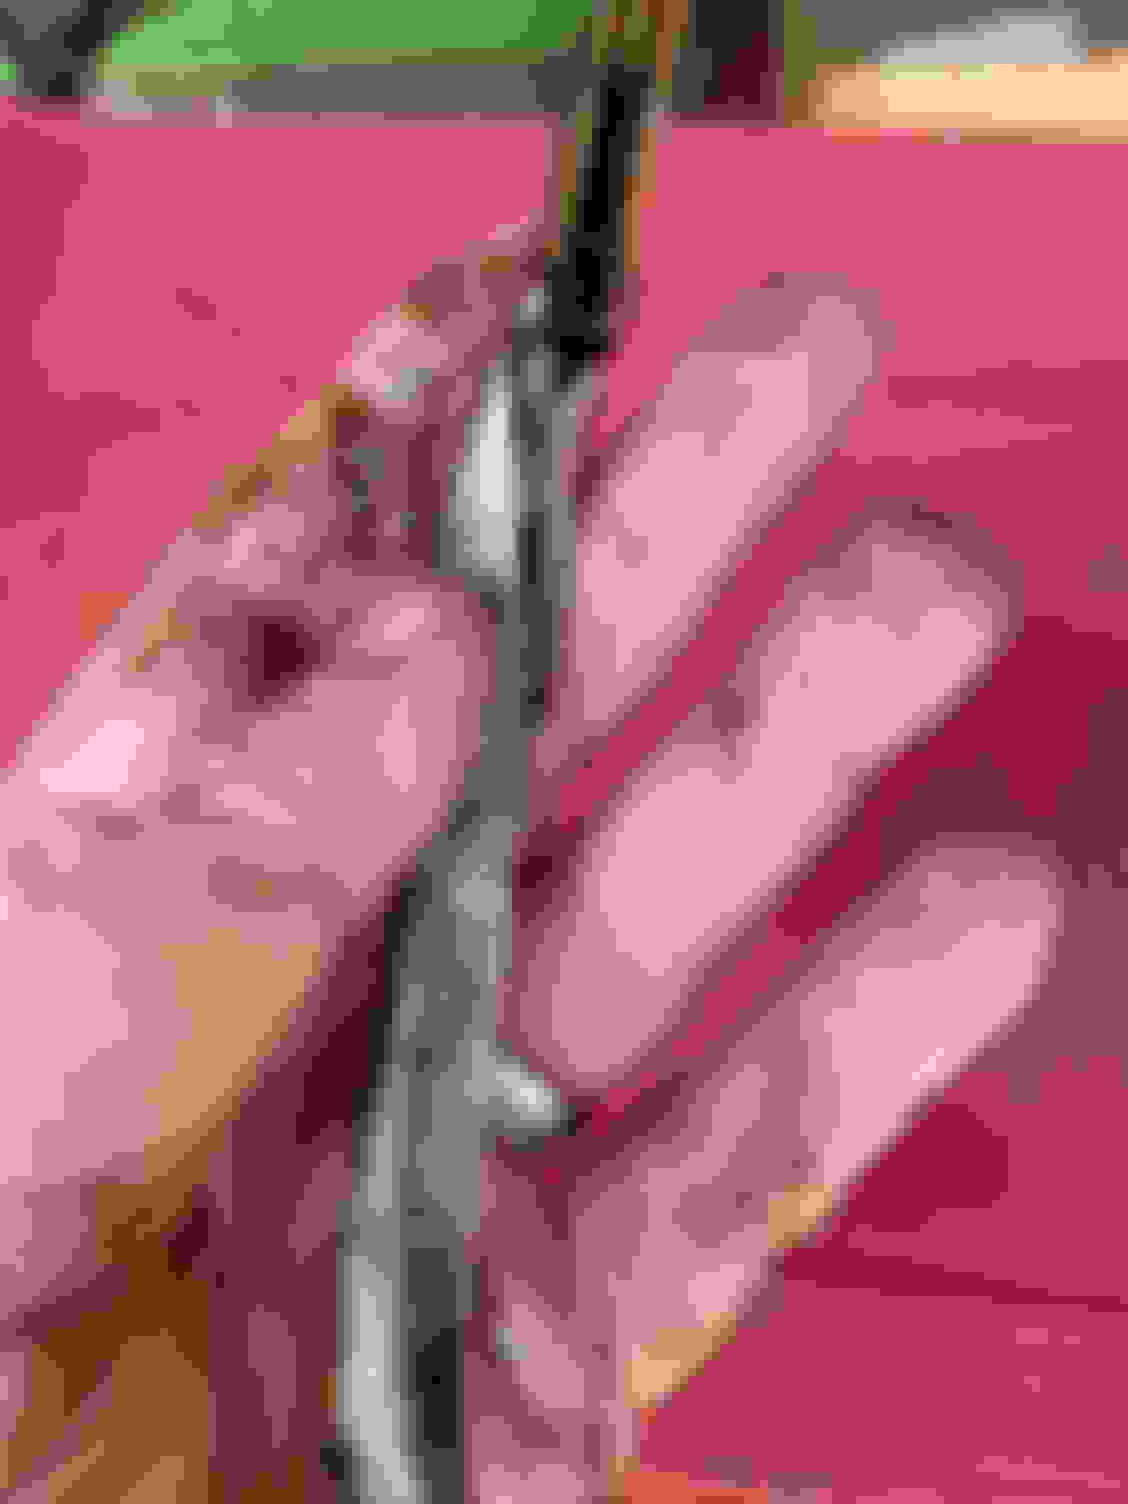
Parting surface is where the cap, and block separate. You want the seal to stick out on one side a bit, so you don't have the seam in the seal, aligned with the parting surface. Less prone to leaking that way.
Parting surface is where the cap, and block separate. You want the seal to stick out on one side a bit, so you don't have the seam in the seal, aligned with the parting surface. Less prone to leaking that way.
so you have to do this with the seal in the cap also? Why aren�t they like this in all the videos I�ve watched? They all look flush.
Two ways to do it, although when I did mine super carefully with another mechanic/engineer helping, it still leaked exactly like before.
1. Push the upper seal into the slot until it fits completely on both sides of the "C" or each ends doesn't stick out.
2. Push the upper seal into the slot until it is almost flush on both ends but with 3/8" still sticking out. Then the lower "C" you would do the opposite with that so they attach off-set in the cavities.
I put a thin layer of grease on the crank then put the upper half of the seal in. The two mating surfaces of the seal you can put a very small amount of silicon on them so when they go together it will seal. The grease on the crank keeps any silicone from sticking to it. You can do the same thing if you offset it.
It turns out that my oil loss was from a kink in the oil pan gasket at the rear of the pan in the arch. It looks like it got twisted. About a year ago my oil pump went out and I replaced it while parked in a Walmart parking lot. It�s hard to see that area of the pan. I went ahead and replaced the seal while I had it tore down.
I did an RMS on a '95 5.2 today. I don't think it's worthy of its own thread so just reviving here to consolidate information.
Agreed that the rear of the oil pan gasket is difficult to see. Nothing really locates it on the pan. I first clipped the pan gasket up with the plastic toggles -- those things are a lifesaver!
I did a bunch of research on "offsetting" the seal but decided against it. I actually didn't use any sealant on the seal itself either because the Mahle I used very specifically said not to.
Unfortunately Mahle does not include the little "shoehorn" to prevent shaving the OD of the RMS. I bought a Fel-Pro kit just to get the shoehorn. I won't use Fel-Pro gaskets for fluids any longer but in the grand scheme of the job it was worth $20 for the shoehorn just to get it done and buttoned up.
Some of the RMS kits like Mahle include a small black o-ring. Anyone know what it's for? I couldn't see any place on the rear bearing cap that it might apply to the oil pump attachment or anywhere else. Fel-Pro does not include this o-ring so it's seemingly not that important.