

1988 Dakota Project?

Professional
Joined: Feb 2011
Posts: 134
Likes: 0
From: Winnipeg, MB
I might buy one of those LED lights since my truck is an extended cab I always have difficulties finding anything in the front.
Those black hood stoppers spin in and out so that you can adjust the final height of your hood to match the fenders. And when I put my AC on I do slide the adjusted the the in cab circulation. That way the truck is always pulling in the air from inside the cab and making it a bit colder each time versus pulling in the hot outside air and trying to make it ice cold each time
Those black hood stoppers spin in and out so that you can adjust the final height of your hood to match the fenders. And when I put my AC on I do slide the adjusted the the in cab circulation. That way the truck is always pulling in the air from inside the cab and making it a bit colder each time versus pulling in the hot outside air and trying to make it ice cold each time
Thread Starter
|
All Star


Joined: Jun 2011
Posts: 858
Likes: 2
From: Pinellas County, FL
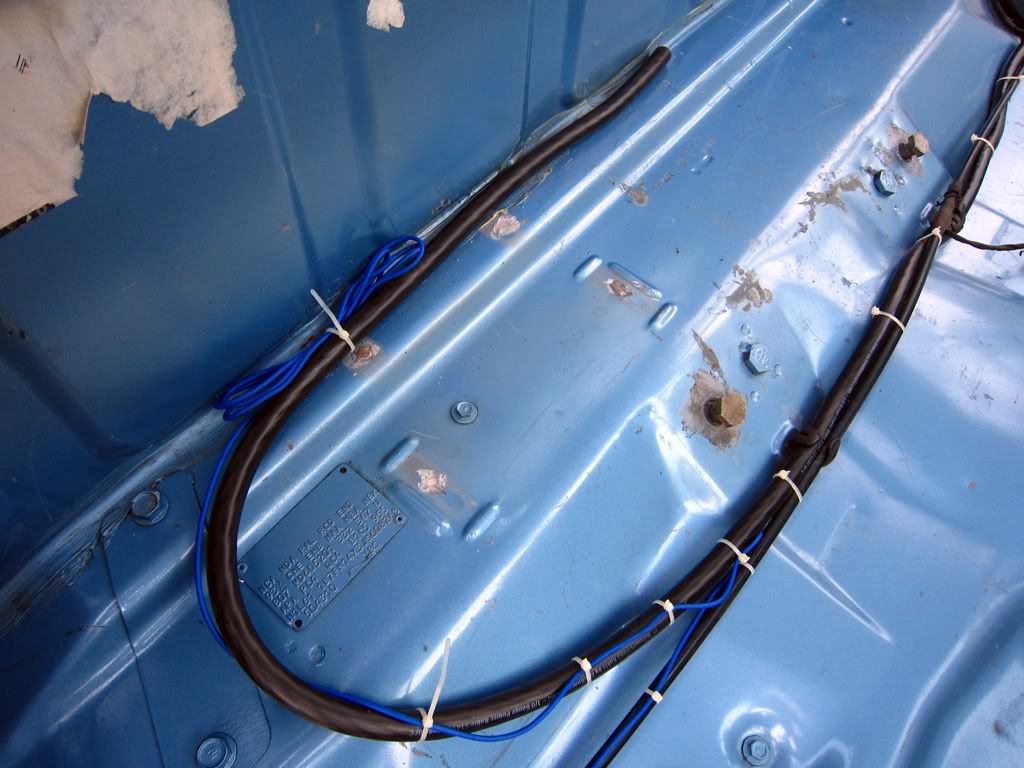
Yeah the inside circulator is vacuum operated I took a spare apart. It uses a black and two greens which would explain the additional vacuum colors (lines) and then the AC is an electronic switch because I noticed there is an extra prong on the plug.
Last edited by pinkfloydeffect; Nov 5, 2011 at 11:00 PM.
Thread Starter
|
All Star
Joined: Jun 2011
Posts: 858
Likes: 2
From: Pinellas County, FL
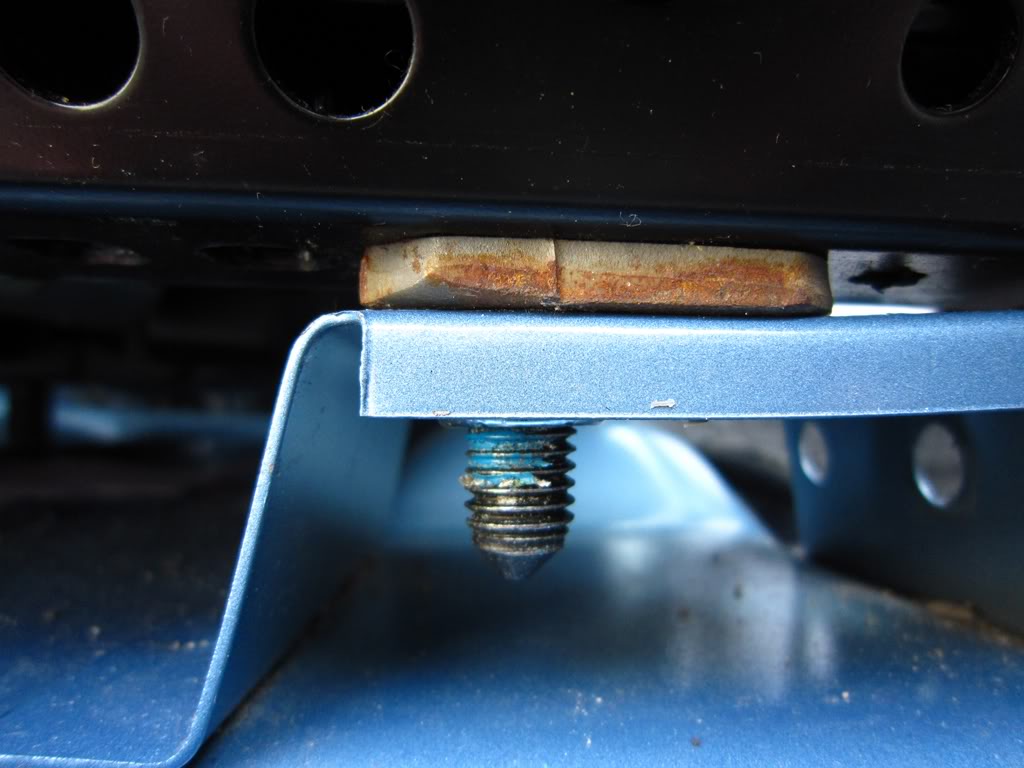
I used two floor jacks (one under front engine support, and another under rear bumper) to add 3" to the suspension. The front went from 5" of clearance to 8" and the rear went from 7" to 10" which is where they both reached maximum "hang" before the wheels left the ground. SO I think I will try to sneak a 3" front coil spring spacer in there (two 1-1/2" spacers top/bottom). Then two add-a-leaf kits on each rear leaf stack might give me 3" in the rear??
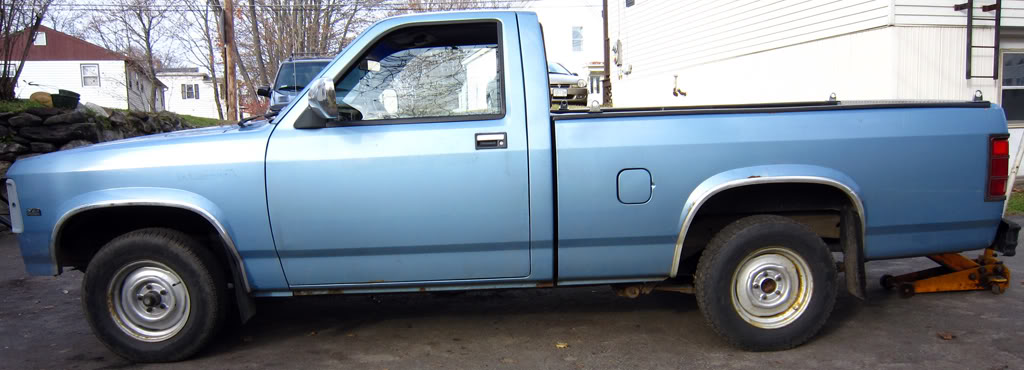
These are 14" wheels so 15s will be no problem. Not sure if I will want the additional 2" of body lift or not...
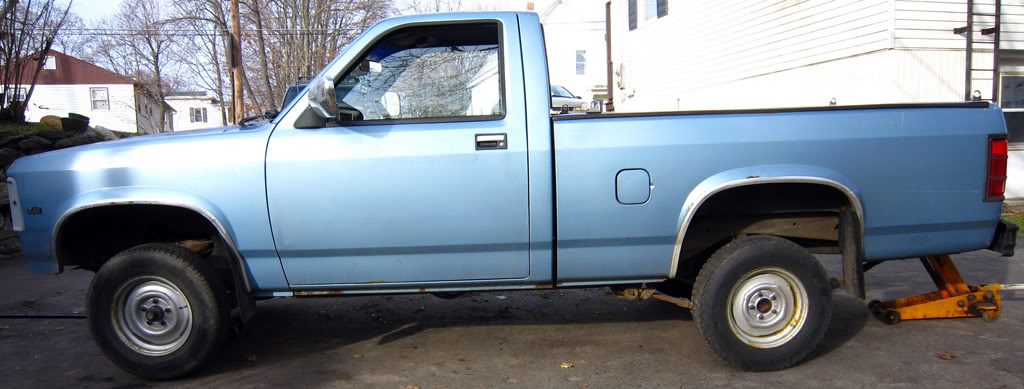
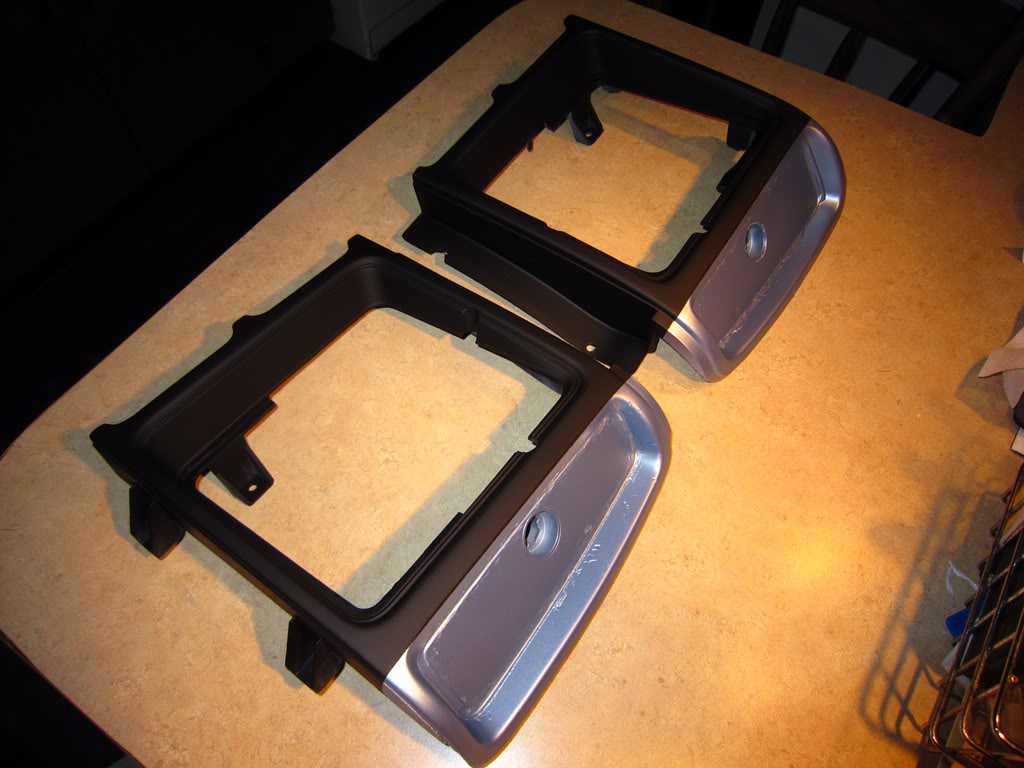
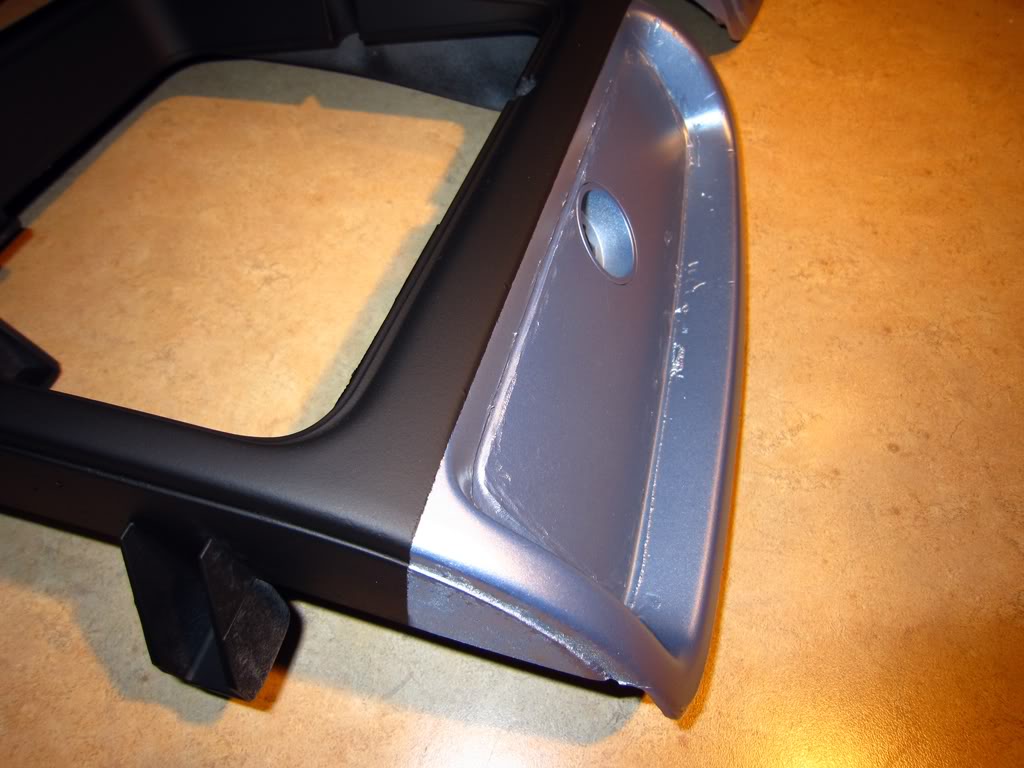
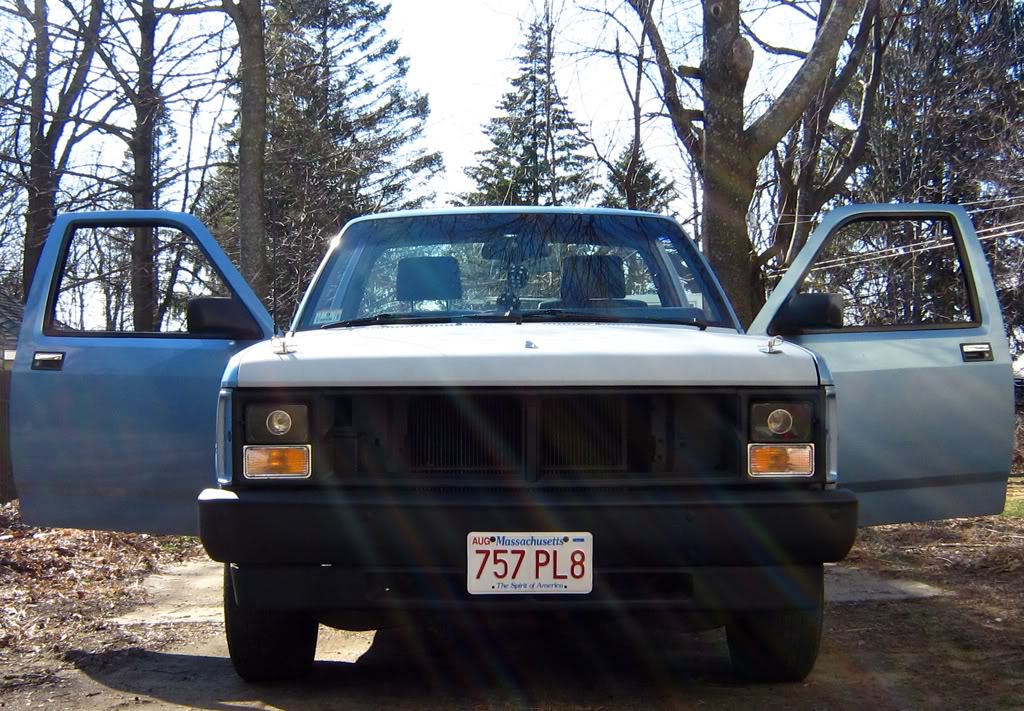
New hood...swapped out my side mirrors for the sporty style, and hood pins:
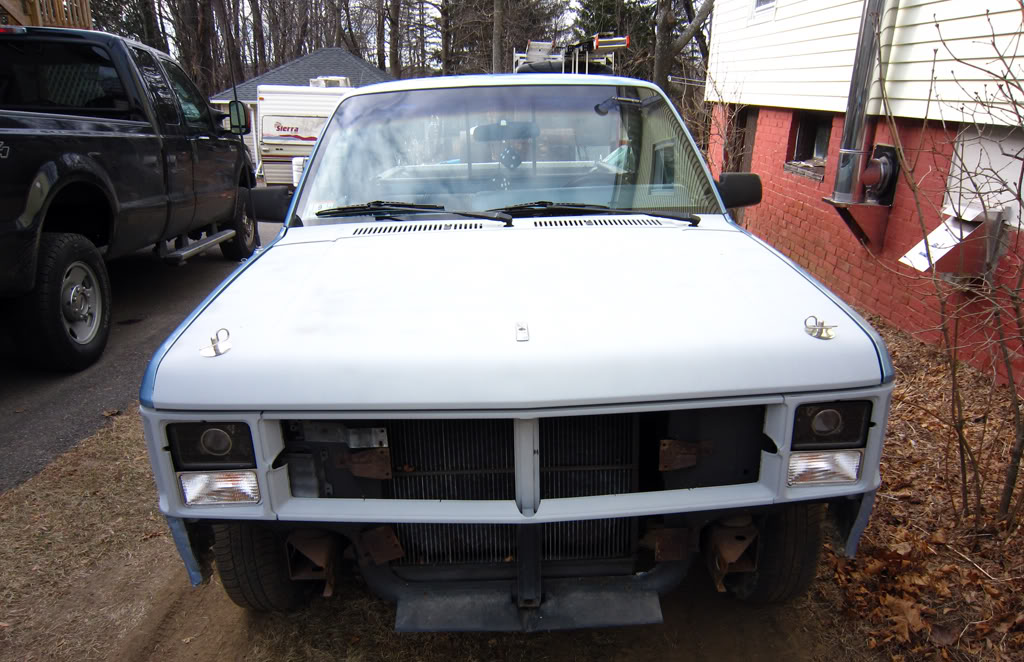
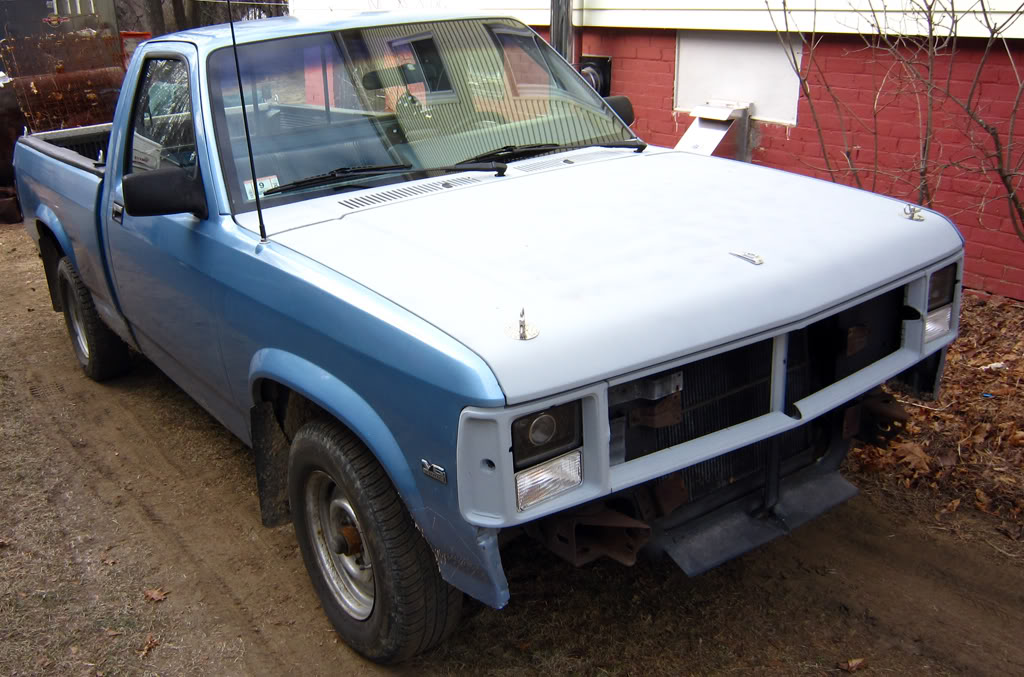
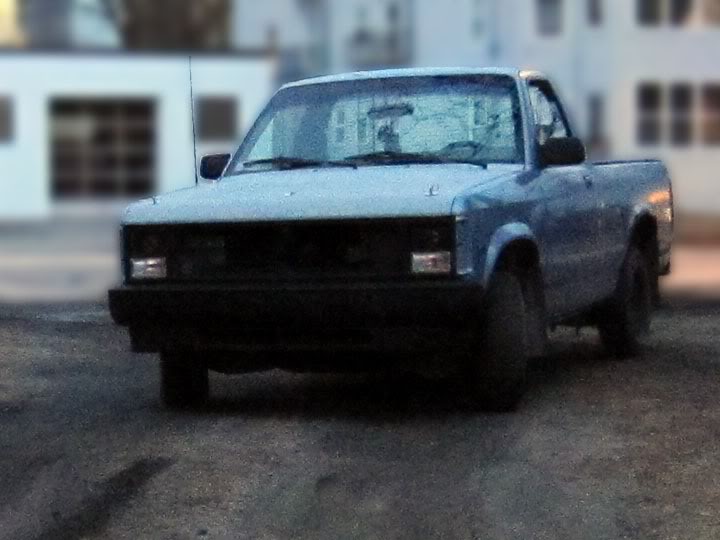
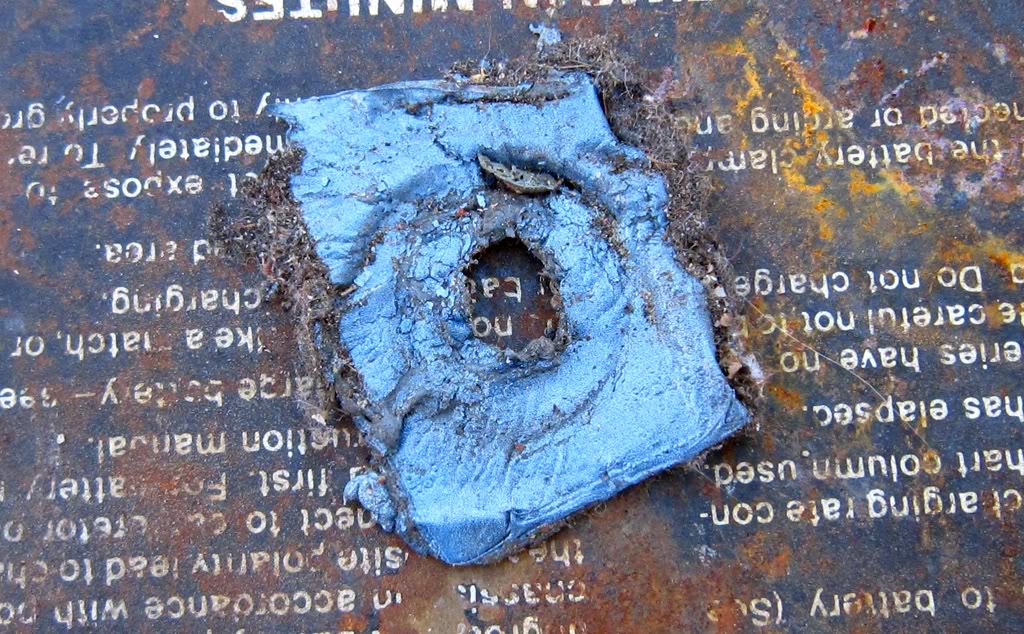
I painted the front end, including OEM paint over where the side marker/running lights used to be:
My girlfriend says it scares her lol my job here is done:
These are 14" wheels so 15s will be no problem. Not sure if I will want the additional 2" of body lift or not...
New hood...swapped out my side mirrors for the sporty style, and hood pins:
I painted the front end, including OEM paint over where the side marker/running lights used to be:
My girlfriend says it scares her lol my job here is done:
Last edited by pinkfloydeffect; Feb 10, 2012 at 11:26 PM.
Thread Starter
|
All Star
Joined: Jun 2011
Posts: 858
Likes: 2
From: Pinellas County, FL
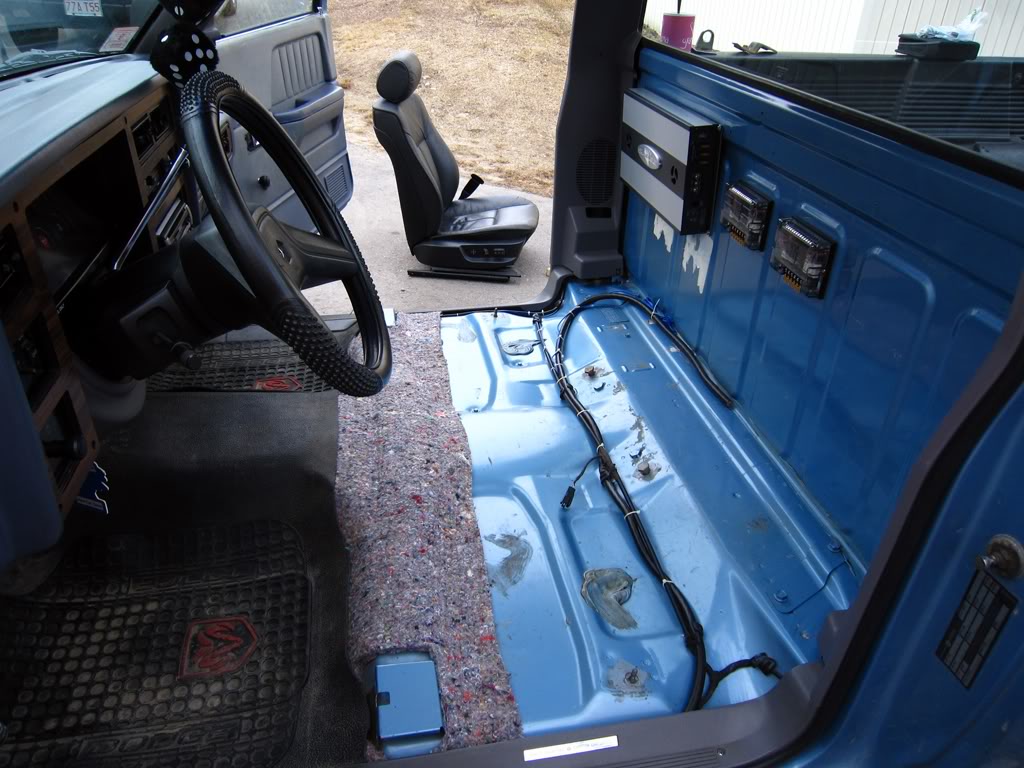
In the process of gutting the interior, I will be replacing the carpet/sound dampening soon:

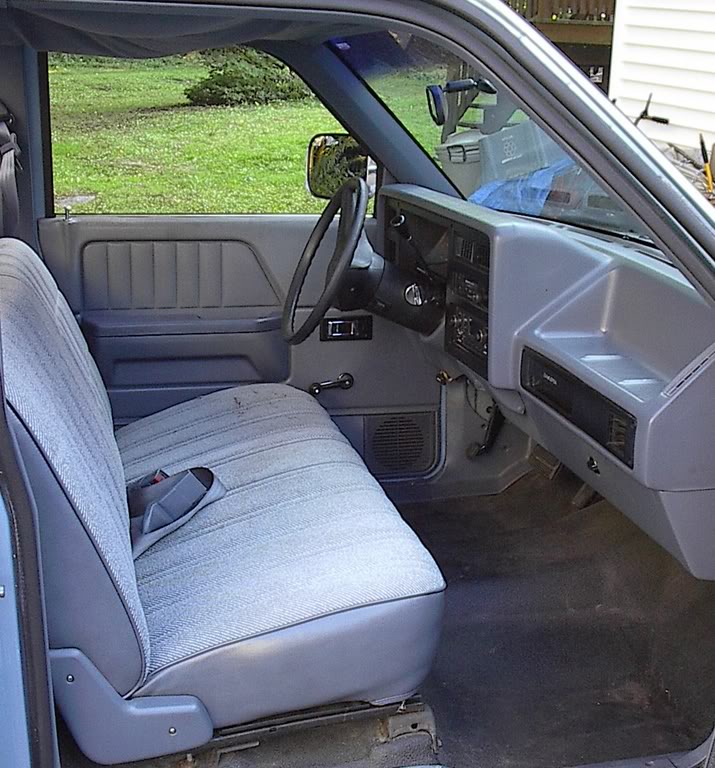
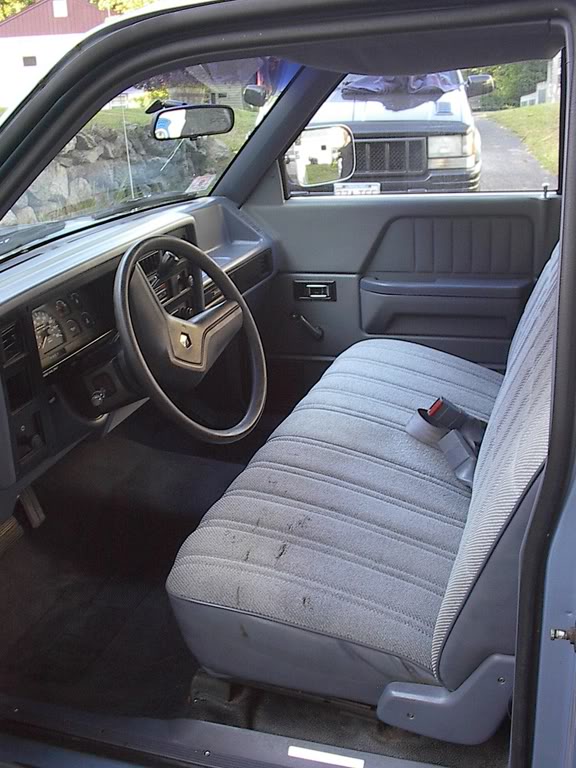
Before; when I first got it.
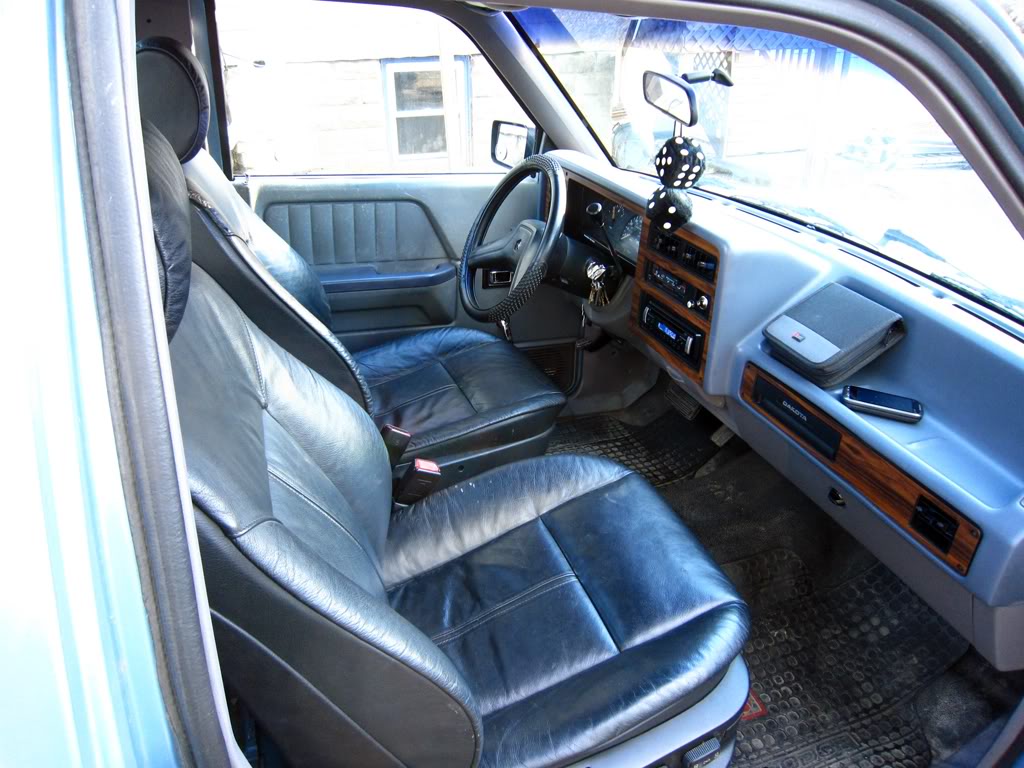
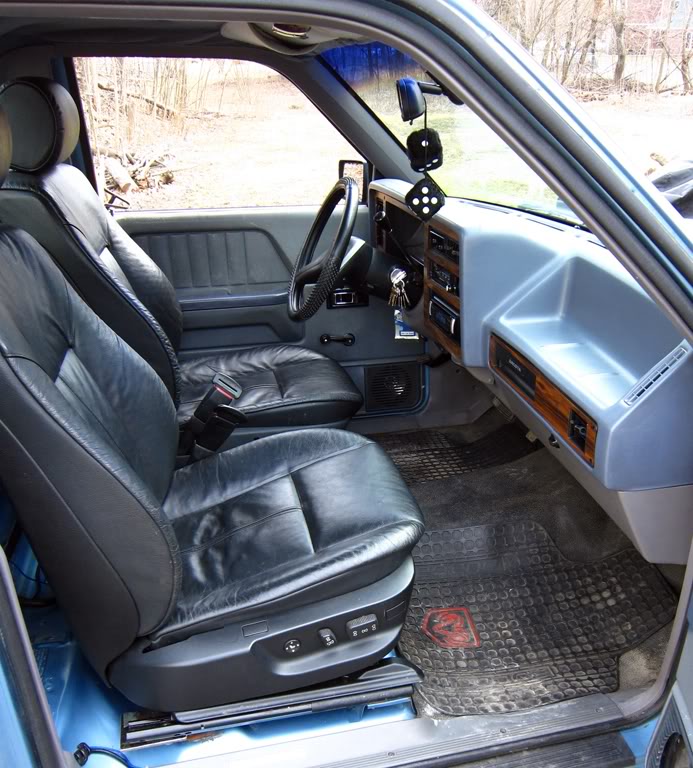
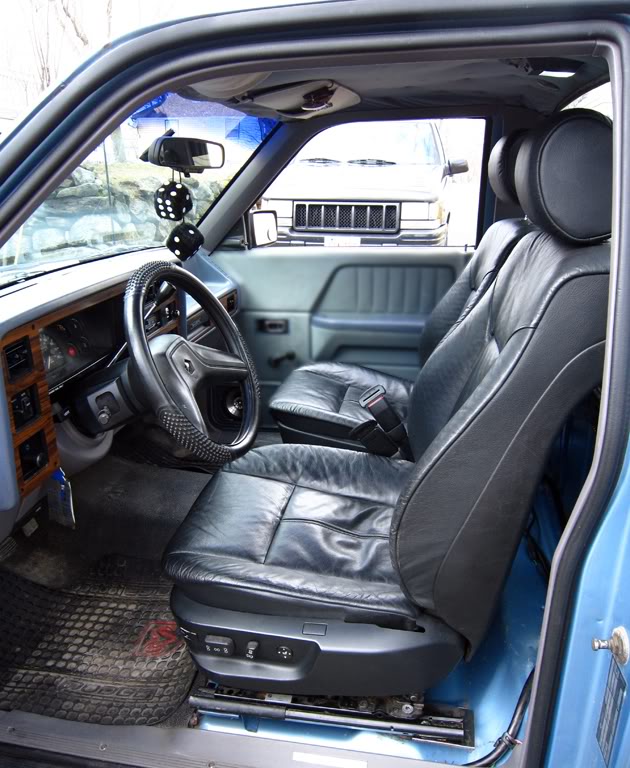
After, dashboard swap, side mirror swap, new HVAC control panel + stereo, lower dash has been swapped to grey along with the A-pillars, B-pillars and everything else (only thing blue is the upper dash now) and the seats are out of a 2000 BMW 740i (fully powered including headrests).
Before; when I first got it.
After, dashboard swap, side mirror swap, new HVAC control panel + stereo, lower dash has been swapped to grey along with the A-pillars, B-pillars and everything else (only thing blue is the upper dash now) and the seats are out of a 2000 BMW 740i (fully powered including headrests).
Last edited by pinkfloydeffect; Mar 14, 2012 at 02:23 AM.
Thread Starter
|
All Star
Joined: Jun 2011
Posts: 858
Likes: 2
From: Pinellas County, FL
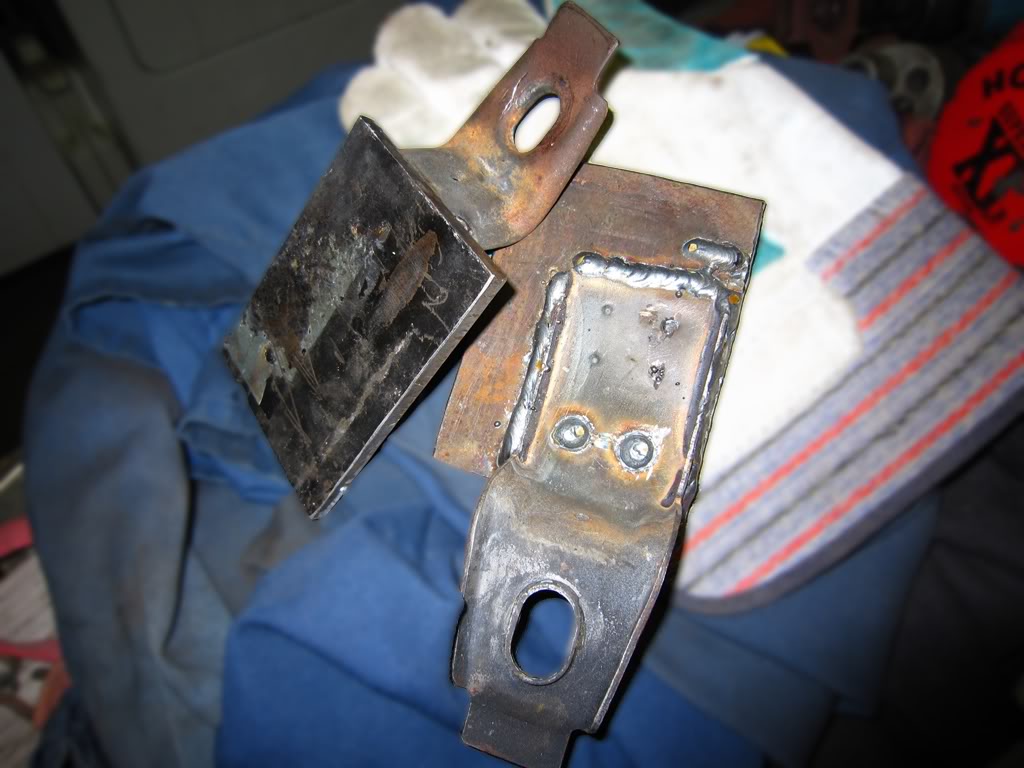
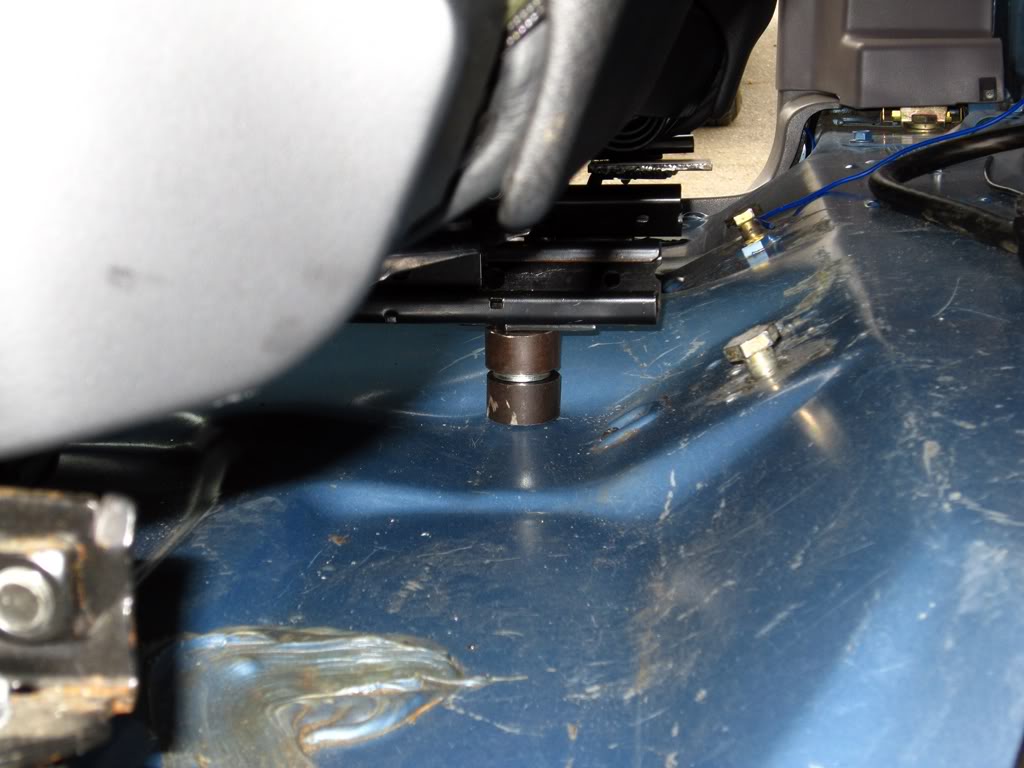
The front of the tracks bolted right to the beam/floor with new holes. The rear I had to make custom brackets I'll post pictures of them once I have a final version made.
Now this stupid scissor jack holder needs to go, this is 2012 we have cell phones if we break down we call someone (I'm just justifying the fact I don't have room for it). I need this space for my woofer enclosure, I had a sound engineer design me a box 4ft wide only 10" tall and 7.5" deep that encloses two 6.5" woofers on the top. It goes about halfway up the back cab wall and directly above that all the way up to the bottom of the window I'll have my amps, crossovers, compactor, distribution block, DI-USB soundcard/box, it's going to be a tight fit. The enclosure is called a T-line with both the 6.5" woofers together on the same side working together (it will sound like I have at least two powerful 10's with a large box) ... ANYWAY point is the bracket has to go:
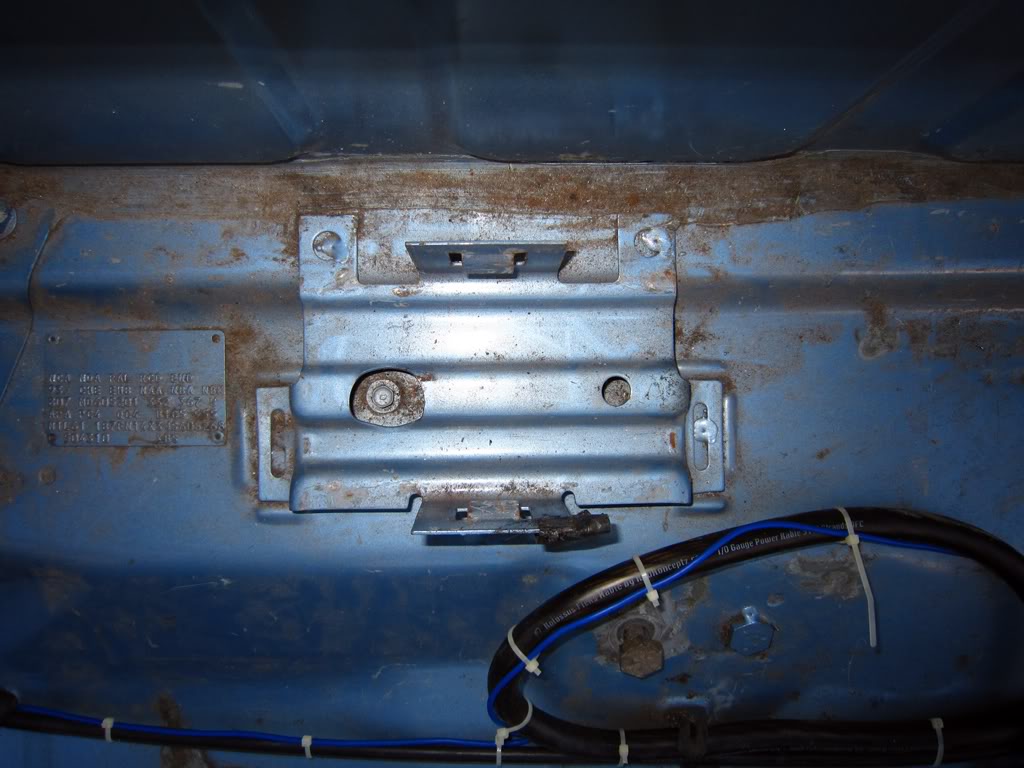
It's held on with tack/spot welds, nothing a hand grinder and chisel won't remove:
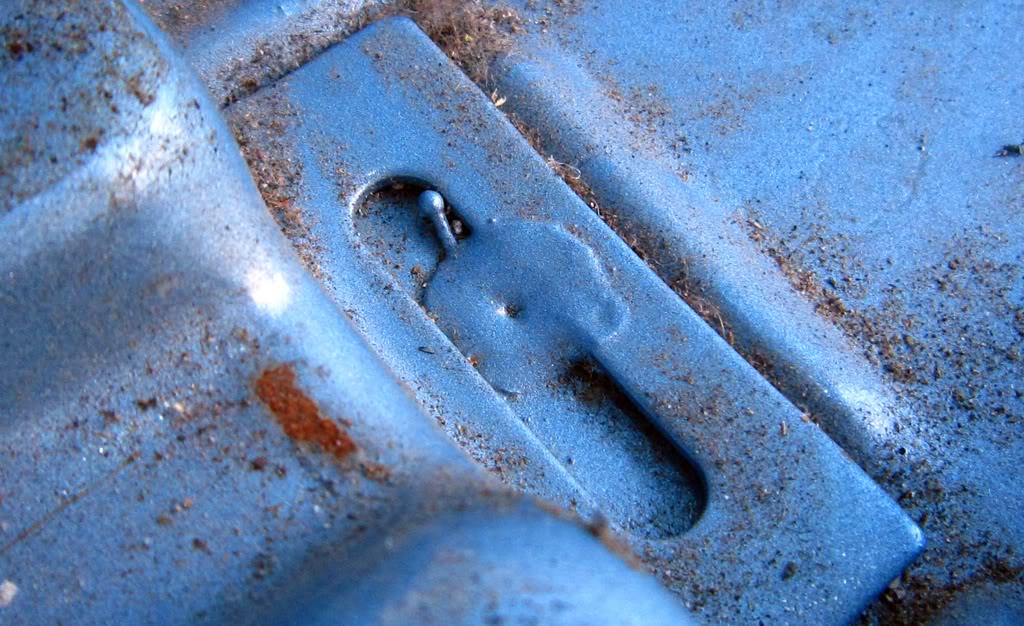
Can anyone tell me what these sticky pads are for under the seat belt brackets? Are they to prevent movement like a lock washer?
Now this stupid scissor jack holder needs to go, this is 2012 we have cell phones if we break down we call someone (I'm just justifying the fact I don't have room for it). I need this space for my woofer enclosure, I had a sound engineer design me a box 4ft wide only 10" tall and 7.5" deep that encloses two 6.5" woofers on the top. It goes about halfway up the back cab wall and directly above that all the way up to the bottom of the window I'll have my amps, crossovers, compactor, distribution block, DI-USB soundcard/box, it's going to be a tight fit. The enclosure is called a T-line with both the 6.5" woofers together on the same side working together (it will sound like I have at least two powerful 10's with a large box) ... ANYWAY point is the bracket has to go:
It's held on with tack/spot welds, nothing a hand grinder and chisel won't remove:
Can anyone tell me what these sticky pads are for under the seat belt brackets? Are they to prevent movement like a lock washer?
Last edited by pinkfloydeffect; Mar 14, 2012 at 02:36 AM.
Thread Starter
|
All Star
Joined: Jun 2011
Posts: 858
Likes: 2
From: Pinellas County, FL
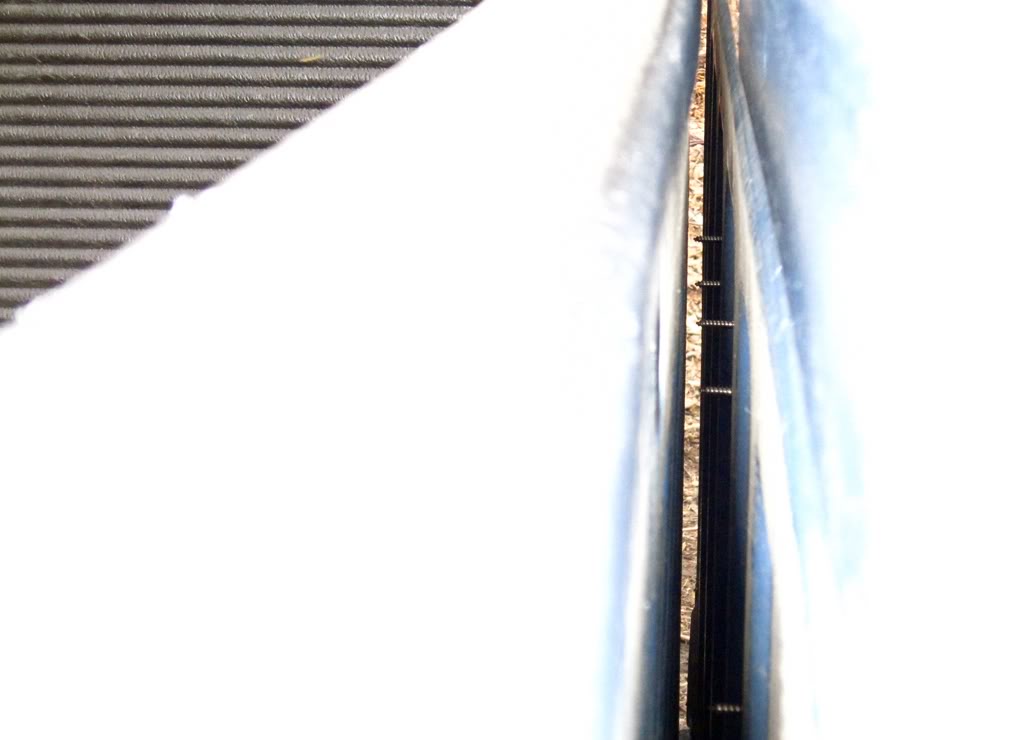
After I installed my amp and crossovers on the rear cab wall I noticed the screws went though the exterior of the cab wall! I thought it was thicker than that; double walled like a cooler...
Thread Starter
|
All Star
Joined: Jun 2011
Posts: 858
Likes: 2
From: Pinellas County, FL
Here are the seats in their set positions (drivers is higher and further forward):
Before/Current:
Since my passengers are mostly larger people I have the seat almost all the way down and back with the headrest leveled with mine which is all the way down:
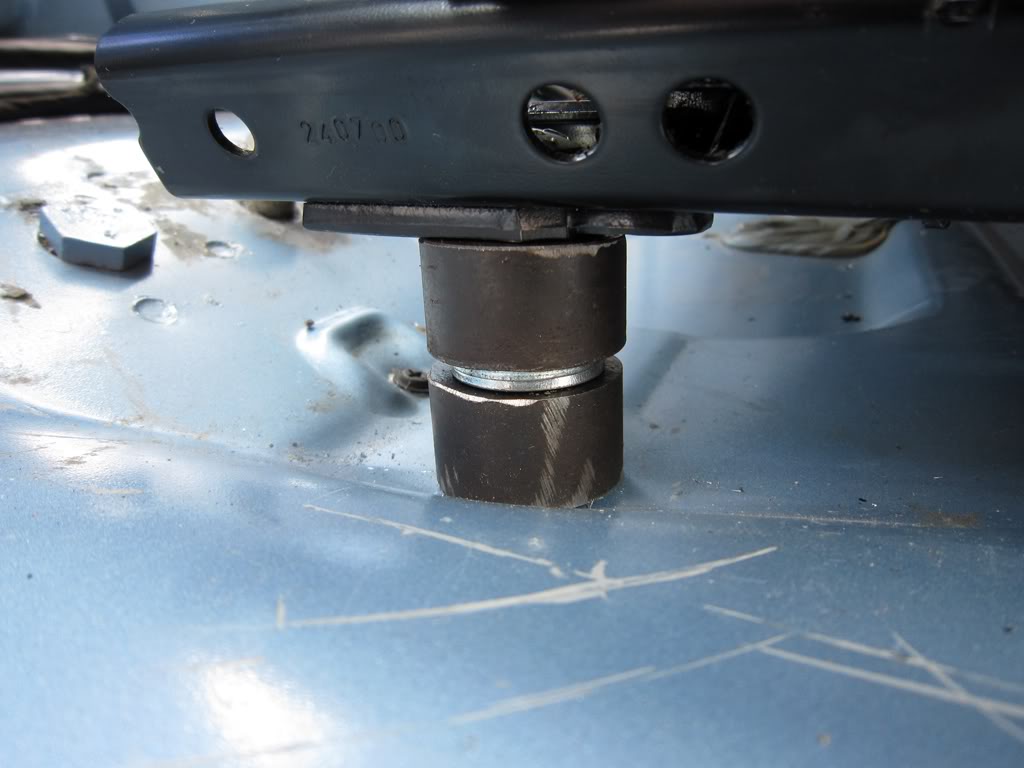
For those of you wondering how it was done, I had custom brackets made for the outer rear corners at a local machine shop. I cut the squares out of a thick plate off an old furnace (the coil ran through the plate) the guy who welded it gave me the "fat chick guarantee". If I can break one of his brackets porkin a fat chick in my truck he will personally draw a crowd inside a mall and kiss my *** so he is confident lol:
Outer front corners:
Inner rear corners:
Professional
Joined: May 2011
Posts: 153
Likes: 0
From: Richmond, VA
So glad this got bumped. I just painted mine and I'm working on the interior now, looking for similar seats atm. Probably gonna bedline the floor this weekend.
What did you end up doing for the lift? I've been searching for options (FAQ is dated/useless for 2wd now ) for weeks now and found nothing. I want to at least lift the front up to level it out. 4" up front and 2 in the rear would be ideal but if I could level it out I could always do grade 5 bolts and hockey pucks for a small body lift. It's 2wd, just want a little more height for visibility on the road.
As for that guys welds, not the best looking MIG welds but they look solid. If you're not a welder you'd be really shocked at how much stronger welds are than steel. The metal will probably wear out before those welds break.
What did you end up doing for the lift? I've been searching for options (FAQ is dated/useless for 2wd now
) for weeks now and found nothing. I want to at least lift the front up to level it out. 4" up front and 2 in the rear would be ideal but if I could level it out I could always do grade 5 bolts and hockey pucks for a small body lift. It's 2wd, just want a little more height for visibility on the road.As for that guys welds, not the best looking MIG welds but they look solid. If you're not a welder you'd be really shocked at how much stronger welds are than steel. The metal will probably wear out before those welds break.