

DIY Complete Body Mounts for the technically and/or financially challenged.

Thread Starter
|
All Star
Joined: Apr 2013
Posts: 941
Likes: 22
From: Connecticut
Hi everyone,
As many of you know from experience, there are no off-the-shelf replacement rubber/poly body mounts for 4wd trucks, and there are no replacement steel cups for either 2wd or 4wd trucks. The earliest trucks are now nearing 30 years of age, and rubber and steel are disintegrating, especially in the rust belt(s).
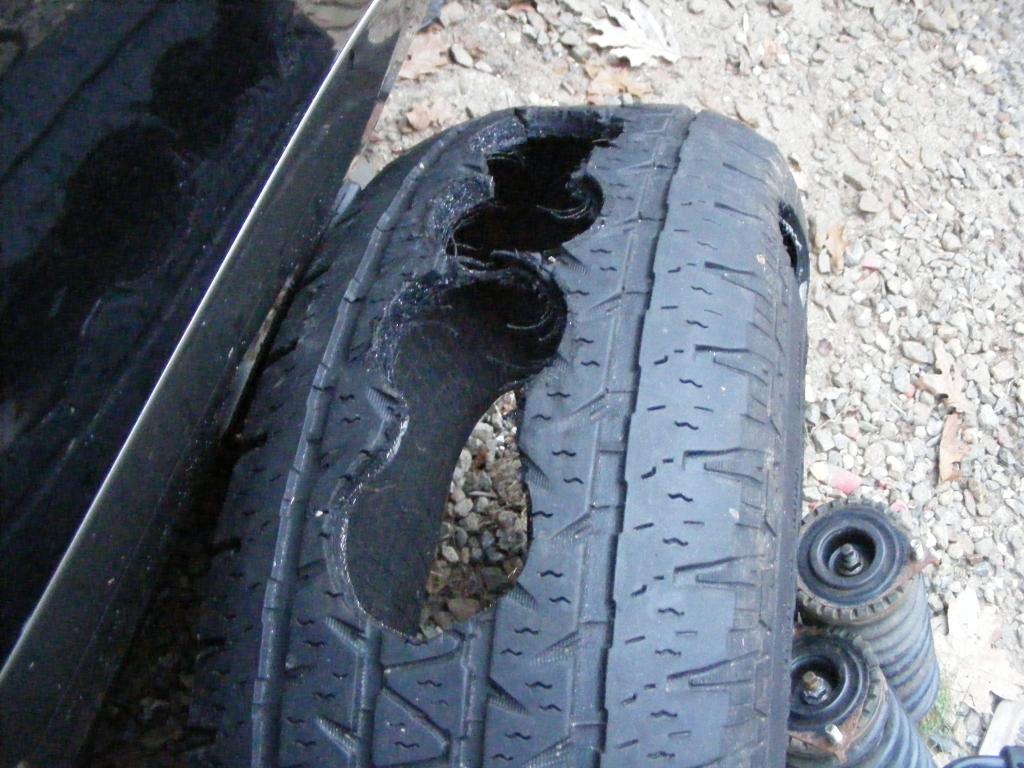
Being unmotivated to tackle making my own polyurethane mounts, I was inspired by a few threads on another forum (Jalopy Journal, IIRC) which mentioned using pieces of old tire as body mounts. Others suggested conveyer belt material.
So this is what I came up with. They are not pretty, but they seem like they'll do the job. I've only made one full mount so far and obviously it has had no weight on it. Think for yourself (because I might have done something wrong or you may want to do something differently) and duplicate at your own risk.
What I used (click on links to see where I bought the items):
-old all terrain tire (can use any tire, but the A/Ts are usually thicker)
-1/4" thick, 1/2" hole, 3" diameter galvanized dock washers x 24 (extra cab)
-12x1.75x90 Allen headed stainless steel bolts x 8 (extra cab)
-M12 Split-lock washer x 8
-M12 Regular washer x 8 (because the hole in the galvanized washer is a little too big for the 12mm bolt)
-3" hole saw with center pilot bit
-Powerful electric drill
-1/2" drill bit
-Jig saw with a metal-cutting blade
I used a regular hole saw because I didn't anticipate that there would be so much metal in the tire casing. The regular hole saw CAN cut through the wire strands, but it kills the teeth. So this is what I did: Use a hole saw w/ pilot bit to start 3" circles out of the tire. Once the hole is started, use a metal-cutting blade on a jigsaw to cut the rest of the way around, following the circle. Then use a 1/2" drill bit to widen the center hole...the bit won't do a very good job of widening the hole because the rubber will be mostly stretched and will bounce back; however, it did the job well enough and I was able press each disc onto the bolt with a piece of PVC. Nice snug fit.
For me, it seemed 3 of these discs (one below the frame mount, two above the frame mount) gave the perfect height (though it may not be exactly the same height as the stock ones when there is weight on them) and allowed plenty of threads up top. 3 galvanized washers were used for each mount.
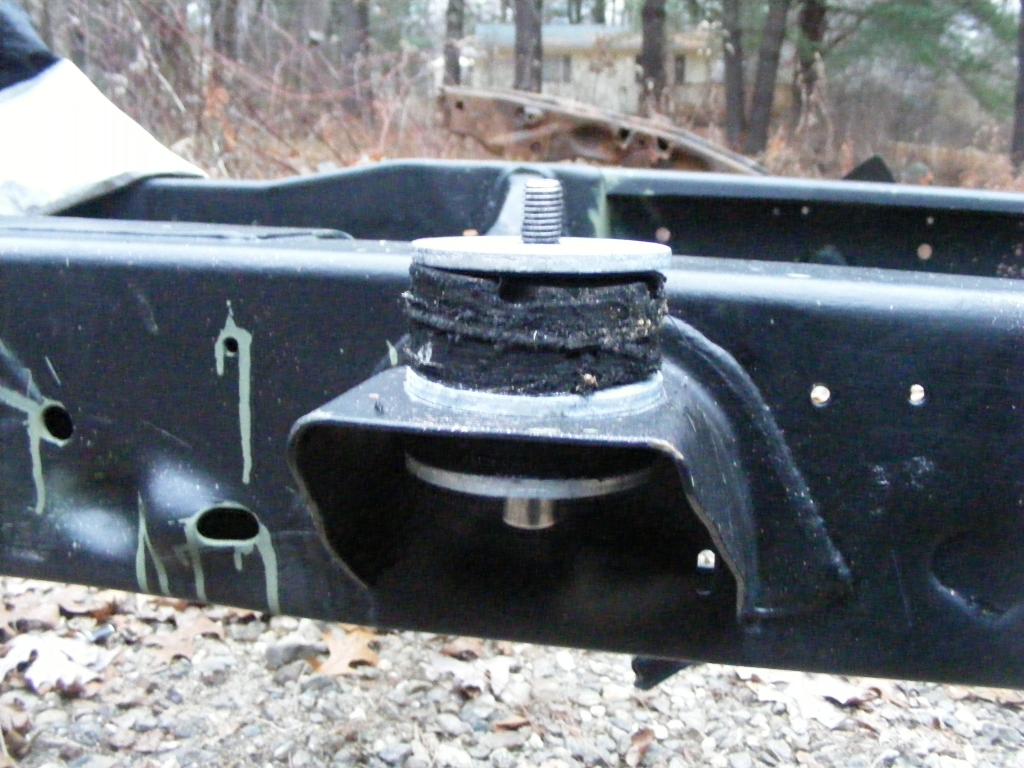
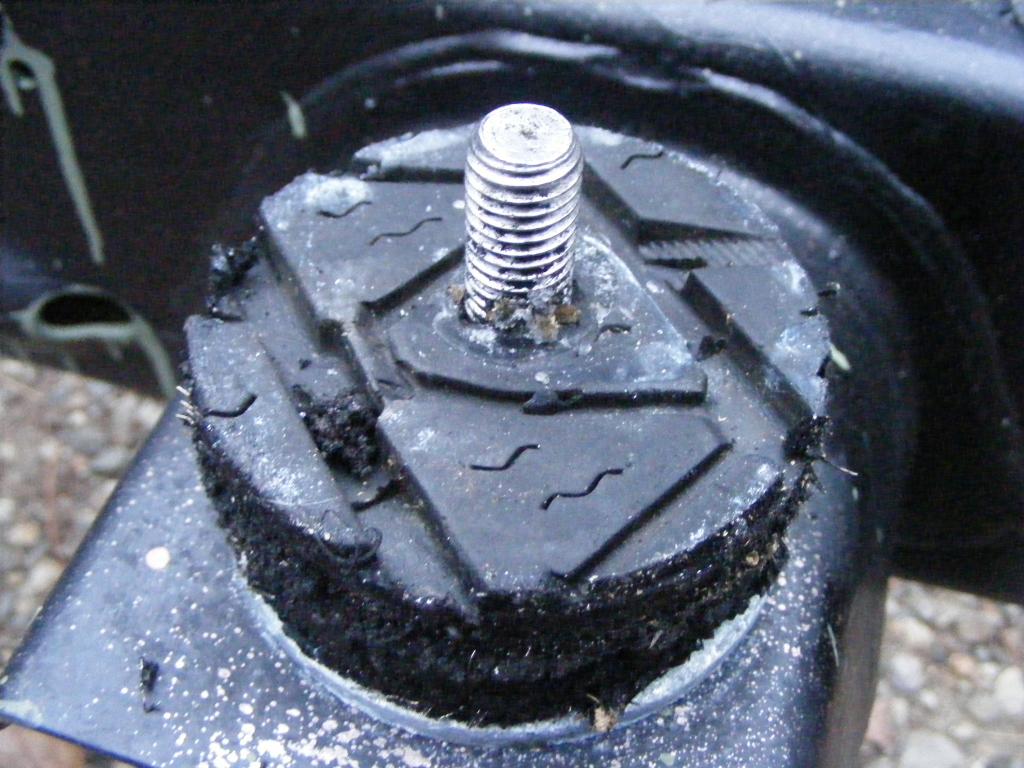
Bolt, split lock washer, large OD washer, galvanized washer.
The tire rubber is a bit harder than the stock mounts, but still a lot more cushion than a hockey puck. Total cost including tools (I mean blades/saws) was under $100. Good luck...hate if you want, but this is what I'm doing!
As many of you know from experience, there are no off-the-shelf replacement rubber/poly body mounts for 4wd trucks, and there are no replacement steel cups for either 2wd or 4wd trucks. The earliest trucks are now nearing 30 years of age, and rubber and steel are disintegrating, especially in the rust belt(s).
Being unmotivated to tackle making my own polyurethane mounts, I was inspired by a few threads on another forum (Jalopy Journal, IIRC) which mentioned using pieces of old tire as body mounts. Others suggested conveyer belt material.
So this is what I came up with. They are not pretty, but they seem like they'll do the job. I've only made one full mount so far and obviously it has had no weight on it. Think for yourself (because I might have done something wrong or you may want to do something differently) and duplicate at your own risk.
What I used (click on links to see where I bought the items):
-old all terrain tire (can use any tire, but the A/Ts are usually thicker)
-1/4" thick, 1/2" hole, 3" diameter galvanized dock washers x 24 (extra cab)
-12x1.75x90 Allen headed stainless steel bolts x 8 (extra cab)
-M12 Split-lock washer x 8
-M12 Regular washer x 8 (because the hole in the galvanized washer is a little too big for the 12mm bolt)
-3" hole saw with center pilot bit
-Powerful electric drill
-1/2" drill bit
-Jig saw with a metal-cutting blade
I used a regular hole saw because I didn't anticipate that there would be so much metal in the tire casing. The regular hole saw CAN cut through the wire strands, but it kills the teeth. So this is what I did: Use a hole saw w/ pilot bit to start 3" circles out of the tire. Once the hole is started, use a metal-cutting blade on a jigsaw to cut the rest of the way around, following the circle. Then use a 1/2" drill bit to widen the center hole...the bit won't do a very good job of widening the hole because the rubber will be mostly stretched and will bounce back; however, it did the job well enough and I was able press each disc onto the bolt with a piece of PVC. Nice snug fit.

For me, it seemed 3 of these discs (one below the frame mount, two above the frame mount) gave the perfect height (though it may not be exactly the same height as the stock ones when there is weight on them) and allowed plenty of threads up top. 3 galvanized washers were used for each mount.


Bolt, split lock washer, large OD washer, galvanized washer.

The tire rubber is a bit harder than the stock mounts, but still a lot more cushion than a hockey puck. Total cost including tools (I mean blades/saws) was under $100. Good luck...hate if you want, but this is what I'm doing!
Last edited by tbugden; Dec 8, 2014 at 07:34 PM.

All Star
Joined: Mar 2012
Posts: 752
Likes: 2
From: Southeastern Virginia
Looks like they'll work just fine tbug. Certainly they're a huge improvement over the deteriorating originals, and they didn't cost a fortune either! Some folks might have an issue with using the stainless bolts for body mounts because they're softer than the originals. Really though, I doubt it will be an issue. They're not under much stress except perhaps in an accident, and in that case the thin body steel they are bolted thru is likely to give before those bolts.
Thread Starter
|
All Star
Joined: Apr 2013
Posts: 941
Likes: 22
From: Connecticut
Yeah I get what you mean about the stainless. I looked high and low for these bolts. I didn't want to spend the money on OEM, and I also wanted something that wouldn't rust. So I found these...I didn't specifically want allen headed bolts, but they didn't have regular hex heads and these are just fine. Definitely not OEM strength, but I would say close enough. 
If you wanted you could substitute any M12 x 1.75 bolt that you want. As I said, the way I did it is not necessarily the right or best way.
If you wanted you could substitute any M12 x 1.75 bolt that you want. As I said, the way I did it is not necessarily the right or best way.
All Star
Joined: Mar 2012
Posts: 752
Likes: 2
From: Southeastern Virginia
How much rust did you encounter in the cab mounting points? My front mounts (at the front clip) had rusted the metal ring that sits down in the frame, and also the bottom plate. The bolts, top plates, and the clip were all in good shape. The mounts at the cowl were packed with dirt in the body brackets. I dug, scraped, then blew them out. I didn't try to unbolt those, but I noticed they were getting a bit rusty from the dirt and water over the years. After I cleaned them out I sprayed them down with a rust preventive spray, but at some point I'll probably pull them and put in some stainless bolts like you did. How did these look on your truck?
Thread Starter
|
All Star
Joined: Apr 2013
Posts: 941
Likes: 22
From: Connecticut
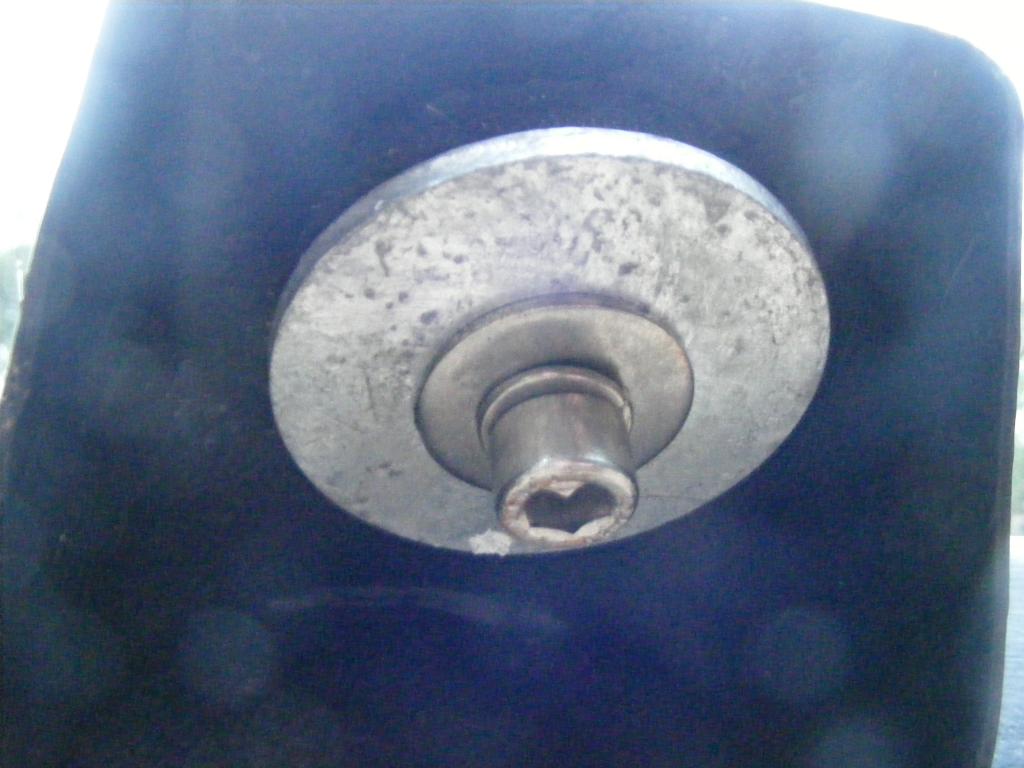
The frontmost mounts were the worst on my truck. The metal rings stuck in the frame, but the bolts were also completely seized. when I tried to remove them, they went a little bit then got tight and the square nut spun and bent the retaining tabs. I ended up cutting through the bolts.
All of the other bolts came out just fine...easy actually, I would say. The body brackets are pretty clean, with very minimal rust. If your rad support bolts came out, I would bet money that all of the others will come out without a hitch.
I could have salvaged some of the metal pieces, but most were so rusted (the lower rear left washer piece was entirely gone) that I said 'the hell with it' and decided to start fresh.

Thread Starter
|
All Star
Joined: Apr 2013
Posts: 941
Likes: 22
From: Connecticut


Trending Topics

Thread Starter
|
All Star
Joined: Apr 2013
Posts: 941
Likes: 22
From: Connecticut
In what direction? The tires are much harder than the stock rubber mounts. Side to side flex: perhaps, if that's what you mean. I believe that once it's bolted up and torqued down well it will be fine. These bolts have a recommended torque of around 50 ft lbs and I think everything will be at a pretty damn solid tension at that torque...according to charts online it would be about 11,000 pounds of clamping force. I predict that they're going to stay right where they are. I mean, look at the body lift blocks some people put over the stock mounts. They end up with 6" of bolt between the mount and the cab/body. Mine are only about 2" high, haven't actually measured them yet though.
Only one way to know if they'll work.