

Ram Body work

Thread Starter
|
Legend
Joined: Jul 2011
Posts: 8,259
Likes: 4
From: Austin, TX
if your going to do a few more paint jobs you may want to invest in a jitter bug. it is a sander you attach to a water hose. the only bad thing using this tool is you can burn down to primer fast if your not careful. keep in mind if you get a aftermarket fender you have to reuse the inner fender off your old fender. oem fenders are more money but fit better and have the inner fender installed.
Is the inner fender spot welded to the outer fender on the lip? I may have to see what the price on OEM fender with the inner fender is. May make it go much easier.....
Record Breaker
Joined: Aug 2010
Posts: 2,241
Likes: 12
From: Ohio
Yup. A whole ****load of them. Would need to grind the welds off to separate, drill or punch new holes in new fender, line 'em up, weld, grind, fill, sand, prime, sand, base, clear. And theres masking in there too.
Might want to look for a good used one.
Might want to look for a good used one.

Professional
Joined: Sep 2011
Posts: 101
Likes: 0
i have a tool called a rotabroach for drilling spot welds. to remove the inner fender about half hour or so.there is a lip the inner fits on so to line it up is not to hard to do just a pain in the a**. if you get a used fender take a look at the inner there are some changes between years,a 95 inner fender and a 98 have diffrent holes for mounting fuse boxes etc. sounds like you travel around a lot you might be able to find a used one in your travels.
Thread Starter
|
Legend
Joined: Jul 2011
Posts: 8,259
Likes: 4
From: Austin, TX
I went out and looked at the fender and inner fender. Darn. Looks like a ton of work, then I would have to worry about fit up. Don't have access to spot welder, but did use mig welder to wel panels at rear of bed, so I could probably do ths same here.
I will check for price from dealer. Total cost from C2C Fabrications is about $175 plus shipping for fender and inner fender (separate pieces). If the dealer cost is close to that, I may go that route.
But then again, I will try to work it some more today. If dealer cost is too much, I may take it to a local body shop and see what they would charge to fix this spot. May be cheaper and easier in the long run.
Thread Starter
|
Legend
Joined: Jul 2011
Posts: 8,259
Likes: 4
From: Austin, TX
So I have two questions and two observations.
Questions:
Questions:
- How will I know how much to buff before burning through the clear?
- I appied two coats of clear on sides of bed. Can I add anotherr coat to it just to be safe?
- Going and hopping on mower to cut knee high grass in backyard between coats of clear is not necessarily a good idea (tiny bits of grass falling onto body).
- Getting lazy and not using practice hood to set spray gun and leaving it set as it was for base the night before is also not such a good idea.....
Record Breaker
Joined: Aug 2010
Posts: 2,241
Likes: 12
From: Ohio
Buffing is hard to explain. Your basically creating friction which creats heat. Whats going on is your melting the paint, kinda. Best thing to do is practice on the wifes car.  Seriously, practice on our test hood. You dont want to keep the buffer in the same spot, keep it moving. As long as it stays moving youll be fine. Also, do NOT run the buffer onto an edge. Like the edge of a door. Just like grinding, you want the biffer going OFF the edge. Of you burn through, itll probably be on a body line. Be careful around those.
As far as another coat of clear, I would think that if you sanded then sprayed, itll be good. Might want to check with the paint manufacture to be safe though.
Seriously, practice on our test hood. You dont want to keep the buffer in the same spot, keep it moving. As long as it stays moving youll be fine. Also, do NOT run the buffer onto an edge. Like the edge of a door. Just like grinding, you want the biffer going OFF the edge. Of you burn through, itll probably be on a body line. Be careful around those.As far as another coat of clear, I would think that if you sanded then sprayed, itll be good. Might want to check with the paint manufacture to be safe though.
Thread Starter
|
Legend
Joined: Jul 2011
Posts: 8,259
Likes: 4
From: Austin, TX
Buffing is hard to explain. Your basically creating friction which creats heat. Whats going on is your melting the paint, kinda. Best thing to do is practice on the wifes car. Seriously, practice on our test hood. You dont want to keep the buffer in the same spot, keep it moving. As long as it stays moving youll be fine. Also, do NOT run the buffer onto an edge. Like the edge of a door. Just like grinding, you want the biffer going OFF the edge. Of you burn through, itll probably be on a body line. Be careful around those.
As far as another coat of clear, I would think that if you sanded then sprayed, itll be good. Might want to check with the paint manufacture to be safe though.
Seriously, practice on our test hood. You dont want to keep the buffer in the same spot, keep it moving. As long as it stays moving youll be fine. Also, do NOT run the buffer onto an edge. Like the edge of a door. Just like grinding, you want the biffer going OFF the edge. Of you burn through, itll probably be on a body line. Be careful around those.As far as another coat of clear, I would think that if you sanded then sprayed, itll be good. Might want to check with the paint manufacture to be safe though.
Practicing on wife's car would be problematic at best....
I got two good coats everywhere and 3 coats on hood, roof, and front fenders...then ran out of clear (just enough left for the problem fender).
So at the edges do I just use the compund by hand to be sure I don't burn through on the edges and the same on body lines?
Record Breaker
Joined: Aug 2010
Posts: 2,241
Likes: 12
From: Ohio
You can do it by hand, but would take awhile. As long as your easy with it, you should be fine. You just dont want to run the buffer into the edges. That would burn through in a heartbeat. On the bodylines, just use light pressure, almost none. Let the buffing material and compound do the work, in other words, barely let the buffer touch. And keep it moving. This may help too: http://www.ehow.com/how_2141516_buff...-compound.html
You can also watch some videos on "how to buff a car". They should give some insight also.
You can also watch some videos on "how to buff a car". They should give some insight also.
Thread Starter
|
Legend
Joined: Jul 2011
Posts: 8,259
Likes: 4
From: Austin, TX
You can do it by hand, but would take awhile. As long as your easy with it, you should be fine. You just dont want to run the buffer into the edges. That would burn through in a heartbeat. On the bodylines, just use light pressure, almost none. Let the buffing material and compound do the work, in other words, barely let the buffer touch. And keep it moving. This may help too: http://www.ehow.com/how_2141516_buff...-compound.html
You can also watch some videos on "how to buff a car". They should give some insight also.
You can also watch some videos on "how to buff a car". They should give some insight also.
Thanks for the info. I will search YouTube for some video as well.
I got everything painted and clear coated except front left fender. I have to say it looks pretty good. Buffing pads and such to arrive tomorrow, but will probably work on fender tomorrow evening.
I have to travel back to Austin Tuesday for work, so may not get to sand until Friday. At least this will allow plenty of time for clear to cure.
Thread Starter
|
Legend
Joined: Jul 2011
Posts: 8,259
Likes: 4
From: Austin, TX
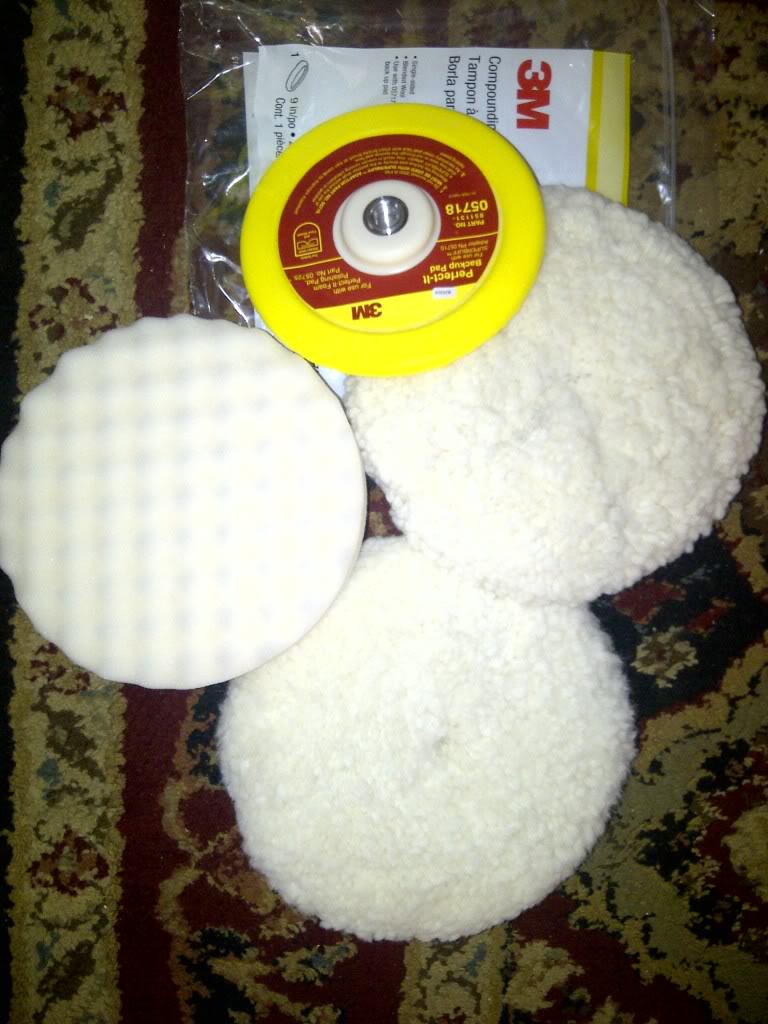
Putting the hardware back on tailgate and buffing supplies came in today! (and i had to work real hard to catch those pesky flying bugs in the photo last night!)

The black plastic around the tail lights and the door handles sure look a little ugly now up against new paint.....may have to replace them! I am sure the plstic on the ff=ront bumer will look crappy as well.
The black plastic around the tail lights and the door handles sure look a little ugly now up against new paint.....may have to replace them! I am sure the plstic on the ff=ront bumer will look crappy as well.