


The Camo Beast as it Evolves.


The weather was kind today and managed to get it done.
I raised my front body mounts 3" and took out the spacer
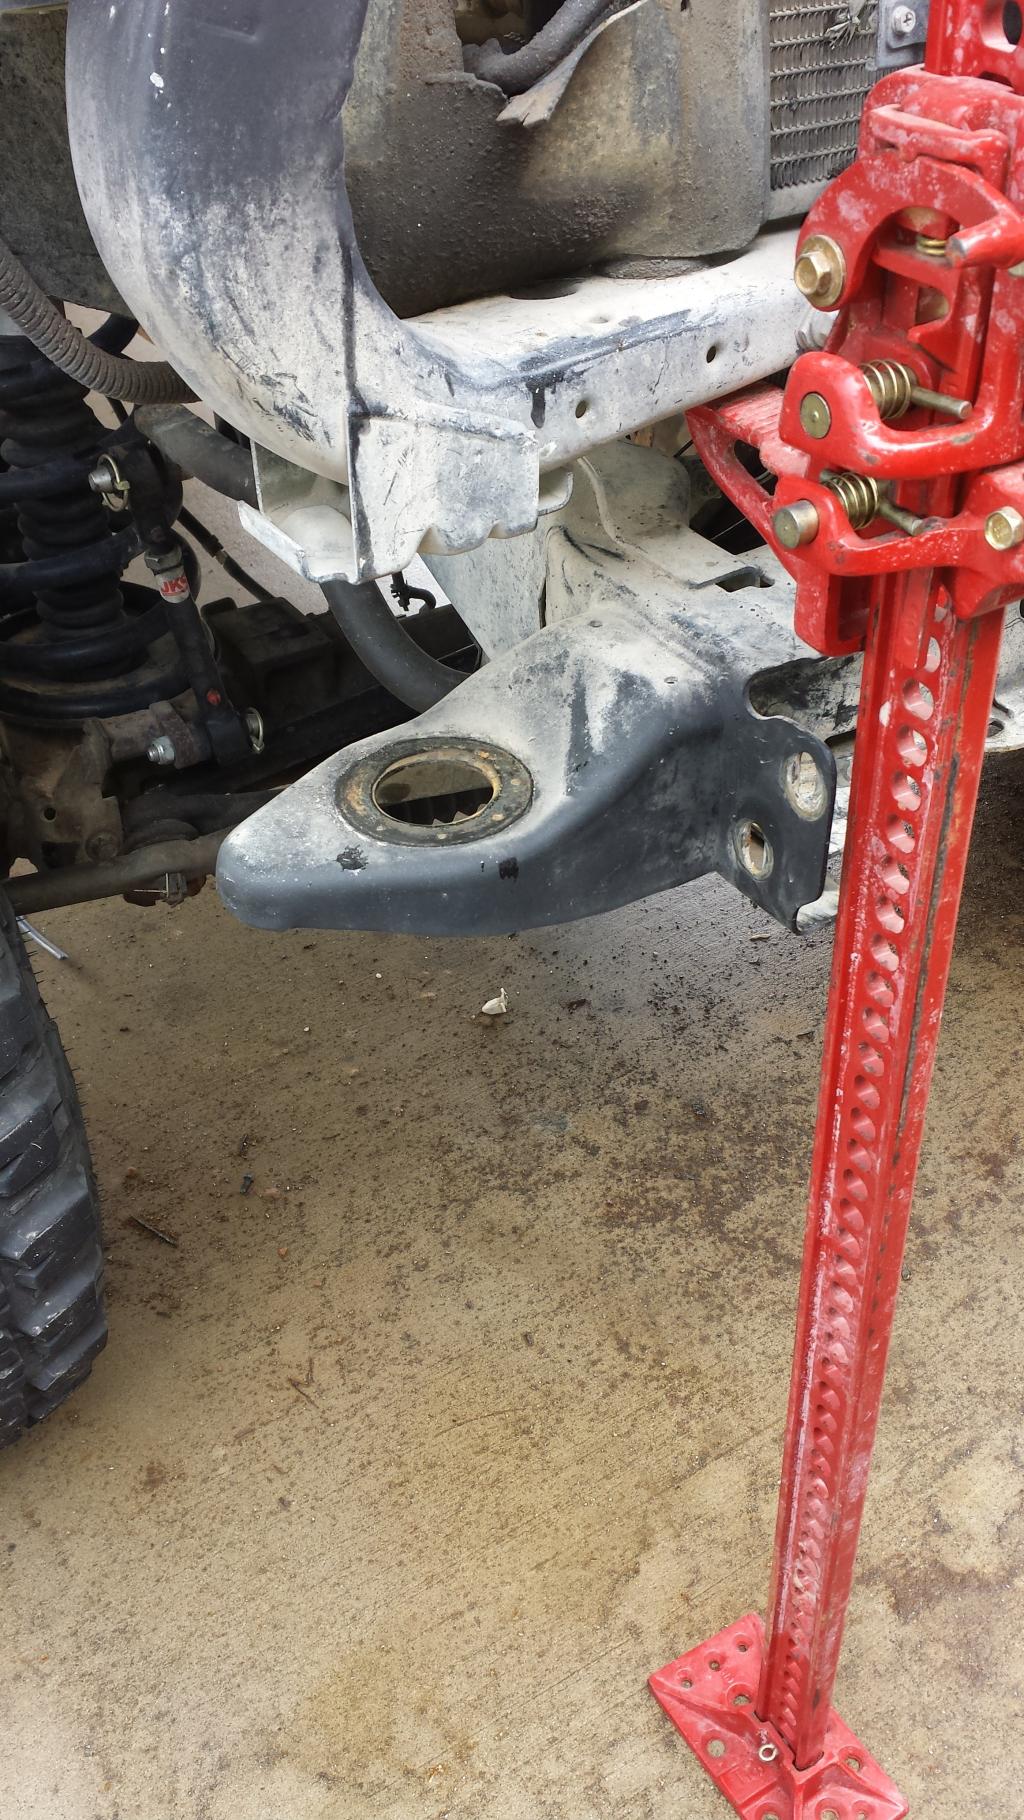
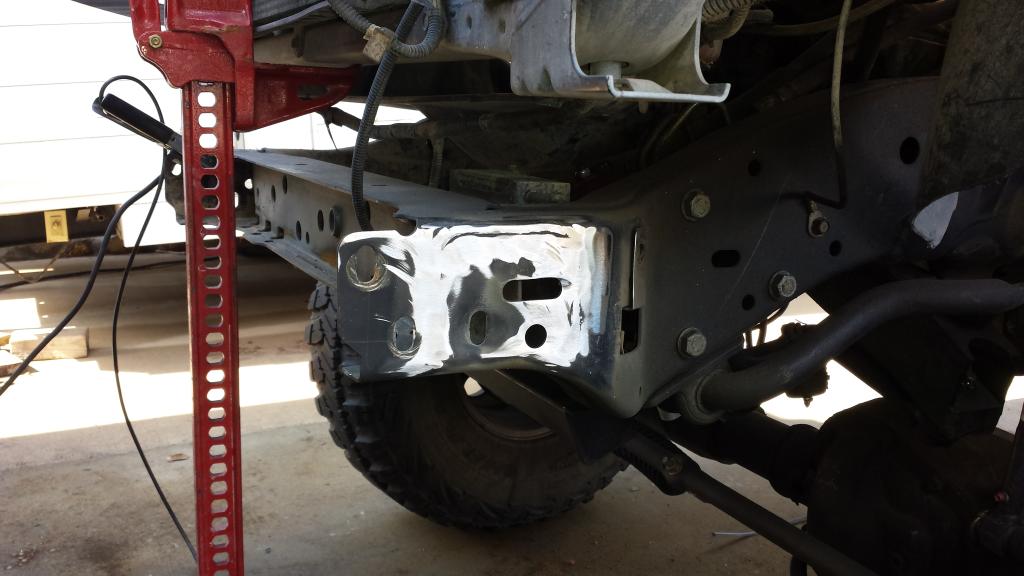
Cut them off and put them back on. The clouds got threatening so no time for those pictures

The finished bumper. The PIAAs are hooked up and operational and so is the winch

This is a close up of the raised body mount.
I raised my front body mounts 3" and took out the spacer


Cut them off and put them back on. The clouds got threatening so no time for those pictures

The finished bumper. The PIAAs are hooked up and operational and so is the winch

This is a close up of the raised body mount.

I've never been a fan of Goodyear either. The last set of tires were bfg KM2 and I loved them. When I went to 37s the KM2s were on national back order for 6 months. So I decided to get the MTR with Kevlar. They have actually been a tire so far.


 Looks good!
Thanks HeyYou!
When I went out four wheelin last weekend, the rear end will still climb up into the fender well and rub badly at extreme axle articulation. I guess rear bump stops are in order. The mounting hardware will be in on Monday. The Daystar stinger bump stops came in today.
Check list
1) Done--Install new track bar (to replace the bent one)
2) Done--Install steering gearbox brace
3) Done--Install the 3" body lift
4) Install the headers and remove the old exaust
5) Finish fabrication the traction bar and install it
6) Get the new exaust installed
7) Done--Raise receiver hitch tube
8) Done--Fabricate front bumper
8a) Done--Add recovery points to front bumper
9) Done--Fabricate rear bumper
9a) Done--Add recovery points to rear bumper
10) Done--Fabricate rock sliders for each side
11) Make tie down for spare in bed
12) Add bump stops to the rear suspension
When I went out four wheelin last weekend, the rear end will still climb up into the fender well and rub badly at extreme axle articulation. I guess rear bump stops are in order. The mounting hardware will be in on Monday. The Daystar stinger bump stops came in today.
Check list
1) Done--Install new track bar (to replace the bent one)
2) Done--Install steering gearbox brace
3) Done--Install the 3" body lift
4) Install the headers and remove the old exaust
5) Finish fabrication the traction bar and install it
6) Get the new exaust installed
7) Done--Raise receiver hitch tube
8) Done--Fabricate front bumper
8a) Done--Add recovery points to front bumper
9) Done--Fabricate rear bumper
9a) Done--Add recovery points to rear bumper
10) Done--Fabricate rock sliders for each side
11) Make tie down for spare in bed
12) Add bump stops to the rear suspension
Last edited by corbo1962; Feb 7, 2015 at 01:39 AM.


