


The Camo Beast as it Evolves.


Here is the winch cradle and receiver mount.
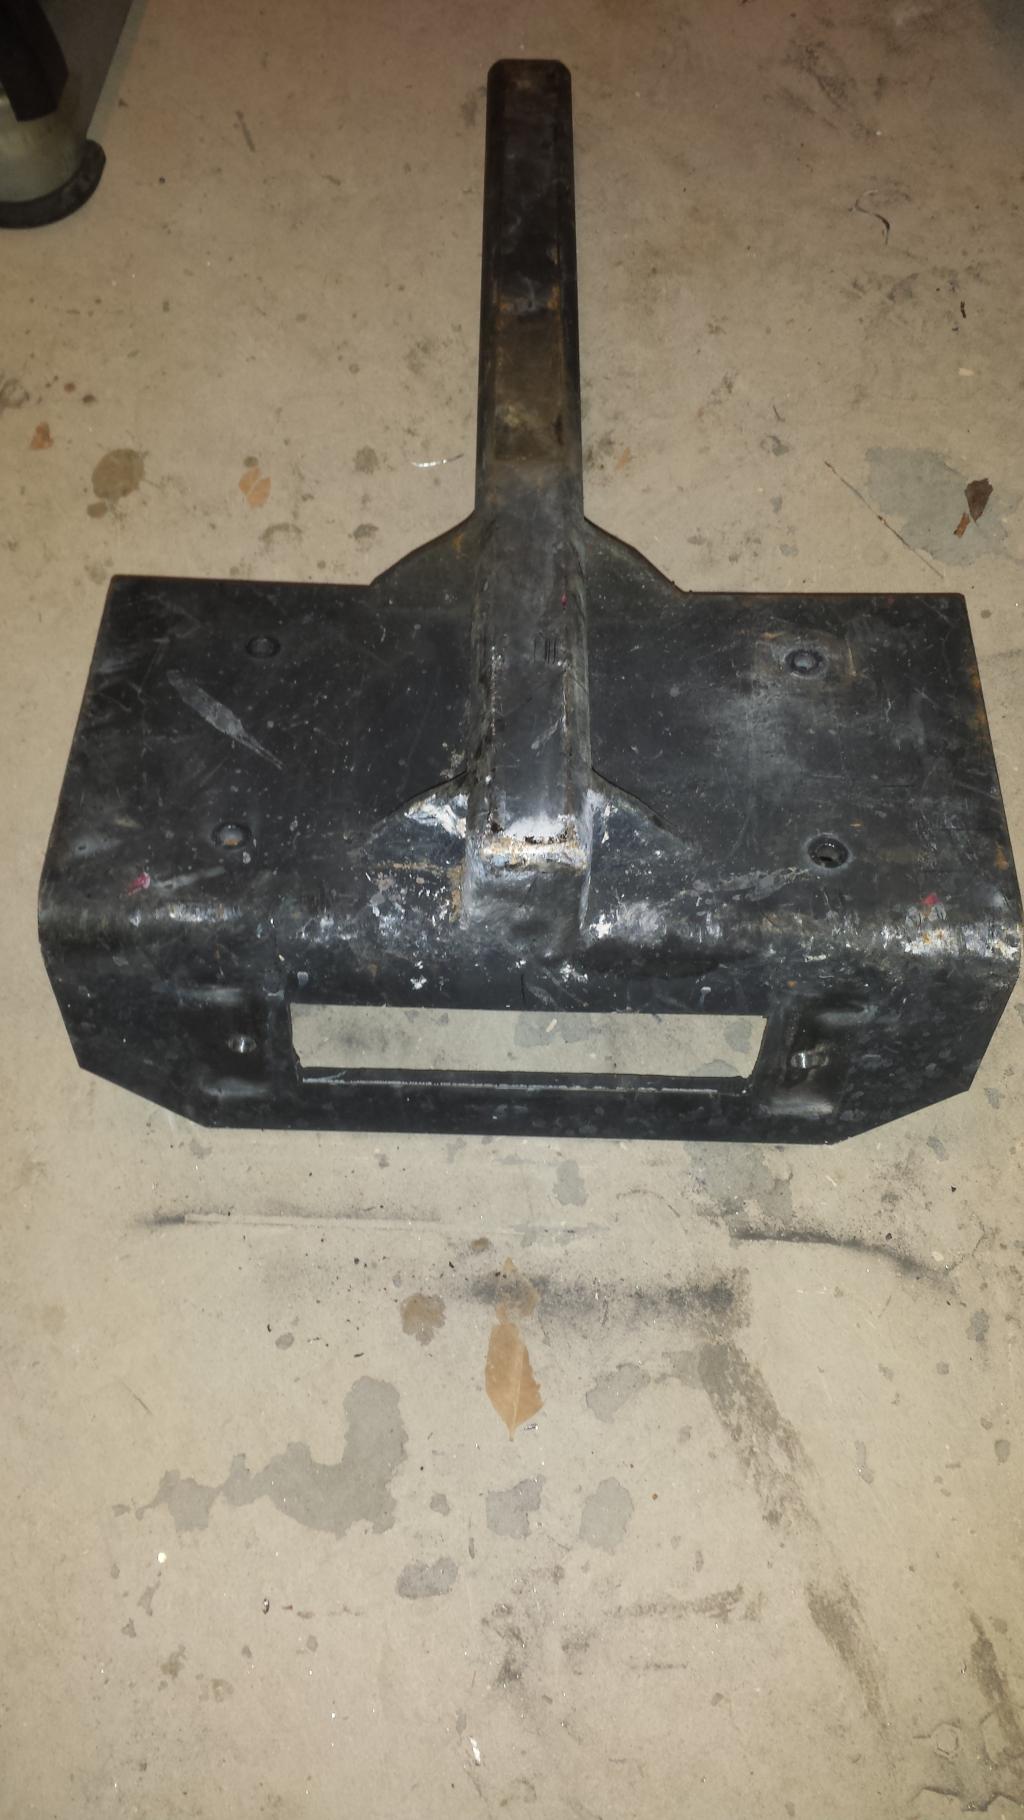
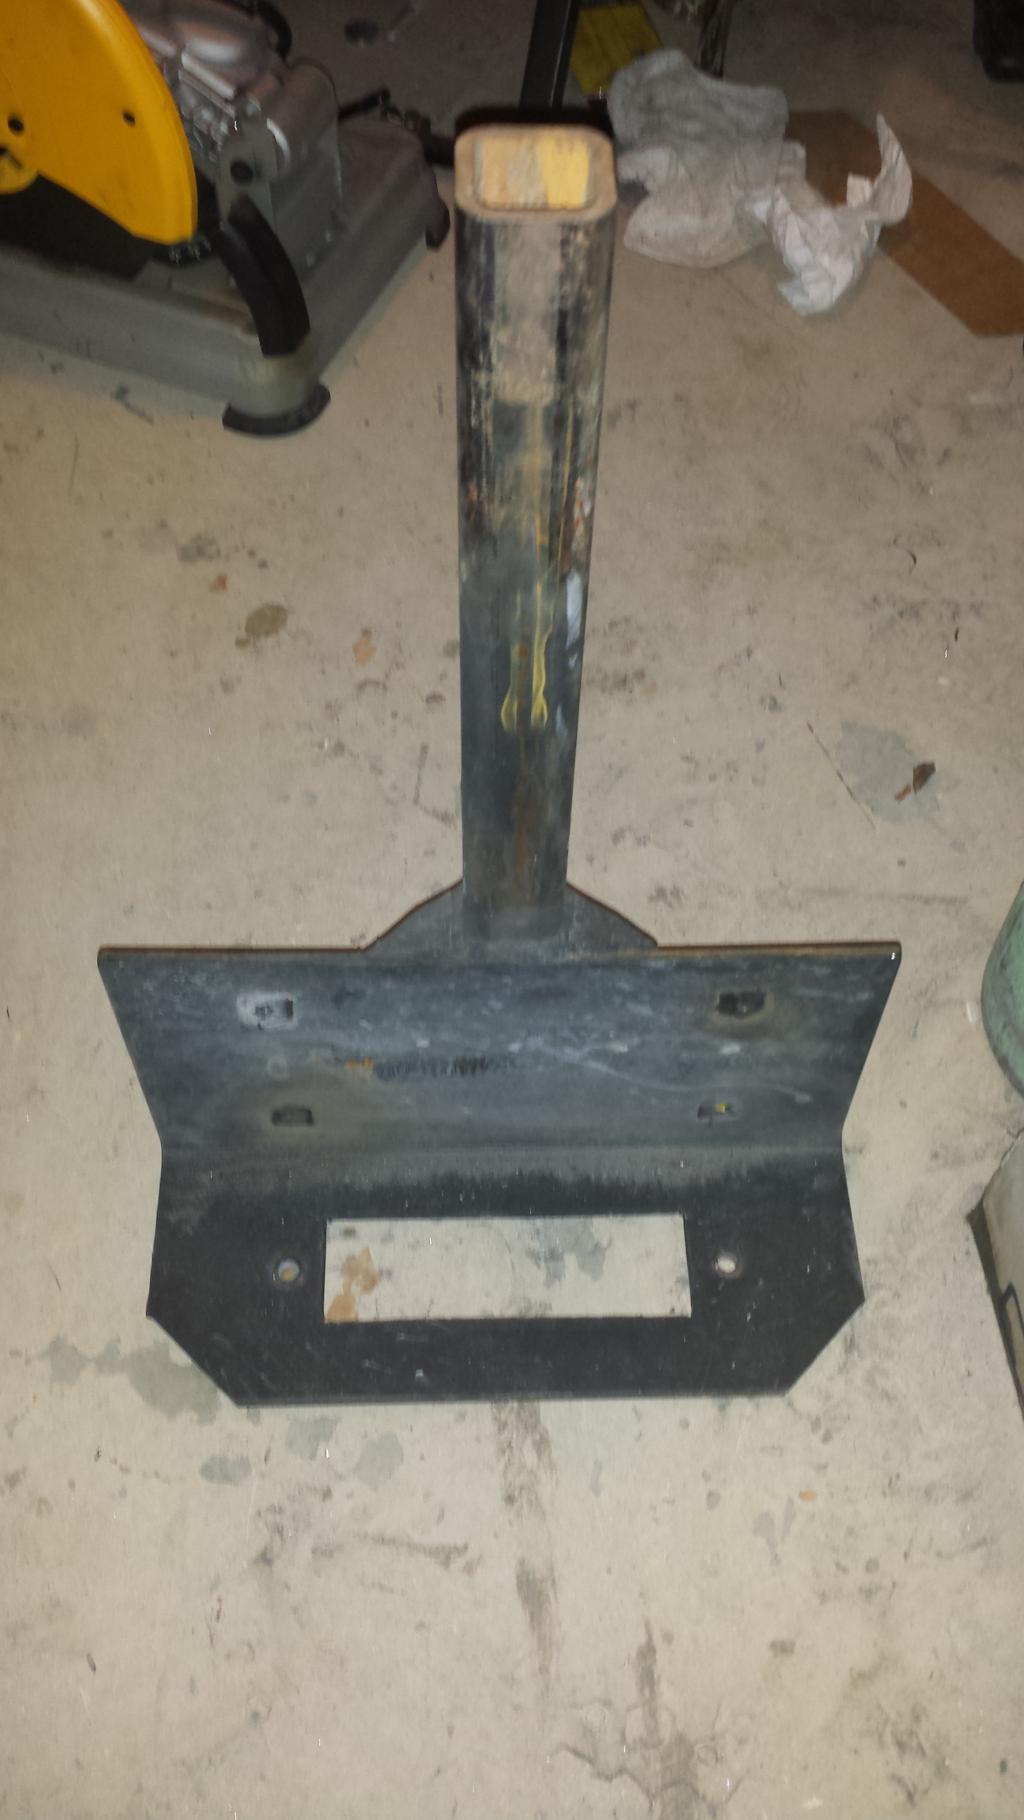
The receiver mount utilizes the factory ORE tow hooks and brackets and there is 36" between the frame brackets
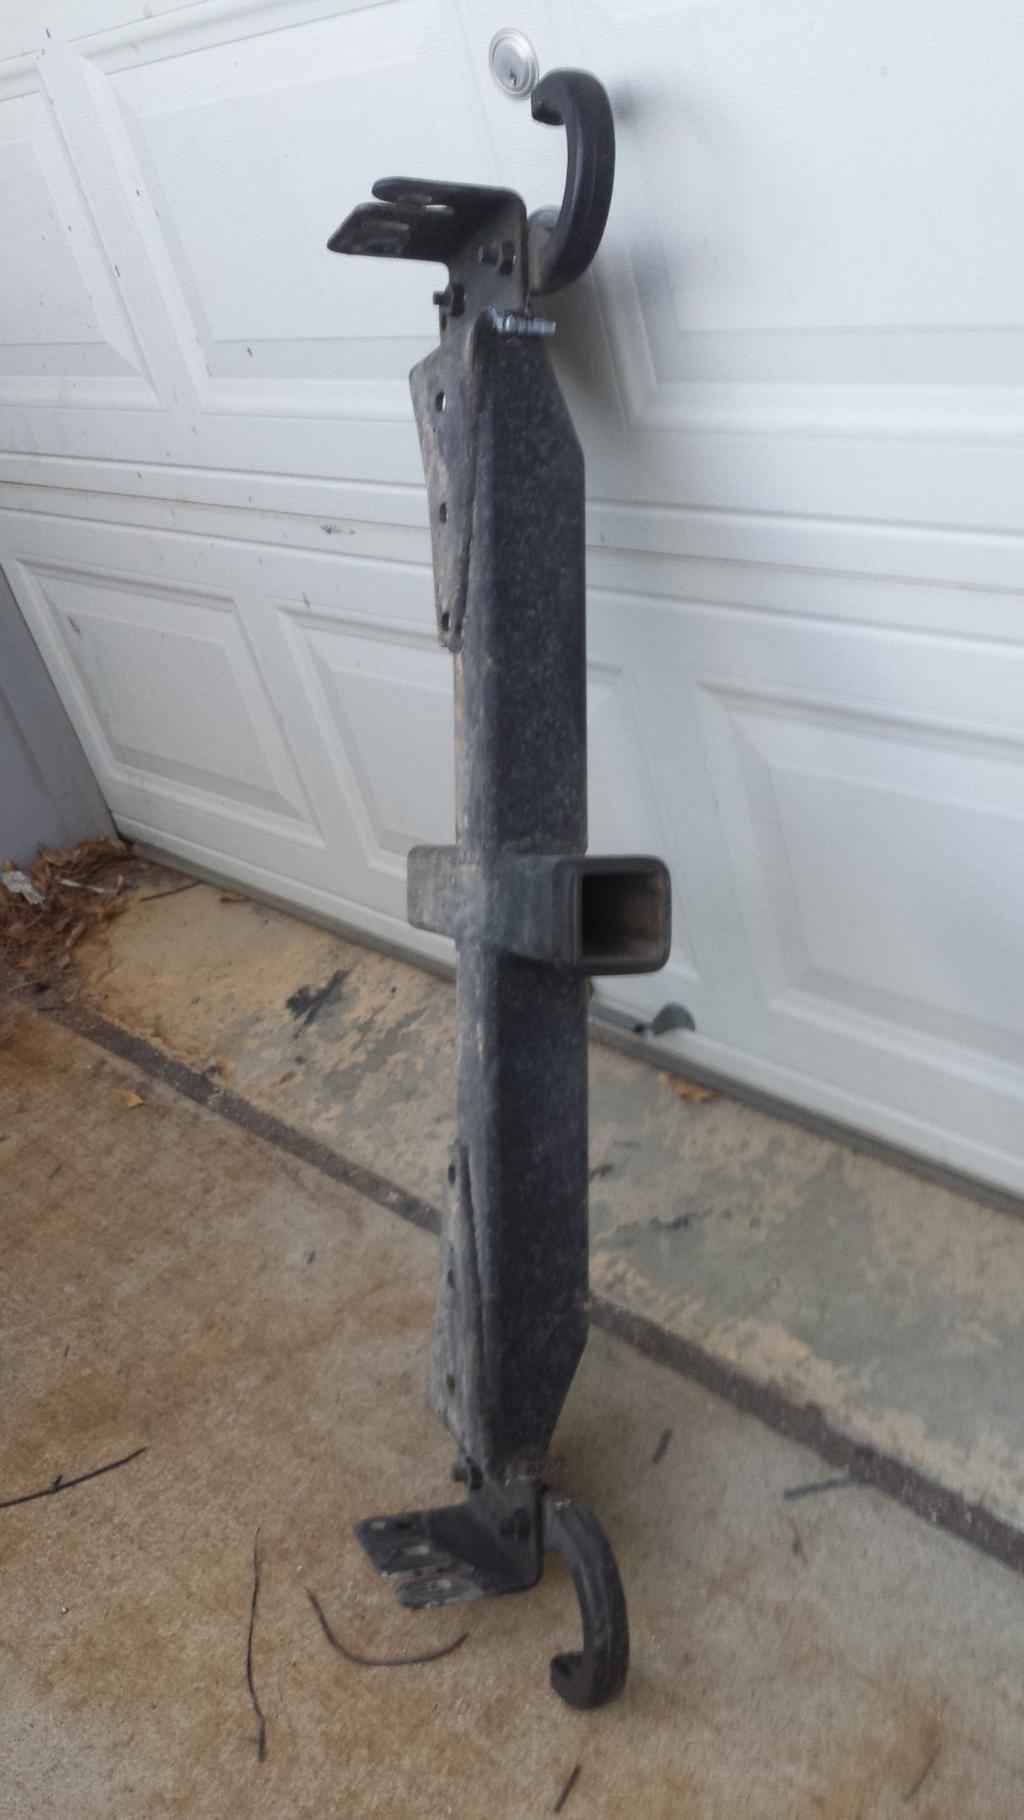
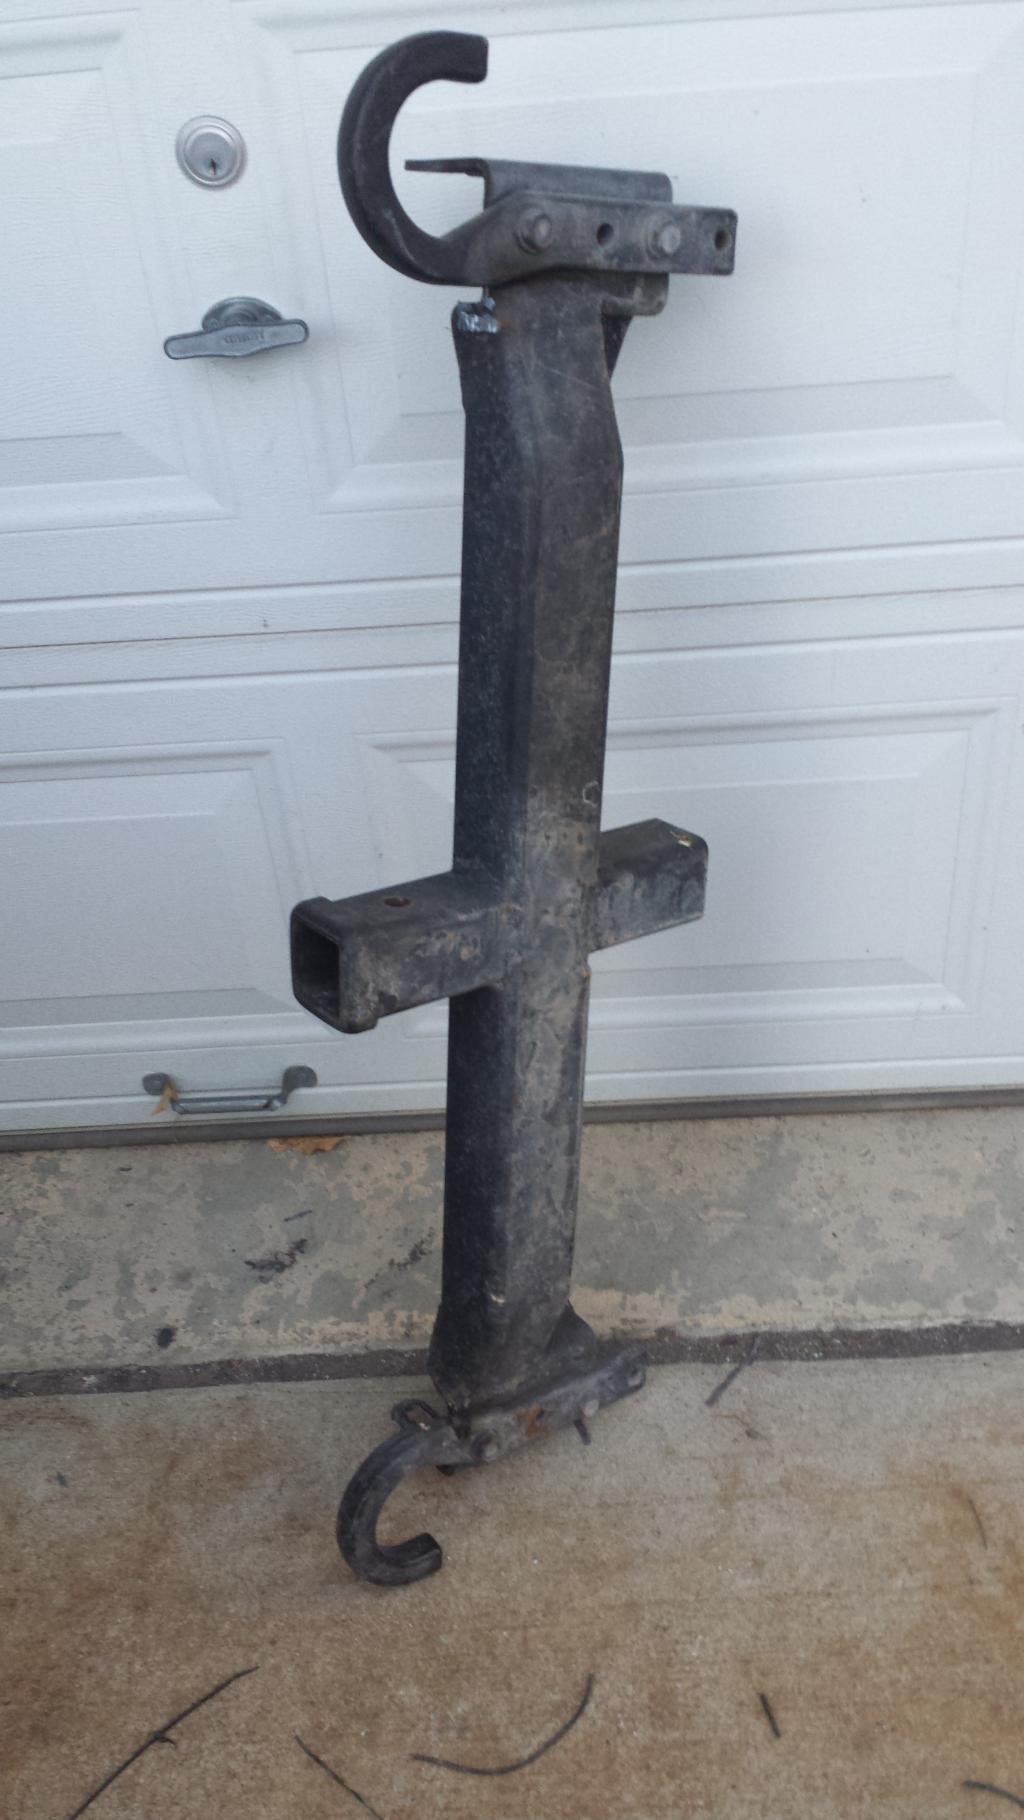
The cross brace is 1/4"x3x3 tubing.
They are up for sale as a set, if anyone is interested. They were designed to handle a 12,000 pound winch. The ones that you can buy are rated for 9000 pound Max pull


The receiver mount utilizes the factory ORE tow hooks and brackets and there is 36" between the frame brackets


The cross brace is 1/4"x3x3 tubing.
They are up for sale as a set, if anyone is interested. They were designed to handle a 12,000 pound winch. The ones that you can buy are rated for 9000 pound Max pull

Champion
Joined: Sep 2011
Posts: 3,891
Likes: 8
From: NorCal
Catching up on your updates dude. Lights indeed looking good. You just tied directly into the existing tail light harness?
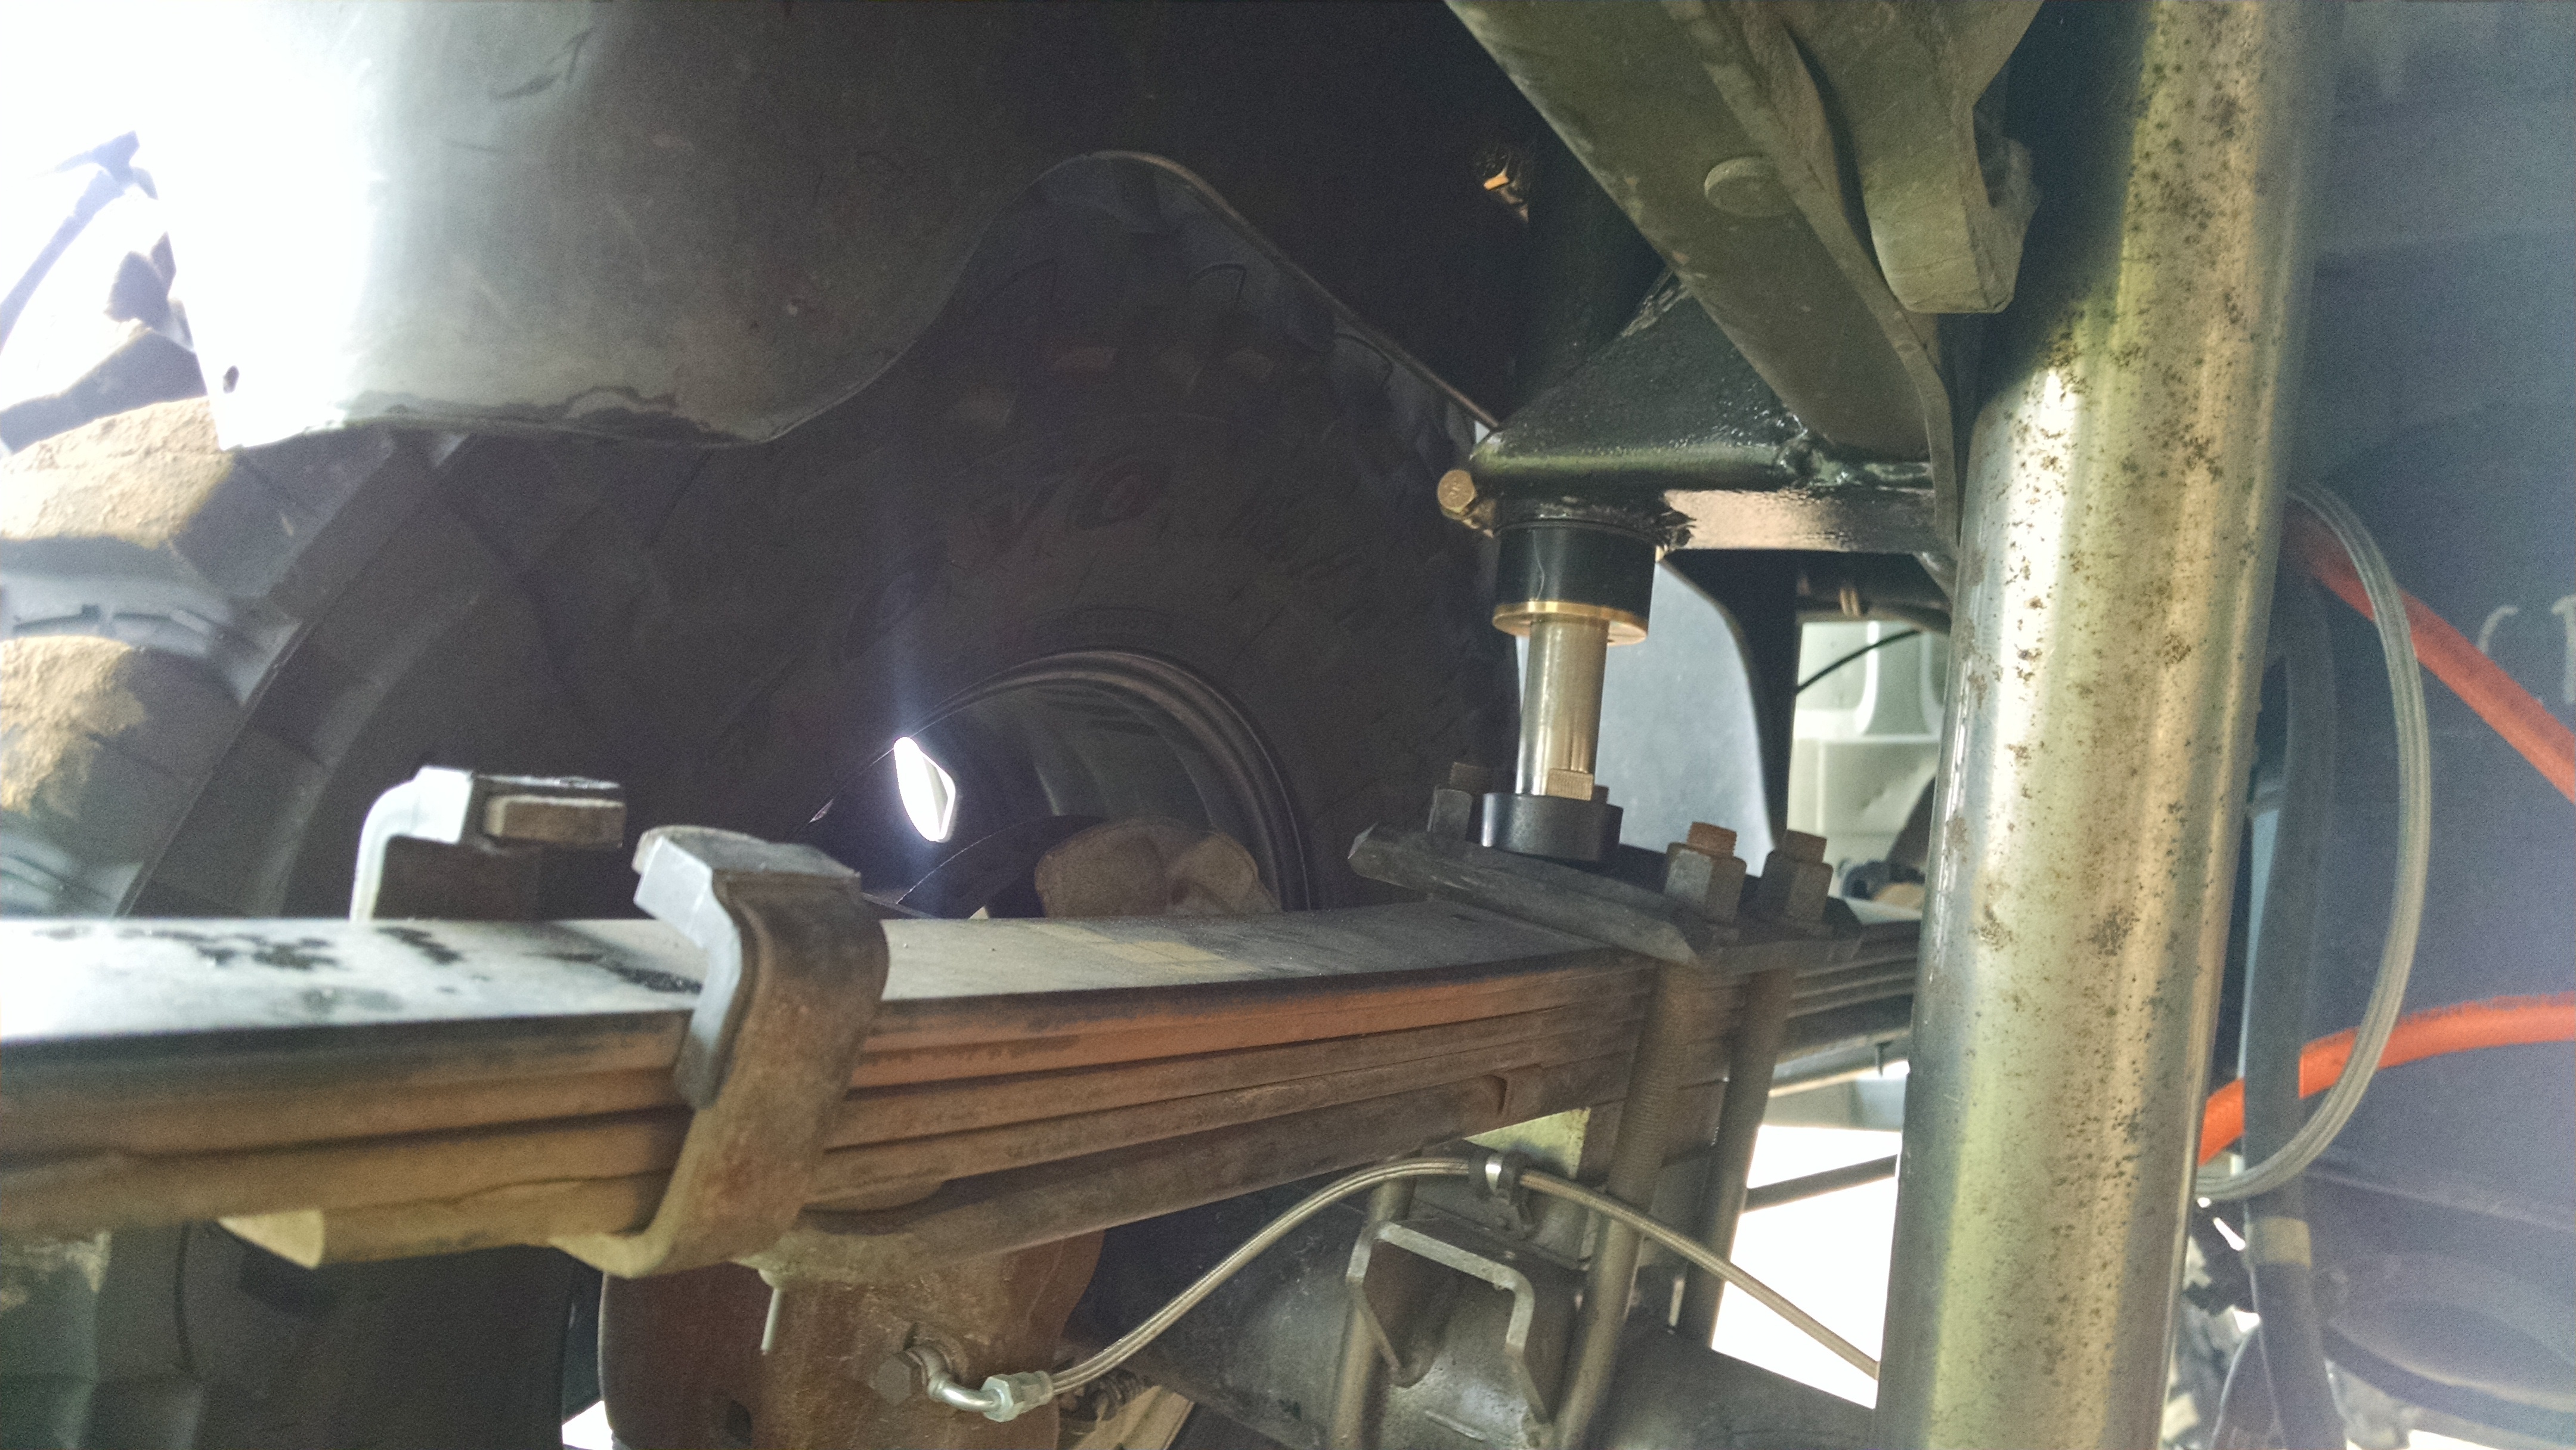
On your bumps...yours not come with the groove on the outside for the snap ring like mine? It prevents it from getting pushed in the can.
Can be seen here.
I've been wrestling with getting a bed tool box, but a width of 48" so it's just inboard of the wheel wells.
What's next?
On your bumps...yours not come with the groove on the outside for the snap ring like mine? It prevents it from getting pushed in the can.
Can be seen here.
I've been wrestling with getting a bed tool box, but a width of 48" so it's just inboard of the wheel wells.
What's next?

Catching up on your updates dude. Lights indeed looking good. You just tied directly into the existing tail light harness?
On your bumps...yours not come with the groove on the outside for the snap ring like mine? It prevents it from getting pushed in the can.
Can be seen here.
I've been wrestling with getting a bed tool box, but a width of 48" so it's just inboard of the wheel wells.
What's next?
On your bumps...yours not come with the groove on the outside for the snap ring like mine? It prevents it from getting pushed in the can.
Can be seen here.
I've been wrestling with getting a bed tool box, but a width of 48" so it's just inboard of the wheel wells.
What's next?
The bump stops did come with a snap ring and they are installed. I just pushed the cans all the way up and then tightened them up, which is why you probably can't see them.
The tool box for me is a must have. There is just enough space on the sides to slide in long items like shovels, fishing poles and things like that. I guess a four footer would be good for larger items.
Next is the traction bar and exhaust
The winch I used in it is a warn vr12000 and it had 3/8 cable. In the new setup I switched over to 3/8 synthetic (deema) winch rope. Much lighter. You can get the winch with the synthetic rope in it. The winch cost @700 with the steel rope
Updated the to do list and added to it. My front shocks are the fox shocks that came with the lift. The travel on them is 15.25" to 25.25". When I put the 2" coil spacers in up front, it made the shocks stretch out and now a little short. When I flexed the front end, the front shocks are my limit straps and wont last long. The ones I ordered are 17.25" to 30" and should resolve all issues in conjunction with limit straps.
Check list
1) Done--Install new track bar (to replace the bent one)
2) Done--Install steering gearbox brace
3) Done--Install the 3" body lift
4) Install the headers and remove the old exaust
5) Finish fabrication the traction bar and install it
6) Get the new exaust installed
7) Done--Raise receiver hitch tube
8) Done--Fabricate front bumper
8a) Done--Add recovery points to front bumper
9) Done--Fabricate rear bumper
9a) Done--Add recovery points to rear bumper
10) Done--Fabricate rock sliders for each side
11) Make tie down for spare in bed
12) Add bump stops to the rear bumper
13) Install new fox shocks on front
14) Add limit straps to front
Check list
1) Done--Install new track bar (to replace the bent one)
2) Done--Install steering gearbox brace
3) Done--Install the 3" body lift
4) Install the headers and remove the old exaust
5) Finish fabrication the traction bar and install it
6) Get the new exaust installed
7) Done--Raise receiver hitch tube
8) Done--Fabricate front bumper
8a) Done--Add recovery points to front bumper
9) Done--Fabricate rear bumper
9a) Done--Add recovery points to rear bumper
10) Done--Fabricate rock sliders for each side
11) Make tie down for spare in bed
12) Add bump stops to the rear bumper
13) Install new fox shocks on front
14) Add limit straps to front

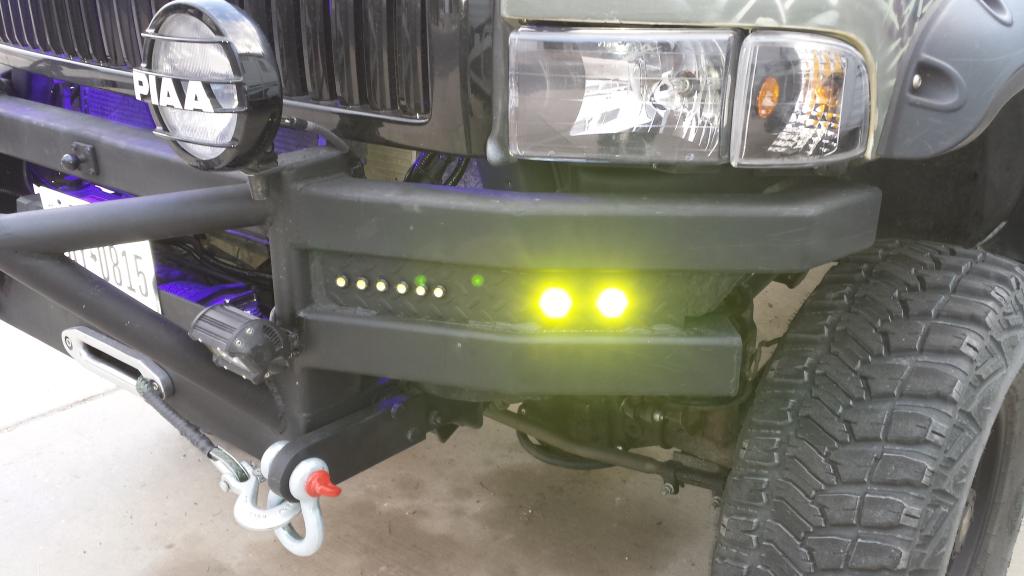
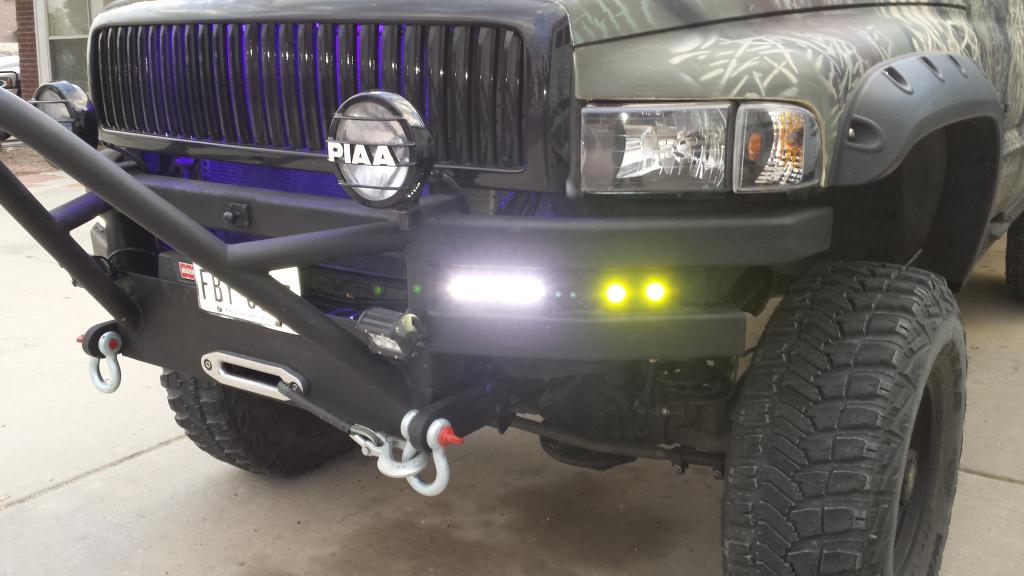
Front bumper lights are hooked up now. The white LEDs point out to the sides due to the angle on the bumper
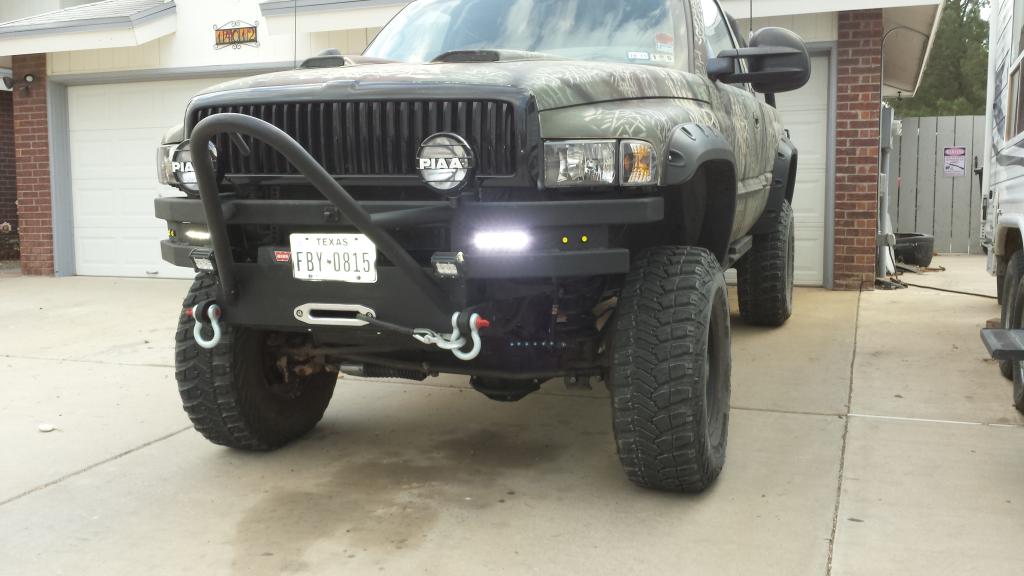
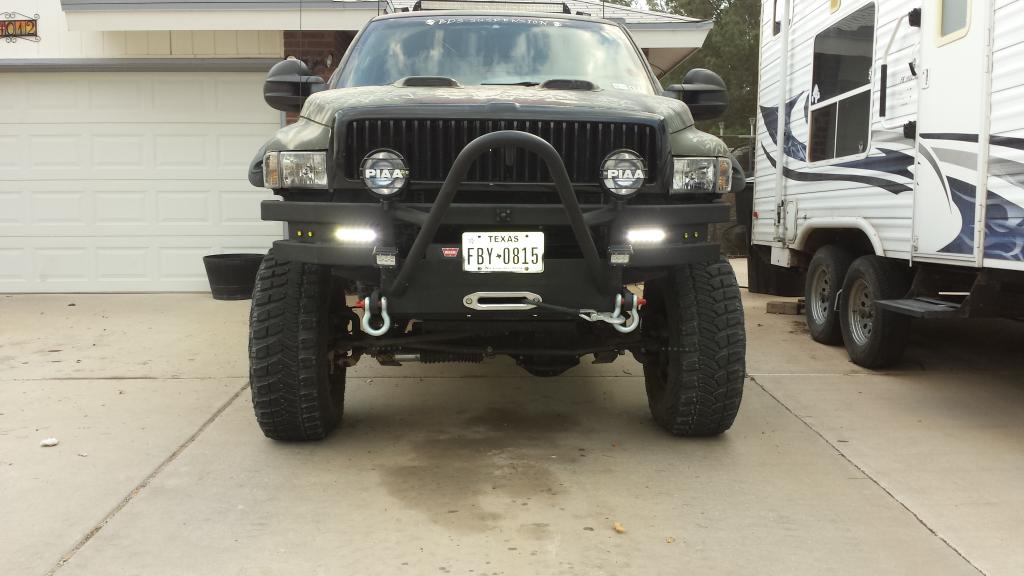
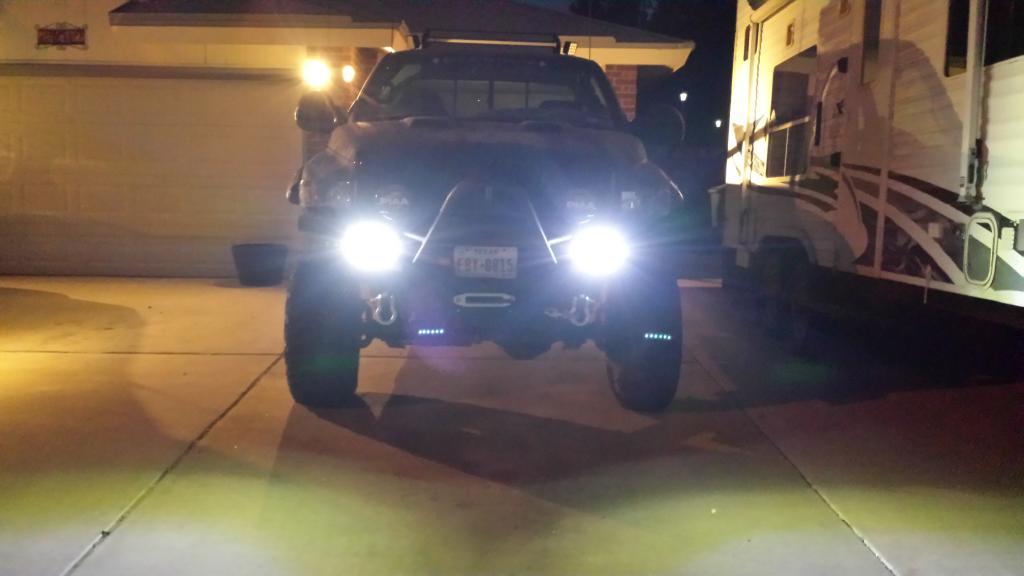
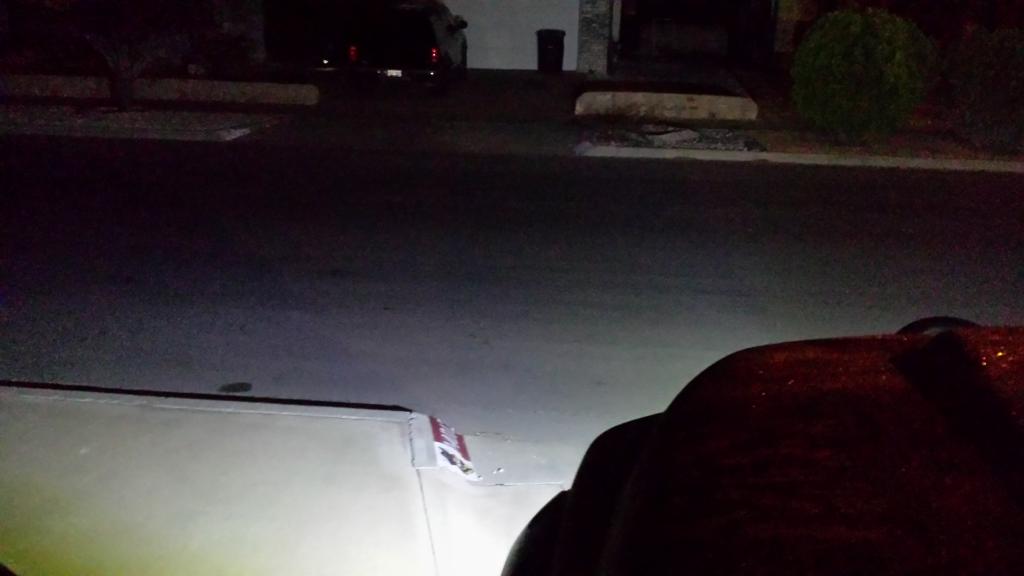
And here was this morning on the way to work. They put out some light
I hooked up the yellow LEDs to come on with the grill light
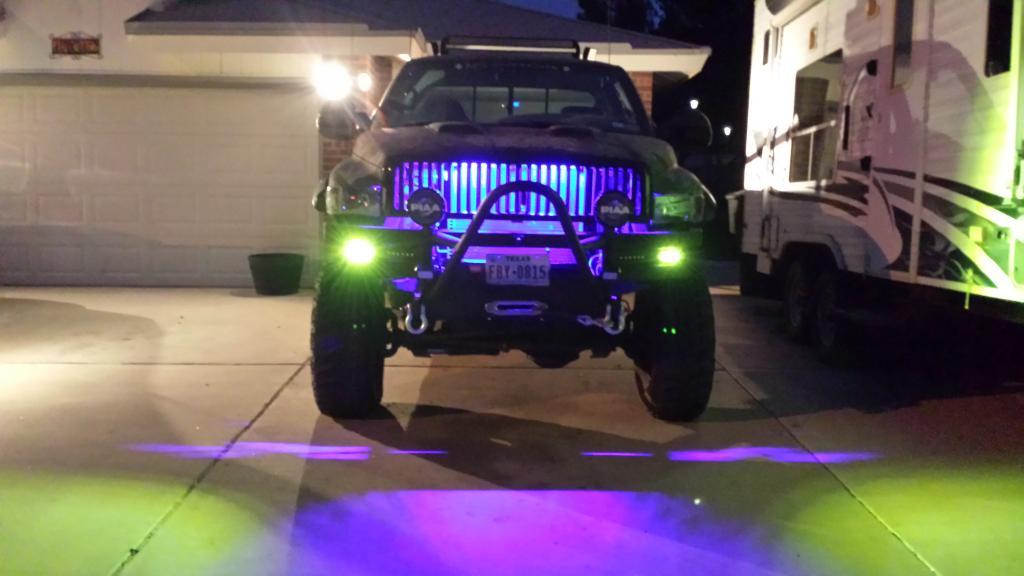
Here is both sets on at the same time


And here was this morning on the way to work. They put out some light

I hooked up the yellow LEDs to come on with the grill light


Here is both sets on at the same time

Last edited by corbo1962; Feb 25, 2015 at 12:01 PM.


