When you click on links to various merchants on this site and make a purchase, this can result in this site earning a commission. Affiliate programs and affiliations include, but are not limited to, the eBay Partner Network.
5.9 Rebuild on the cheap: Now Just Empty Every Pocket build.
2nd Gen Ram Tech1994-2001 Rams: This section is for TECHNICAL discussions only, that involve the 1994 through 2001 Rams. For any non-tech discussions, please direct your attention to the "General discussion/NON-tech" sub sections.
Glad you didn't decide to girdle it. No need, not even close to a need. You need to just get this thing put together and go enjoy it.
Yep once I talked with the guy from Hughes Engines it just didn't make any sense to spend that money on something that I really didn't need. Now if they had told me that I should get it and install it then I would have ordered it and then take the block back to the machine shop.
I'll spend the money in other places and I'm sure I can find some where that wants my money.
Hell my shocks are $1500 for 4.....
That's pretty cheap on the shocks! I know the Ram I'm building the shocks in going with are $2900 for all 4
That's pretty cheap on the shocks! I know the Ram I'm building the shocks in going with are $2900 for all 4
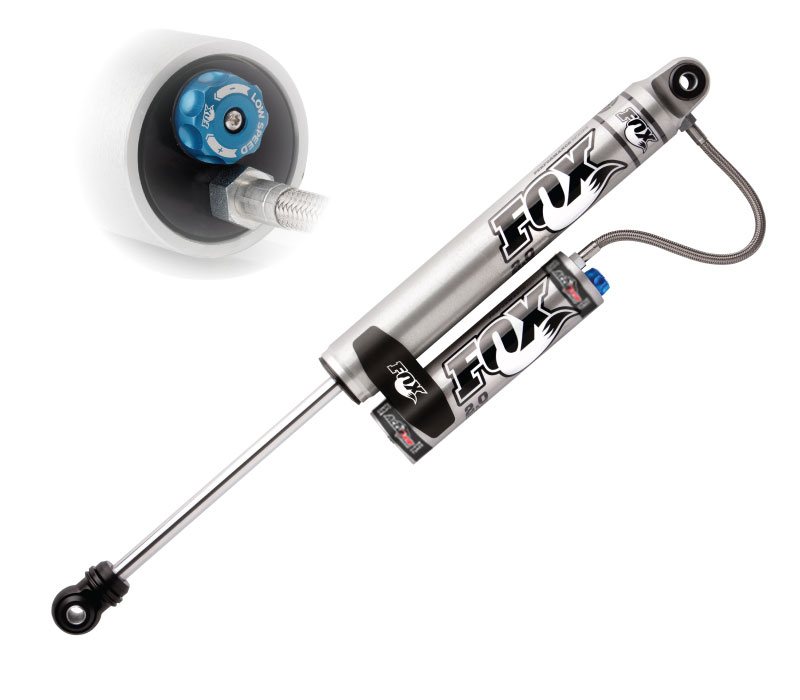
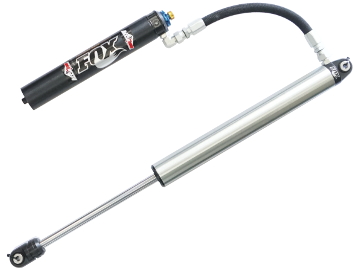
WOW what shocks are you getting? I'm looking at Fox 2.0 with a LSC adjuster. Got a buddy in Portland who has a shock tuning business so he's going to tune me a set of shocks for the Jeep.
Brown Santa just dropped off my bolts. I'm going to run into town tomorrow and see if I can find a heater to use in the shop so maybe I can still work on my engine.
WOW what shocks are you getting? I'm looking at Fox 2.0 with a LSC adjuster. Got a buddy in Portland who has a shock tuning business so he's going to tune me a set of shocks for the Jeep.
Finally am going to start assembling the engine. First I had to start with my engine stand with some things I'd bought for it. I'd bought this drip tray so that all the oils and assembly lube wouldn't end up on my floor like it has before but of course it wasn't made for my stand so I had to modify it a little.
I cut out the middle section a little so it would sit on the crossbars like it was suppose to.
Then I'd also gotten this tray for tools and assembly lube and such that mounts to the rear of the stand.
It has a support bracket that goes on the upright of the stand.
So now I'm ready to start the assembly of the engine.
First thing to do was to check the clearance of the main bearings on the crankshaft so it has to be done dry to get an accurate reading with the PlastiGauge. Dropped the bearings into the block.
And in the main caps.
Set the crankshaft in place taking care not to rotate the crankshaft since there is no lube on the bearings. And then cut and put a piece of plastigauge into each main journal.
Then torqued down each main bearing cap to spec.
After that pull each main bearing cap back off and use the plastigauge envelope to check the plastigauge and see if the bearings are within spec clearance.
I did all 5 main journals but only showing #1 & #5.
Clearance is great so now it's time to use some assembly lube and put it back together after I clean all the plastigauge off the journals.
Next was to get the dial indicator out and once I have the crankshaft lube and then installed it's time to check the end play on the crankshaft.
Then get the inch lb torque wrench and rotate the crankshaft with the torque wrench looking for any tight spots as you rotate it. And it was good to go. So next is to start on cleaning the cylinder walls and then lubing them up before I install the pistons.
Put the block to bed for a while while I do the piston rigs. Have to get each piston set in on each piston with the piston gaps set in the correct orientation.
I've got the pistons done and am ready to clean the cylinder walls next. Once they are clean I have this quick set lube from Total Seal that is suppose to help the rings seat better.