2nd Gen Ram Tech 1994-2001 Rams: This section is for TECHNICAL discussions only, that involve the 1994 through 2001 Rams. For any non-tech discussions, please direct your attention to the "General discussion/NON-tech" sub sections.

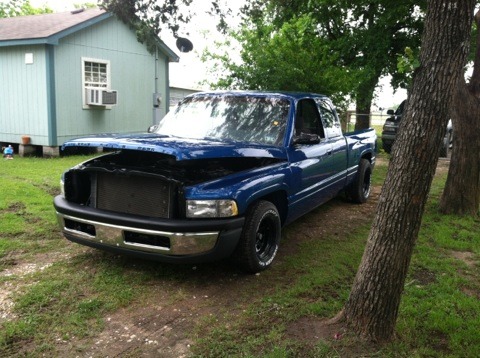
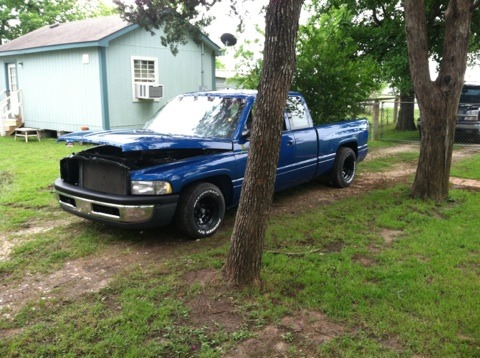
96 Ram 2wd Build/Restoration Thread.....Oh Yeah

Thread Tools
 
Search this Thread
 
Old Apr 20, 2015 | 09:29 PM
  #31  
96rumblebee's Avatar
96rumblebee
Thread Starter
|
Amateur
Joined: Apr 2014
Posts: 31
Likes: 0
Default

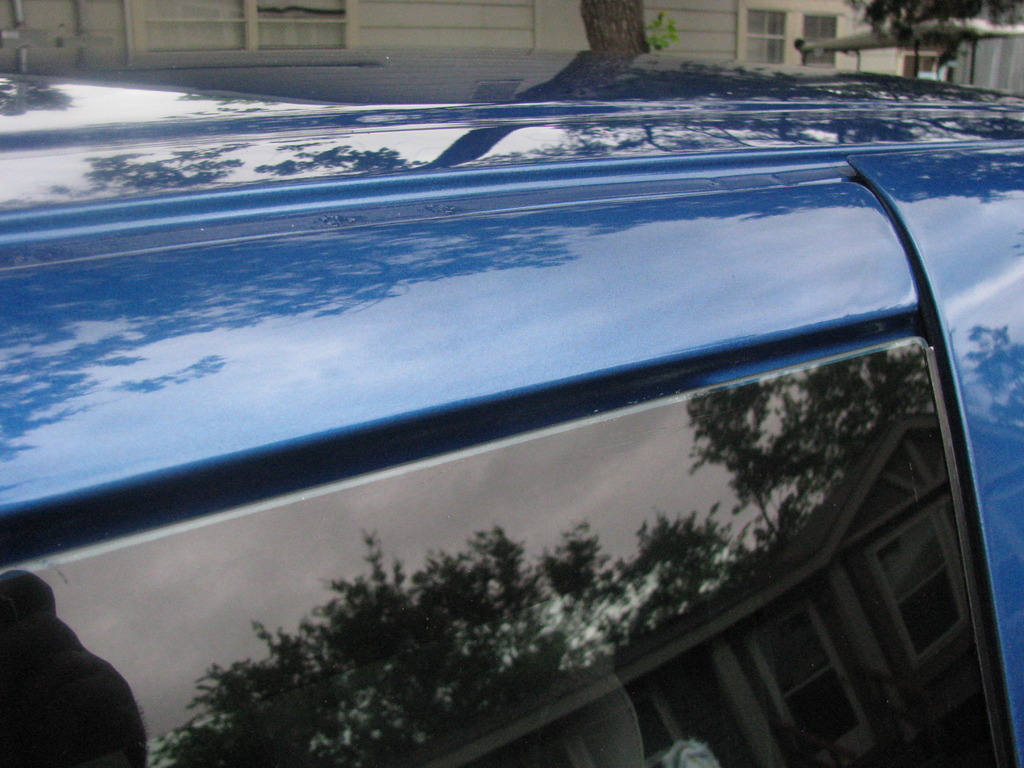
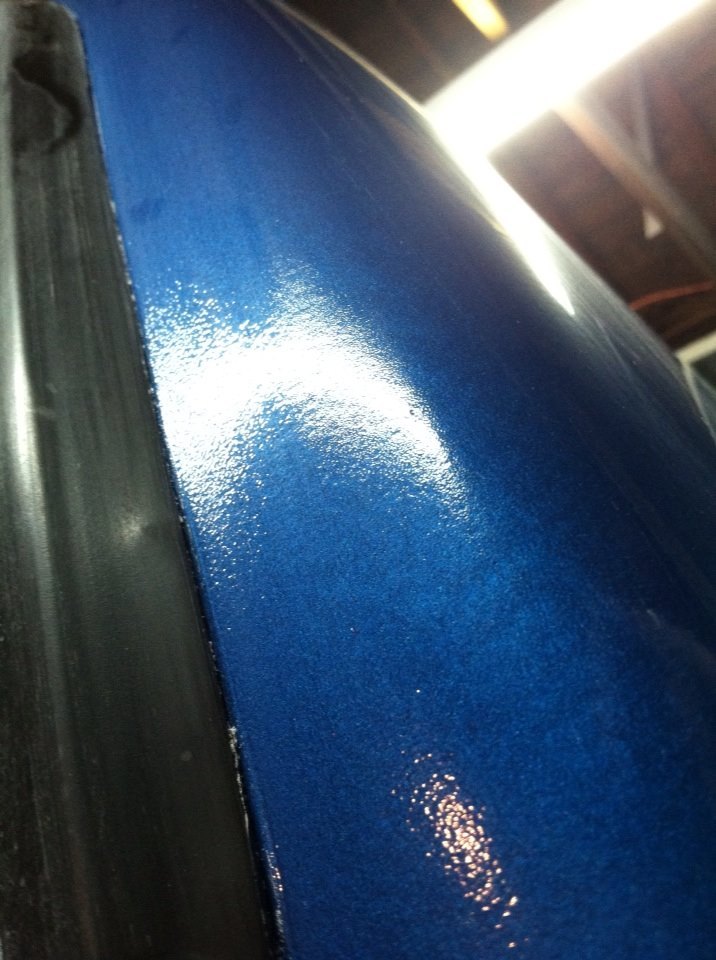
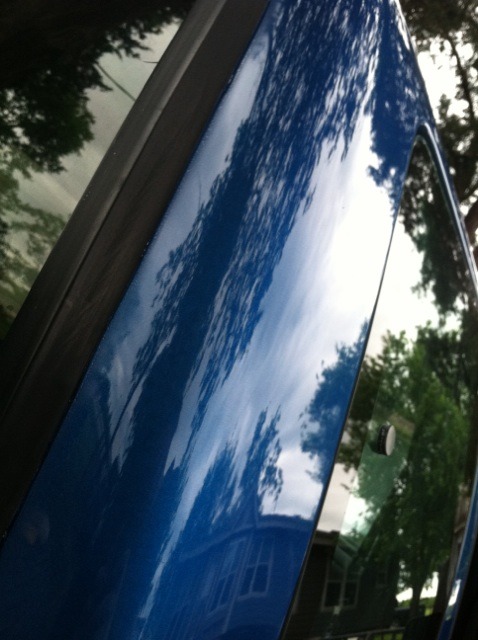
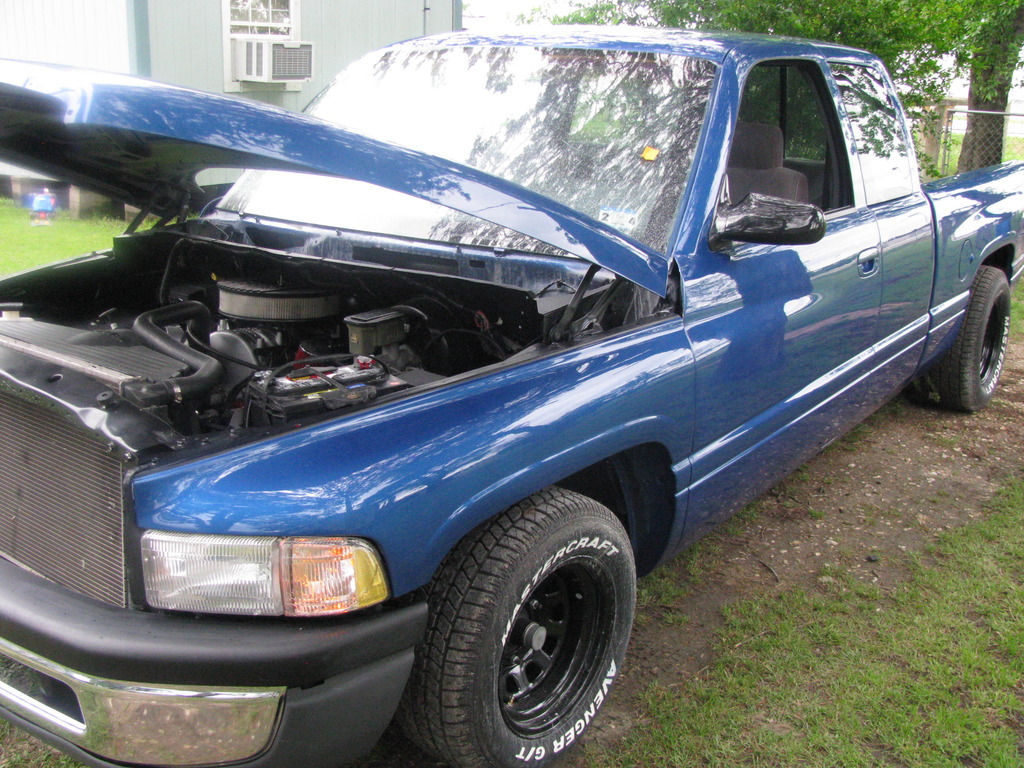
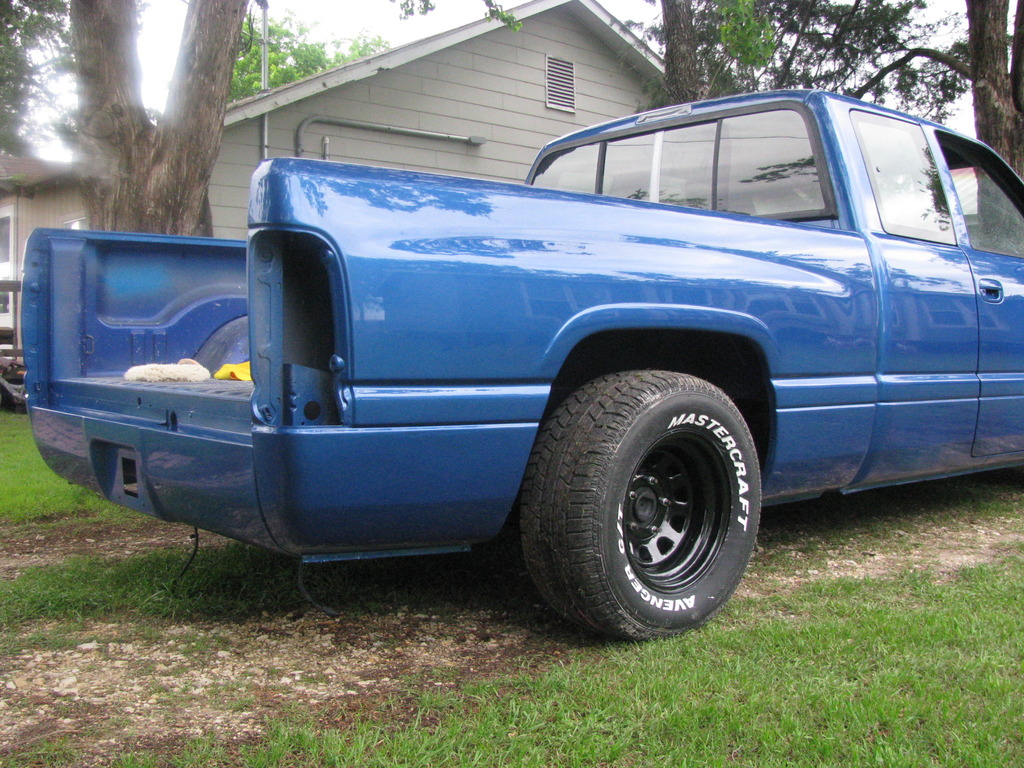
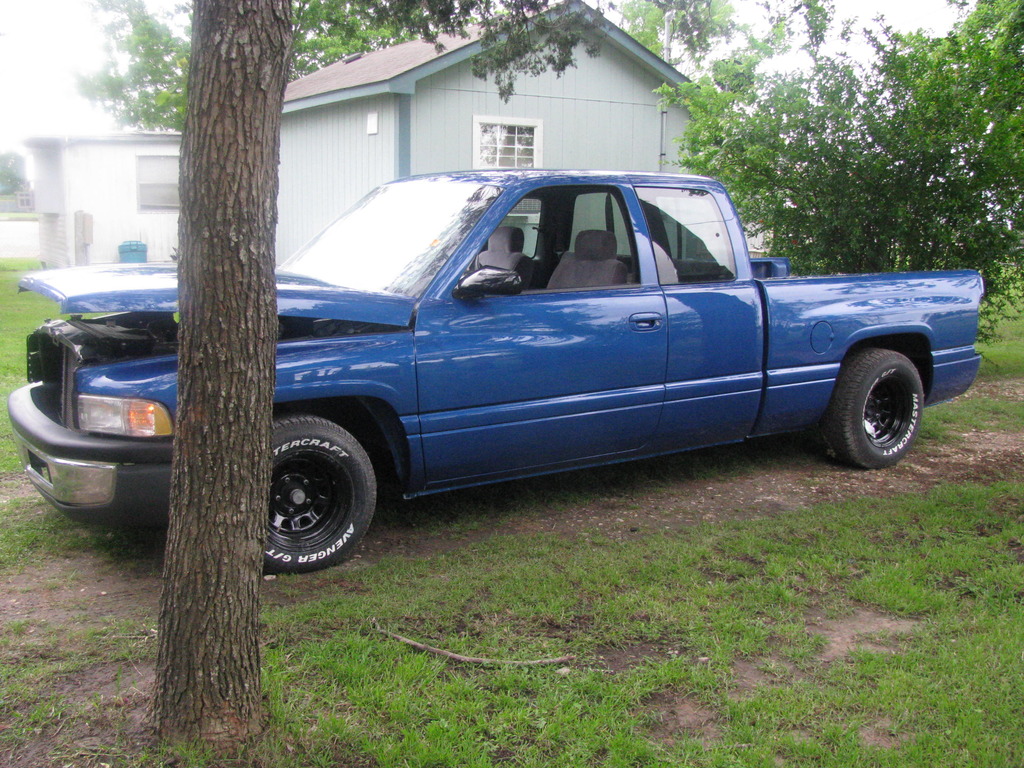
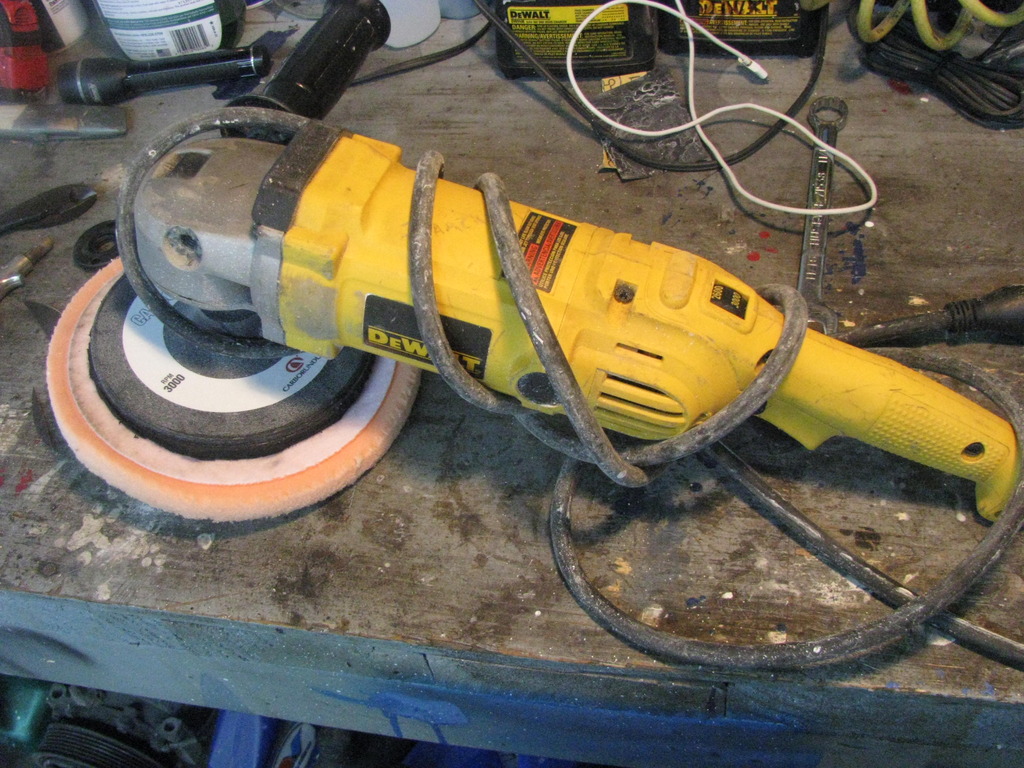
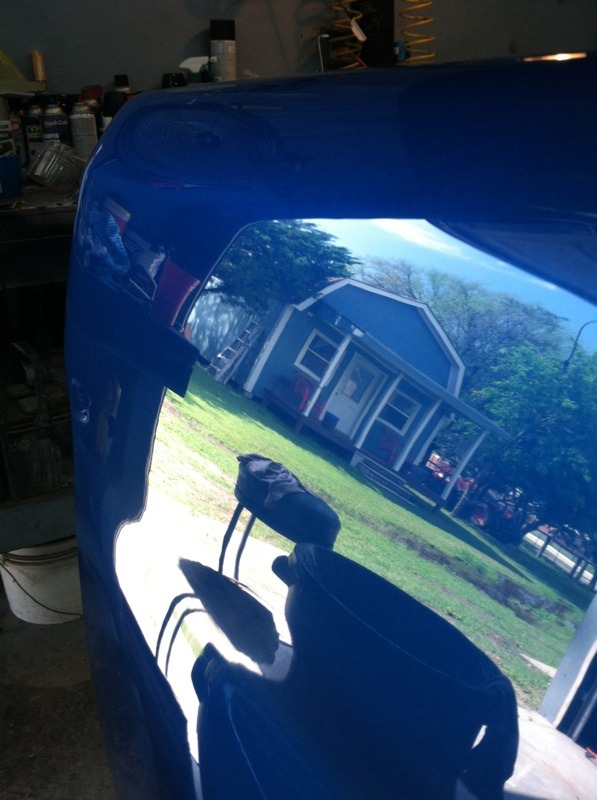
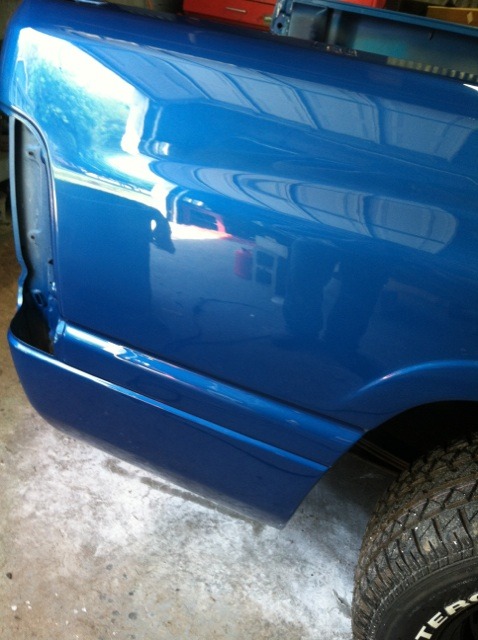
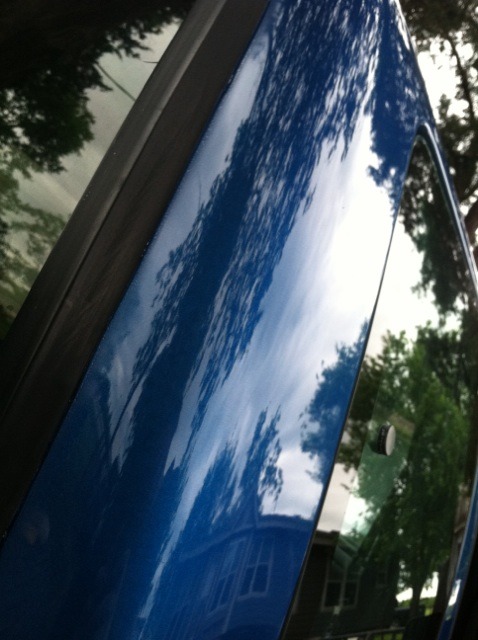
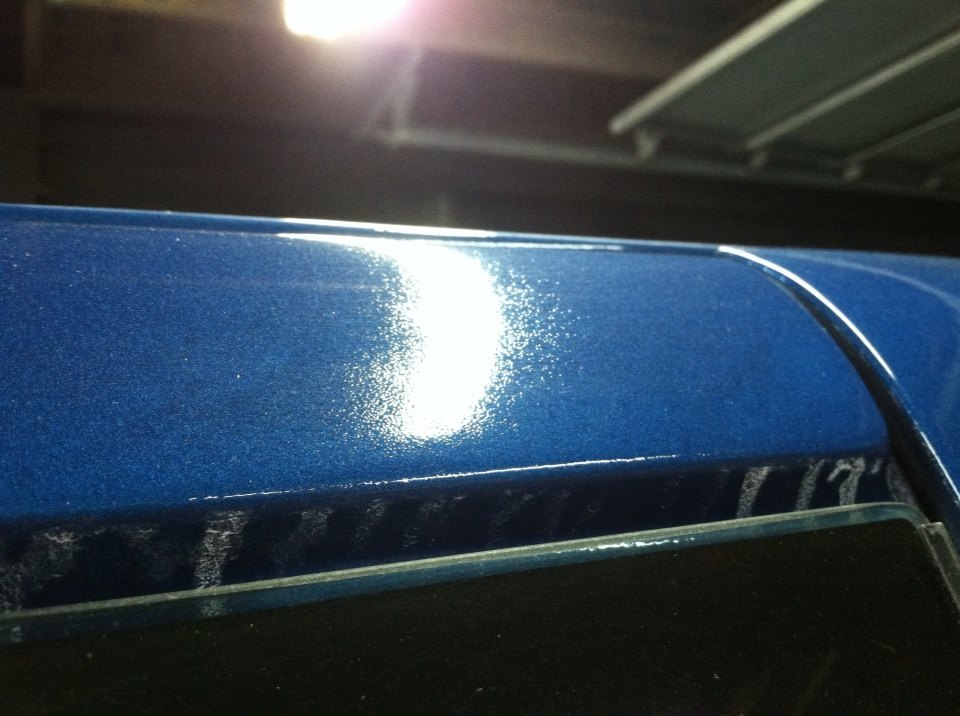
Well, it's not finished yet but looks WAYYYY better. As of right now i have only cut the paint, still have not buffed/waxed yet. Meguiar's 105 cut compound is some seriously badass stuff! That is all i have to say........I think my epic-ness might have had some reasons for the great turn out as well. (By the way, i have logged over 20hr's wet sanding the clear coat to get it as smooth as glass, the compound did not do that part lol)

Ill just let the pictures tell the story.


BEFORE:
Name:  buff%205_zpscb1l7ceb.jpg
Views: 463
Size:  103.6 KB

AFTER:
Name:  96%20truck%20buff%20058_zpshexqiqtj.jpg
Views: 484
Size:  229.8 KB

BEFORE:
Name:  buff%202_zpscuckuu4d.jpg
Views: 496
Size:  114.7 KB

AFTER:
Name:  IMG_6237_zpsssblzhe3.jpg
Views: 465
Size:  77.0 KB


Name:  96%20truck%20buff%20061_zps5knioocg.jpg
Views: 474
Size:  199.3 KB
Name:  96%20truck%20buff%20062_zps3pxhrae7.jpg
Views: 496
Size:  336.1 KB
Name:  96%20truck%20buff%20059_zpsrmttlq7n.jpg
Views: 514
Size:  334.8 KB
Name:  96%20truck%20buff%20055_zps36thtrsu.jpg
Views: 477
Size:  358.7 KB
Name:  96%20truck%20buff%20063_zpshsuhpf1a.jpg
Views: 470
Size:  301.2 KB
Name:  IMG_6230_zpsnvj0brze.jpg
Views: 458
Size:  108.9 KB
Name:  IMG_6231_zps1oop38aq.jpg
Views: 467
Size:  81.7 KB

Name:  IMG_6232_zpsm5ge59eb.jpg
Views: 464
Size:  75.2 KB
Name:  IMG_6237_zpsssblzhe3.jpg
Views: 464
Size:  77.0 KB
Name:  IMG_6233_zpss41mkjf0.jpg
Views: 471
Size:  77.5 KB
 
Reply
Old Apr 20, 2015 | 09:29 PM
  #32  
96rumblebee's Avatar
96rumblebee
Thread Starter
|
Amateur
Joined: Apr 2014
Posts: 31
Likes: 0
Default

Ok so i was able to get my idle issue fixed and got all of the small bug's worked out. Turns out the new PCV was causing a vacuum leak and also the hose that connects from the PCV to intake manifold was cracked causing yet another leak. Replaced those, checked for any other leak's and now shes idling around 800-850rpm which is where Sean set it at in my tune. She sounds NASTY now...........For just a baby lil 210/220 cam

::VIDEO OF TRUCK RUNNING RIGHT FINALLY::

 
Reply
Old Apr 20, 2015 | 09:34 PM
  #33  
96rumblebee's Avatar
96rumblebee
Thread Starter
|
Amateur
Joined: Apr 2014
Posts: 31
Likes: 0
Default

Name:  image_zpsmzz5sydn.jpg
Views: 459
Size:  96.3 KB
 
Reply
Old Apr 21, 2015 | 07:46 AM
  #34  
1997JollyGreenGiant's Avatar
1997JollyGreenGiant
Record Breaker
Joined: Mar 2013
Posts: 1,130
Likes: 15
From: Somewhere in Kentucky
Default

Very nice work! Wish it were my truck!
 
Reply
Old Apr 21, 2015 | 07:59 AM
  #35  
HeyYou's Avatar
HeyYou
Administrator
Veteran: Air Force
Community Favorite
15 Year Member
Community Builder
Joined: Apr 2010
Posts: 87,548
Likes: 4,230
From: Clayton MI
Default

The paint looks like it turn out very nice. From the orange-peel pics, to the *finished* product is a MAJOR difference. Very sharp.

Great Work man. How are your elbows?
 
Reply
Old Apr 21, 2015 | 04:19 PM
  #36  
Z.rawk95's Avatar
Z.rawk95
Professional
Joined: May 2011
Posts: 171
Likes: 0
From: Mayo, FL
Default

Everything looks like its coming along great. If you dont mind my input, I would recommend putting in the 1999-2001 Sport style headlights. They would look a lot cleaner against that perfectly smooth glass than the regular fluted ones, plus with separate bulbs for high and low beams, put out a lot more light. Not too expensive either. http://www.headlightsdepot.com/produ...P#.VTawfyFViko
 
Reply
Old Apr 21, 2015 | 08:30 PM
  #37  
96rumblebee's Avatar
96rumblebee
Thread Starter
|
Amateur
Joined: Apr 2014
Posts: 31
Likes: 0
Default

I thought that those only worked/fit with the sport grill/bumper setup?? I do like those headlights a lot better, i just didnt want to install some aftermarket, cheap looking 1-piece headlights.
 
Reply
Old Apr 22, 2015 | 07:08 PM
  #38  
HeyYou's Avatar
HeyYou
Administrator
Veteran: Air Force
Community Favorite
15 Year Member
Community Builder
Joined: Apr 2010
Posts: 87,548
Likes: 4,230
From: Clayton MI
Default

May have to massage the area of the fender right behind the outboard bulbs for clearance though.
 
Reply
Old Apr 22, 2015 | 08:59 PM
  #39  
Z.rawk95's Avatar
Z.rawk95
Professional
Joined: May 2011
Posts: 171
Likes: 0
From: Mayo, FL
Default

I believe 94-98 require cutting a little bit of the metal behind the headlight bucket to make room for the outer bulbs (although with what we've seen of your work so far I can't imagine it would give you any trouble), and 99-01 already have the required metal removed whether Sport model or not
 
Reply
Old Apr 26, 2015 | 09:31 PM
  #40  
96rumblebee's Avatar
96rumblebee
Thread Starter
|
Amateur
Joined: Apr 2014
Posts: 31
Likes: 0
Default

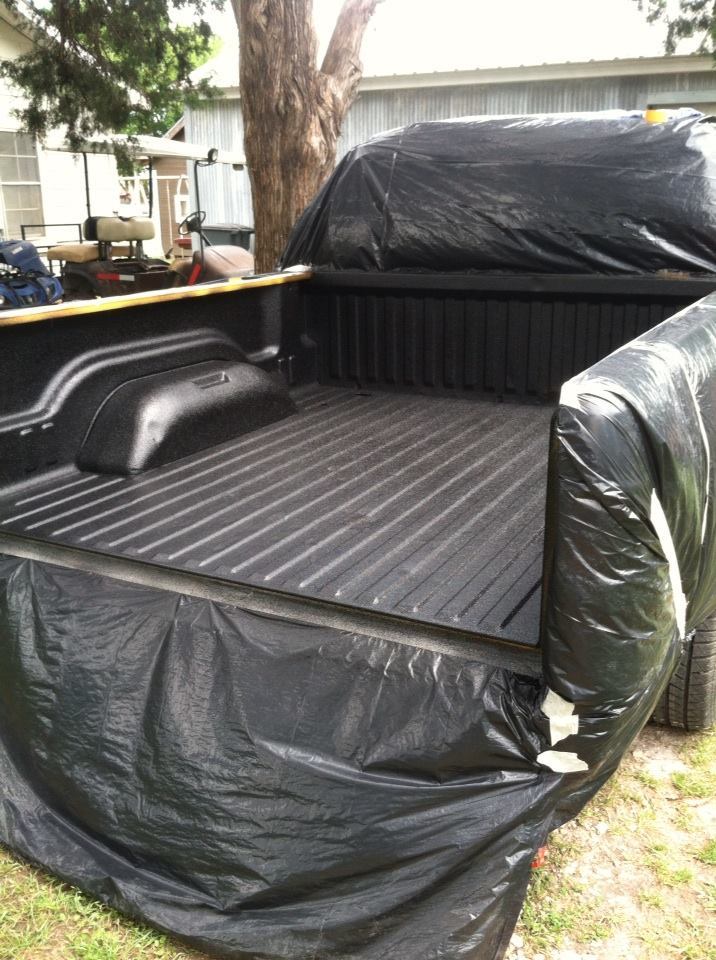
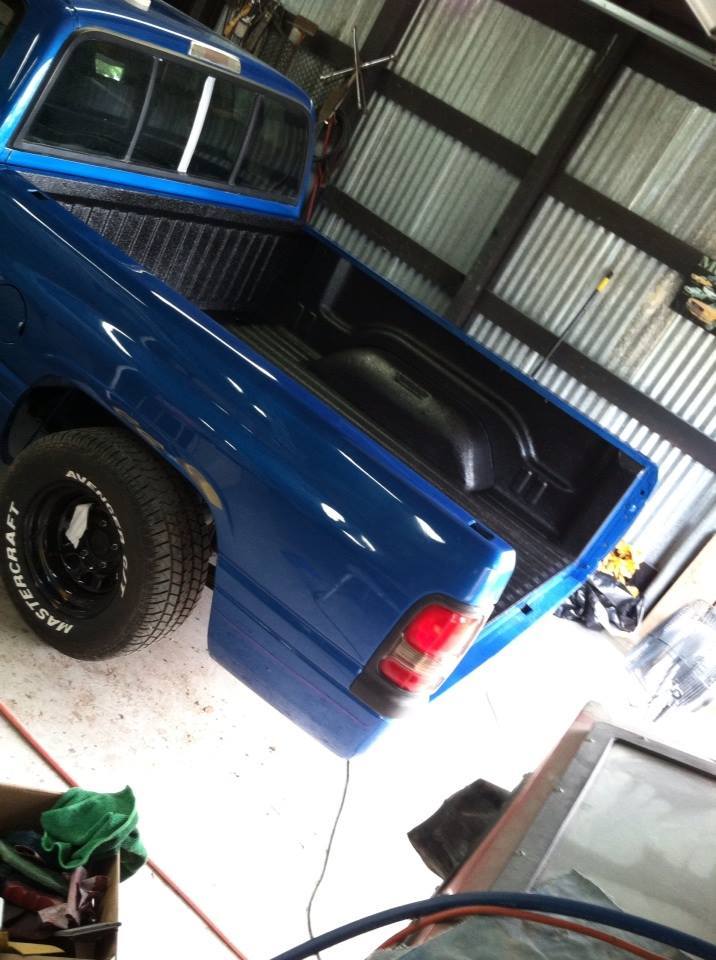
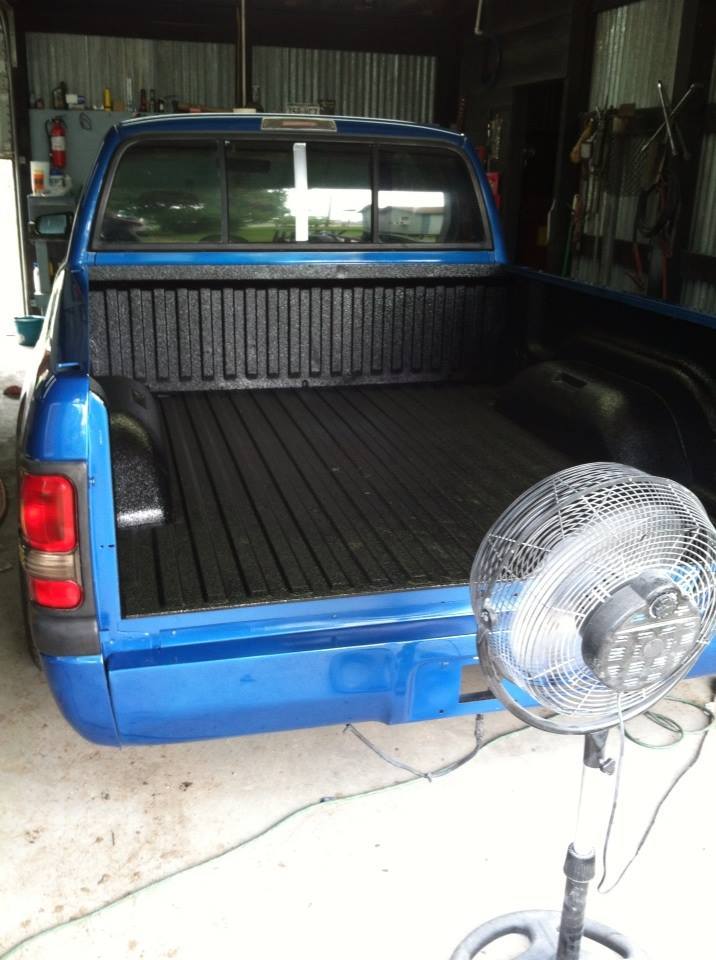
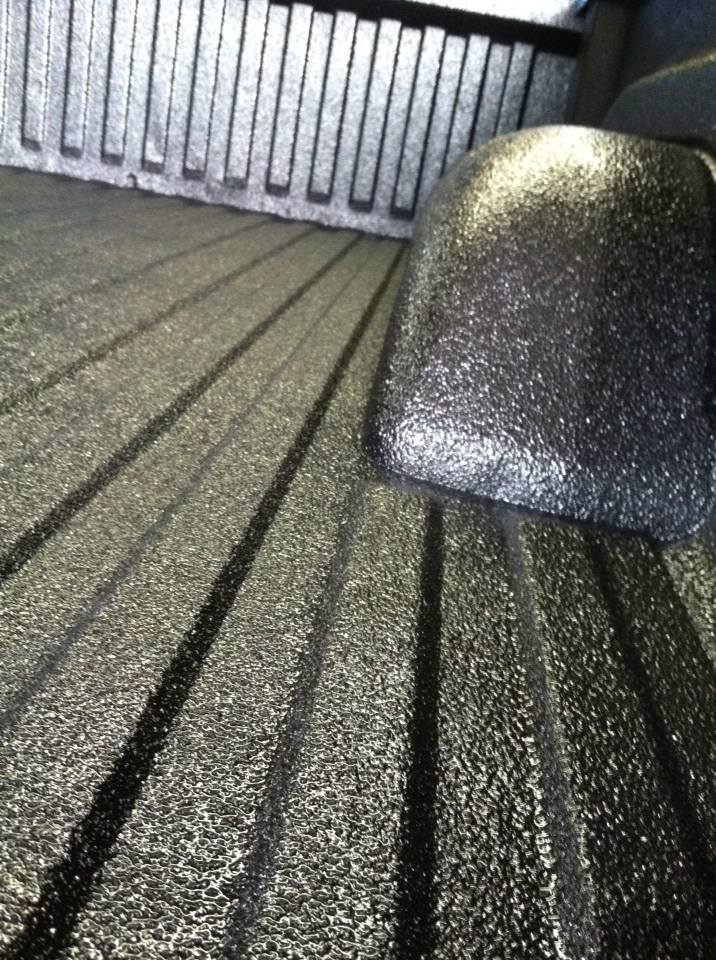
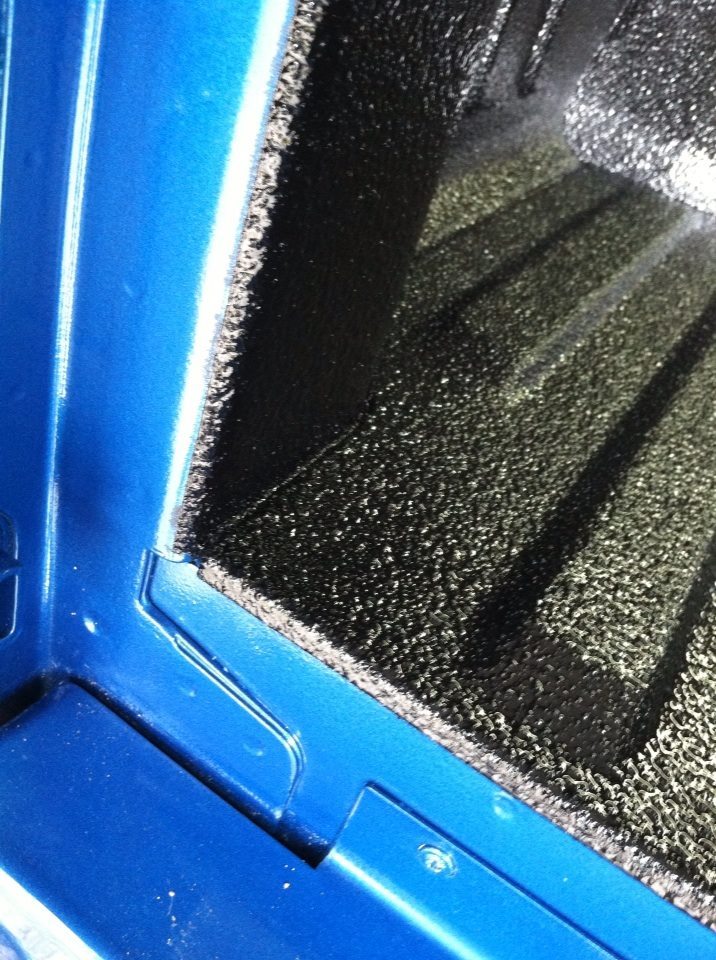
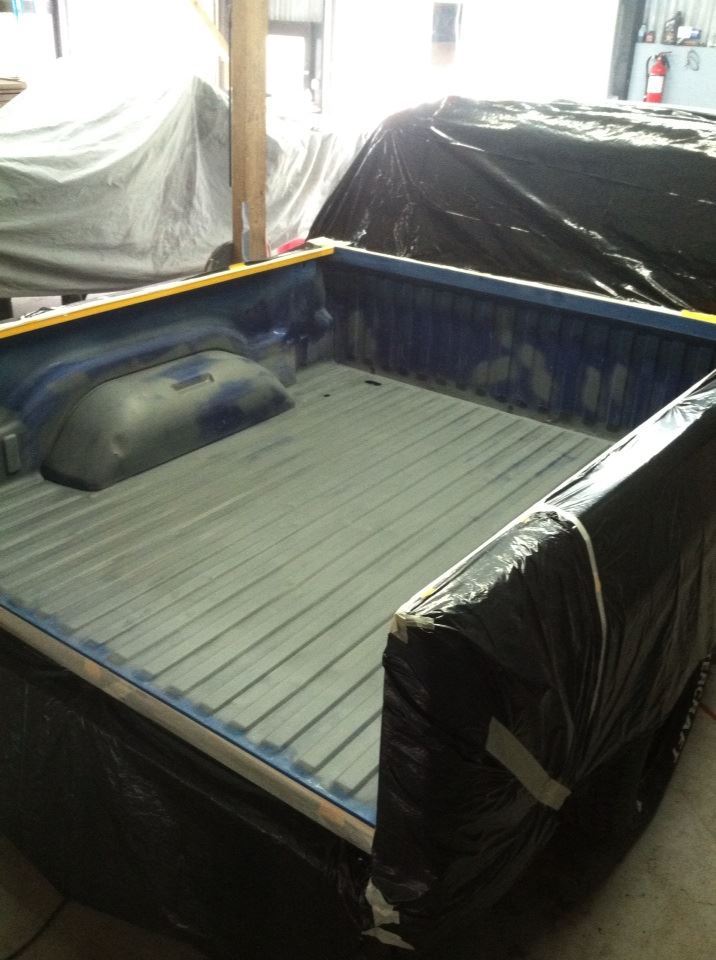
Ended up pulling the trigger on my DIY spray in bedliner. All in all i have around $150 in materials and a few hours of my time to do what most shops would charge $600-800 to do. This **** is ubber strong, it's only been cured for about 5hrs now and you can already tell it will hold up to alot of stuff. I can see this lasting me quite a long time as i dont really plan on putting anything in the tail bed, mainly wanted it done to clean up the look of the truck.

Name:  bedliner%201_zpscee0vy1q.jpg
Views: 482
Size:  83.1 KB

Half way through progress,
Name:  bedliner3_zpsvdiafl32.jpg
Views: 459
Size:  127.2 KB

Name:  bedliner4_zpsraecfosr.jpg
Views: 450
Size:  85.9 KB
Name:  bedliner7_zpso5gz76y8.jpg
Views: 484
Size:  76.2 KB
Name:  bedliner6_zpsyvuiaylg.jpg
Views: 447
Size:  165.6 KB
Name:  bedliner5_zpsssltbqdb.jpg
Views: 459
Size:  172.1 KB
 
Reply


All times are GMT -4. The time now is 08:04 AM.