


JBA Header install DIY

Thread Starter
|
Champion
Joined: Jun 2004
Posts: 2,811
Likes: 2
From: Ft Campbell, KY/TN
I installed JBA Titanium ceramic coated shorty headers with 1 1/2 inch tubing. These are WAY more sturdy than the edelbrock ti tek coated headers I got for my 1996. These are made VERY well. The ceramic coating is THICK and coated on the inside as well. I was not expecting a performance gain out of this, but I got one. A good SEAT OF THE PANTS gain that made the acceleration VERY responsive. I think headers really bring out other mods like 1.7s. I did not have 1.7s on my 1996 and the header install did nothing (edelbrocks).
This can be used to assist in doing any type of header install. Even the ones you have to cut your exhaust system out (like 95-98 edelbrock's with the stainless steel precat tubes for DI/SO cats).
This is my second header install, and the first was a MAJOR PAIN IN THE BUT. This one WAS EVEN WORSE. Headers are a pain in the but job. If you want to "get a glimpse" of the angst you will go through, try to just loosen the two exhaust flange bolts (just go for the one that can't fit a socket).
NECESSARY TOOLS:
9/16 gear wrench with a flex head: Those exhaust flange bolts are going to need this tool. Otherwise you will not be able to get them off and will just curse a lot.
1/2 crescent wrench: The shorter it is, the better. this is for the 2 header nuts on the inside.
7/16 crescent wrench: the shorter the better, same reason as above, JBA gives you 7/16 header bolts ALTHOUGH their instructions say 5/16. If it were 5/16 then it would be EASIER because a gear wrench would slip over.
1/2 deep wall socket: where it can fit so you do not have to use a crescent wrench
7/16 deep wall socket: same reason as above
Gasket scraper: the OEM manifolds do not have gaskets, so you don't need to go out and buy one if you don't have one. A spatula would work.
Permatex Copper Core RTV: For the header collectors. These headers do not use a donut in between the flanges.
Zip Ties: to get everything out of the way
Towel: To lay over your fender if a manifold slips out of your hand when taking it out, and makes a scratch in your paint.
Jack and block of wood: This is to support the exhaust when the flange bolts are taken off. When you put your headers on, they will not be lined up, but this can help.
Secret weapons:
Wire brush: For the manifold bolts and exhaust flange bolts.
PB Blaster mixed with synthetic oil: ensures the PB blaster will not dry and it will basically take the oil deep into the bolts.
EDIT: MAKE SURE YOU USE ANTI-SEIZE ON THE BOLTS WHEN INSTALLING. I FORGOT TO DO THAT AND I NEED TO REDO SOME BOLTS.
TIPS I FOUND OUT AFTER THE INSTALL:
1. Use the Edelbrock gaskets, 25 bucks at autozone. They are thicker and will not leak. The gaskets they give you are thin and you might pinch one and have a leak.
2. Fully Tighten the header bolts BEFORE you tighten the flanges. If you tighten the flanges first, you will not be able to get a proper seal to the head.
3. My hearers were not "perfectly" aligned with my y pipe (off by about a centimeter). But if you have a ratchet strap you can rig it to line up perfectly and have your hands free to get the header over the flange on the y pipe. Very easy and took me 2 days to figure out.
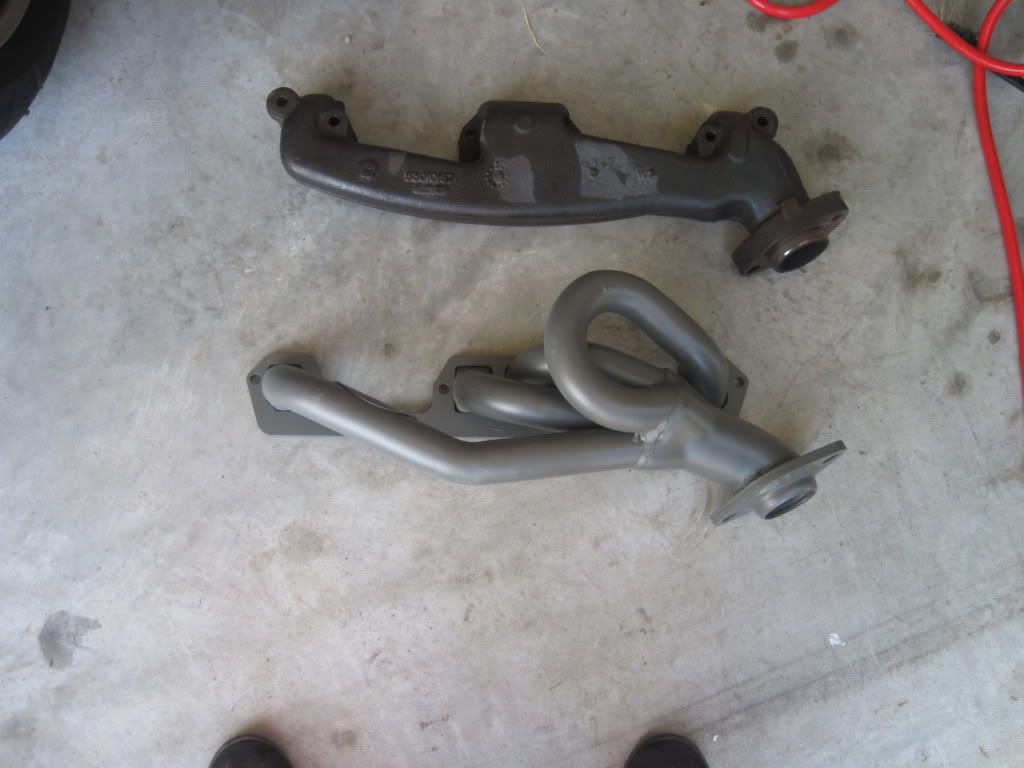
Here is what we are replacing:
This can be used to assist in doing any type of header install. Even the ones you have to cut your exhaust system out (like 95-98 edelbrock's with the stainless steel precat tubes for DI/SO cats).
This is my second header install, and the first was a MAJOR PAIN IN THE BUT. This one WAS EVEN WORSE. Headers are a pain in the but job. If you want to "get a glimpse" of the angst you will go through, try to just loosen the two exhaust flange bolts (just go for the one that can't fit a socket).
NECESSARY TOOLS:
9/16 gear wrench with a flex head: Those exhaust flange bolts are going to need this tool. Otherwise you will not be able to get them off and will just curse a lot.
1/2 crescent wrench: The shorter it is, the better. this is for the 2 header nuts on the inside.
7/16 crescent wrench: the shorter the better, same reason as above, JBA gives you 7/16 header bolts ALTHOUGH their instructions say 5/16. If it were 5/16 then it would be EASIER because a gear wrench would slip over.
1/2 deep wall socket: where it can fit so you do not have to use a crescent wrench
7/16 deep wall socket: same reason as above
Gasket scraper: the OEM manifolds do not have gaskets, so you don't need to go out and buy one if you don't have one. A spatula would work.
Permatex Copper Core RTV: For the header collectors. These headers do not use a donut in between the flanges.
Zip Ties: to get everything out of the way
Towel: To lay over your fender if a manifold slips out of your hand when taking it out, and makes a scratch in your paint.
Jack and block of wood: This is to support the exhaust when the flange bolts are taken off. When you put your headers on, they will not be lined up, but this can help.
Secret weapons:
Wire brush: For the manifold bolts and exhaust flange bolts.
PB Blaster mixed with synthetic oil: ensures the PB blaster will not dry and it will basically take the oil deep into the bolts.
EDIT: MAKE SURE YOU USE ANTI-SEIZE ON THE BOLTS WHEN INSTALLING. I FORGOT TO DO THAT AND I NEED TO REDO SOME BOLTS.
TIPS I FOUND OUT AFTER THE INSTALL:
1. Use the Edelbrock gaskets, 25 bucks at autozone. They are thicker and will not leak. The gaskets they give you are thin and you might pinch one and have a leak.
2. Fully Tighten the header bolts BEFORE you tighten the flanges. If you tighten the flanges first, you will not be able to get a proper seal to the head.
3. My hearers were not "perfectly" aligned with my y pipe (off by about a centimeter). But if you have a ratchet strap you can rig it to line up perfectly and have your hands free to get the header over the flange on the y pipe. Very easy and took me 2 days to figure out.
Here is what we are replacing:
Last edited by CPTAFW163; May 29, 2011 at 12:44 AM.
Thread Starter
|
Champion
Joined: Jun 2004
Posts: 2,811
Likes: 2
From: Ft Campbell, KY/TN
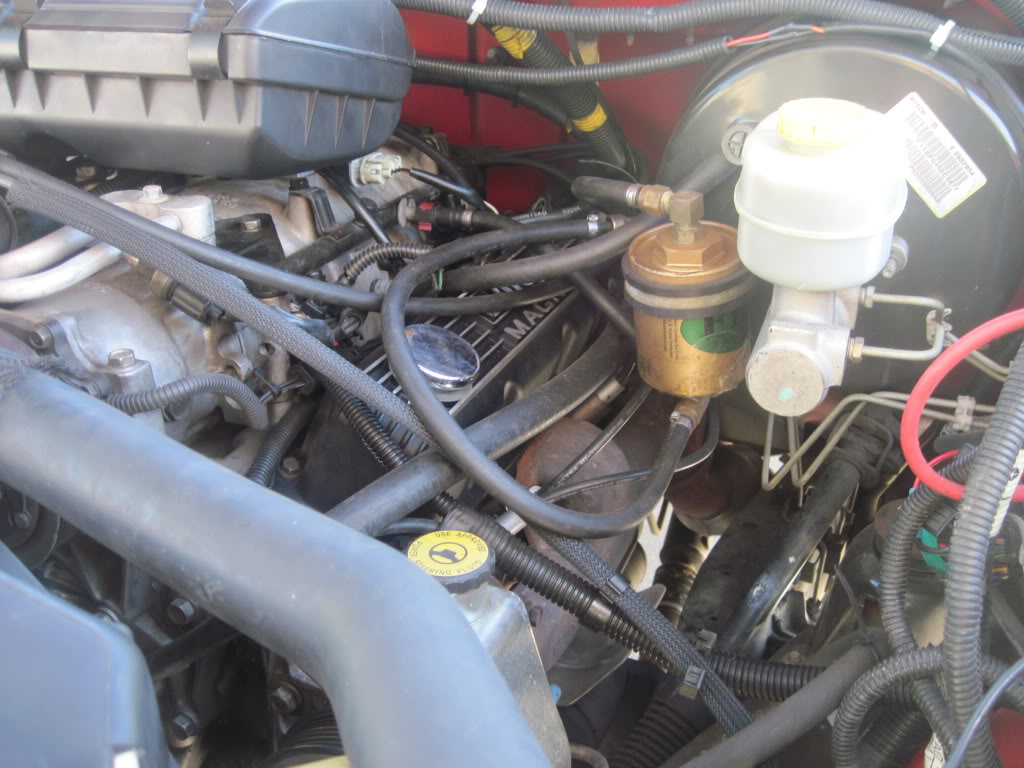
Then you take a wire brush to everything, spray with PB blaster and let soak for 30 mins. Then take off the two nuts off the inside. Leave the bolts:
You can fit a thin walled deep socket (1/2) around the first one, but the hidden one is a PITA. Need the 1/2 crescent
You can fit a thin walled deep socket (1/2) around the first one, but the hidden one is a PITA. Need the 1/2 crescent


 I hate exhaust work. Unless I have my hotwrench, and a hoist...... then I merely loathe it.
Thread Starter
|
Champion
Joined: Jun 2004
Posts: 2,811
Likes: 2
From: Ft Campbell, KY/TN
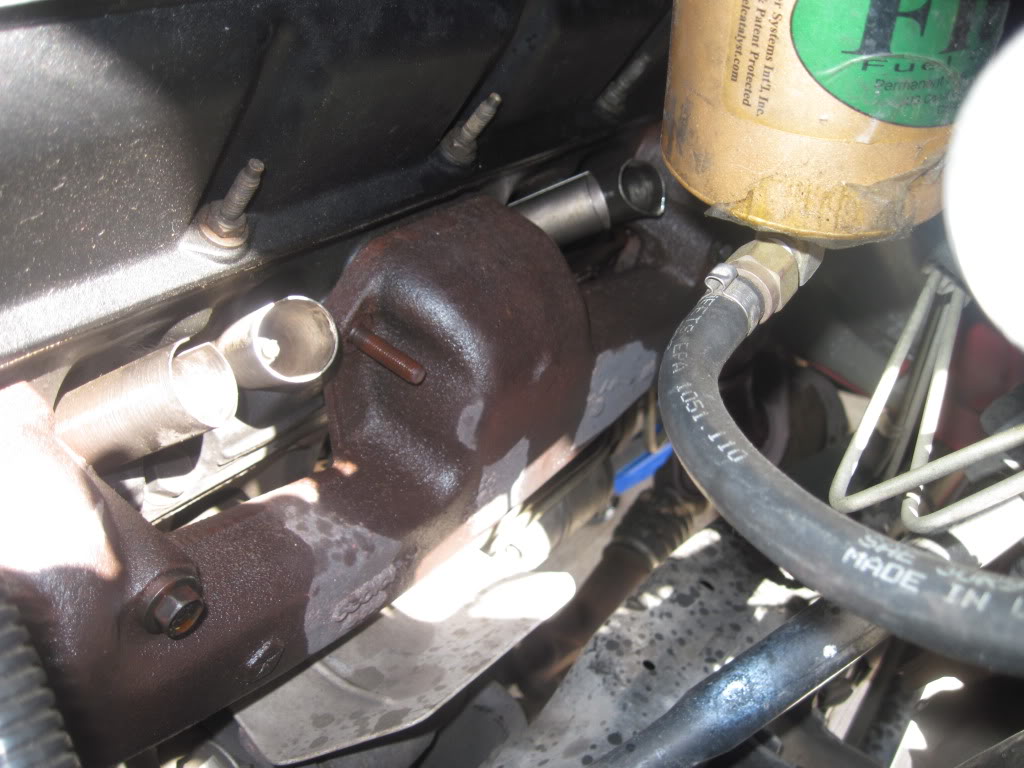
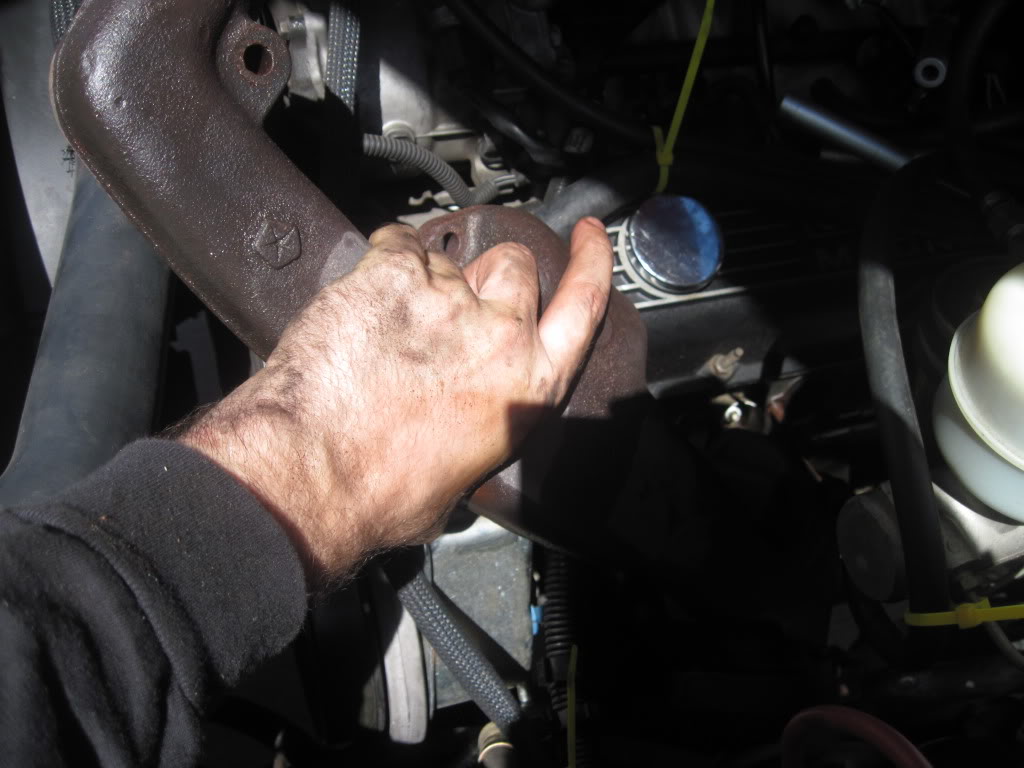
HERE IS THE WORST PART OF THIS:
Flange bolts. ANd if you have a cali emissions truck like mine, some BIG FAT cats will be right there.
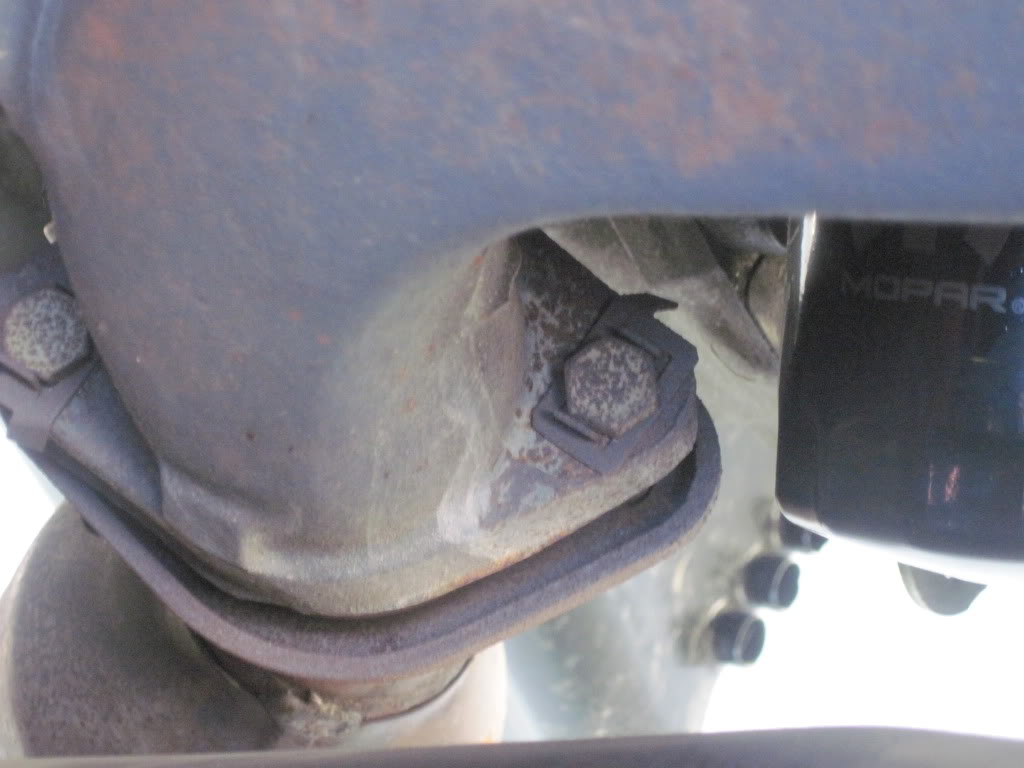
NOTICE THE TABS ON THE TOP. If your truck does not have these, BUY THEM. Because they make it easy to take these bolts off. They stop the top of the bolt from spinning while you take a wrench to the bottom nuts. SAVE THESE NUTS, because you ARE NOT going to use the locking nuts that came with the kit!!! The locknuts will not allow you to tighten these with those tabs. And it is REALLY tight to where you will not be able to put a wrench on the top and loosen/tighten the bottom nuts.
Flange bolts. ANd if you have a cali emissions truck like mine, some BIG FAT cats will be right there.
NOTICE THE TABS ON THE TOP. If your truck does not have these, BUY THEM. Because they make it easy to take these bolts off. They stop the top of the bolt from spinning while you take a wrench to the bottom nuts. SAVE THESE NUTS, because you ARE NOT going to use the locking nuts that came with the kit!!! The locknuts will not allow you to tighten these with those tabs. And it is REALLY tight to where you will not be able to put a wrench on the top and loosen/tighten the bottom nuts.

Thread Starter
|
Champion
Joined: Jun 2004
Posts: 2,811
Likes: 2
From: Ft Campbell, KY/TN
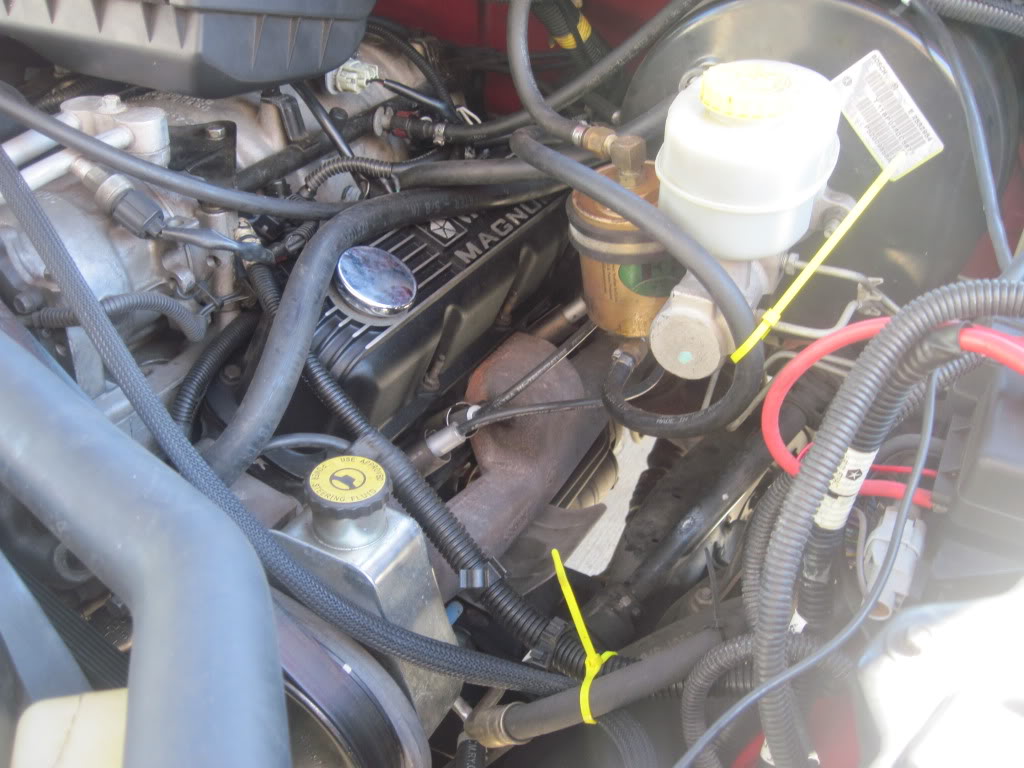
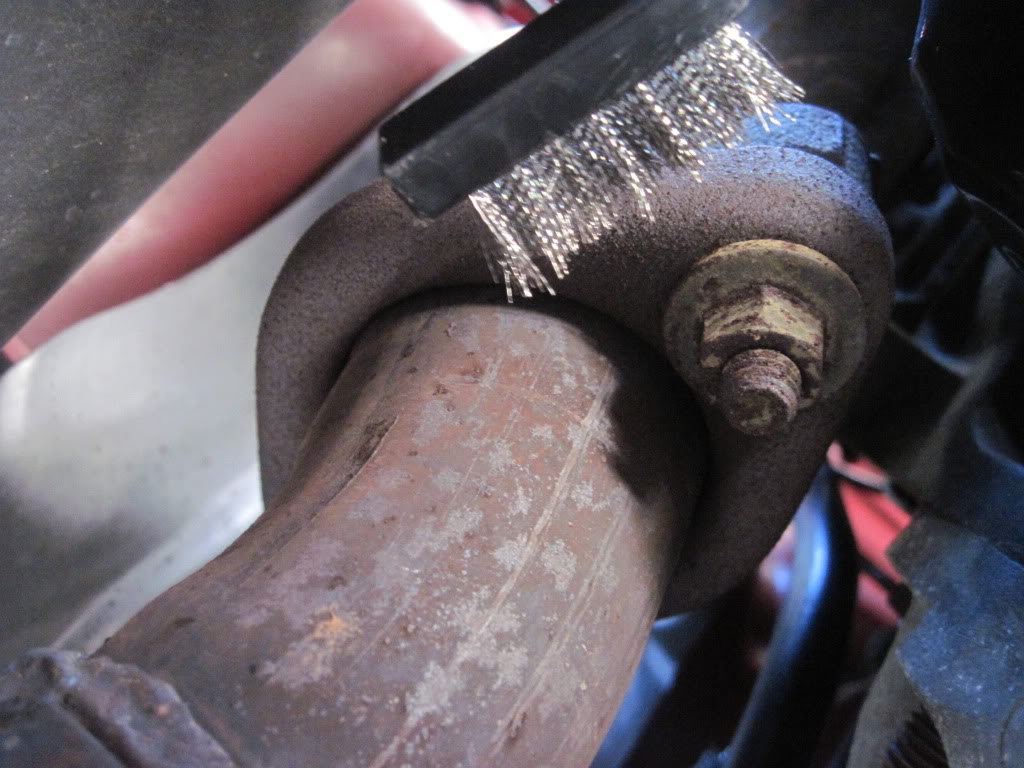
If you see something like this from under your truck, it means that you will be doing this job for 6 hours:
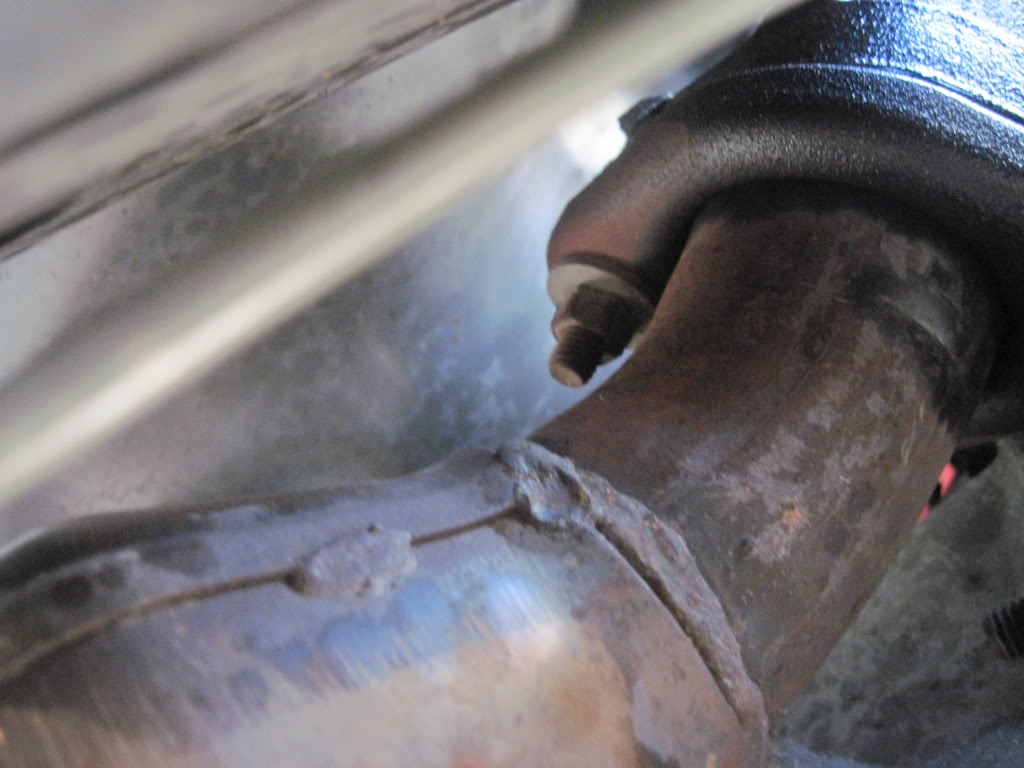
How to get it off: Get under the truck with your chest under the tranny and your feet facing the bed. Use a gear wrench (for the passenger side one, pic is not taken at that angle). I figured out that angle when I was putting this back on.
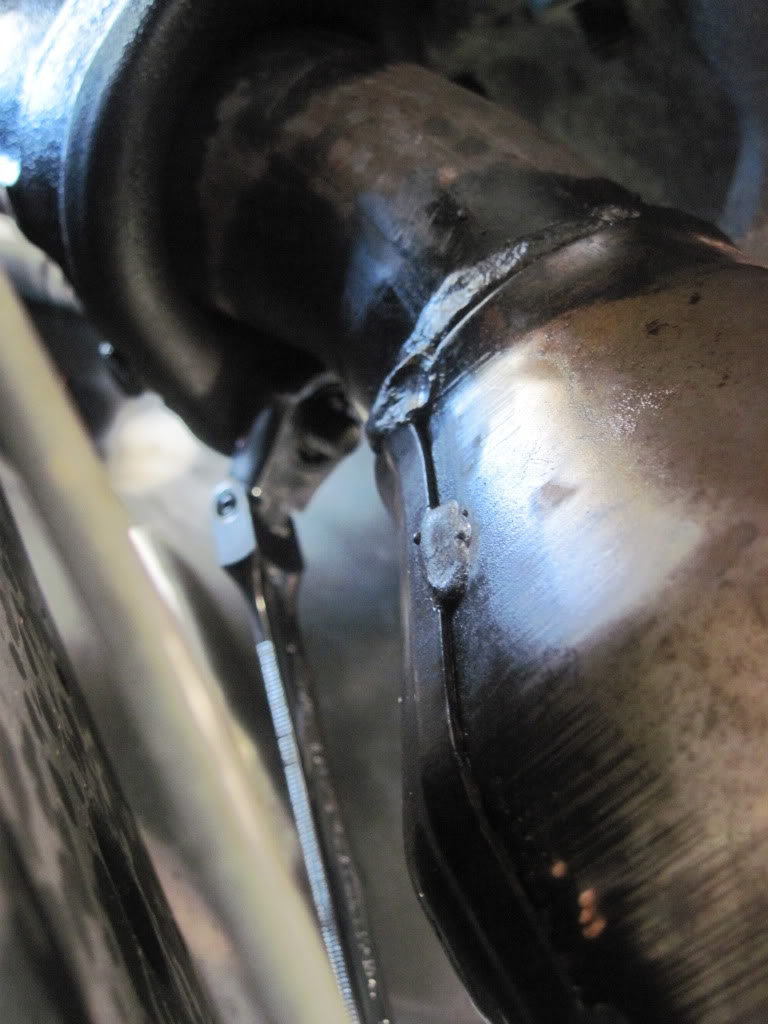
Also, having a flexible ratchet extension is good. I have one of those and it helped break one free (drivers side).
How to get it off: Get under the truck with your chest under the tranny and your feet facing the bed. Use a gear wrench (for the passenger side one, pic is not taken at that angle). I figured out that angle when I was putting this back on.
Also, having a flexible ratchet extension is good. I have one of those and it helped break one free (drivers side).
Trending Topics
Thread Starter
|
Champion
Joined: Jun 2004
Posts: 2,811
Likes: 2
From: Ft Campbell, KY/TN
Ok, Now with everything supported and unbolted, take them out!!!
Pitcure taken after it was taken out and i forgot that I needed to take a pic. While doing that it slipped out of my hand and I put a scratch in my truck. You're welcome!
Pitcure taken after it was taken out and i forgot that I needed to take a pic. While doing that it slipped out of my hand and I put a scratch in my truck. You're welcome!
Thread Starter
|
Champion
Joined: Jun 2004
Posts: 2,811
Likes: 2
From: Ft Campbell, KY/TN
Here is a pic of the old manifolds and the headers (inside view)
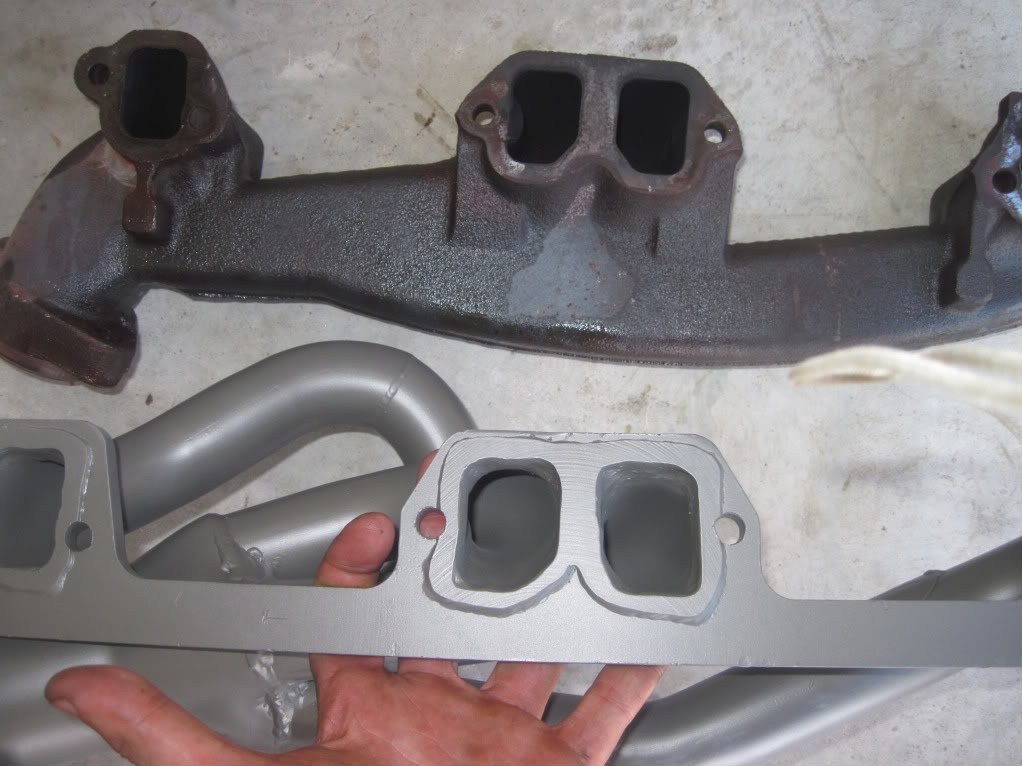
Notice the BEAD on the inside. That is something that JBA does. It is to help prevent leaks. Great idea and another part of a well made header.
NOTE: This will cause the appearance that the header is not FLUSH against the head when tightening. Do not worry, and DO NOT overtighten. Start the truck and you will notice no leaks.
Last edited by CPTAFW163; May 29, 2011 at 12:54 AM.
Thread Starter
|
Champion
Joined: Jun 2004
Posts: 2,811
Likes: 2
From: Ft Campbell, KY/TN
Now, with the manifold off, you can put the gasket on. THis is why you left those studs on there (inside studs with nuts, save those nuts too!!!)
EDIT: You might want to cut those bolts a bit so they don't hit the header when you get them tight. Ensure that the NUT is still on the bolt when you cut it. That way you can rethread the bolt (takes off the burr) by taking off the nut)
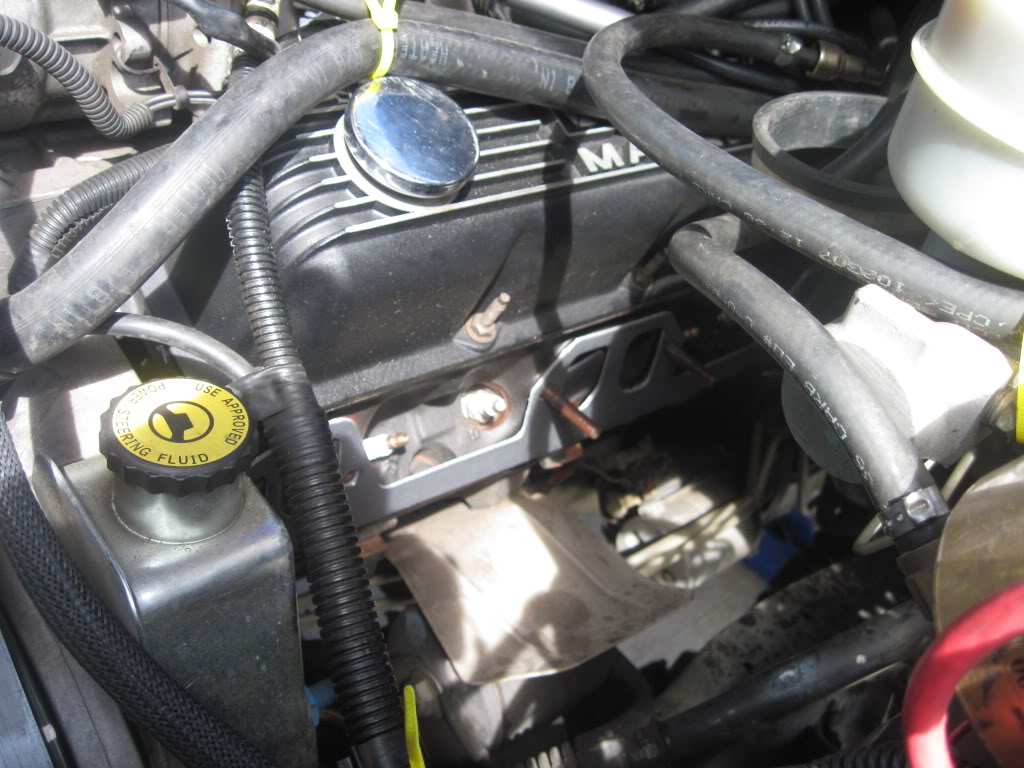
EDIT: Those gaskets are very weak and thin. I had a leak, and i went to autozone and got the edelbrock header gaskets. MUCH better and only 25 bucks.
EDIT: You might want to cut those bolts a bit so they don't hit the header when you get them tight. Ensure that the NUT is still on the bolt when you cut it. That way you can rethread the bolt (takes off the burr) by taking off the nut)
EDIT: Those gaskets are very weak and thin. I had a leak, and i went to autozone and got the edelbrock header gaskets. MUCH better and only 25 bucks.
Last edited by CPTAFW163; May 29, 2011 at 12:37 AM.