


Plexi Box 4 my CAI on 02 5.9
#1
 01-20-2009, 08:43 PM

Join Date: Mar 2005
Posts: 764
Likes: 0
Received 0 Likes
on
0 Posts
Well I've been working on this here and there, today after work the weather was perfect so I started working on this idea I have.
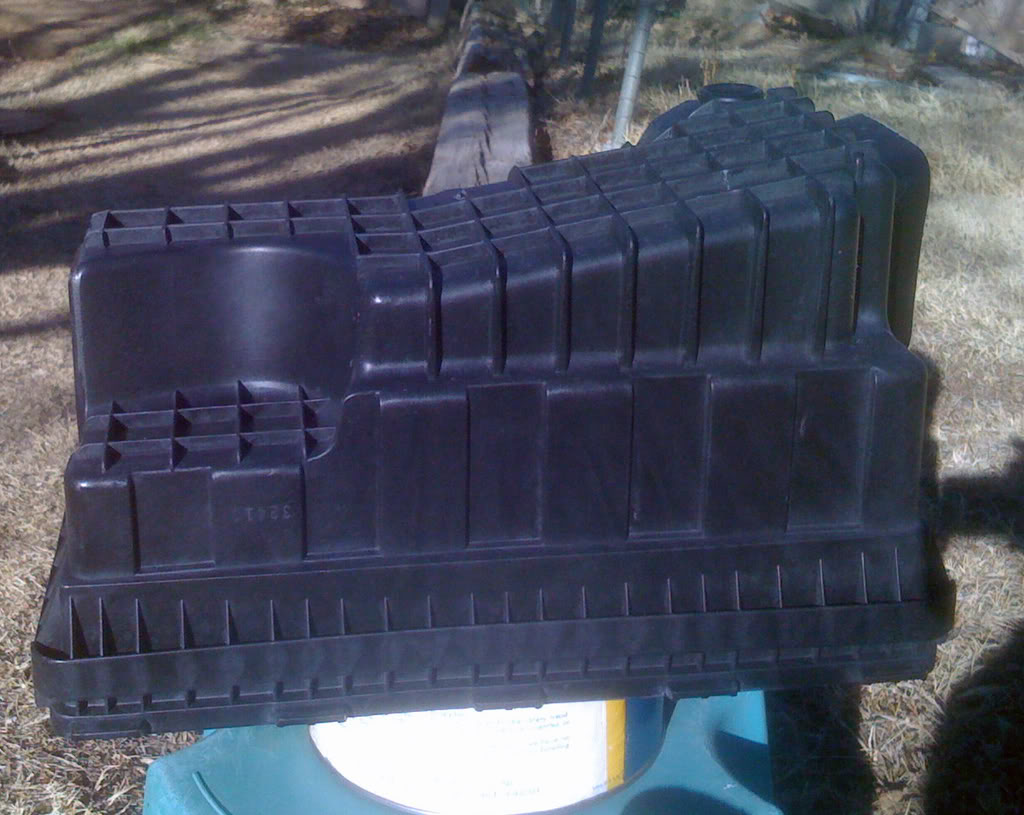
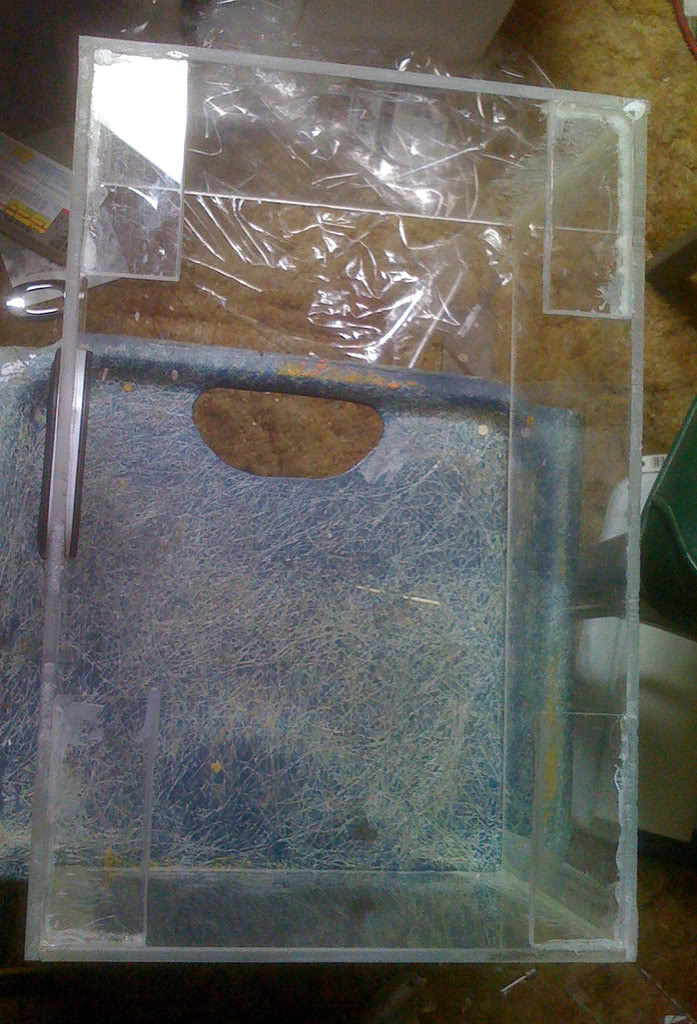
I'm using this photo to show what I'm working on-----the top half on mine is made of plexi the bottom half is part of my old intake box just like the photo.
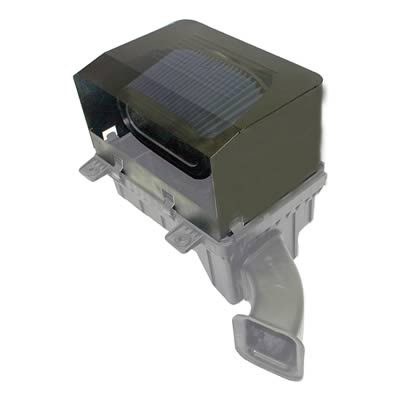
Heres what mine looks like in pieces:
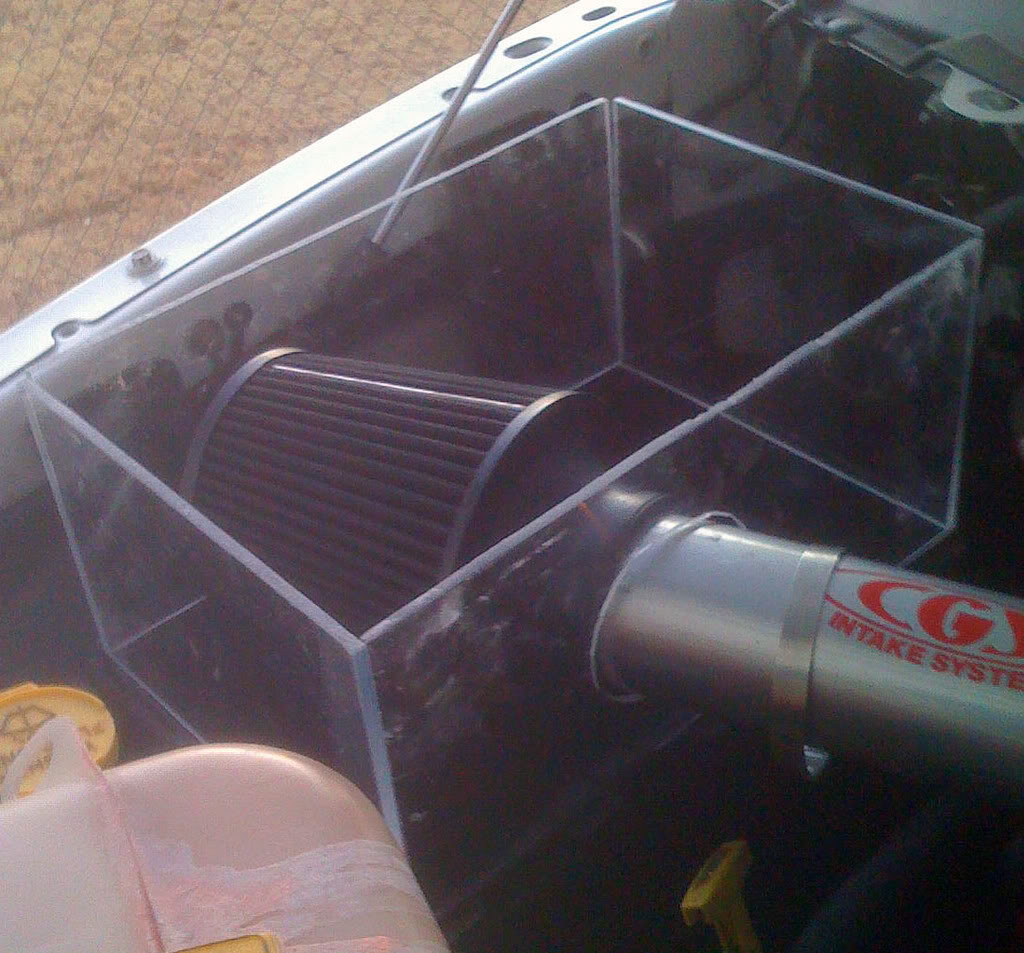
And here I'm letting the epoxi dry:

I have the top cut out also I just need to place a few pieces of plexi squares in each corner than epoxi it then drill a few small holes then I can screw the top on.
After that I will need to epoxi glue the pottom half and I was thinking of buying some silver ceramic paint and start on that.
it's not a perfect box but at least it will close of the filter from the hot engine.
johnny.
I'm using this photo to show what I'm working on-----the top half on mine is made of plexi the bottom half is part of my old intake box just like the photo.
Heres what mine looks like in pieces:
And here I'm letting the epoxi dry:
I have the top cut out also I just need to place a few pieces of plexi squares in each corner than epoxi it then drill a few small holes then I can screw the top on.
After that I will need to epoxi glue the pottom half and I was thinking of buying some silver ceramic paint and start on that.
it's not a perfect box but at least it will close of the filter from the hot engine.
johnny.
#2
01-20-2009, 09:20 PM
Record Breaker
Join Date: Jun 2007
Location: Upstate, NY
Posts: 1,338
Likes: 0
Received 0 Likes
on
0 Posts
#3
01-21-2009, 12:03 AM
Join Date: Mar 2005
Posts: 764
Likes: 0
Received 0 Likes
on
0 Posts
#5
01-21-2009, 12:22 AM
Join Date: Mar 2005
Posts: 764
Likes: 0
Received 0 Likes
on
0 Posts
#6
01-30-2009, 05:37 PM
Join Date: Mar 2005
Posts: 764
Likes: 0
Received 0 Likes
on
0 Posts
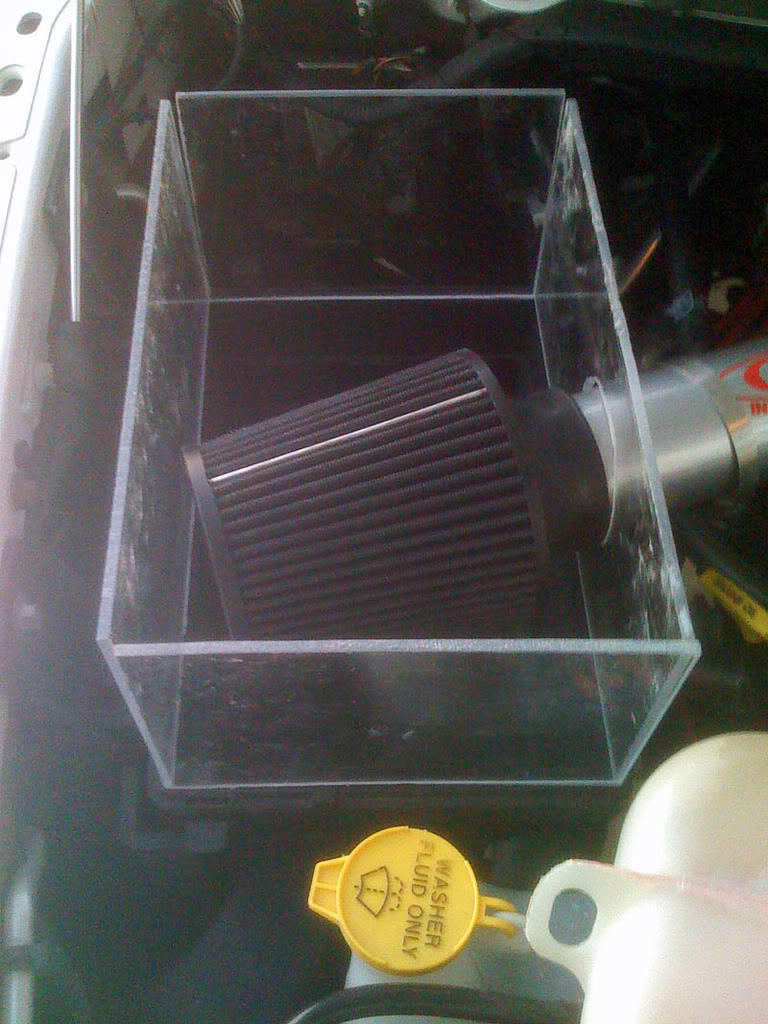
Ok heres what I did today, I cut these square like pieces of plexi glass then used the epoxi glue to affix them to each corner of the box. That way I can drill a small hole into them and the top part of the box then I can just screw the top part on:

I cut out a section of the bottom half so I can attach this piece of flexible aluminum duct, I'll probably have to duct tape or use a rubber gasket so it's completely sealed then figure out where to rout the rest of it. And I'll probably paint it and try and clean up the plexi glass.
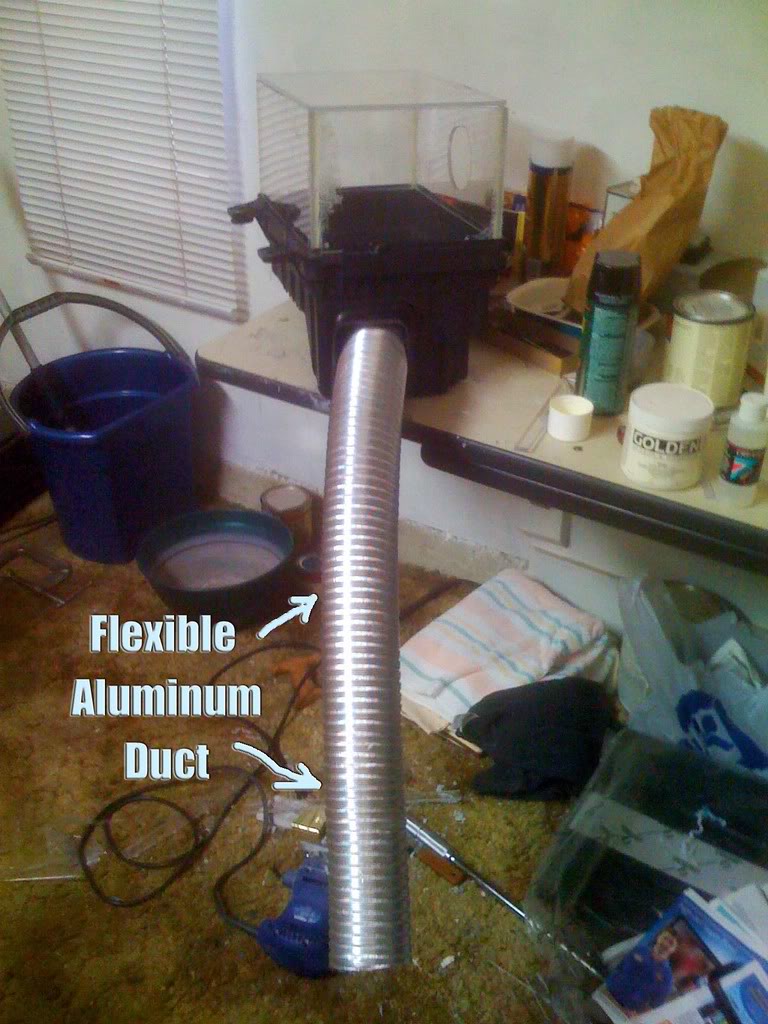
johnny.
I cut out a section of the bottom half so I can attach this piece of flexible aluminum duct, I'll probably have to duct tape or use a rubber gasket so it's completely sealed then figure out where to rout the rest of it. And I'll probably paint it and try and clean up the plexi glass.
johnny.
#7
01-31-2009, 10:42 AM
Record Breaker
Join Date: Sep 2006
Location: NH
Posts: 1,120
Likes: 0
Received 0 Likes
on
0 Posts
looking good..... i seen one a while back where they routed the tubing behind the bumper where the gap between the lower and upper bumper. then used a dryer vent (the rectangle ones) and painted it black. looked good and im sure it worked great too a nicesealed intake system. i would run it to the foglight hol eif you do not have the fogs.
Trending Topics
#8
01-31-2009, 09:17 PM
Join Date: Mar 2005
Posts: 764
Likes: 0
Received 0 Likes
on
0 Posts
nickahern1,
I do have fog lights so I'm going to look around and see what are some of my options.
I was thinking of routing the tube behind the headlights but I would have to squish the tube to get it to work that way.
heres what I've done today. I painted the black part with this stone textured spray paint.
BEFORE:
AFTER:
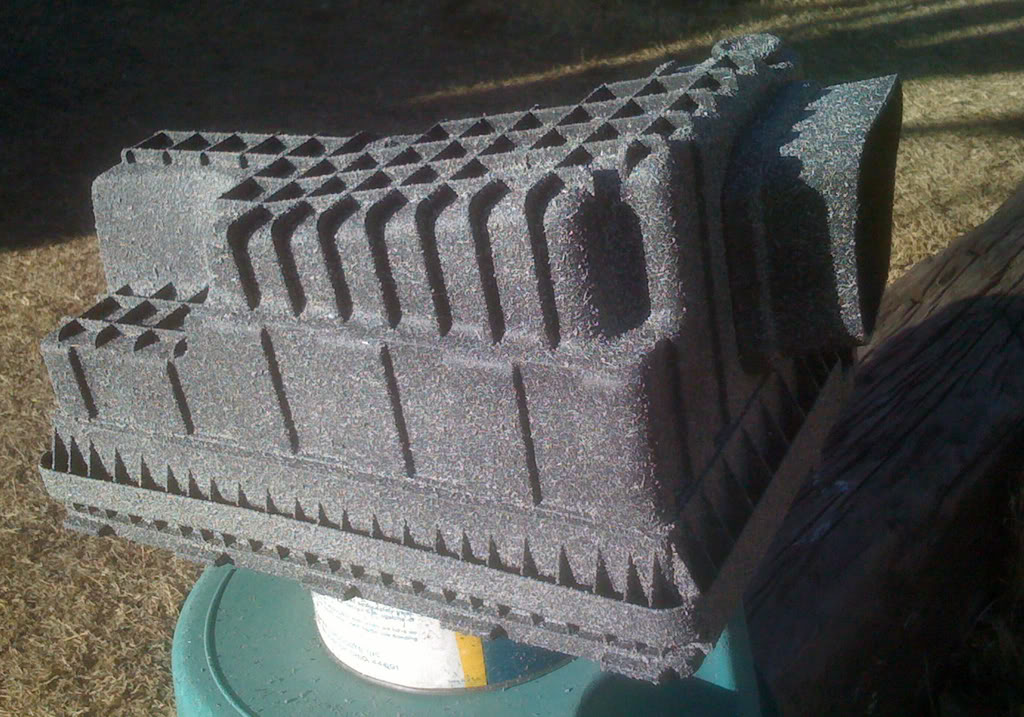
Then I'll go over it with some black ceramic spray paint. I'm going to do the same with the sides of the plexi box so it looks more like a whole unite, and I'm thinking of airbrushing something on there.
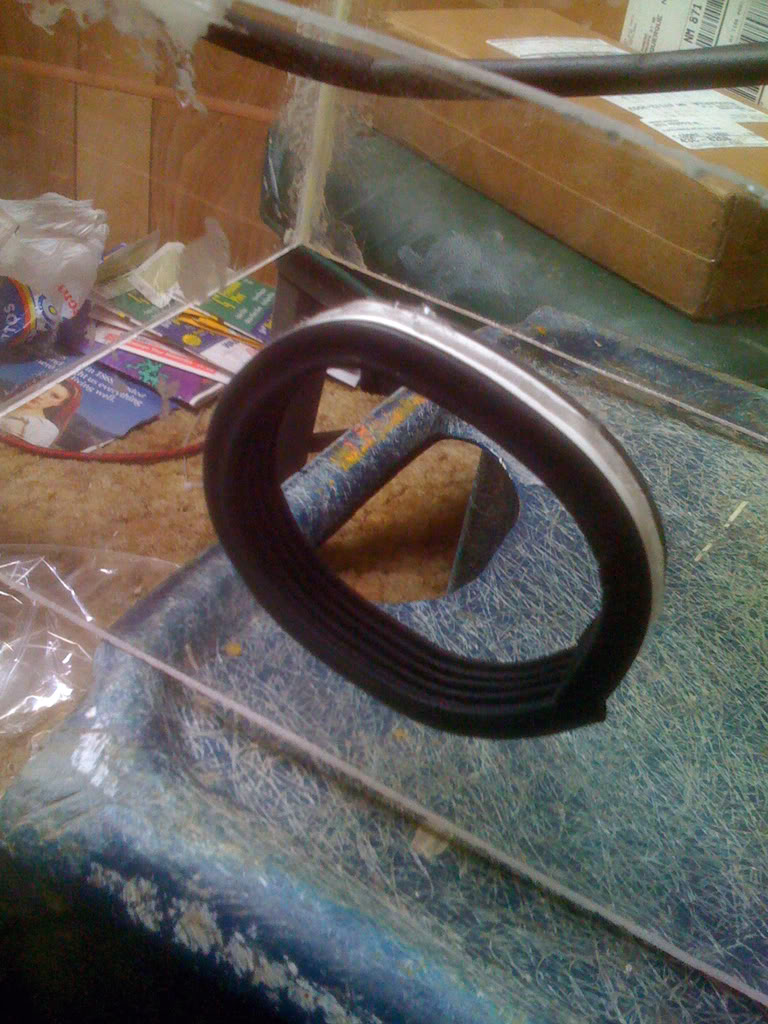
Heres the gaskets I'm using for the top of the box and the intake hole so it's sealed nice and tight.
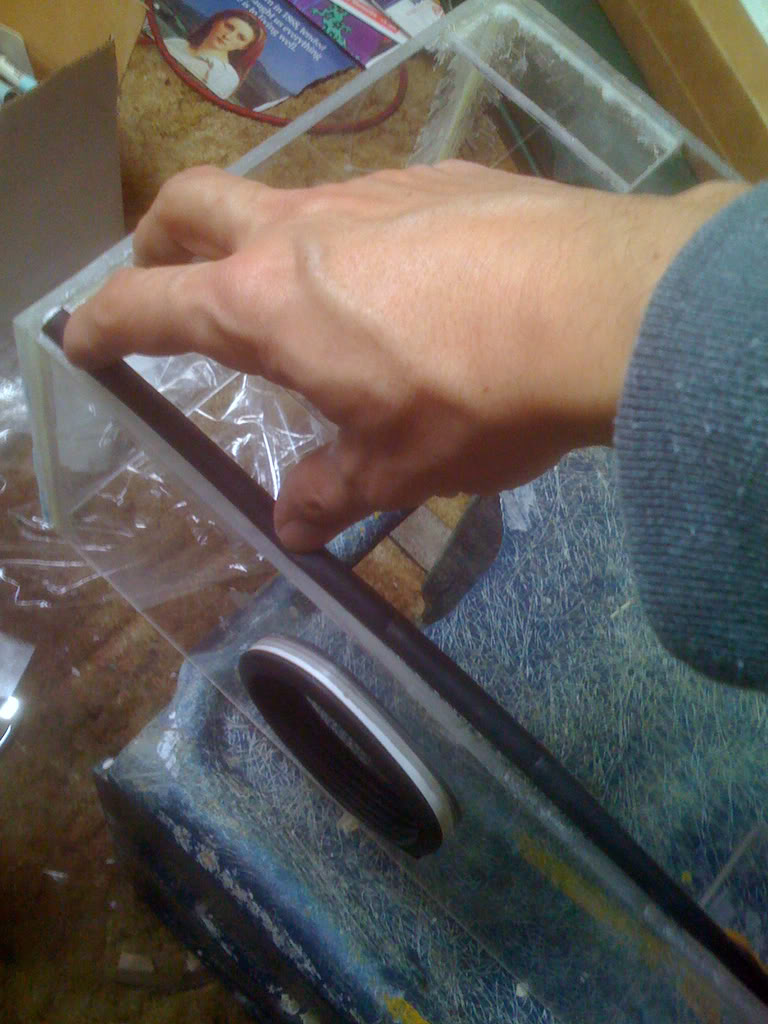
heres a pic of the top of the box I just need to drill a small hole on each of the squares and top at the same time but I need to flip it over and do that.
 .
.
johnny.
I do have fog lights so I'm going to look around and see what are some of my options.
I was thinking of routing the tube behind the headlights but I would have to squish the tube to get it to work that way.
heres what I've done today. I painted the black part with this stone textured spray paint.
BEFORE:
AFTER:
Then I'll go over it with some black ceramic spray paint. I'm going to do the same with the sides of the plexi box so it looks more like a whole unite, and I'm thinking of airbrushing something on there.
Heres the gaskets I'm using for the top of the box and the intake hole so it's sealed nice and tight.
heres a pic of the top of the box I just need to drill a small hole on each of the squares and top at the same time but I need to flip it over and do that.
.johnny.
Last edited by JohnnysArt; 01-31-2009 at 09:20 PM.

#10
02-01-2009, 01:04 PM
Grand Champion