When you click on links to various merchants on this site and make a purchase, this can result in this site earning a commission. Affiliate programs and affiliations include, but are not limited to, the eBay Partner Network.
I have to wait for a few days before I can put my engine back together.
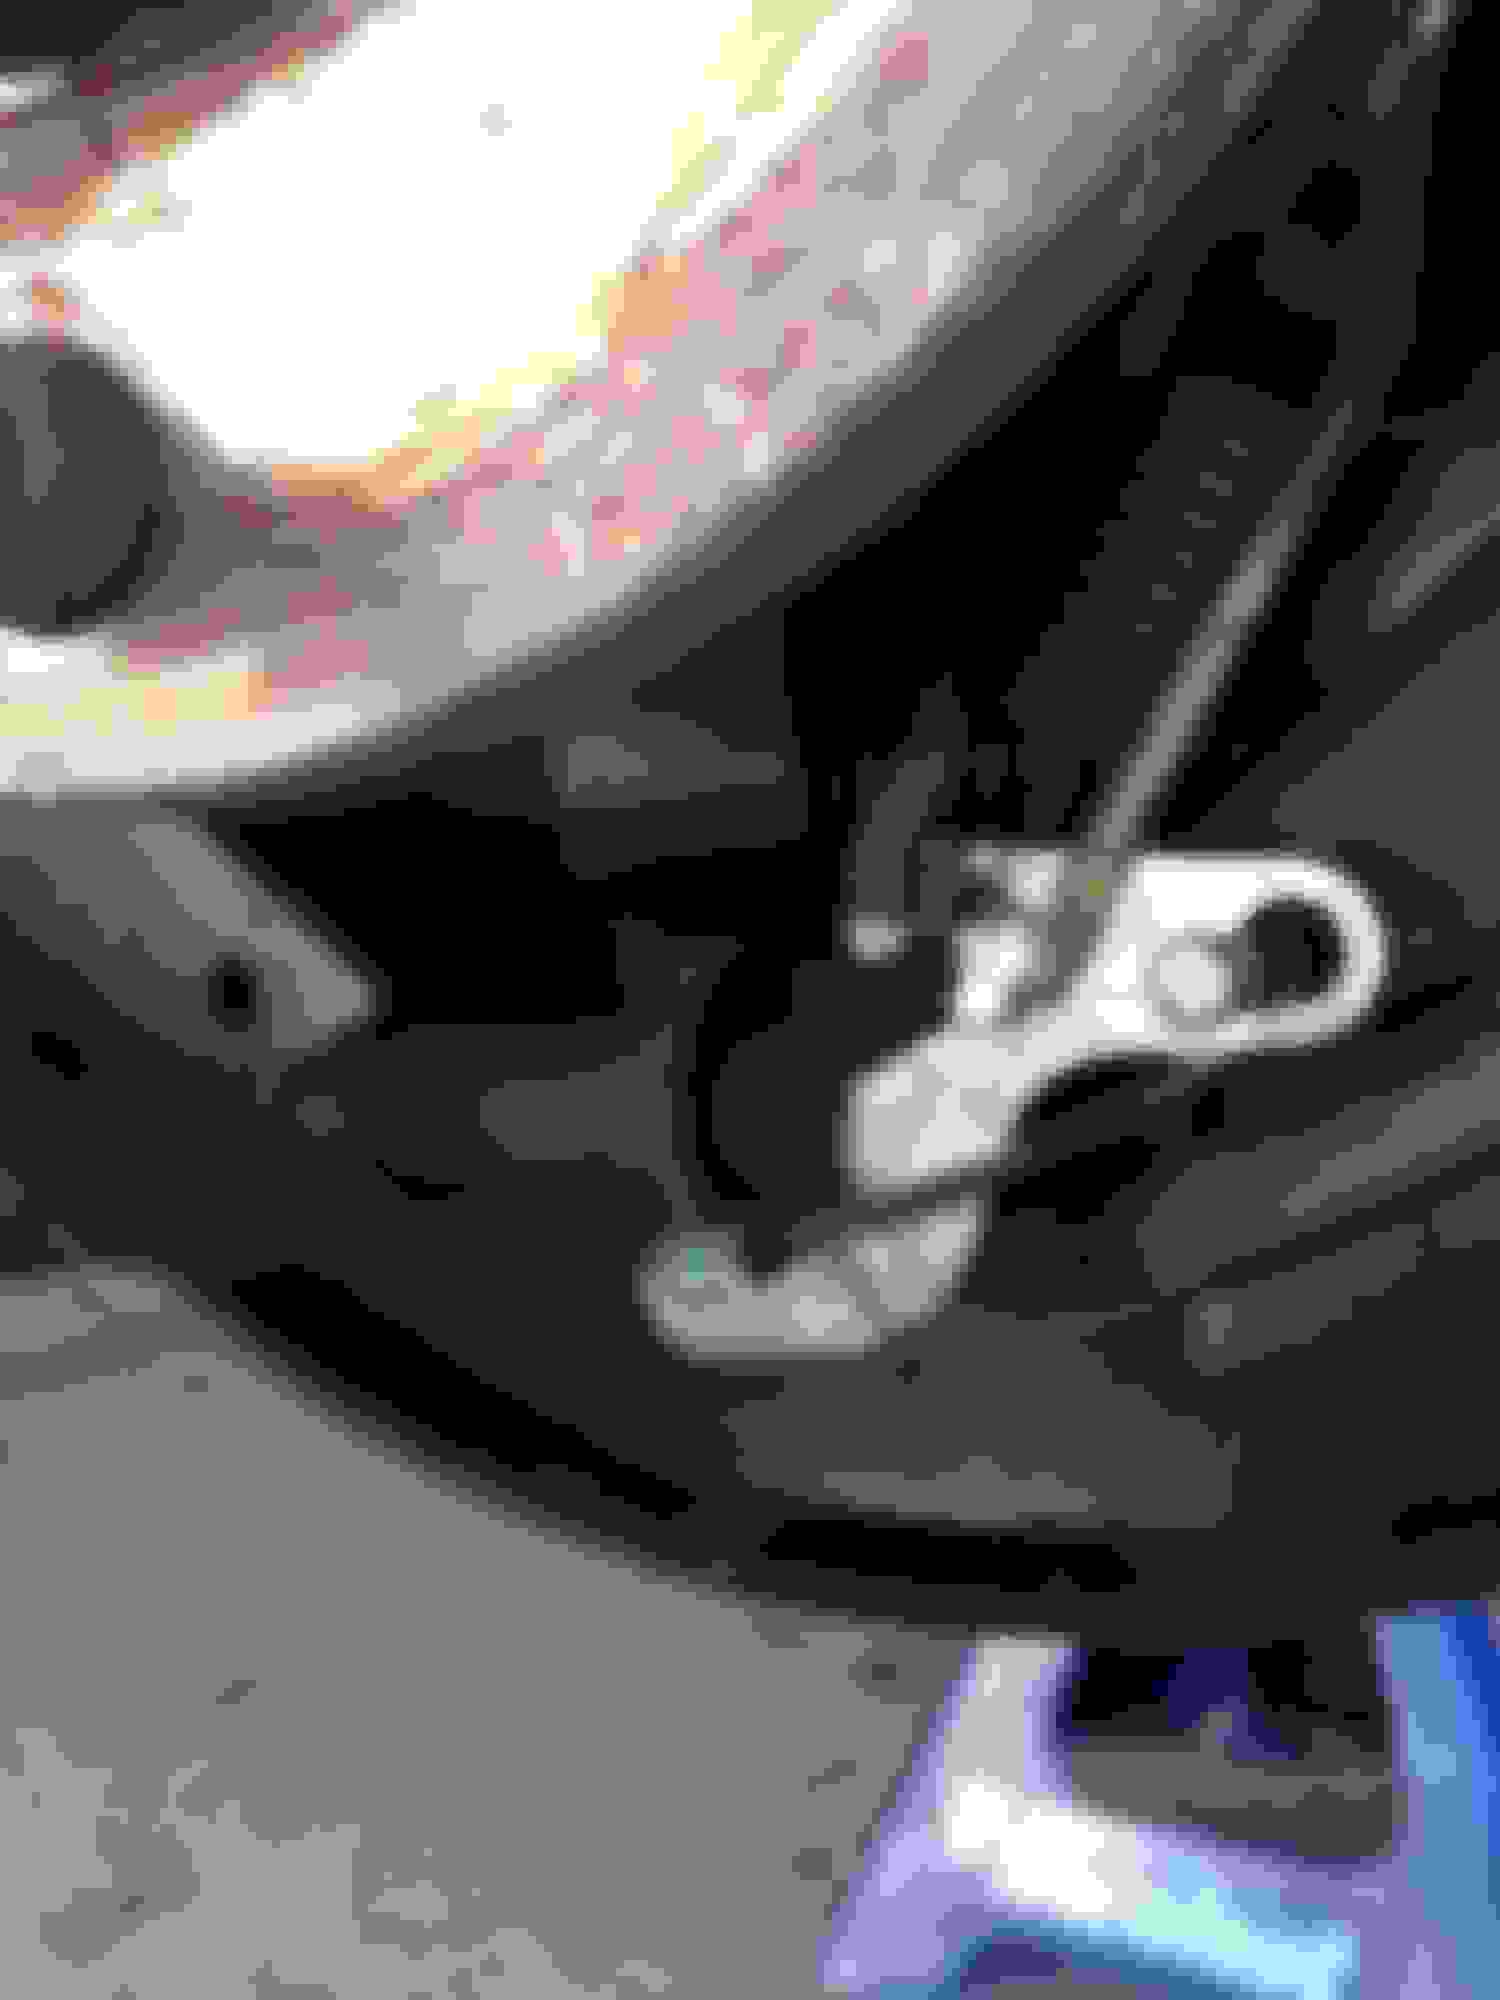
In the meantime I figure I might as well redo my back brakes- I haven't checked them out yet but im 90% sure they'll need new everything. One is leaking something onto the back of the tire, probably a bad cylinder? All the exposed brake lines look great. hope they are...
As they say hind-sight is 20/20 and I'm gettign tired of starting things and having to stop and wait for parts, tools and biking around the city to stand in long auto part store lines. anyone got any definitive list or link of the process, potential problems, do's & don'ts and what materials will be needed for a complete overhaul? (I'd rather buy extra stuff and bring back what I don't need later.)
Ive checked out a few youtubes of people doing it and I got a pretty good idea but thought I'd ask for the above mentioned reasons.
If there is something leaking, grab a couple wheel cylinders. If one is leaking now, the other is sure to follow soon. Always replace everything in pairs when it comes to brakes. Of course, brake shoes, I'd also pick up a hardware kit with new springs and such. Couple cans of brake cleaner. How are the drums? Depending on age/condition, might want to go ahead and replace them along with everything else.
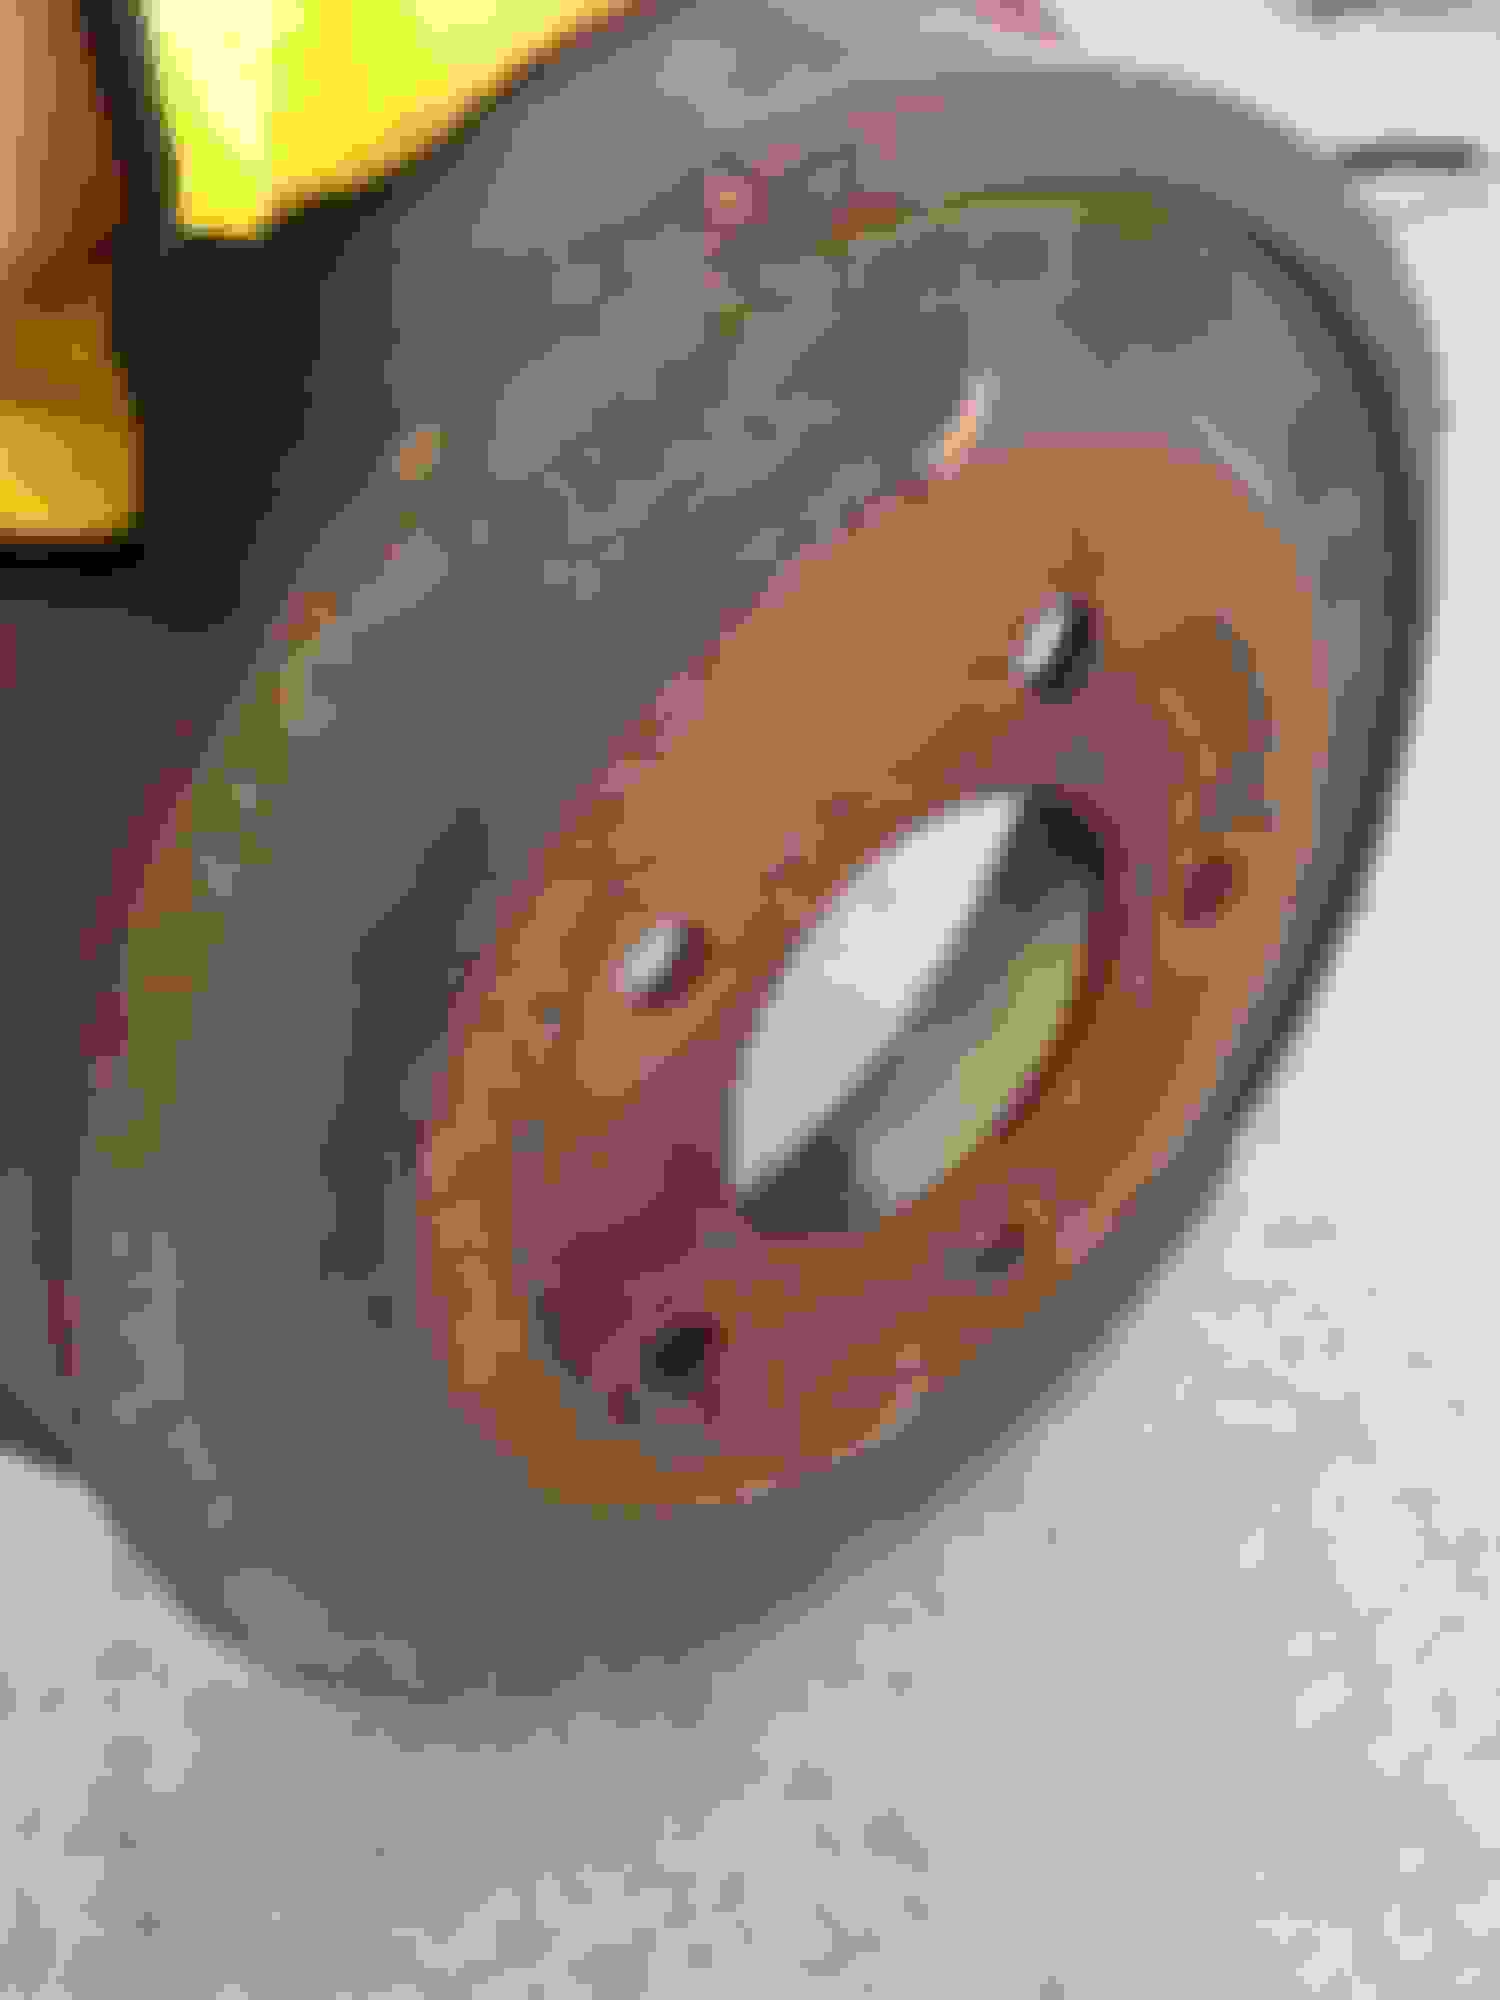
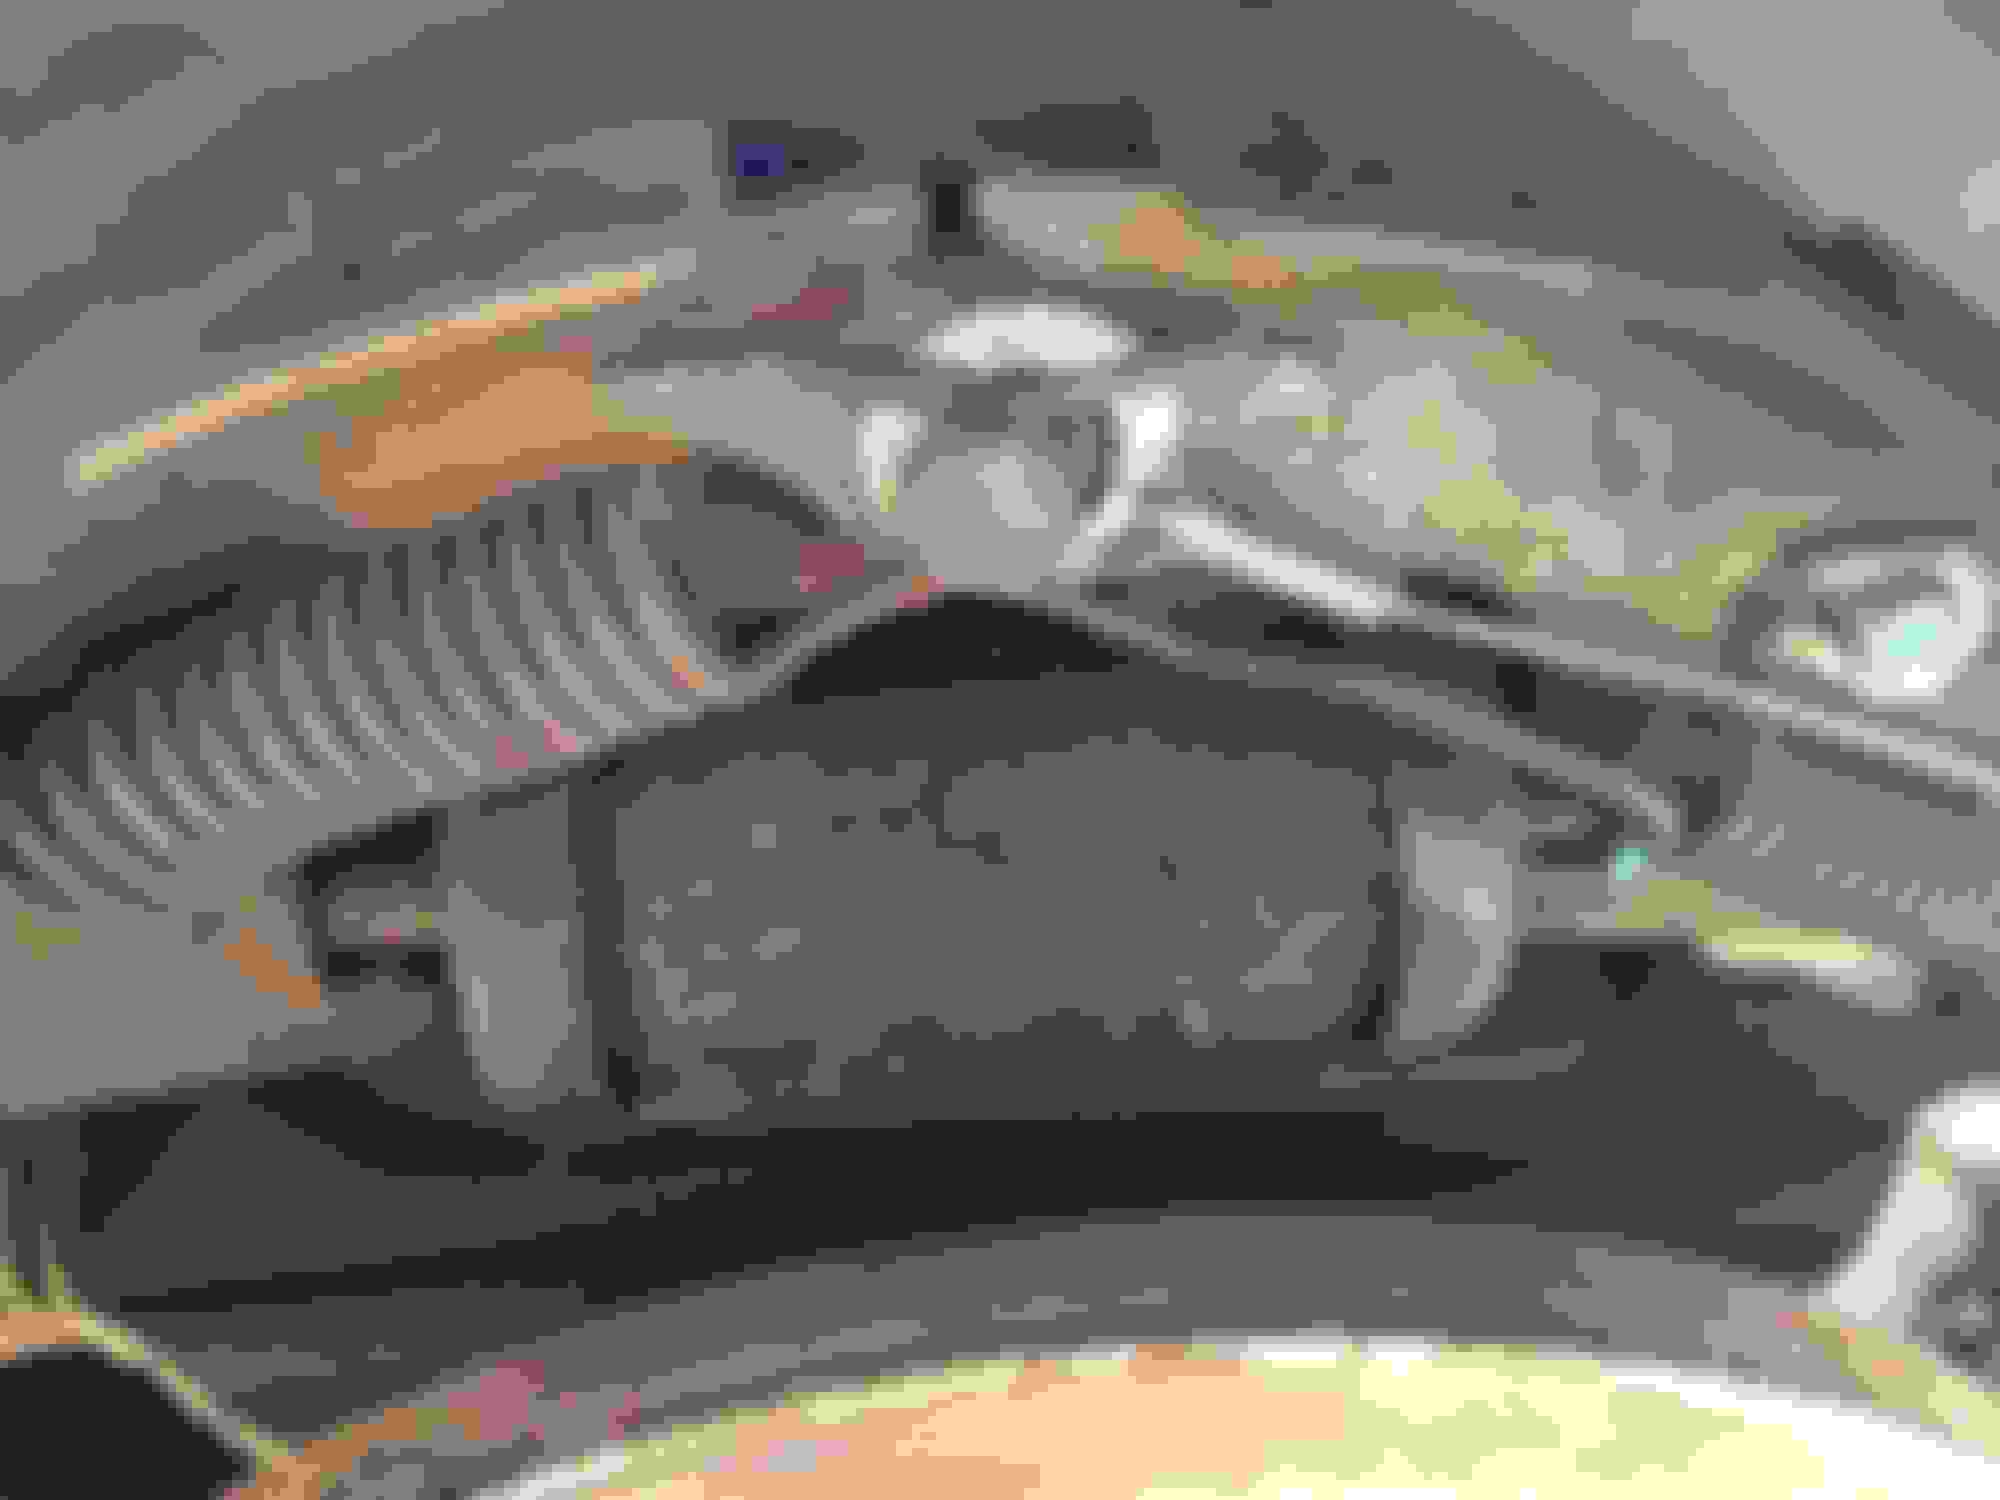
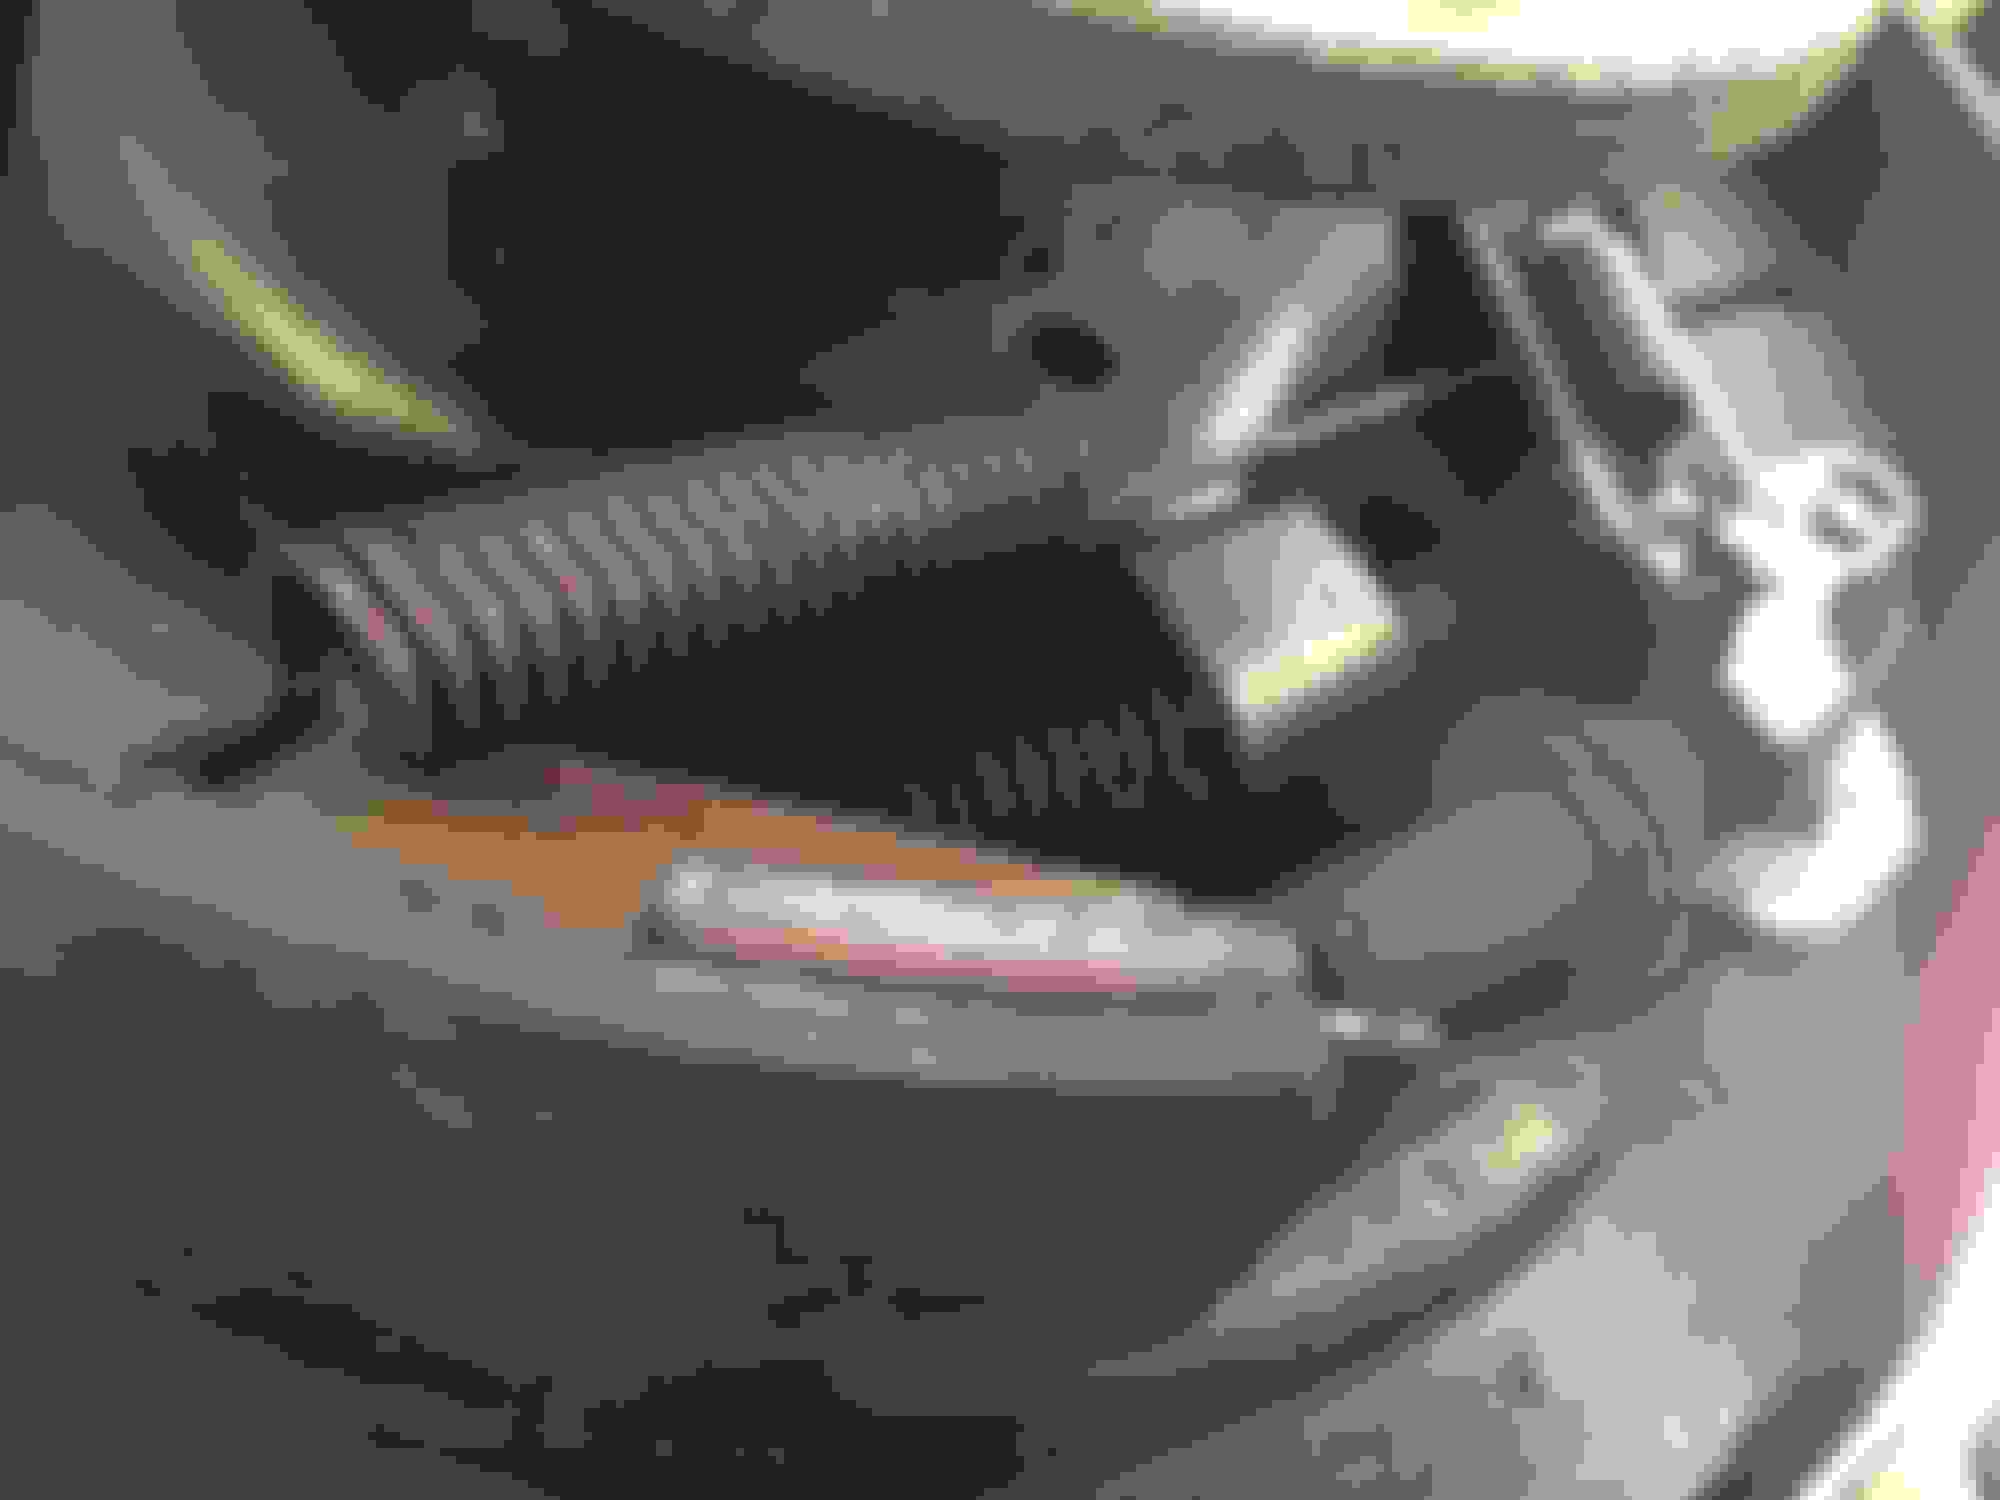
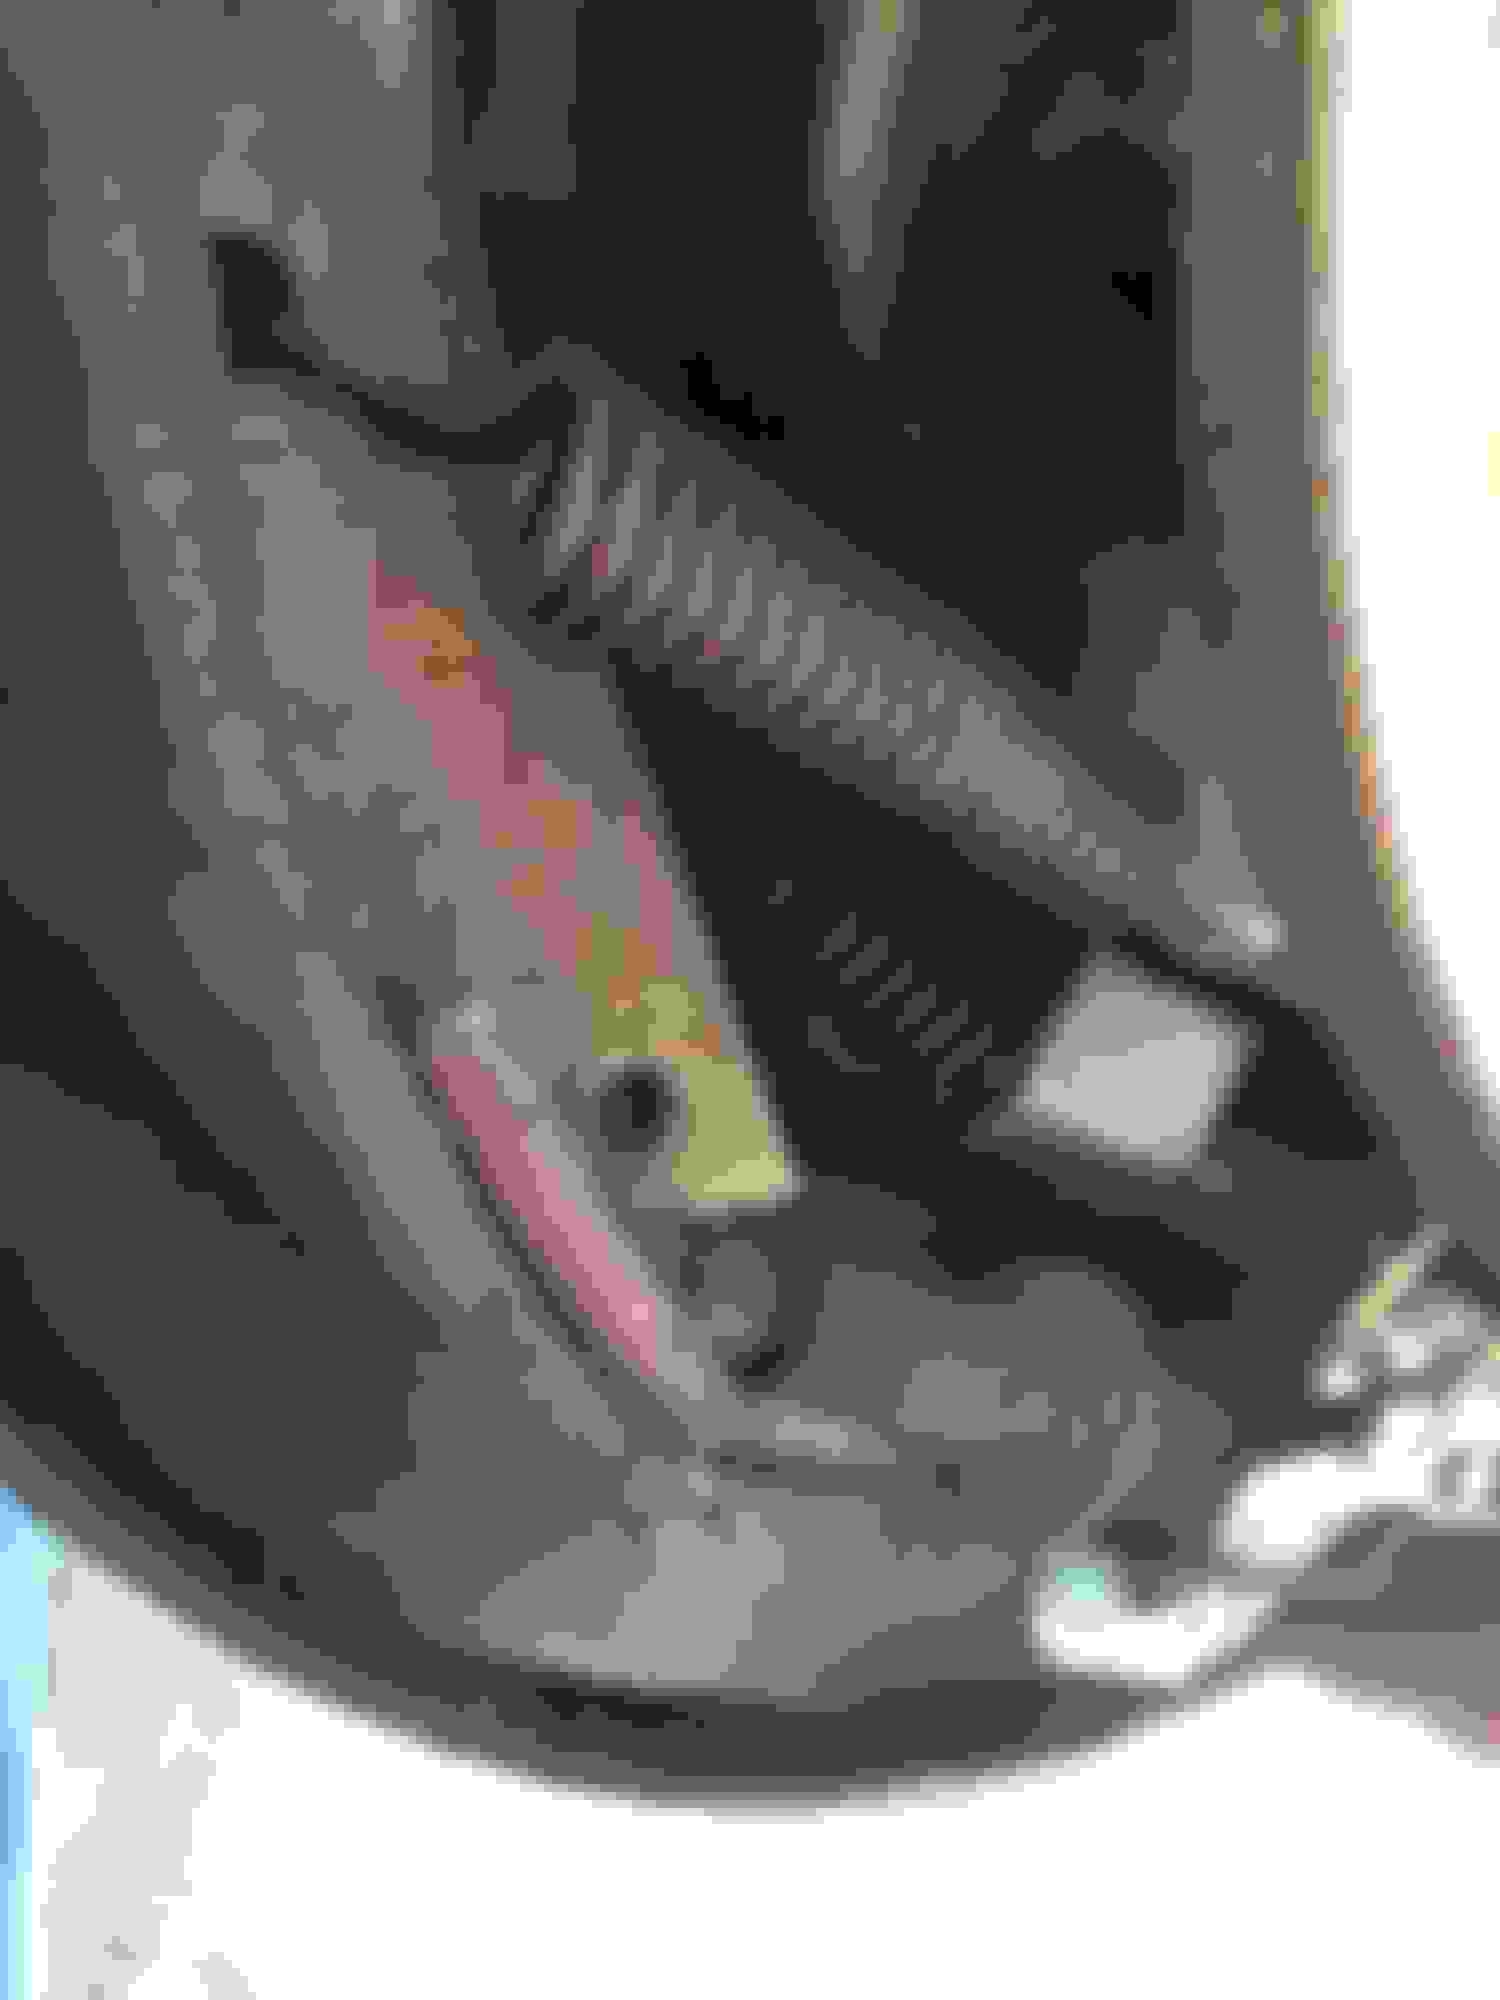
The cylenders are toast. i'm surprised to see 1/4" of brake shoe left. It looks like some of the springs were replaced two or more years ago. I know I didn't do it.
I'm a little suspicious of that uneven wear line. If they'll function right Id love to not spend the money on new drums. what do you think?
got 153K - cant afford it now but if i come across a good deal down the road Ill snag some.
btw changing these things is a total effin mother-cunny. I didn't buy any of the special tools so I was trying to make what I had work. getting the tools tomorrow. Hurt my hand and had a huge nutty in the yard; destroyed a wooden chair. Felt great.
If the pads are worn to the point of leaving grooves in the drums, then just as jkeaton already advised you will want to pick some new brake drums ASAP. You can get them at rockauto or amazon at a better price then locally. Taking numerous clear pics from various angles will be a big help during reassembly. I have personally replaced over a hundred rear brake shoes with nothing more "special" than 2 sets of vise grips and a very large screwdriver but watch your fingers.
If in doubt youtube.com has hundreds of videos detailing rear brake shoe replacement. Rear cylinder replacement is normally very straightforward: remove the shoes, replace the leaking wheel cylinder, now replace shoes, adjustment hardware, drums, wheels. Then bleed the excess air from the brake cylinders as normal.
Putting both sides of the rear axle on stands and doing just one side at a time is usually helpful. Remember: upon re-asssembly if tightening the rear adjuster does NOT tighten (widen) the shoes until the drum no longer fits, you have not reassembled them correctly or binding is occurring. Examine the other shoe and find your mistake, correct it, expand the shoes until the drum barely fits and only then you can be sure of correct adjuster reassembly. Good luck, don'tget in a big hurry, and you should be fine.
if the brake lines are original, prepare yourself for the possibility of the brake line nut being siezed and the line breaking when trying to get it off the cylinders.
Thsnks ^^. I was also going to add, might consider changing the rubber brake lines. I had one on my 99 Sebring collapse inside. Acted like a one way check valve. After literally burning through two sets of shoes I finally found it.
Daguvna88 is correct of course. But I'll share a little secret with you guys I learned running my salvage yard for 10 years. I mean since everyone is being so civil this morning and all..
All you need to do is soak the bolt/nut/fitting in in pb blaster or Dexron tranny fliud for 20 - 30 min. Now tap on the bolt, as this assists penetration. If you dont believe me read the liquid wrench or pb blaster can, its clearly stated in their instructions.
Now here's the trick: tighten it. Yep, thats what I said. Tighten the bolt nut fitting whatever just slightly before you try to loosen it. If it doesnt feel "happy" , more pb blaster, more tapping, and repeat.
How do I know? Because back in the bad old days I used to pull flood cars out of rivers/ponds/ditches. Some had been sat in water for months, maybe longer. I haven't broken a single bolt in 30+ years, the the only ones I've had to extract were broken by people who got in a hurry.
There, now I can die happy having passed along something useful.

 03-24-2015, 03:49 PM