

So what are you doing?


Record Breaker


Joined: Jan 2014
Posts: 1,852
Likes: 109
From: Va
I removed my hood alone. I traced the hinge location with a gold sharpie.Broke the bolts loose and lowered the hood so it sat on some cribbing materiel, A couple 2x4 or a 4x4 across. Took the bolts out the rest of the way. Going back in the same way in reverse then tighten the bolts without fully tightening them. Lift the hood use cribbing as you adjust it to like up with the sharpie marks and then do final tightening. I had to readjust it a couple of times after to make it align. Looks Nice.
Good idea on how to pull the hood by yourself, but in my case, no real reason to pull it.... I used one of the plates that mount on the intake where the carb fits, and it clears.
Grand Champion


Joined: May 2019
Posts: 5,156
Likes: 723
From: S.W. Indiana
I'm shoveling snow after the second of three storms.  Last week it was freezing rain so this is better. I got 7 inches at home with drifts more than twice that.
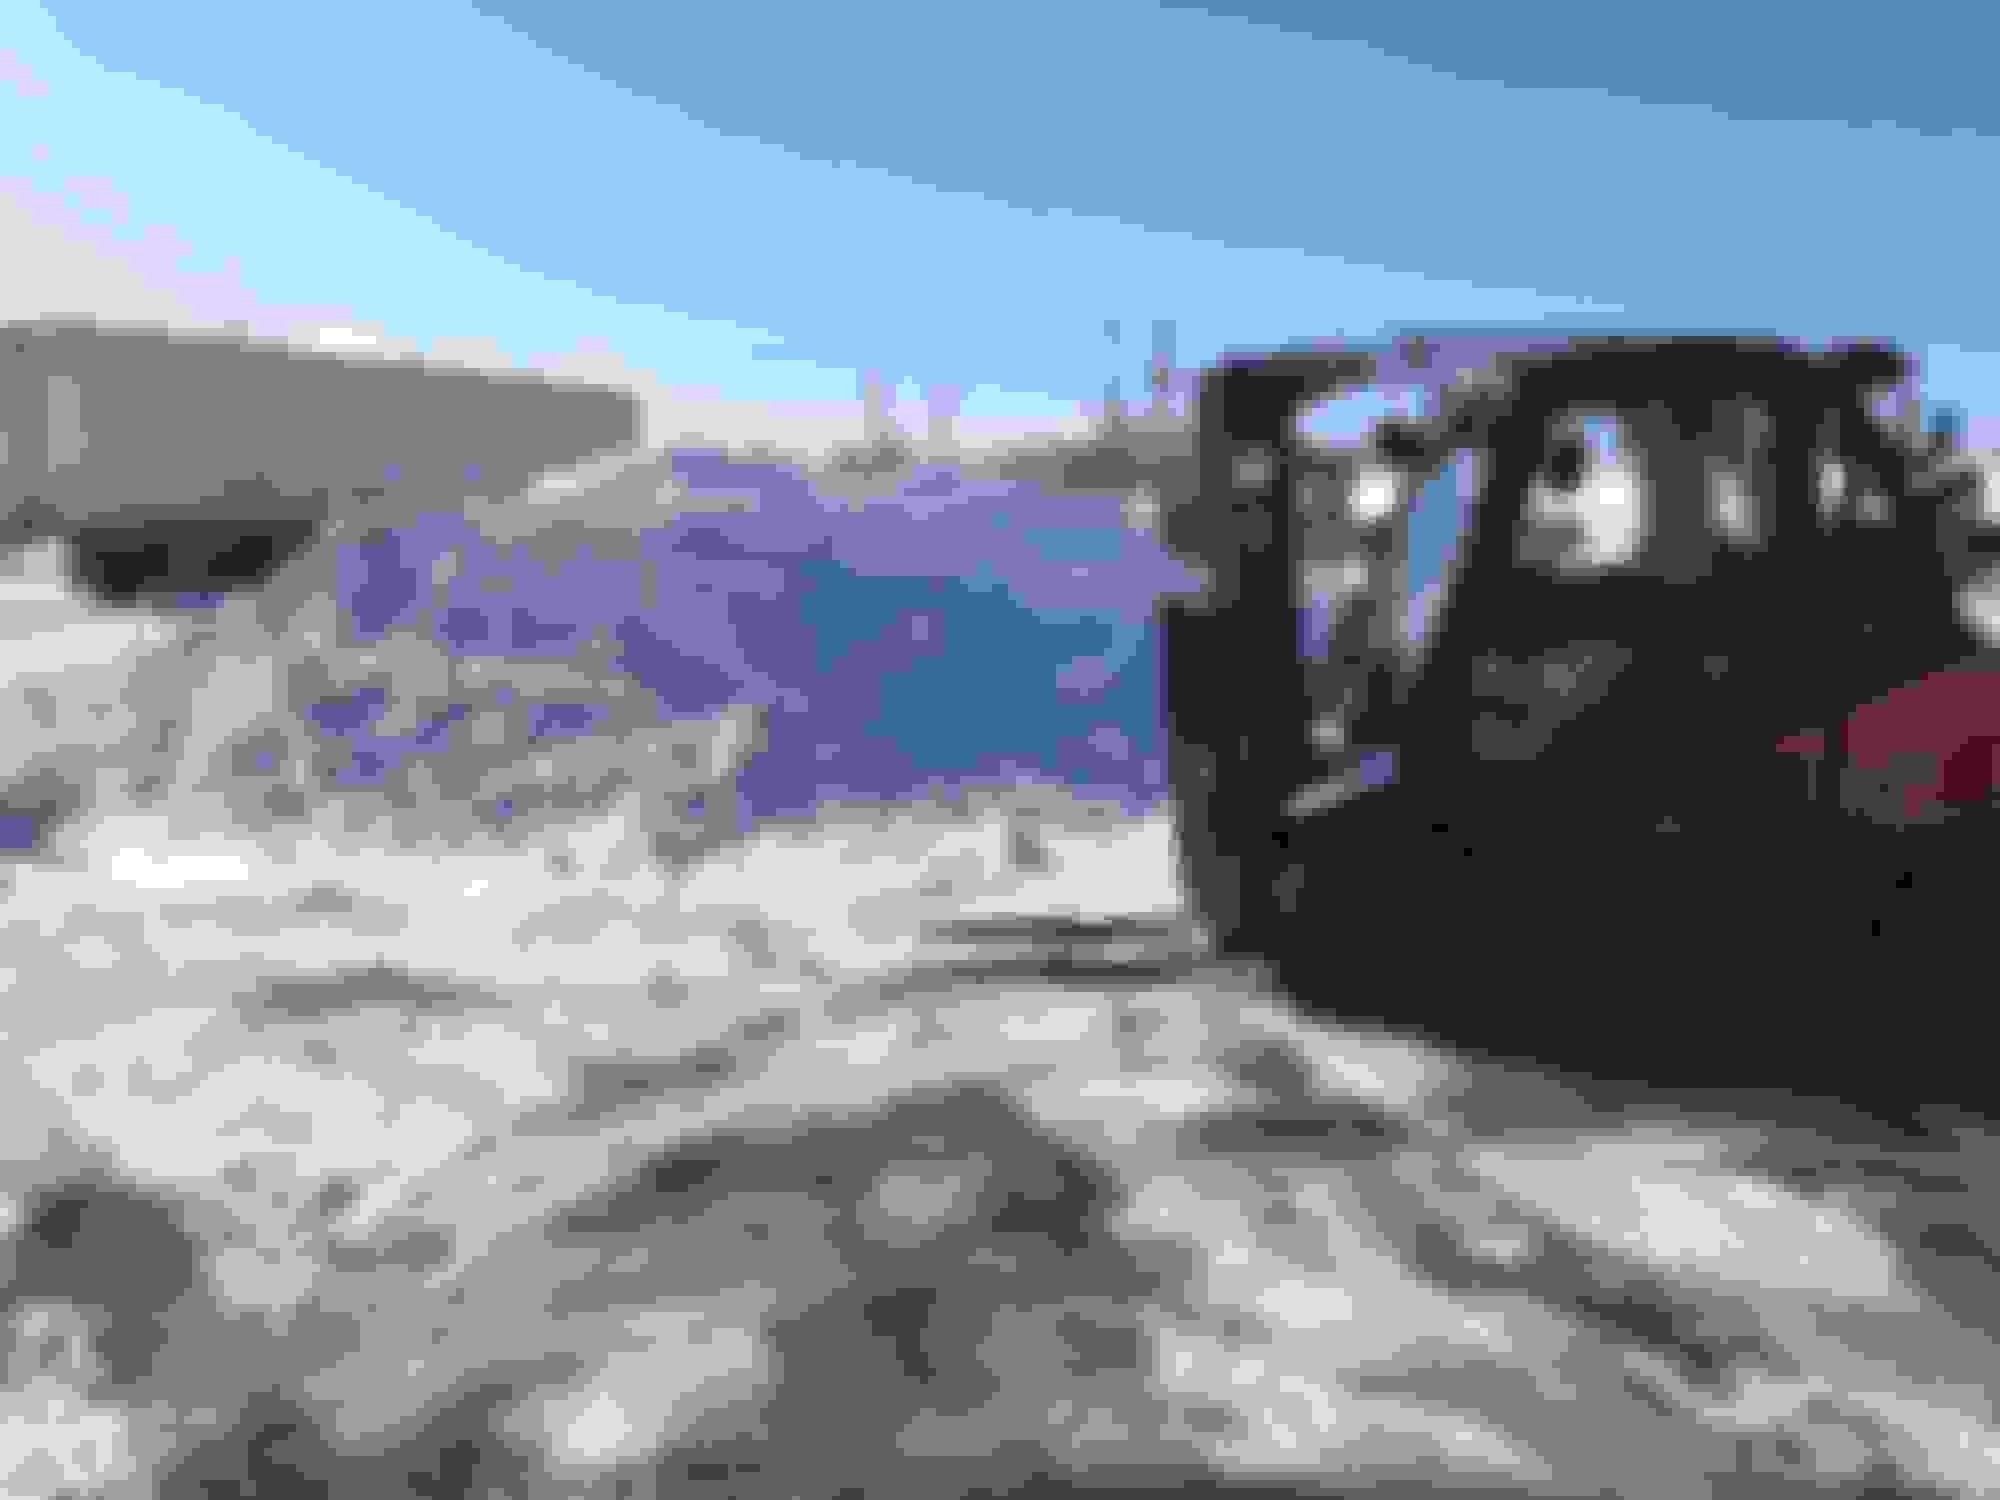
My lift truck is 7 1/2 feet tall. The pile of snow behind it is about a foot taller. (Ever see a Porsche lift truck?_

My lift truck is 7 1/2 feet tall. The pile of snow behind it is about a foot taller. (Ever see a Porsche lift truck?_


Thread Starter
|
Champion
Joined: Jan 2013
Posts: 4,737
Likes: 374
From: Northwest Louisiana
Got part of the install done for my bed lights.
Drilled a hole in the driver's side stake pocket (relax, it's below the bottom of the stake pocket)

Then there's that panel I linked to earlier slipped into place after massaging it with a stone in my roto tool.
And finally a shot of some of the holes through the bed top rail for mounting the LEDs underneath.

The nearest equivelent I've found currently to the strips I'm using are
12V WARM WHITE LED MODULE STRIP | All Electronics Corp.
Mine have two holes, one on each end, for each module; that one has one hole, and would be even easier to mount underneath.
Thought folks would like to know what I've been doing.
EDIT: The ones I'm using weren't listed where I thought they'd be ... they're 12VDC LED Strip Light | MPJA.COM .
RwP
Drilled a hole in the driver's side stake pocket (relax, it's below the bottom of the stake pocket)

Then there's that panel I linked to earlier slipped into place after massaging it with a stone in my roto tool.

And finally a shot of some of the holes through the bed top rail for mounting the LEDs underneath.

The nearest equivelent I've found currently to the strips I'm using are
12V WARM WHITE LED MODULE STRIP | All Electronics Corp.
Mine have two holes, one on each end, for each module; that one has one hole, and would be even easier to mount underneath.
Thought folks would like to know what I've been doing.
EDIT: The ones I'm using weren't listed where I thought they'd be ... they're 12VDC LED Strip Light | MPJA.COM .
RwP
Last edited by RalphP; Feb 27, 2021 at 07:49 PM. Reason: Added link to the lights I'm using.
Thread Starter
|
Champion
Joined: Jan 2013
Posts: 4,737
Likes: 374
From: Northwest Louisiana
In other news at Casa del Phillips -
Replaced the headlight relay harness; the old one was corroding inside the insulation (!!!) and I had lost high beams at the passenger side.
Replaced the ring terminal on the ground side of the subwoofer - it had broken off due to flexing with age.
I now have lights and bass! Let me tell you, Tim Foust sounds a LOT better with the sub working (from Home Free).
RwP
Thread Starter
|
Champion
Joined: Jan 2013
Posts: 4,737
Likes: 374
From: Northwest Louisiana
On the bed lights -
My nuts were not the right ones to use with the 4/40 screws; I have some 4/40 keeper nuts ordered to make sure the lights don't flop around.
Also - one thing that had me slightly concerned was the "12V +- .5V" rating. I had a waterproof buck converter to keep it at about 9V planning that the lights would still work but be dimmer; I found this
AmazonSmile: DC Voltage Reducer Converter, MELIFE Waterproof Automatic Buck Boost Converter DC-DC 8V-40V to 12V 6A 72W Step Down Up Power Supply Regulator Module Transformer: Home Audio & Theater
while cruising Amazon the other day - so even down to 8V battery I'll have full light, and if the alternator zooms to 15V out I won't blow the lights.
Not a bad idea.
Put the switch on the input to it, and there won't even be vampire drain.
Also got in my DPDT switches with the boots ... TWTADE 3 Pcs Toggle Switches 3 Pin 3 Position ON/Off/ON SPDT Heavy Duty Rocker Toggle Switch 16A 250VAC Spade Terminal Metal Bat Switch with Waterproof Boot Cap and 6.3mm Terminal Wires TEN-1122MZX: AmazonSmile: Industrial & Scientific
So now to run wiring and bolt the lights in place so I can replace my topper.
RwP
Thread Starter
|
Champion
Joined: Jan 2013
Posts: 4,737
Likes: 374
From: Northwest Louisiana
Today I am finally mounting the LED panels in the bed.
I may not get them wired up today - but once mounted, I can replace the topper and finish cleaning up the front yard, so there's that.
RwP
I may not get them wired up today - but once mounted, I can replace the topper and finish cleaning up the front yard, so there's that.
RwP