

Ram Body work


Professional
Joined: Sep 2011
Posts: 101
Likes: 0
a panel crimper works good,wore out two of them over the years. another trick you could try is pressing a flat piece of copper on the back side of the panel you are welding. is will absorb heat and help prevent warping. best thing overall take your time and don't put a deadline on your self for paint. it never hurts to stand back look over your work and have a few thinking beers.
Record Breaker
Joined: Aug 2010
Posts: 2,241
Likes: 12
From: Ohio
a panel crimper works good,wore out two of them over the years. another trick you could try is pressing a flat piece of copper on the back side of the panel you are welding. is will absorb heat and help prevent warping. best thing overall take your time and don't put a deadline on your self for paint. it never hurts to stand back look over your work and have a few thinking beers.

Thread Starter
|
Legend
Joined: Jul 2011
Posts: 8,259
Likes: 4
From: Austin, TX
The good news is there is no hurry. I have another truck to drive as this one was picked up for a project truck. I just want it right. Never did body work but always wanted to learn. Figured it would be a good project to learn...along with the other project cars I have....and looking at picking up a 65 mustang and a 54 Chevy Bel Air and another jag for a donor.
Going to try to find a panel crimper. Just like the fact that it will be a stronger joint. Probably gotto order online....small town, not much in resources for tools.
Going to try to find a panel crimper. Just like the fact that it will be a stronger joint. Probably gotto order online....small town, not much in resources for tools.
Thread Starter
|
Legend
Joined: Jul 2011
Posts: 8,259
Likes: 4
From: Austin, TX
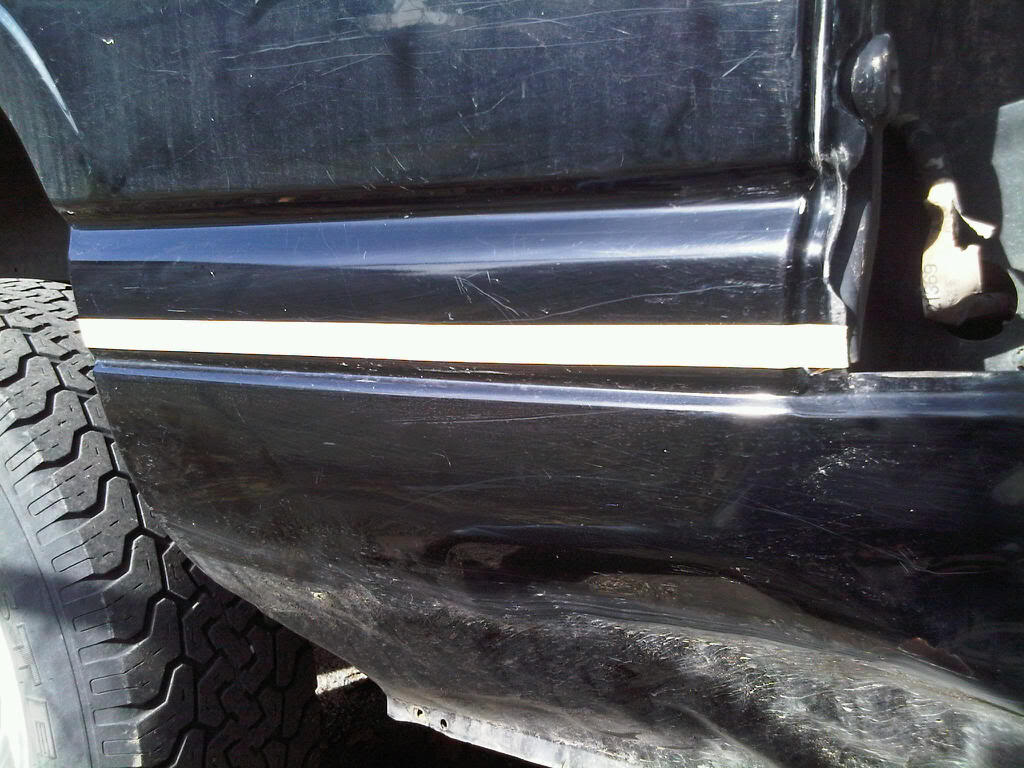
Found a panel crimper. Cut off beat up panel and practiced on it for a bit just to make sure what I was doing.
Panel marked after measurement before cuttin.
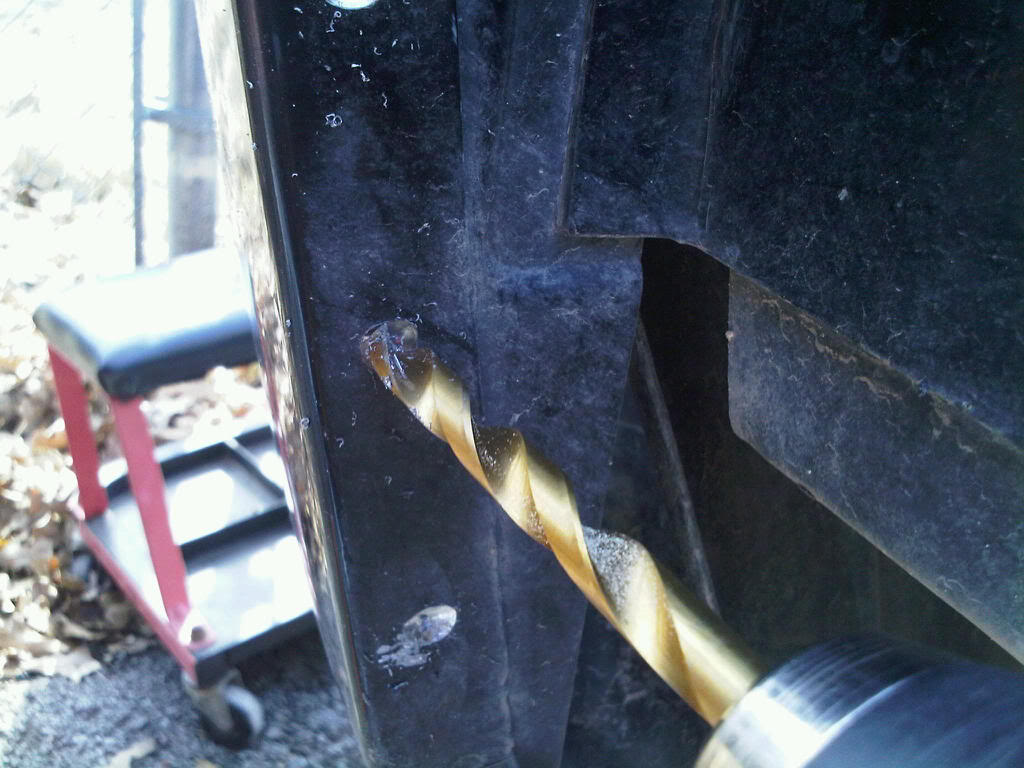
Drilled out spot welds on corner pieces.
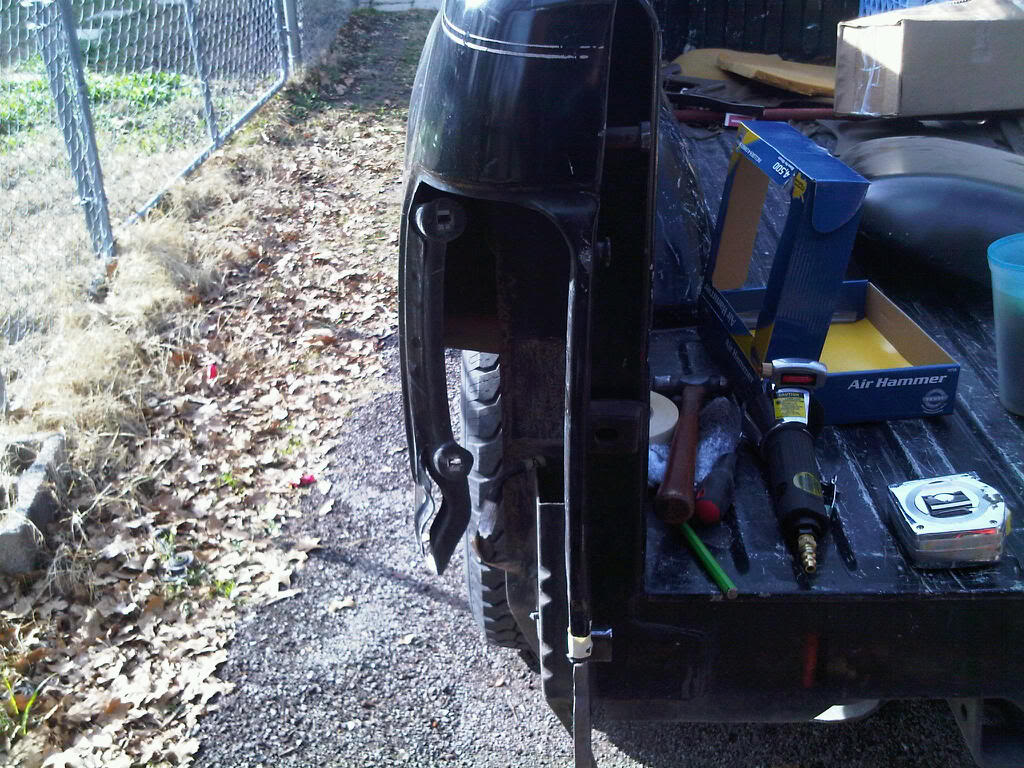
Damaged piece cut off.
Starting crimp. It took about 3 passes to get enough offset:

Crimp:
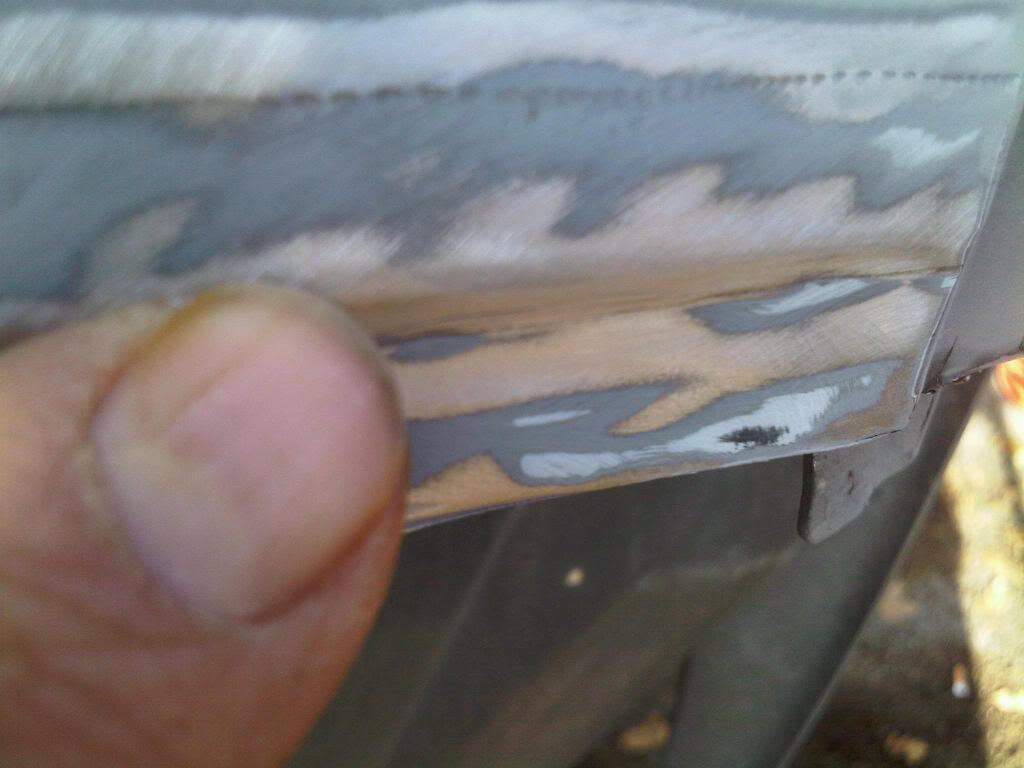
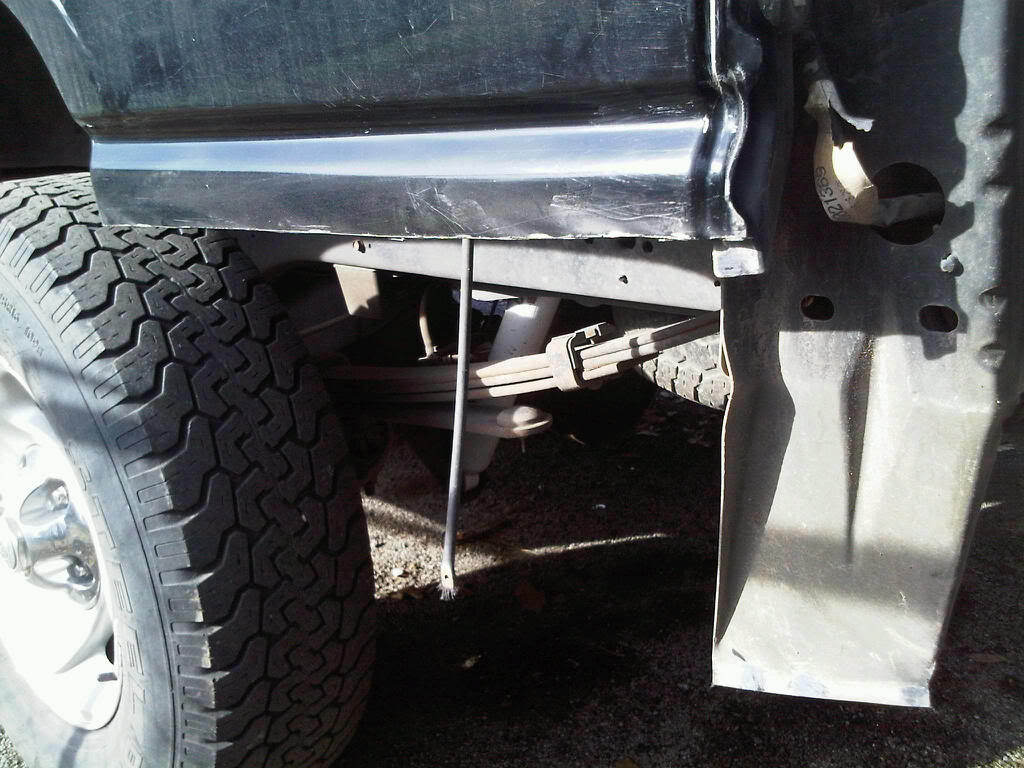
Panel clamped on to check fit:

About 200 small tacks to hold it in place and keep from getting too hot.
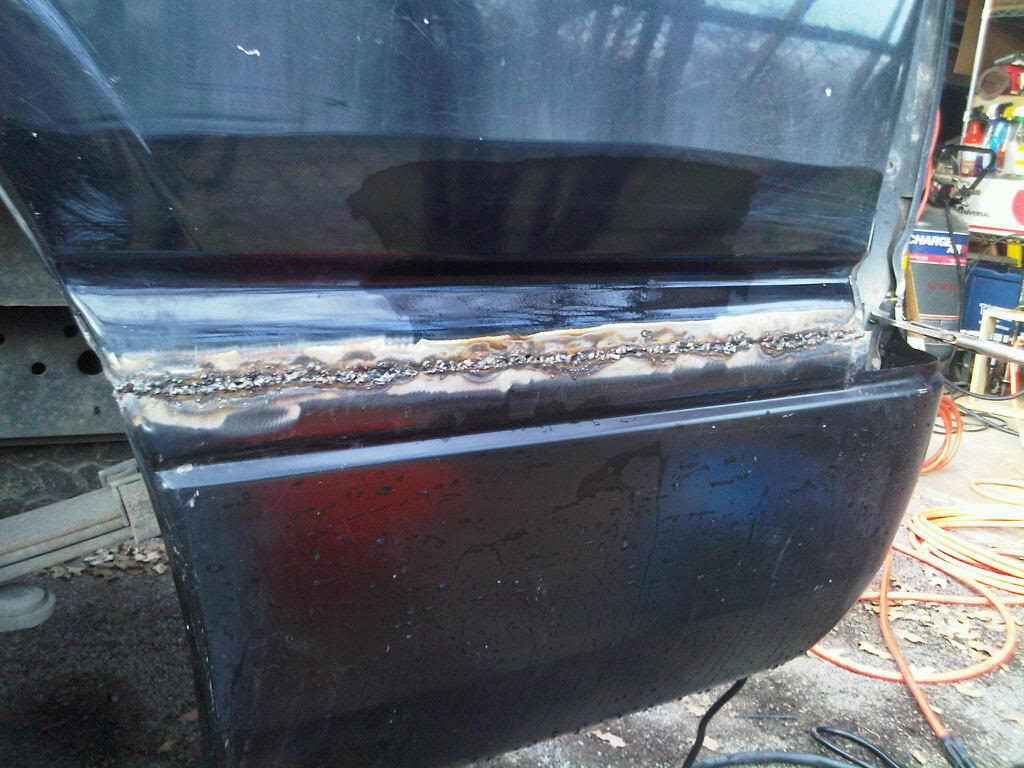
This was ground sown slightly, welder turned up a little and welded over by 1" weld spaced about 3" apart, then a new set of welds starting at end of previous weld laid about 30 minutes later to keep heat to a minimum. So weld is now solid across seam, ground smooth and sanded, but it was too dark to take a photo. Will have to do that tomorrow. No warpage, no holes, smooth joint. Will sand well and fill (if needed) tomorrow. Took all afternoon, but worked hard to not get in a hurry.
Panel marked after measurement before cuttin.
Drilled out spot welds on corner pieces.
Damaged piece cut off.
Starting crimp. It took about 3 passes to get enough offset:
Crimp:
Panel clamped on to check fit:
About 200 small tacks to hold it in place and keep from getting too hot.
This was ground sown slightly, welder turned up a little and welded over by 1" weld spaced about 3" apart, then a new set of welds starting at end of previous weld laid about 30 minutes later to keep heat to a minimum. So weld is now solid across seam, ground smooth and sanded, but it was too dark to take a photo. Will have to do that tomorrow. No warpage, no holes, smooth joint. Will sand well and fill (if needed) tomorrow. Took all afternoon, but worked hard to not get in a hurry.
Professional
Joined: Sep 2011
Posts: 101
Likes: 0
the tail light lens have a large overlap so there forgiving if your slightly off but it looks very close in the pics..i would spray the back side with rocker guard, the asphalt type that does not harden just in case you have any pin holes. at the rate your going your going to have color on in no time. looking good.
Thread Starter
|
Legend
Joined: Jul 2011
Posts: 8,259
Likes: 4
From: Austin, TX
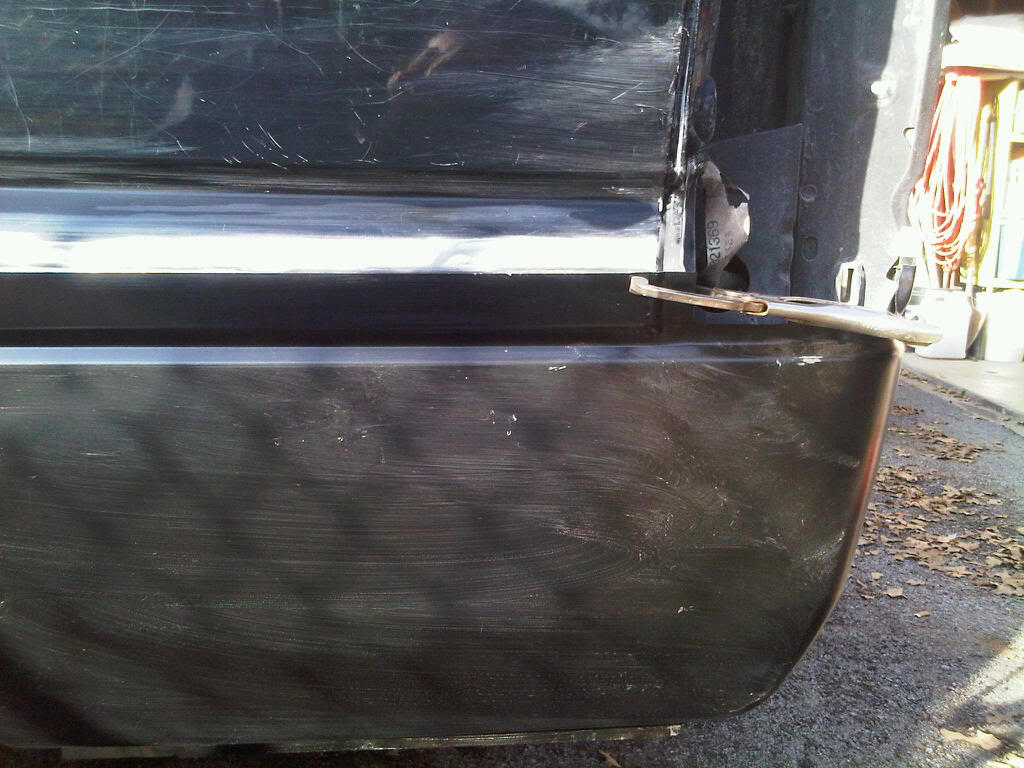
Took about an hour to do the welding. Worked very slow to keep heat down. While I had it clamped, I put tape to hold and removed clamp to test fit tail light to make sure it would fit. Then reclamped and tacked.
Hope to get other side done tomorrow. Still have a bunch of little dings to pull and fill. It will look like a dalmation in reverse when I get all the spots done.
Hope to get other side done tomorrow. Still have a bunch of little dings to pull and fill. It will look like a dalmation in reverse when I get all the spots done.
Captain
Joined: Dec 2007
Posts: 665
Likes: 0
From: Brussels, WI
If it were me, I would have used some SEM on there. Put SEM on the panel then use the crimpers or vise crips to hold it on and let it dry. Shoot a tack weld on the outer edges and there ya go. No worries about warping or anything.
That's just me.
That's just me.
Thread Starter
|
Legend
Joined: Jul 2011
Posts: 8,259
Likes: 4
From: Austin, TX
What is SEM?

Professional
Joined: Nov 2010
Posts: 141
Likes: 0
From: salem
bubbles in paint can also be caused from water in the air line from condensation in the compressor always let the water out the bottom of your compressor and use an in line filter. Bubbles in body filler come from poor prep and lack of a sealer used after applying bondo before applying primer. Harbor Freight is AWESOME!!