

Ram Body work

Captain
Joined: Dec 2007
Posts: 665
Likes: 0
From: Brussels, WI
What google broke?
http://semaerospace.com/Catalog.asp?prod=89
That's what I put my boxsides on with. Stuff is great. Local Carquest has it in stock up here. So a parts store near you should have it if not get some. It's like JB weld on steroids.
http://semaerospace.com/Catalog.asp?prod=89
That's what I put my boxsides on with. Stuff is great. Local Carquest has it in stock up here. So a parts store near you should have it if not get some. It's like JB weld on steroids.
Thread Starter
|
Legend
Joined: Jul 2011
Posts: 8,259
Likes: 4
From: Austin, TX
What google broke?
http://semaerospace.com/Catalog.asp?prod=89
That's what I put my boxsides on with. Stuff is great. Local Carquest has it in stock up here. So a parts store near you should have it if not get some. It's like JB weld on steroids.
http://semaerospace.com/Catalog.asp?prod=89
That's what I put my boxsides on with. Stuff is great. Local Carquest has it in stock up here. So a parts store near you should have it if not get some. It's like JB weld on steroids.
Nope. Not broke. I found that website, but did not see the panel adhesive. Don't know if I trust and adhesive. Think I would rather weld. Intersting concept though.
Administrator


Joined: Apr 2010
Posts: 87,393
Likes: 4,213
From: Clayton MI
That's pretty much the same stuff they use to put 3rd gen camaro's together with. Makes for a solid connection. A combination of adhesive, and a few strategic welds would never give you a problem.
Thread Starter
|
Legend
Joined: Jul 2011
Posts: 8,259
Likes: 4
From: Austin, TX
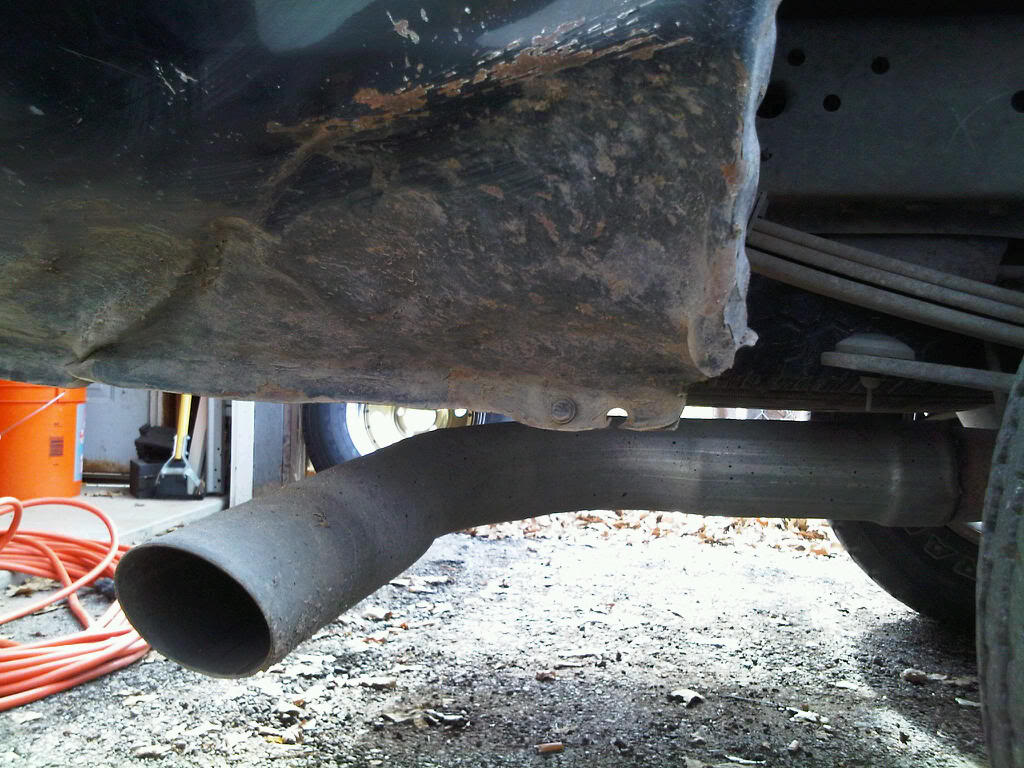
So here is where I started from today. Right lower panel dented pretty bad. That�s two out of two!
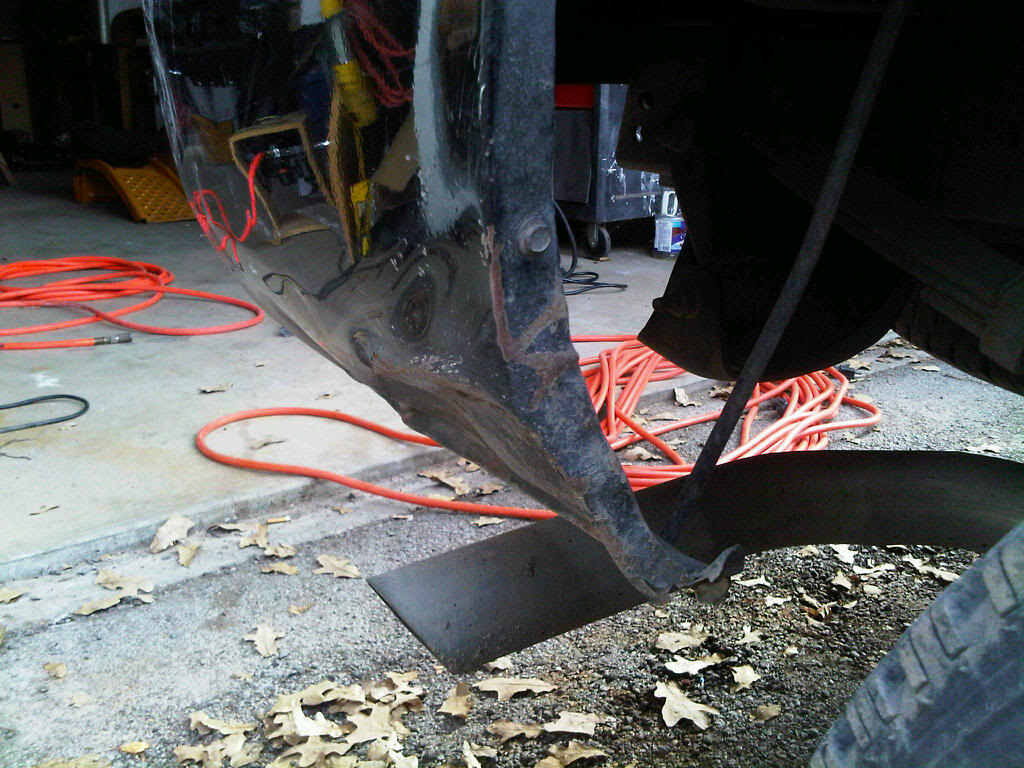
Marking line to cut 1 1/8� above lower groove in panel:
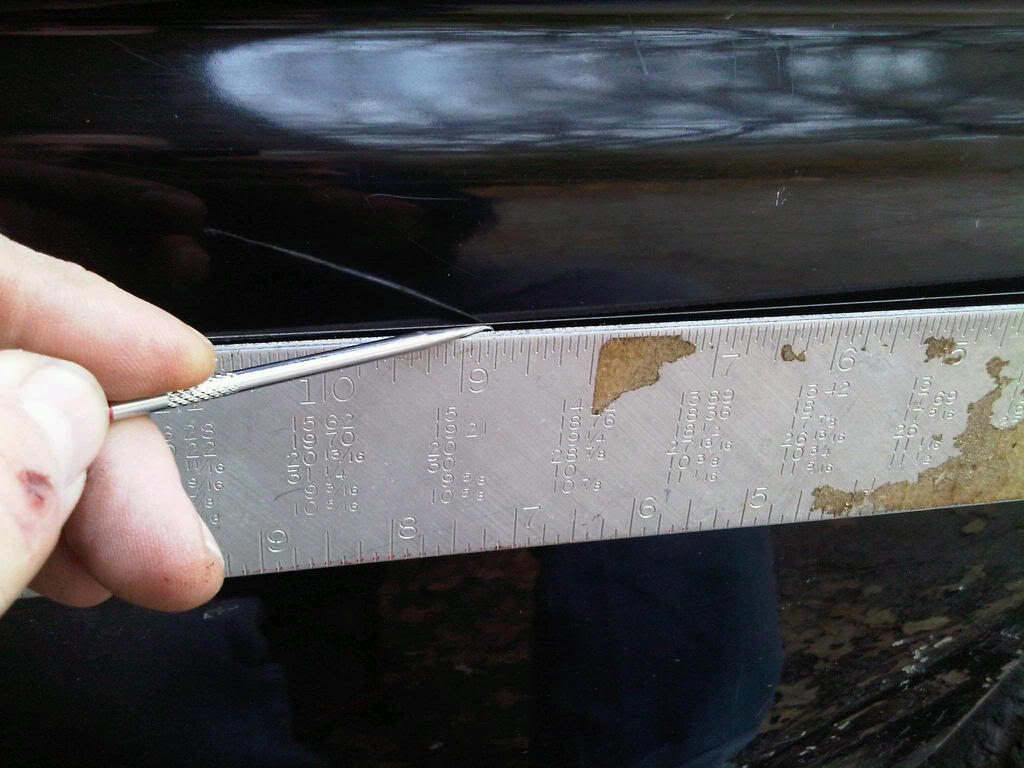
Scribed mark:

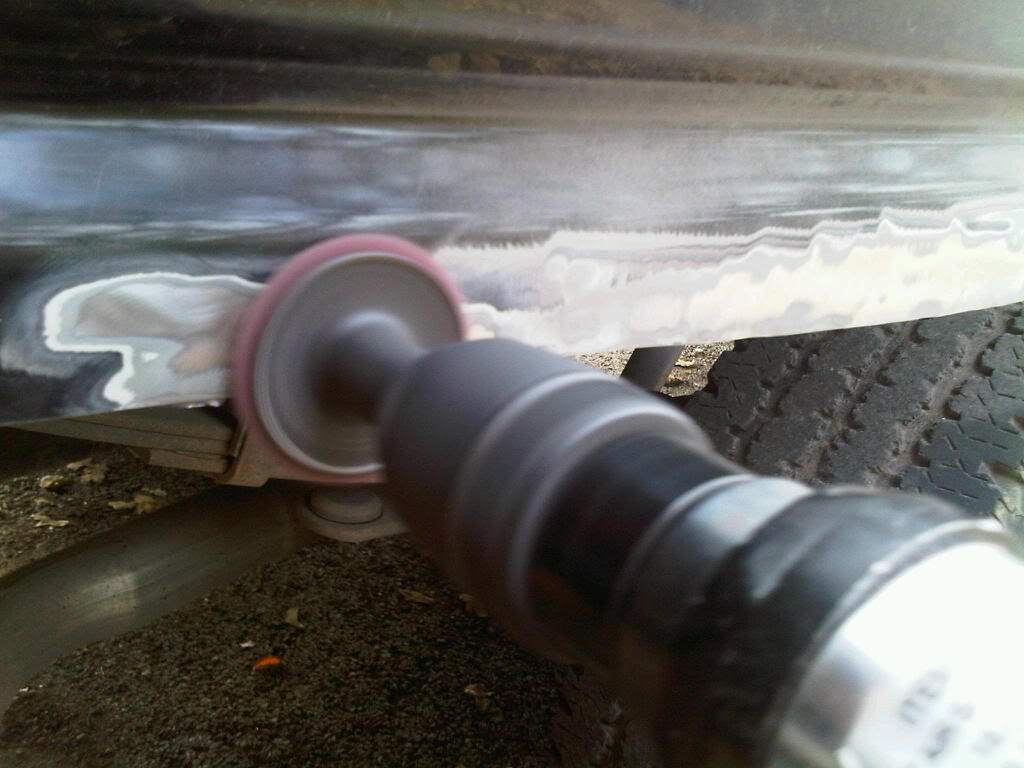
Panel cut off, sanding paint from crimp and weld area:
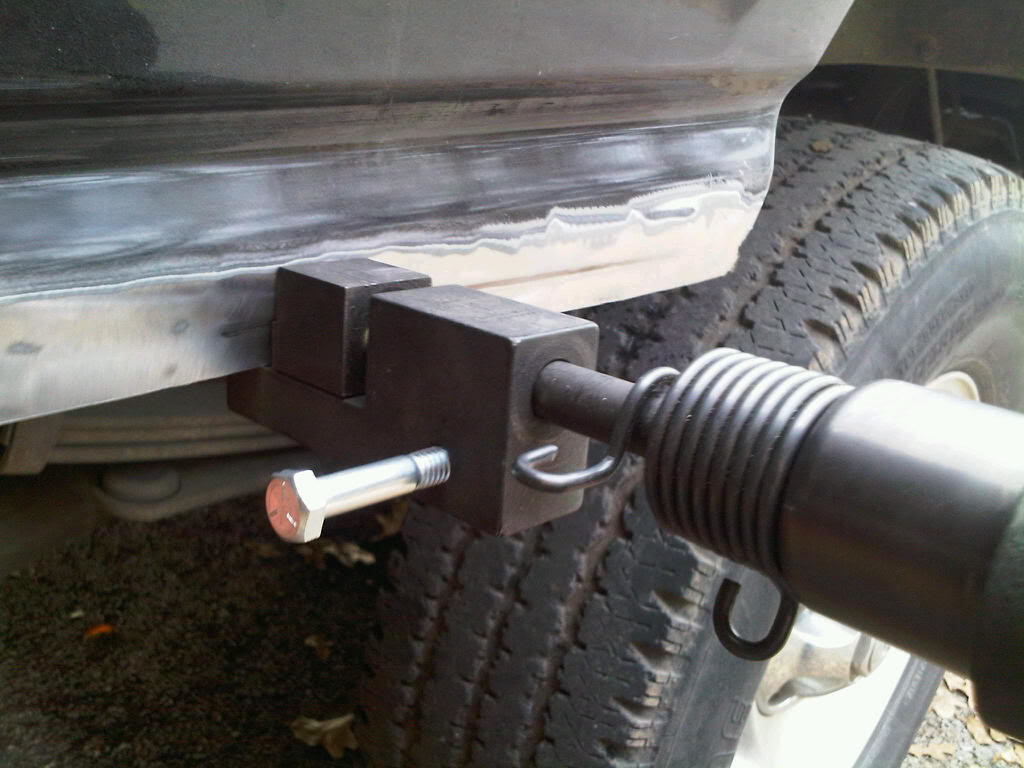
Crimping panel. This is a Snap On tool. I thought there was no way I could find one is this small town, but the local tool rental place had one. Not for rent, but in the owner�s tool box. His elderly mother lives next door to me and I take vegetables form my garden to her all summer. For you youngsters, it pays to take care of elderly folks! He did not charge me rent for this!
Panel tacked into place:
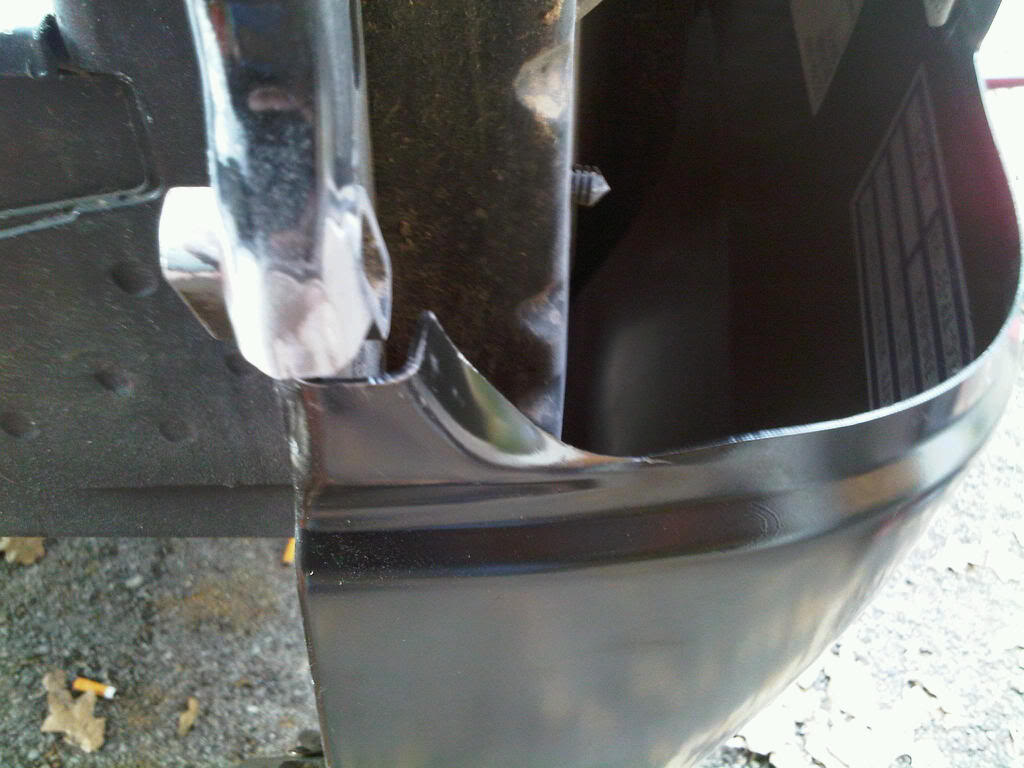
Little misfit at back end. Piece is a little wide. Tacked in center and tapped sides to match, then checked tail light fit.
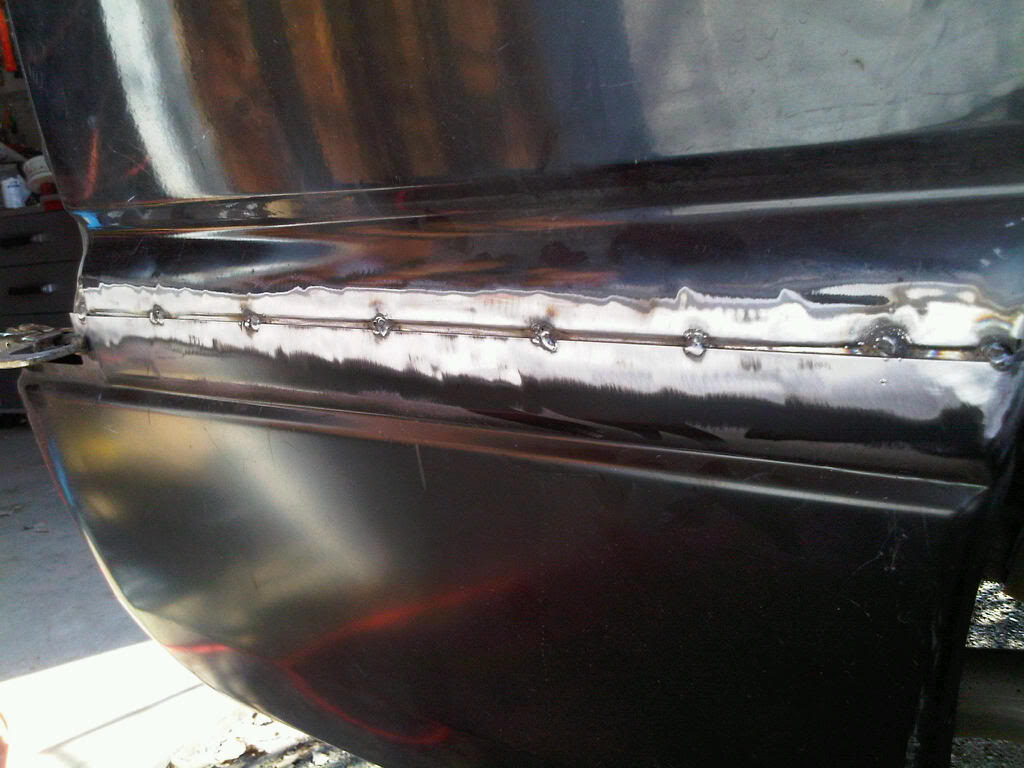
Forget to take photo after weld and grind. Here it is after clean and fill.


Marking line to cut 1 1/8� above lower groove in panel:
Scribed mark:
Panel cut off, sanding paint from crimp and weld area:
Crimping panel. This is a Snap On tool. I thought there was no way I could find one is this small town, but the local tool rental place had one. Not for rent, but in the owner�s tool box. His elderly mother lives next door to me and I take vegetables form my garden to her all summer. For you youngsters, it pays to take care of elderly folks! He did not charge me rent for this!
Panel tacked into place:
Little misfit at back end. Piece is a little wide. Tacked in center and tapped sides to match, then checked tail light fit.
Forget to take photo after weld and grind. Here it is after clean and fill.
Thread Starter
|
Legend
Joined: Jul 2011
Posts: 8,259
Likes: 4
From: Austin, TX
Thanks. I won't get much done this week. Taking off about Wednesday to head to the valley. Gotta spend Christmas spoiling grandkids. WIll work on sanding fill off and on if weather holds and have to replace clutch master cylinder and slave in Yota tomorow. Think they would make things last more that would last more than 15 years and 275,000 miles....
Thread Starter
|
Legend
Joined: Jul 2011
Posts: 8,259
Likes: 4
From: Austin, TX
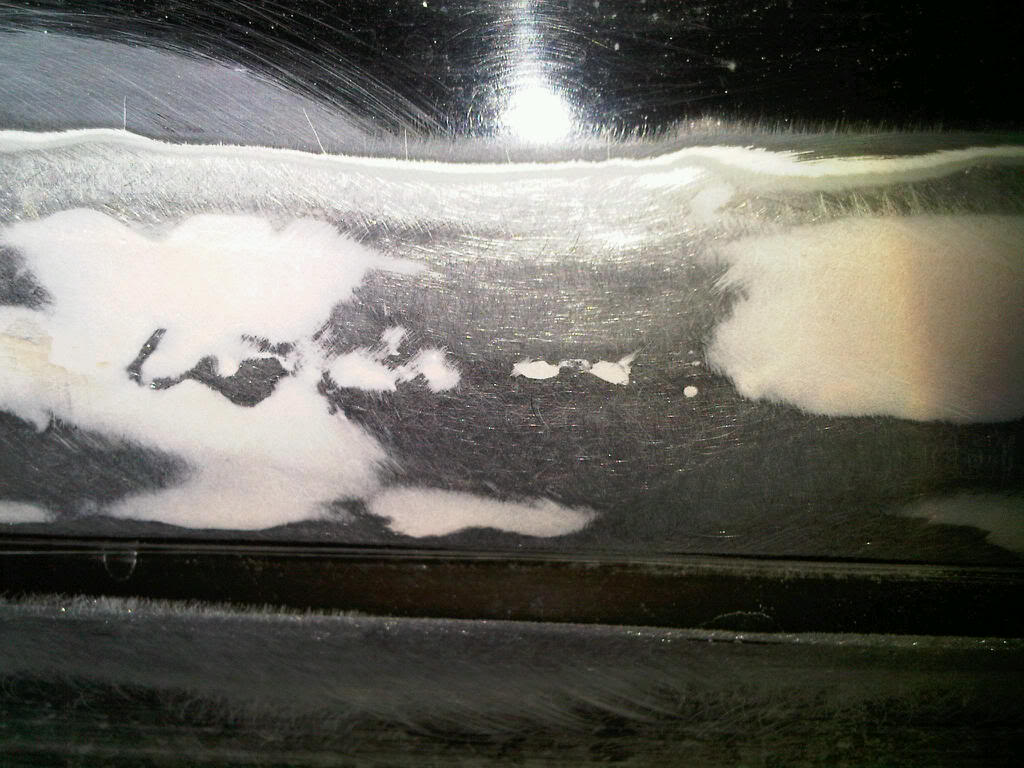
Didn't get time to work on Ram much. Had to replace wipers on Yota and wife's car, replace clutch cylinders on Yota and fender skirts on wofe's car. But I did a few minutes of sanding on Ram. Smoothed up good, and leaving minimal amount of filler in welds.
Going to far South Texas for Christmas with grandkids, so won't be working on truck until middle of next week at best.
Going to far South Texas for Christmas with grandkids, so won't be working on truck until middle of next week at best.
Record Breaker
Joined: Aug 2010
Posts: 2,241
Likes: 12
From: Ohio
As a rule of thumb, when you sand the existing paint away from your work area, its 1 inch for every layer.
Example: metal, start of primer, 1 in., start of color, 1 in., start of clear.
This is to feather the edges good for the best possible flat surface.
I think I got it explained, but if not I can try to elaborate more if need be.
Example: metal, start of primer, 1 in., start of color, 1 in., start of clear.
This is to feather the edges good for the best possible flat surface.
I think I got it explained, but if not I can try to elaborate more if need be.
Captain
Joined: Oct 2009
Posts: 607
Likes: 0
From: Moncton , New Brunswick
Got mine Finished ! All back together , rear bumper is next .
http://s844.photobucket.com/albums/a...Work2_0001.mp4
http://s844.photobucket.com/albums/a...Work2_0001.mp4