

Ram Body work

Thread Starter
|
Legend
Joined: Jul 2011
Posts: 8,259
Likes: 4
From: Austin, TX
That is why you keep burning through the paint. finish sanding, is a wetsand by hand, NEVER with a power sander. If the finish is that bad (orange peem, runs, etc), wetsand witg 600 grit, then go over it with 1000 grit, then buff. Never ever ever with an orbital or any power sander. That is for prep work only.
You can finish sand with an orbital as long as you have a foam pad. Its about �" thick and attatches to the pad of the sander. It helps prevent any "hard" spots when sanding. It does not do much of anything for a smooth finish though. It will give an OEM look (slight orange peel). In other words, these are used more in collision shops (seen and used them) than custom (never seen or used) and Ive worked in both.
Thanks, guys.
Although it is not perfect, and I am seldom, if ever, satisgfied with less than perfect, I did not set an unrealistic espectation of perfection on this project. I picked up this truck to help out a brother-in-law, and decided to keep it as a learning project. In that regard, it has been a successful venture. And it I have to sand and redo areas a number of time to get it right, it is not a problem. The only way to learn is do it until it is right. The down side is the cost has already run more than the value of the truck, but when one considers the investment in learning, then it will be a worthwhile investment. I have never been one for looking for the cheapest way out. But I have always taken pride in the things I have built.
Thread Starter
|
Legend
Joined: Jul 2011
Posts: 8,259
Likes: 4
From: Austin, TX
After a little delay due to work travel and the radiator issue, spent a little time on body work...or prepping for more.
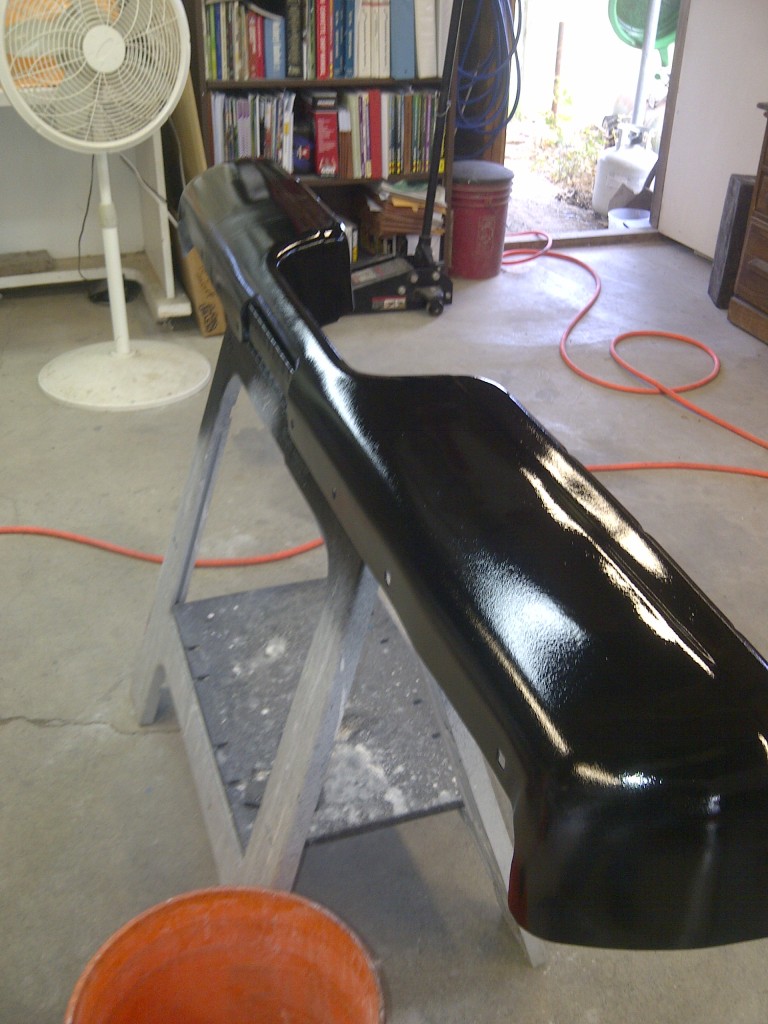
Removed rear bumper.
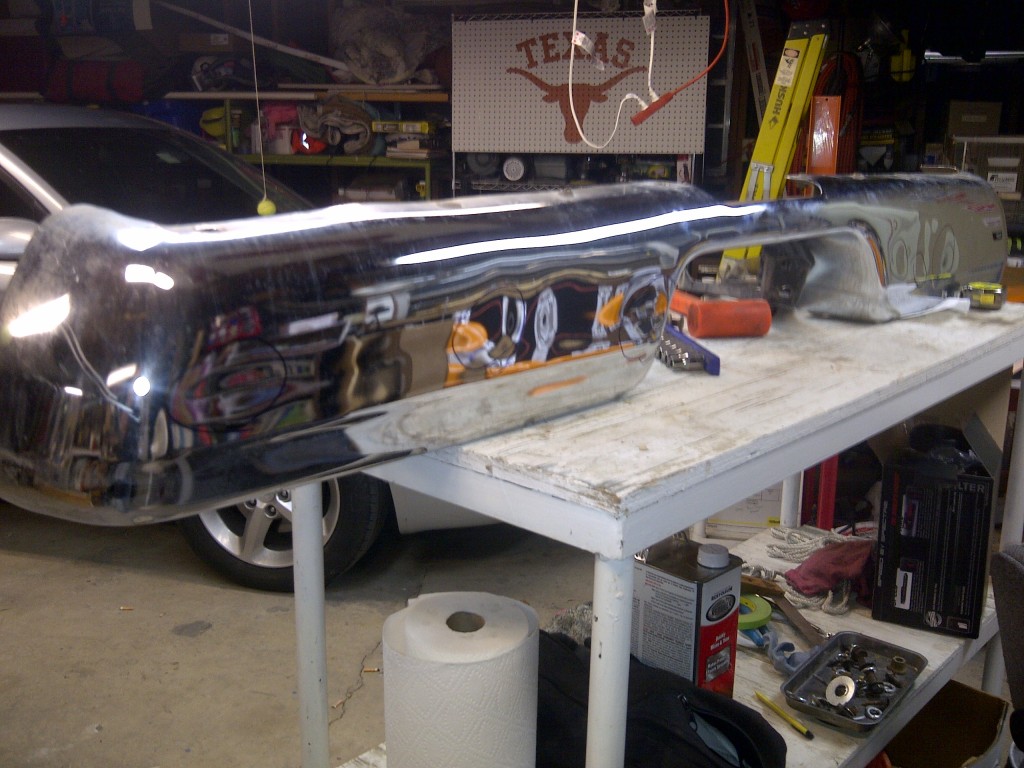
It has a couple small dents on each side.
Will try to hammer (or hydraulic press) dents out and then sand down, try to prime with etching primer and paint. Only time and effort will tell!
Removed rear bumper.
It has a couple small dents on each side.
Will try to hammer (or hydraulic press) dents out and then sand down, try to prime with etching primer and paint. Only time and effort will tell!
Thread Starter
|
Legend
Joined: Jul 2011
Posts: 8,259
Likes: 4
From: Austin, TX
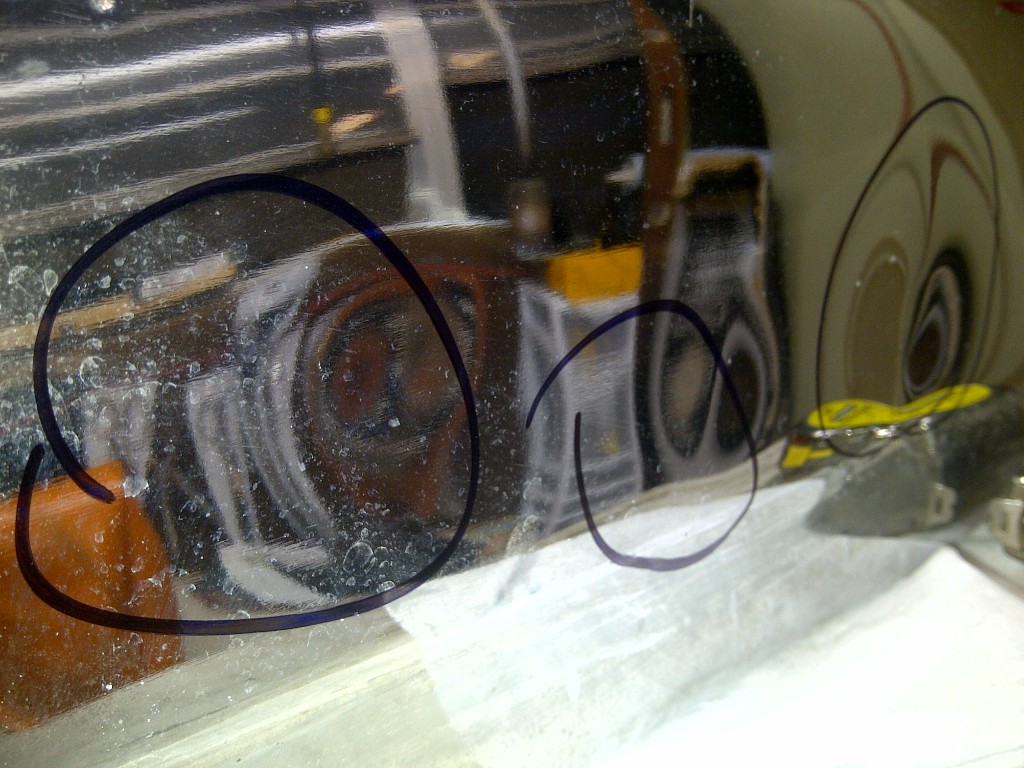
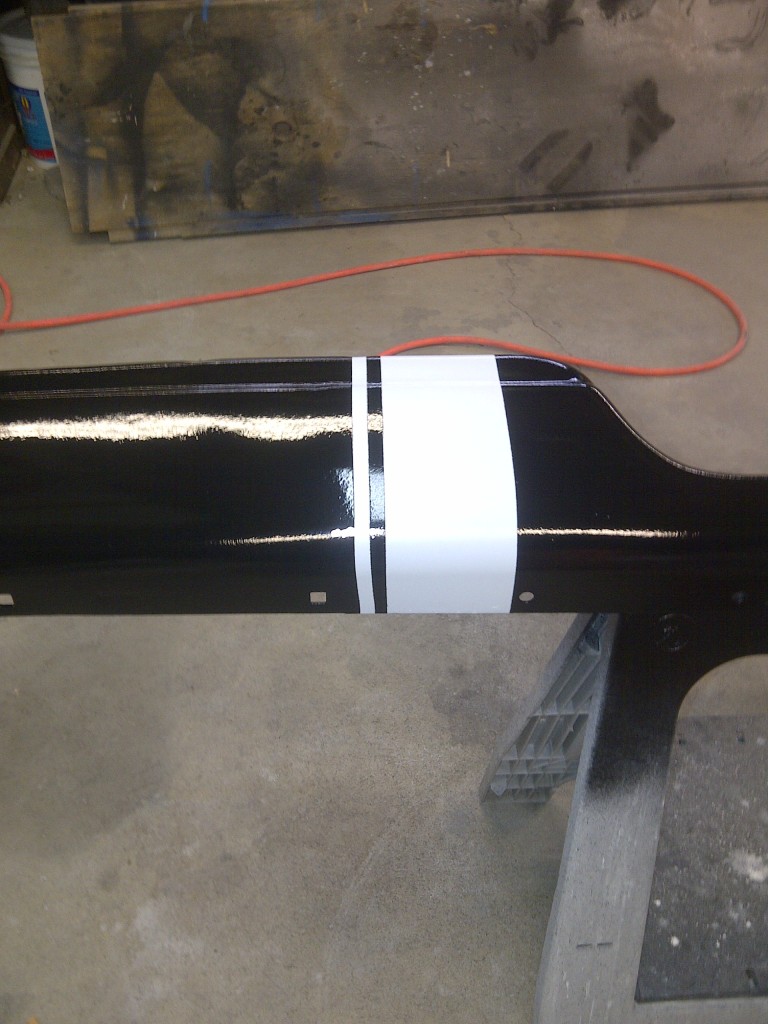
Marked the back side of bumper so I would know where the hamer out dents.
Sanded chrome with 80 grit then 120 grit. This coat of filler on some hammer marks that did not sand out.
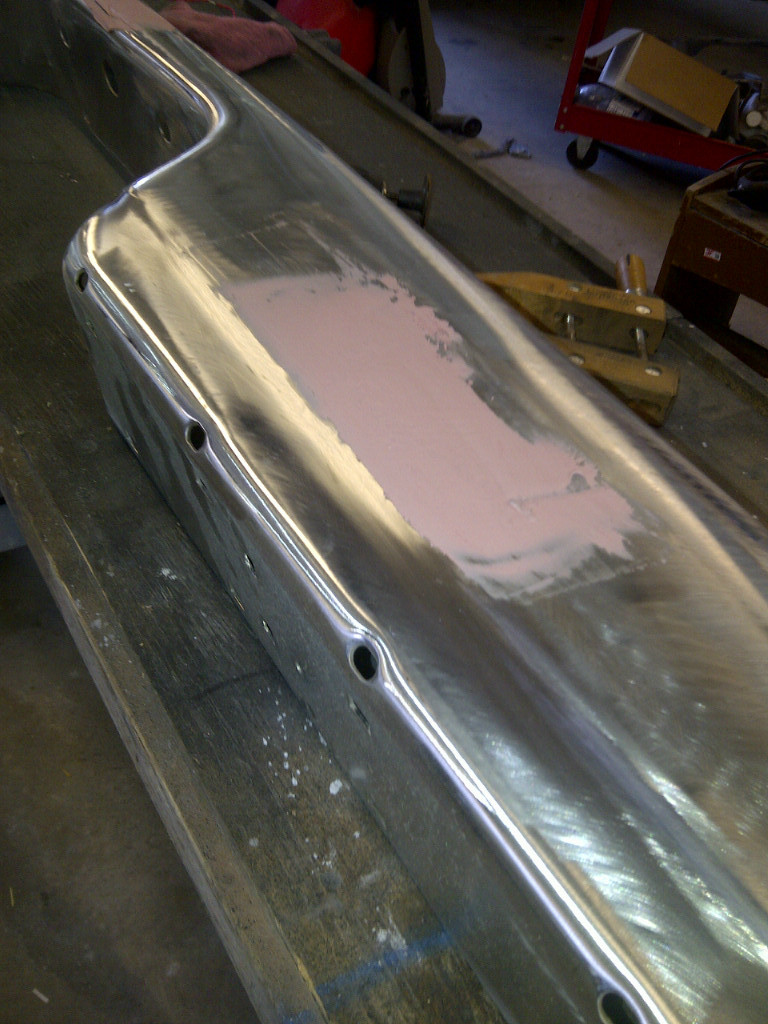
Primer and then some glzing puty on small imperfections.

Bumper painted blakc:
And of course it was masked off for blue stripe!
Sanded chrome with 80 grit then 120 grit. This coat of filler on some hammer marks that did not sand out.
Primer and then some glzing puty on small imperfections.
Bumper painted blakc:
And of course it was masked off for blue stripe!


Veteran
Joined: Sep 2010
Posts: 292
Likes: 0
From: Easton, PA
For stripes, you lay the color down on the entire vehicle, mask off your lines on the entire vehicle, cover the remaining parts with a plastic tarp, lay down color. Let it dry, clearcoat the entire vehicle with at least 3 coats. That is how you get a smooth finish.
Wetsand by hand with 600 grit wet/dry paper and a foam sanding block, buff with an "abrasive" buffing compound, then switch to a finishing compound/glaze. Different people prefer different types of pads. Some foam, some wool, go to your local paint supply store and ask them what they recommend for pads. The pad and compound will make or break the finish.
Then wax.
Black is tough to get it without swirls, but if you take your time, it will come out like glass.
We did all of the paint work on this front end. It came out looking better than the factory paint on the rest of the car

Body work is not a fast process, you will keep having to redo things over and over again if you try to speed through it (burning through paint, sanding through paint, etc).
Last edited by Girly TT; Jul 23, 2012 at 11:48 AM.
Thread Starter
|
Legend
Joined: Jul 2011
Posts: 8,259
Likes: 4
From: Austin, TX
Then you are buffing on too high of a speed, and/or with not enough compound. Lower the speed and use a proper compound and proper pad.
For stripes, you lay the color down on the entire vehicle, mask off your lines on the entire vehicle, cover the remaining parts with a plastic tarp, lay down color. Let it dry, clearcoat the entire vehicle with at least 3 coats. That is how you get a smooth finish.
Wetsand by hand with 600 grit wet/dry paper and a foam sanding block, buff with an "abrasive" buffing compound, then switch to a finishing compound/glaze. Different people prefer different types of pads. Some foam, some wool, go to your local paint supply store and ask them what they recommend for pads. The pad and compound will make or break the finish.
Then wax.
Black is tough to get it without swirls, but if you take your time, it will come out like glass.
We did all of the paint work on this front end. It came out looking better than the factory paint on the rest of the car
Body work is not a fast process, you will keep having to redo things over and over again if you try to speed through it (burning through paint, sanding through paint, etc).
My Type A personality makes me want to rush. I am learning and fixing mistakes is increasing the cost, but this is a learning project to begin with.
Thanks for the pointers. I also have a few places where I buffed too much and have to touch up. Biggest problem is I can't buy good quality paint here in town. Gotta go to the city....and can't go just any day, so this slows me down a little.
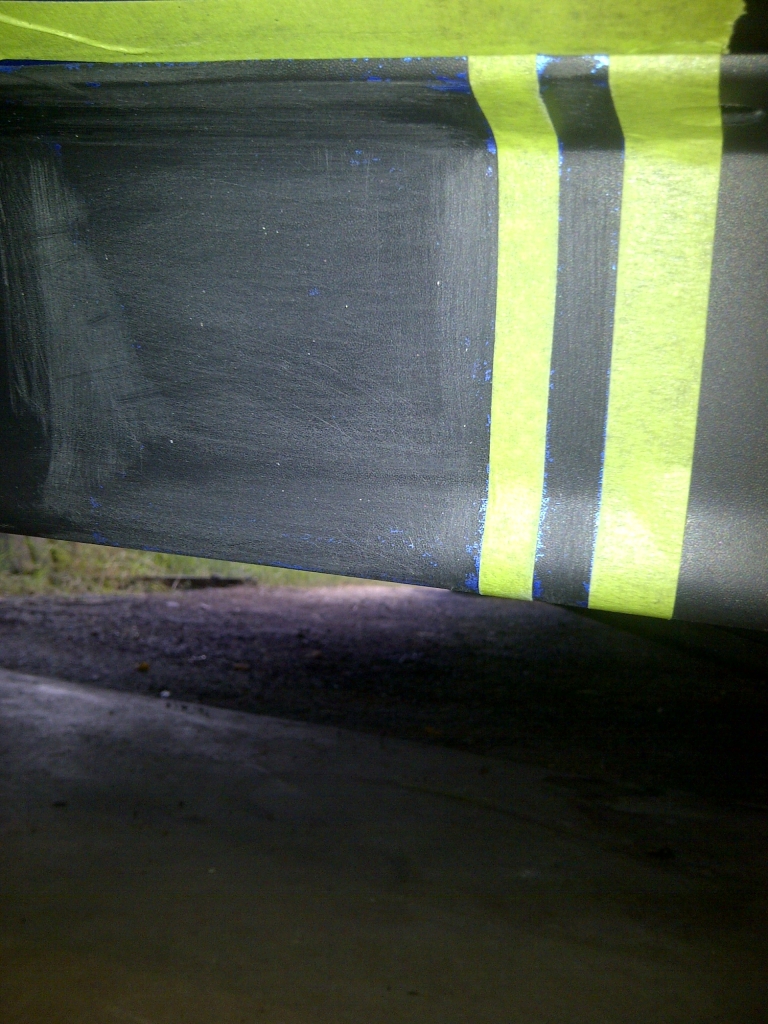
Worked on repainting the air dam where some of the blue came off and striped the bumper today. Sanded a little more than originally. You may also remember that it did not line up exactly when I put the trim pieces on the bumper, so this corrects that also. Still need to move the top bumper cap over to the pass side a little. Hood is raised a couple of inches making it look more out of line than it is....
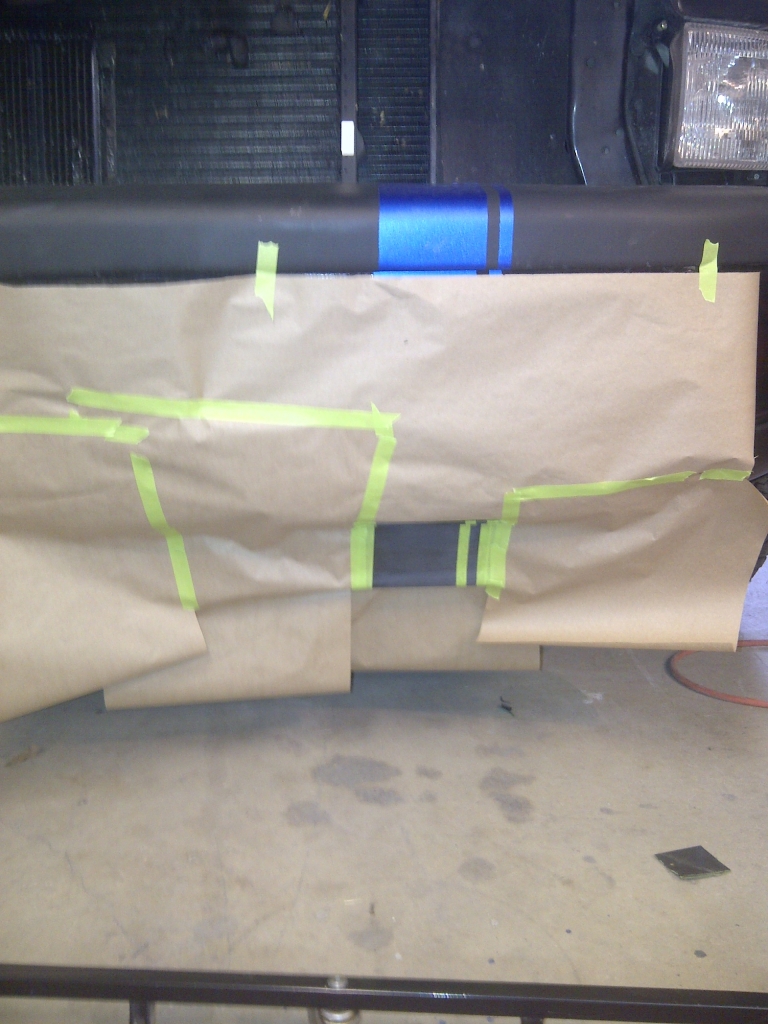

Paper used to mask bumper screwed me. Where I sprayed to set up gun, it bled through the paper and made spots on black paint....so now I have to sand and repaint the black. This was paper from Ace Hardware, and appears to be thinner than what I have been using from PPG distributor....won't use that again!
