

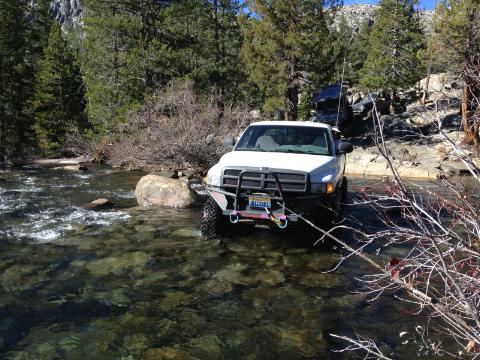
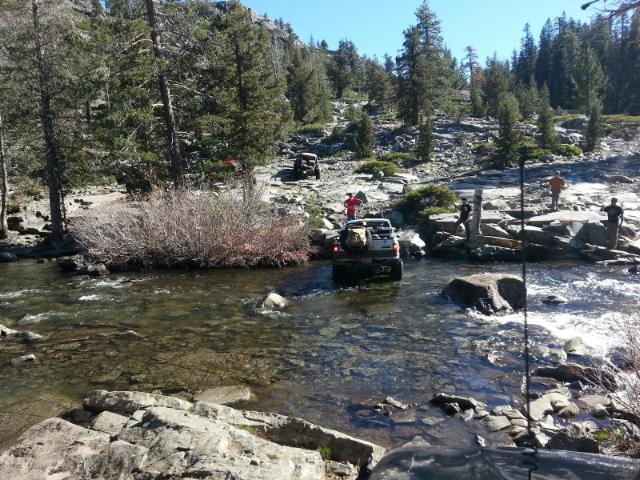
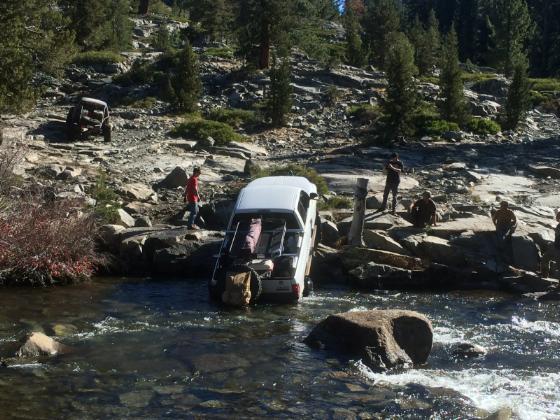
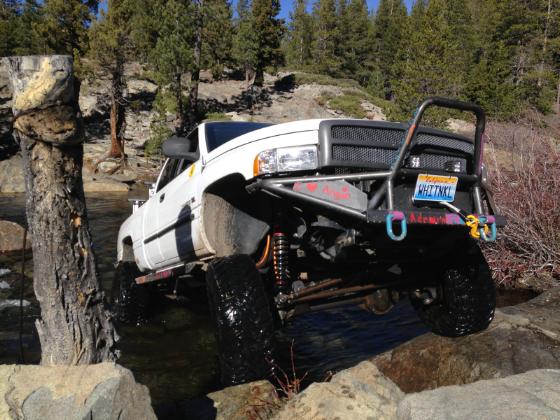
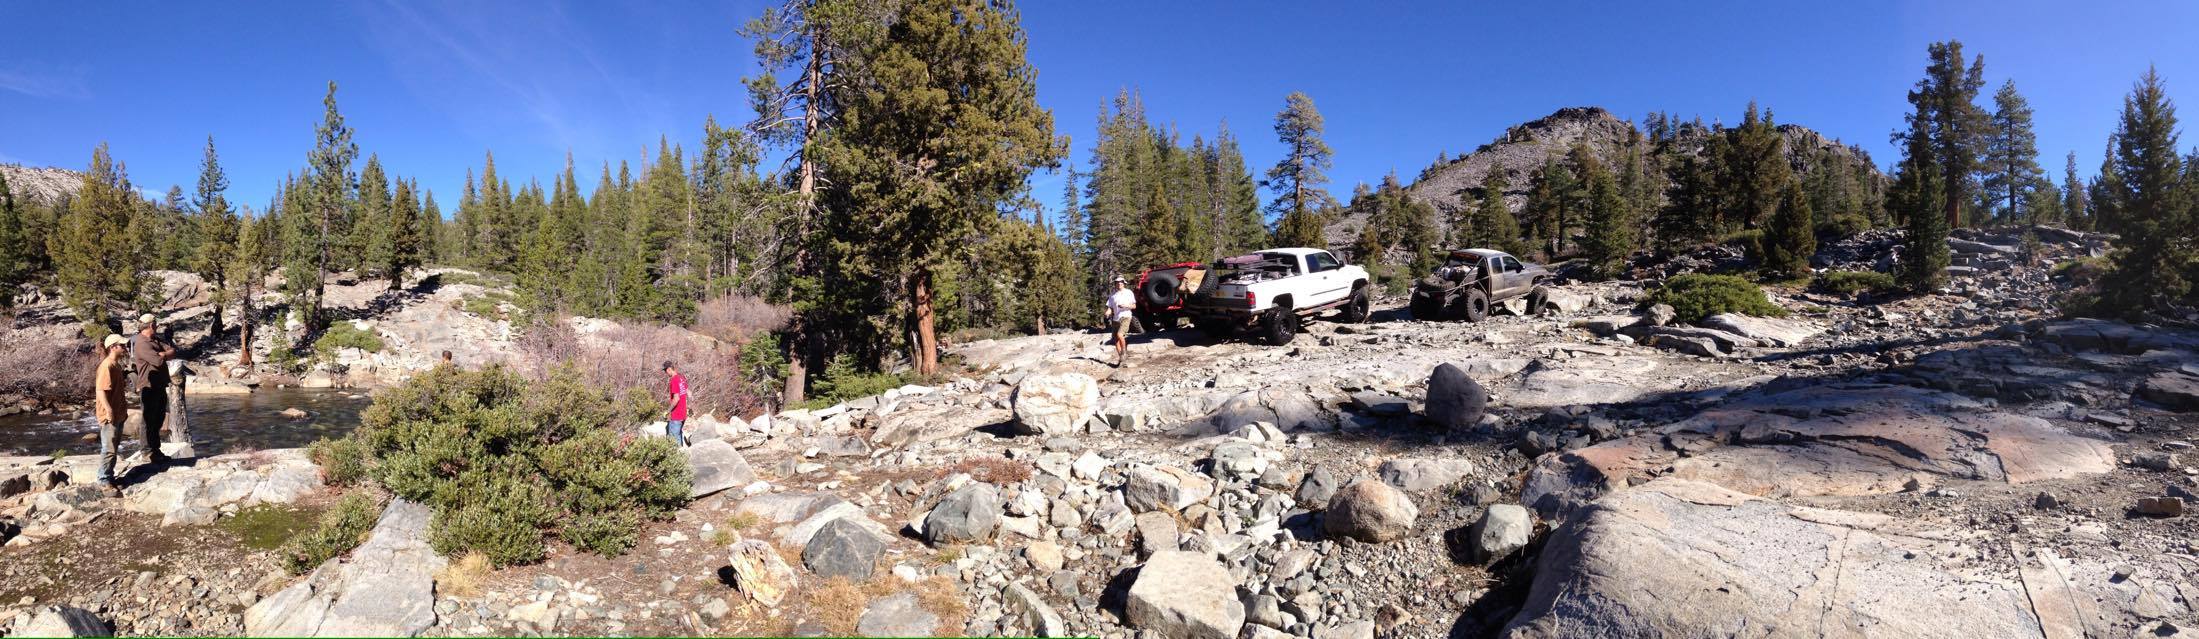
Wheeling a fullsize

Was that swaybar mount that broke a fabricated part or bought? Sucks that it broke, did you feel it when it happened.
When you put your rock sliders on, are they welded to the frame or bolted? How many mounting points did you put on each side? Would you do it they same way if you were to do it over? I'm working on my design for mine and wanted your input.
When you put your rock sliders on, are they welded to the frame or bolted? How many mounting points did you put on each side? Would you do it they same way if you were to do it over? I'm working on my design for mine and wanted your input.
Thread Starter
|
Champion
Joined: Sep 2011
Posts: 3,891
Likes: 8
From: NorCal
Was that swaybar mount that broke a fabricated part or bought? Sucks that it broke, did you feel it when it happened.
When you put your rock sliders on, are they welded to the frame or bolted? How many mounting points did you put on each side? Would you do it they same way if you were to do it over? I'm working on my design for mine and wanted your input.
When you put your rock sliders on, are they welded to the frame or bolted? How many mounting points did you put on each side? Would you do it they same way if you were to do it over? I'm working on my design for mine and wanted your input.
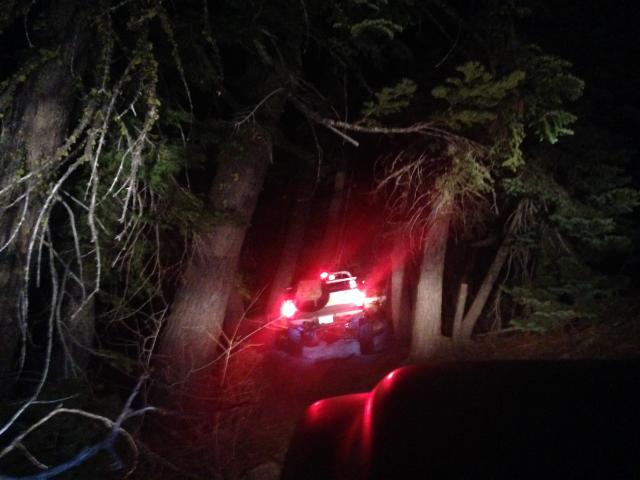
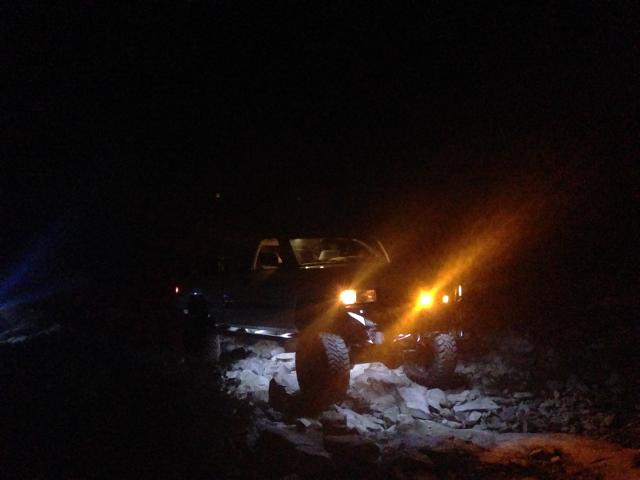
I heard the pop, but didn't know what it was till getting home 5 mins later. Upon hearing the pop I was just ready for anything to let loose. lol
It drove fine. Compared to disconnected sway bar with old 4 link, my currently setup is way more stable. No twitch at all, no constant correcting....yet I'm still not used to the boat-feel when turning. hahahaha
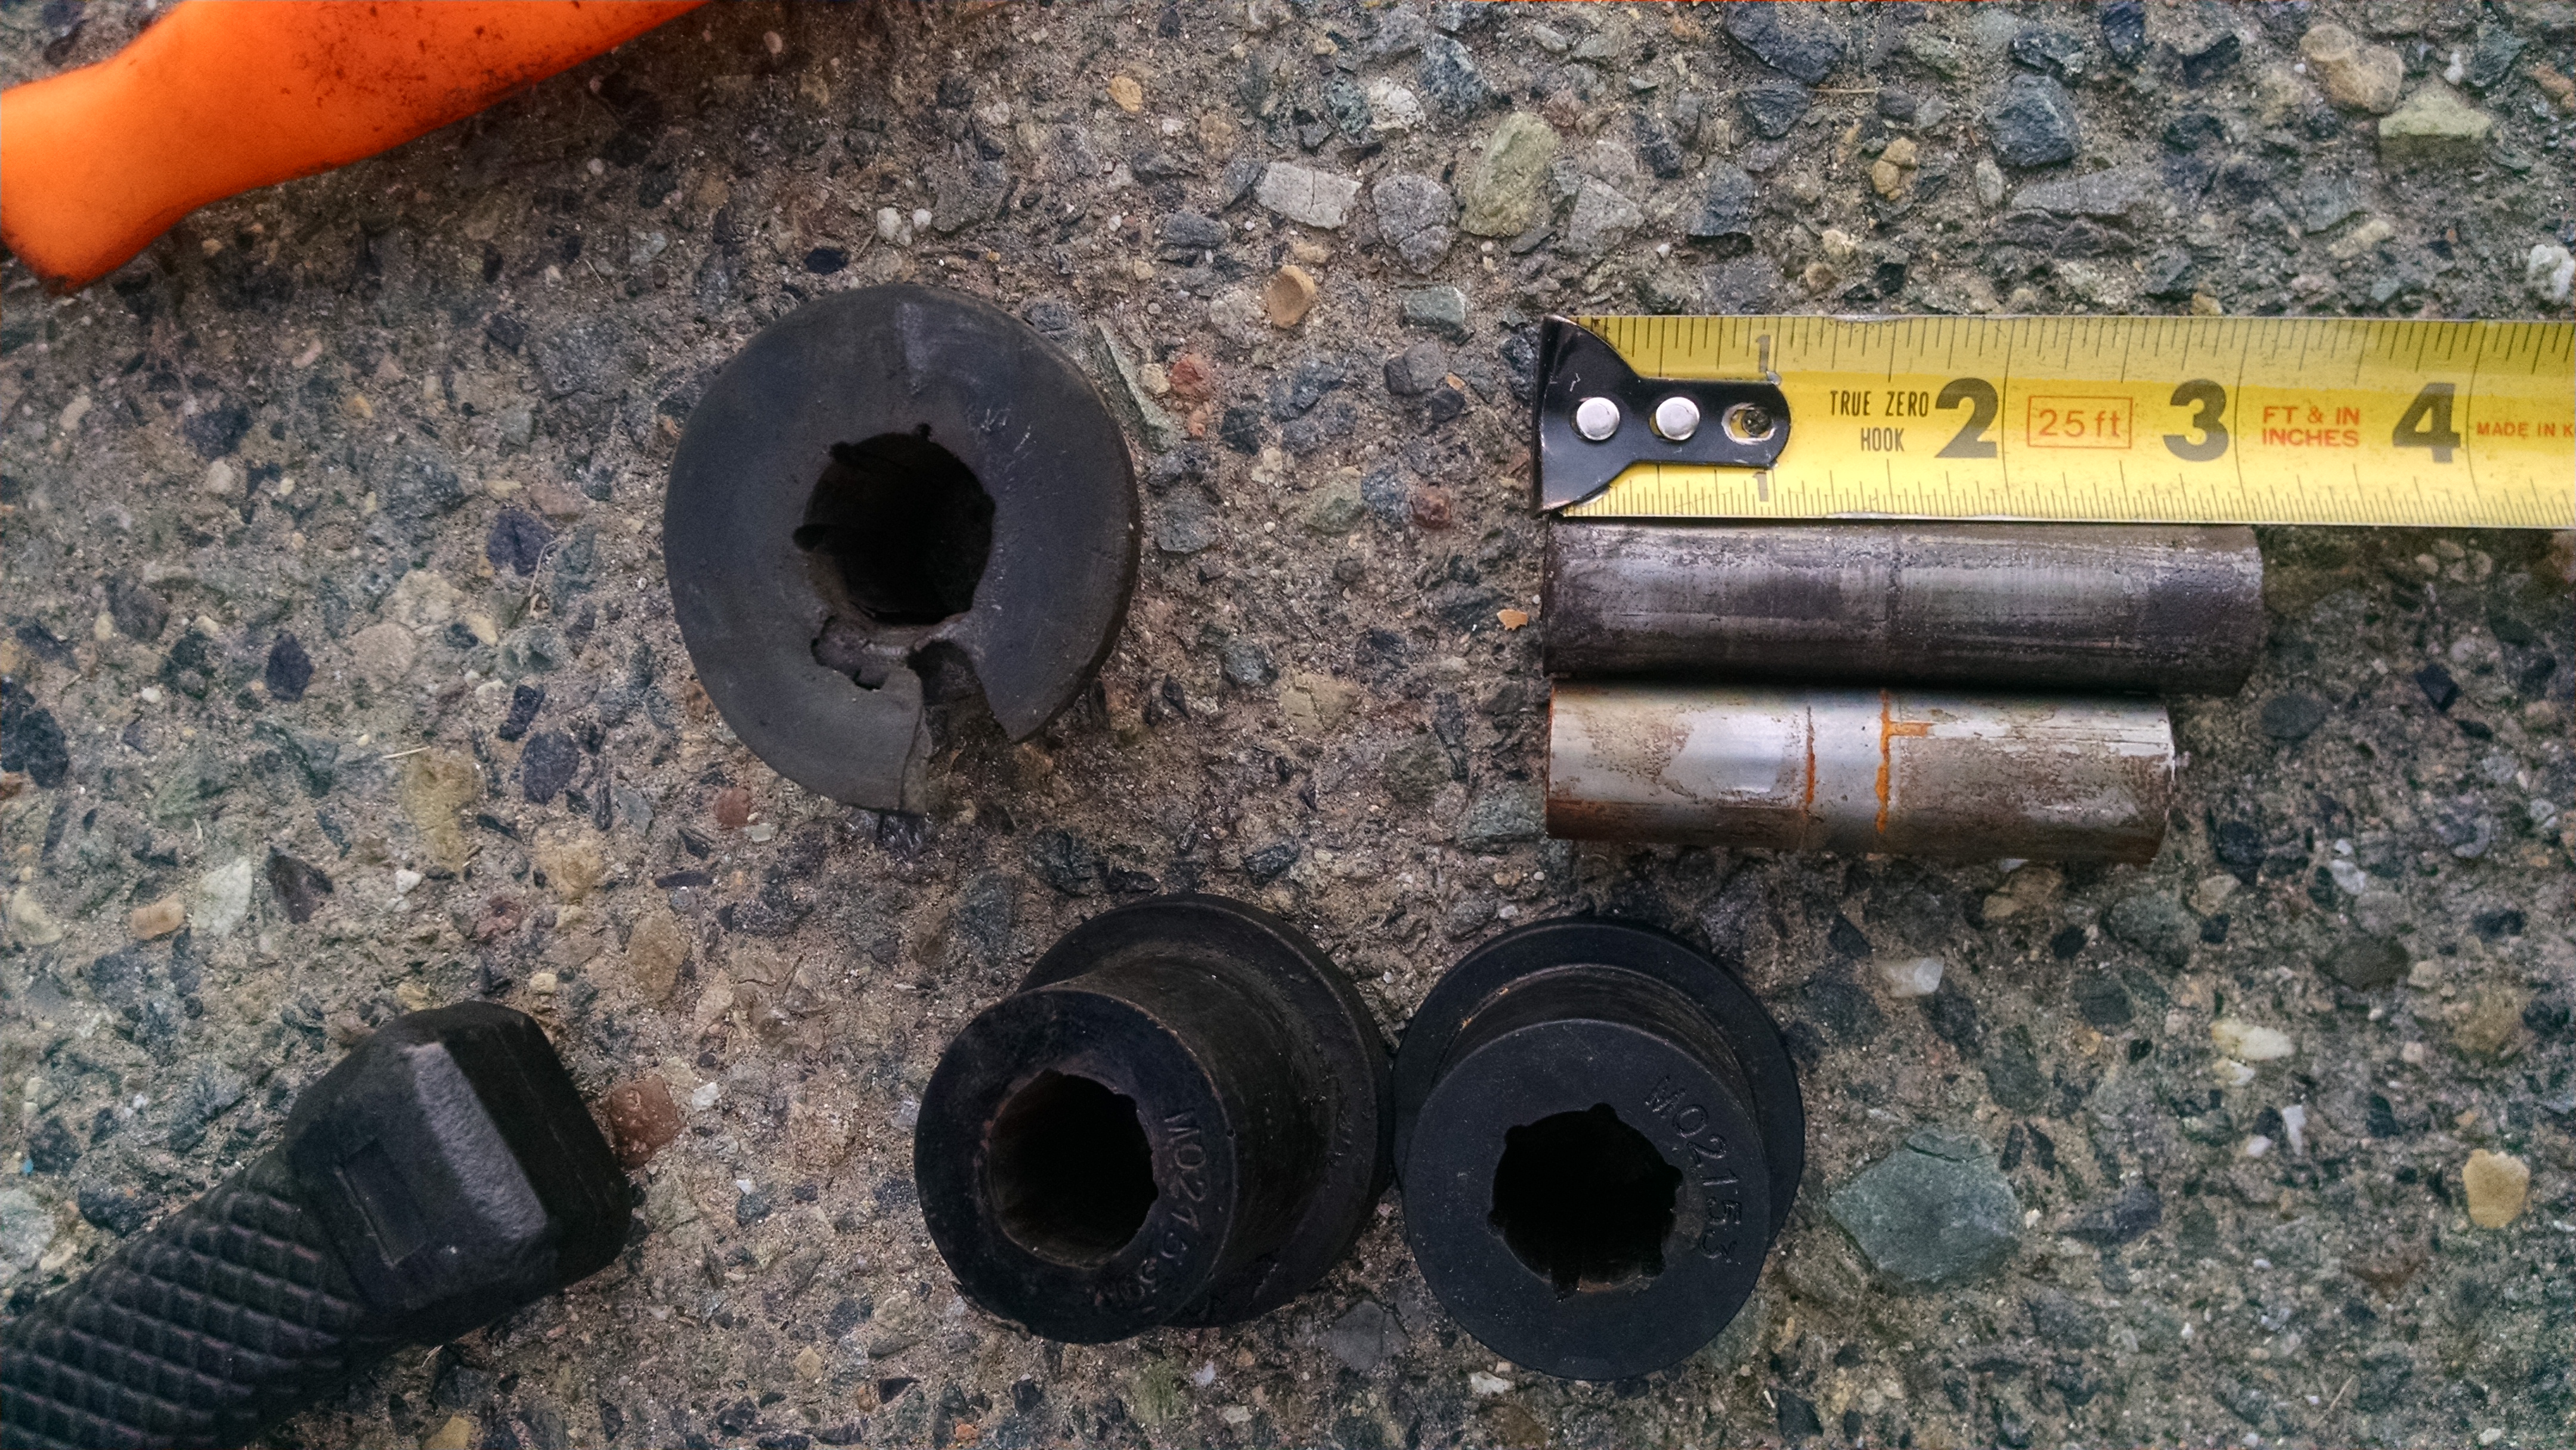
It's a bought part from Synergy Manuf, sold through Polyperformance. This setup works just fine for factory and factory lifted setup on the Dodge. My setup puts the axle tabs much further down and back (away from bumper) by comparison. My sway bar arms need to extend longer for proper geometry. I just hadn't come up with what my path would be...and this just pushes the time table further.
I ordered 2 new ends ($36 total), so not expensive at all and going to sell the set. If I had disconnected the links when running trails since the axle swap, then I'm fairly sure this would not have happened. I pretty much cracked it during wheeling and it then just started fatiguing, which I verified by looking at the surface.
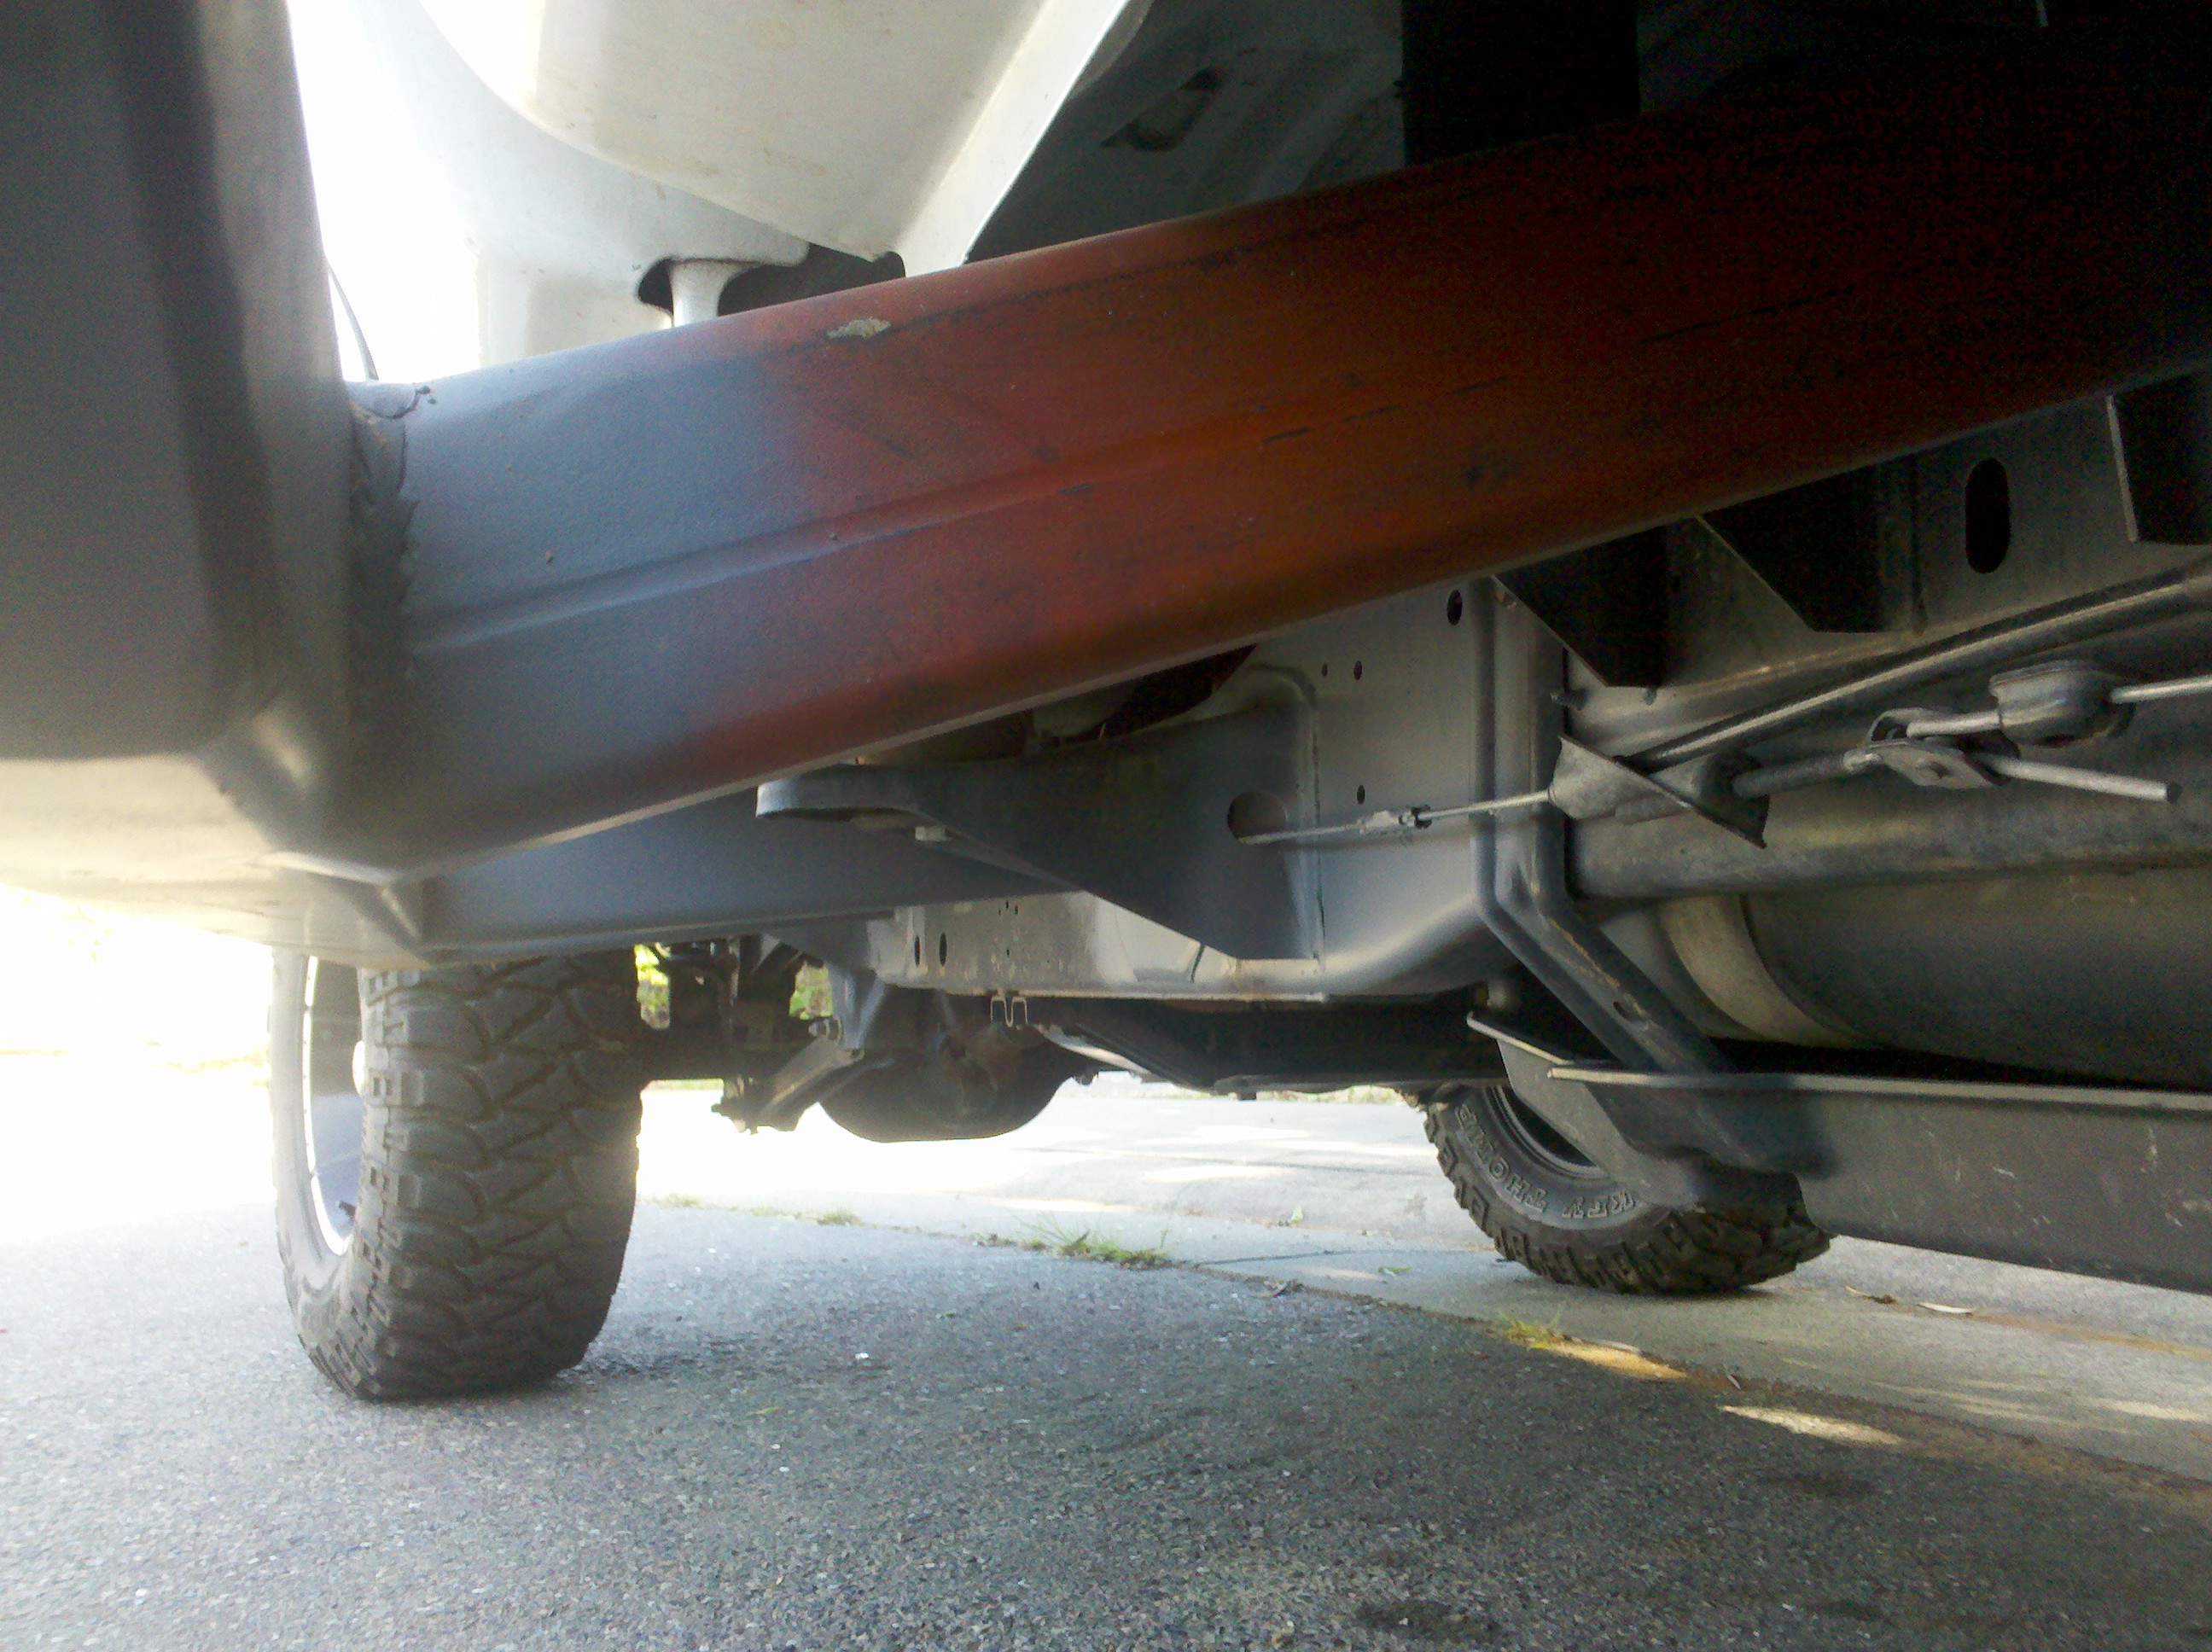
Sliders --
I welded to the frame using 3 runners (3 mounting points).
Here's the in process pics
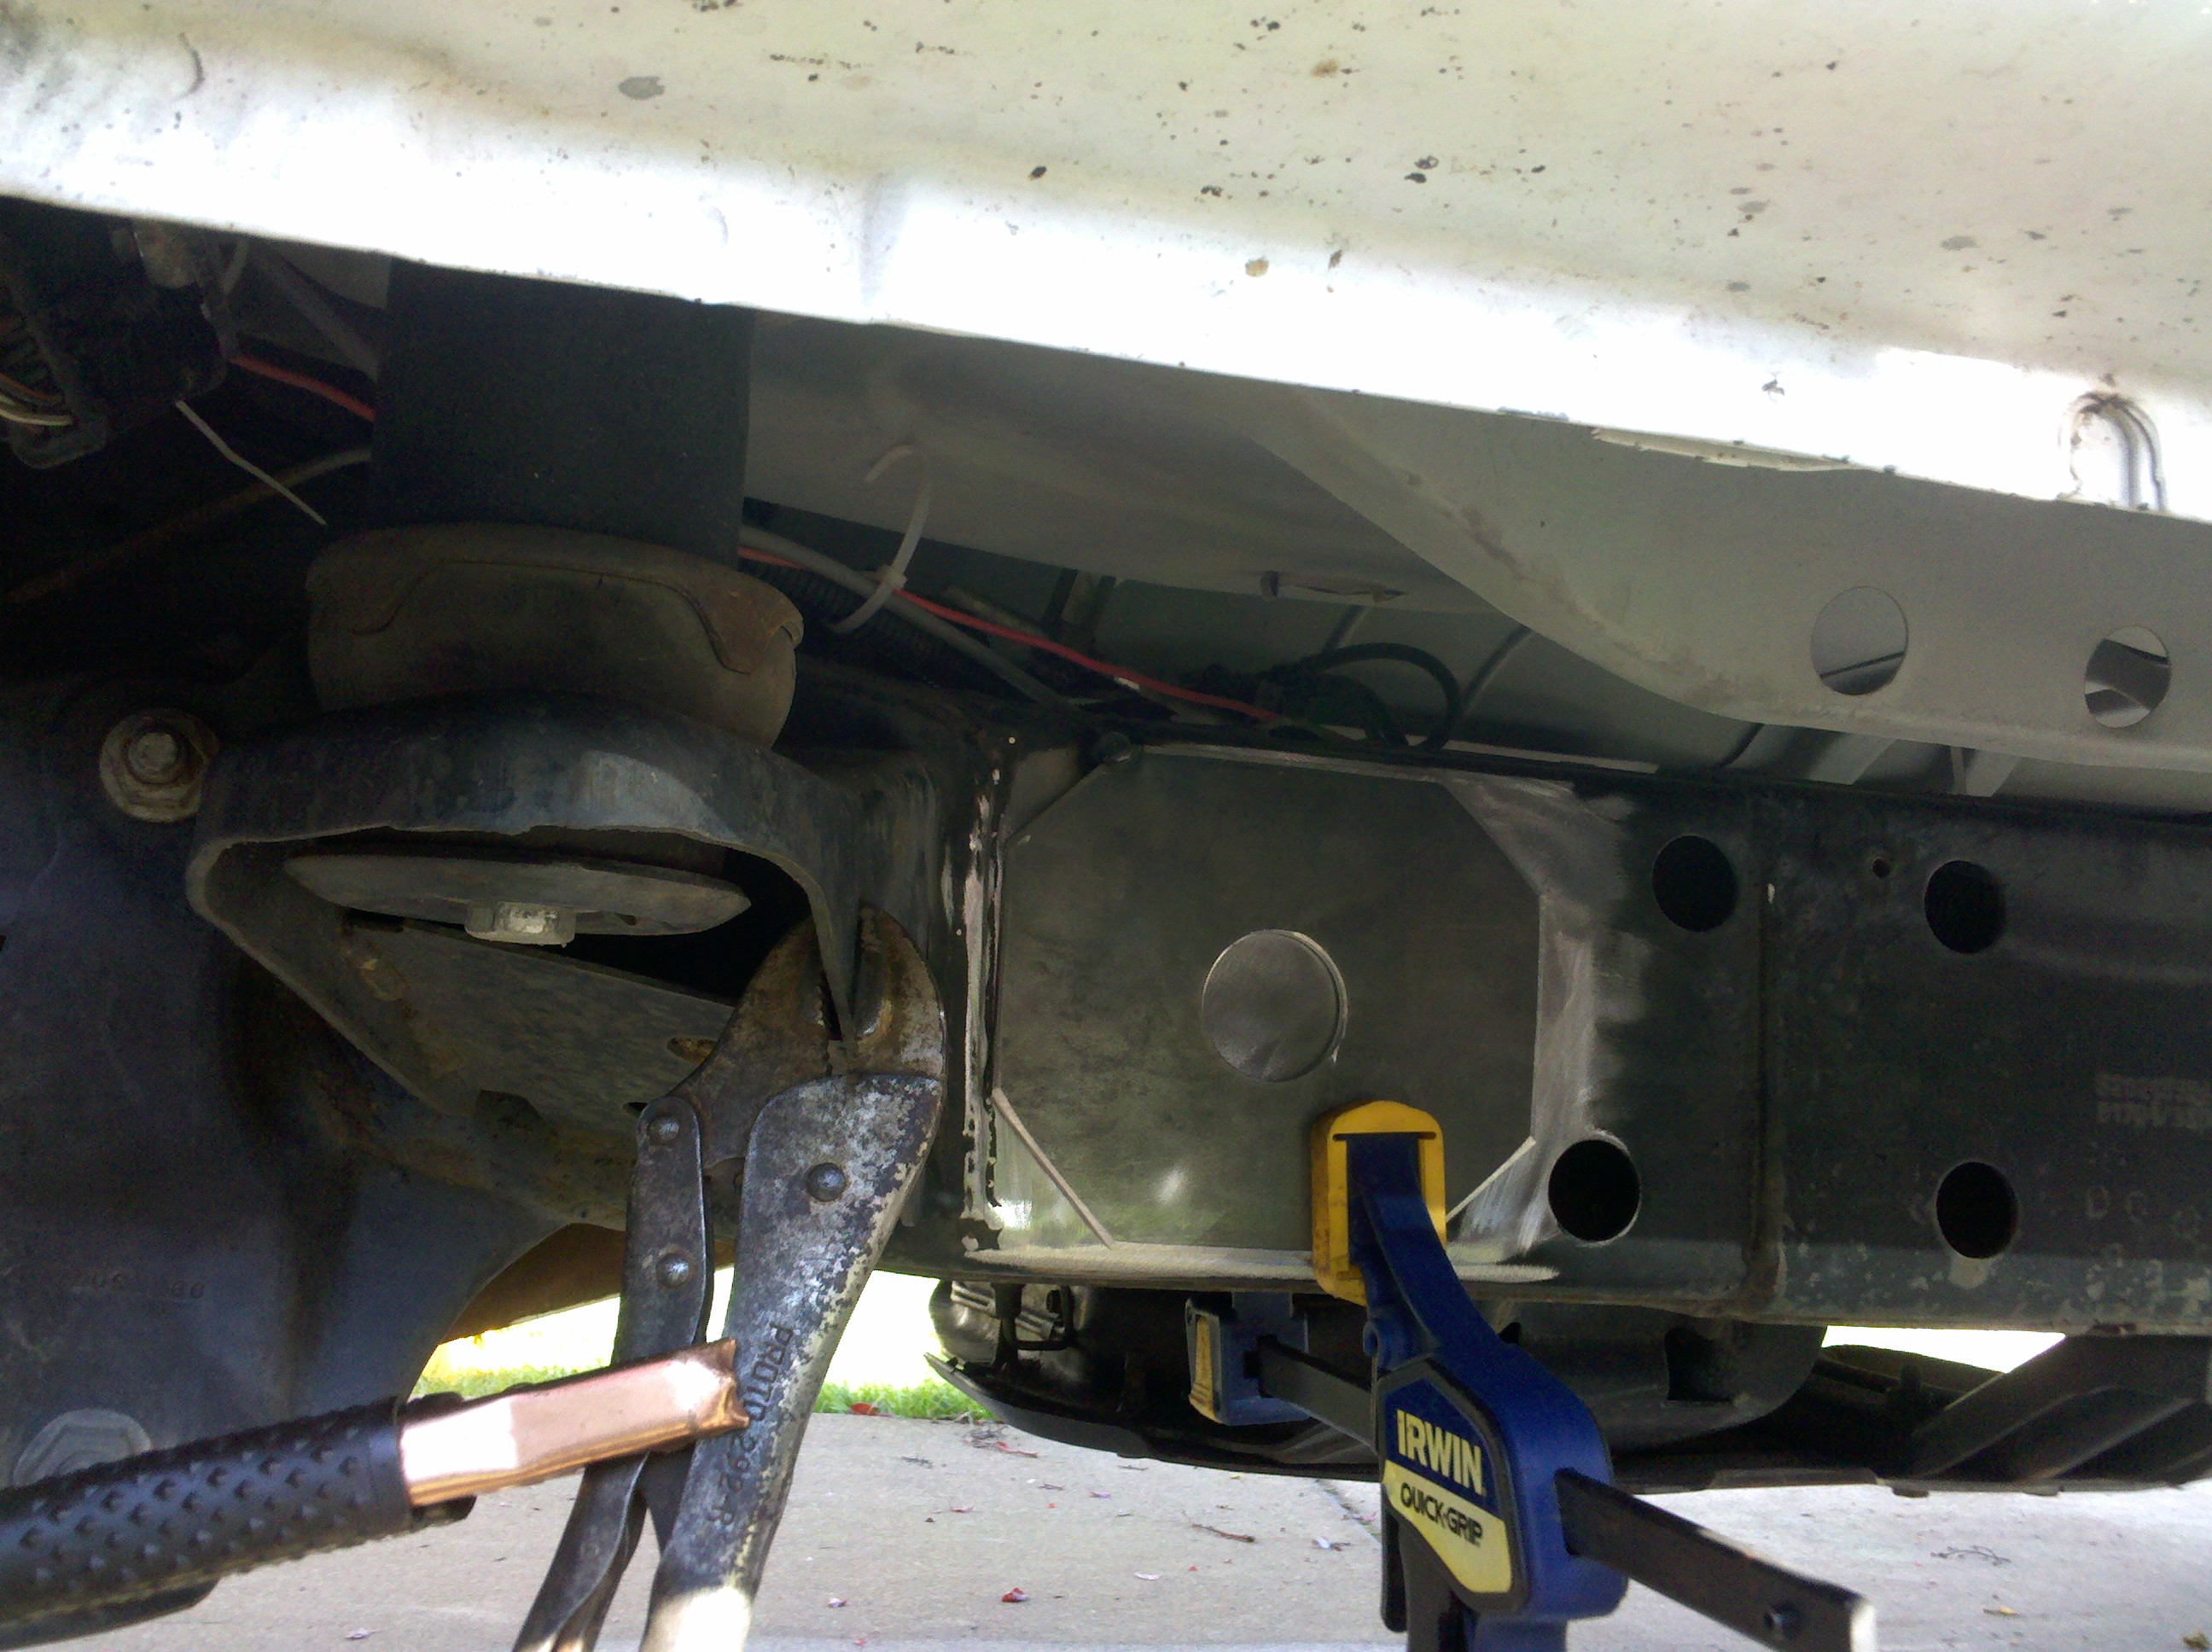
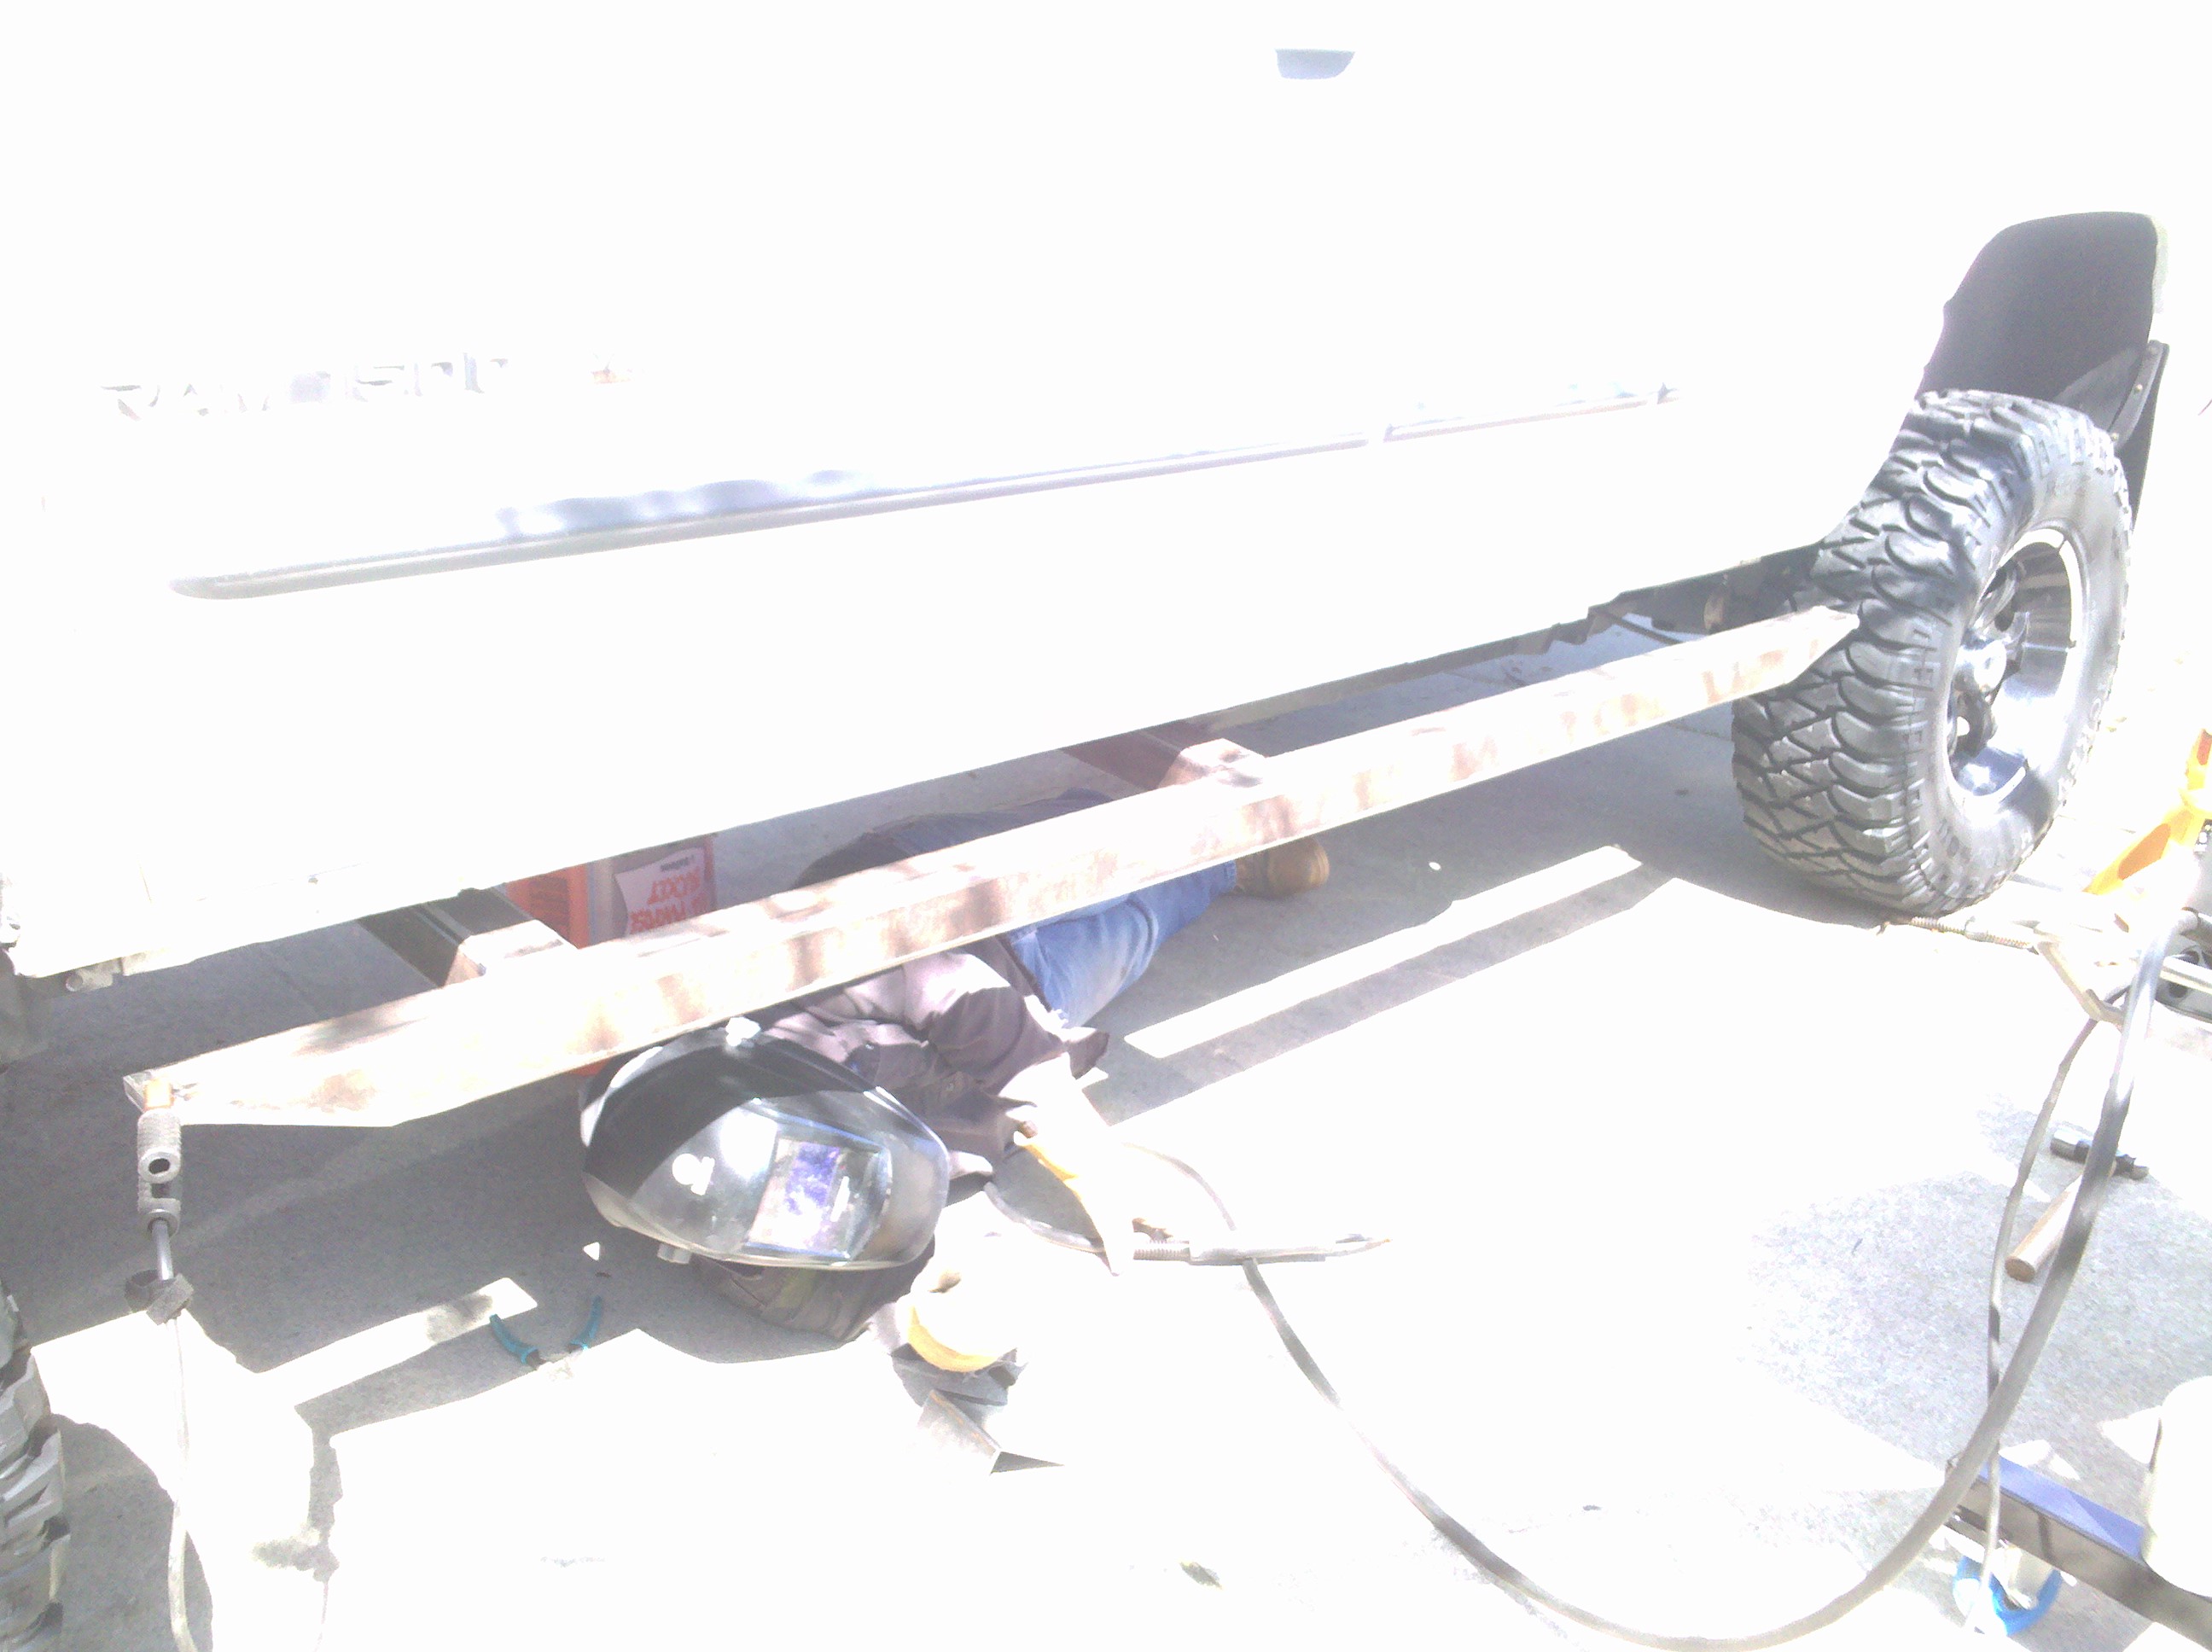
Everything is 3x3x.188 with exception of 1 runner. That runner is at the 1st bed mount and is 2x4x.25". You can see it in last picture and how it's oriented.
Only thing I've neglected to add were reinforcement, but not necessary for how I did this. The plate is 3/16" thick. Have to be careful not to burn through b/c the frame in that portion is 1/8" thick.
Nothing really stands out that I would have changed. Fully loaded and coming down...I get no flex/rebound/etc. I've seen many heavy rigs come down on their setup and they have rockers and such still get damage...but from the slider moving.
Go figure....
Thread Starter
|
Champion
Joined: Sep 2011
Posts: 3,891
Likes: 8
From: NorCal
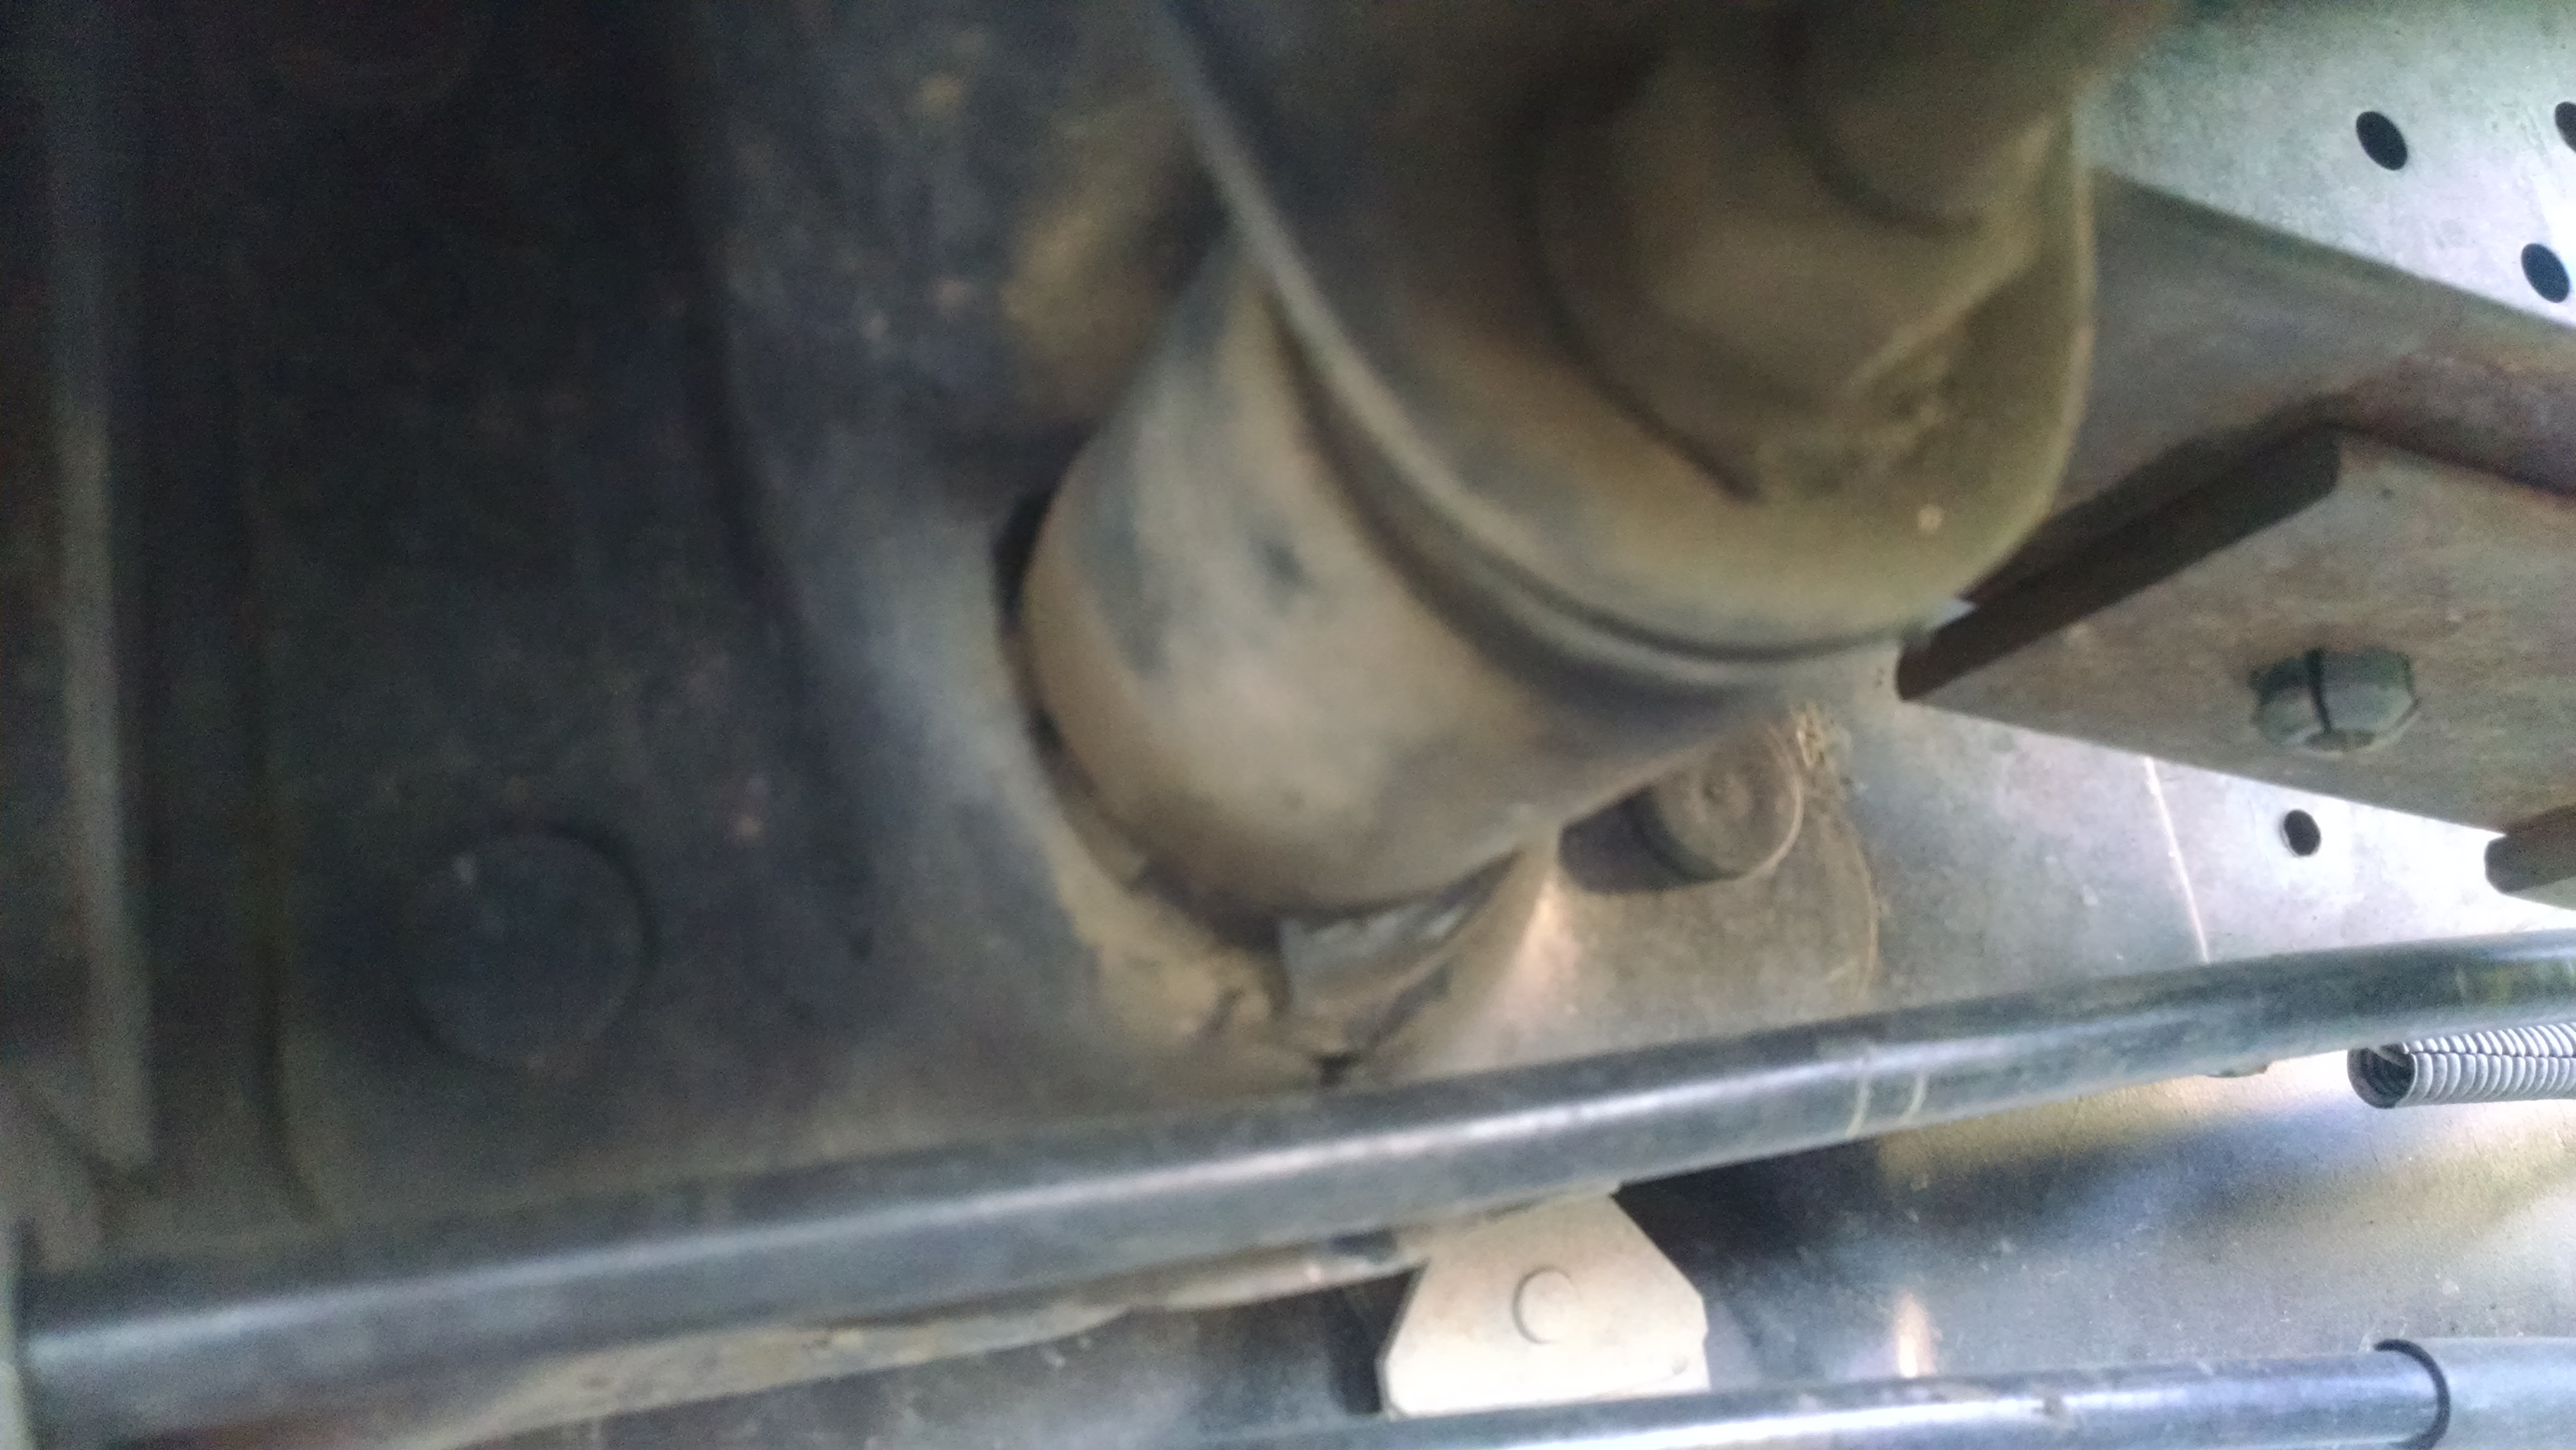
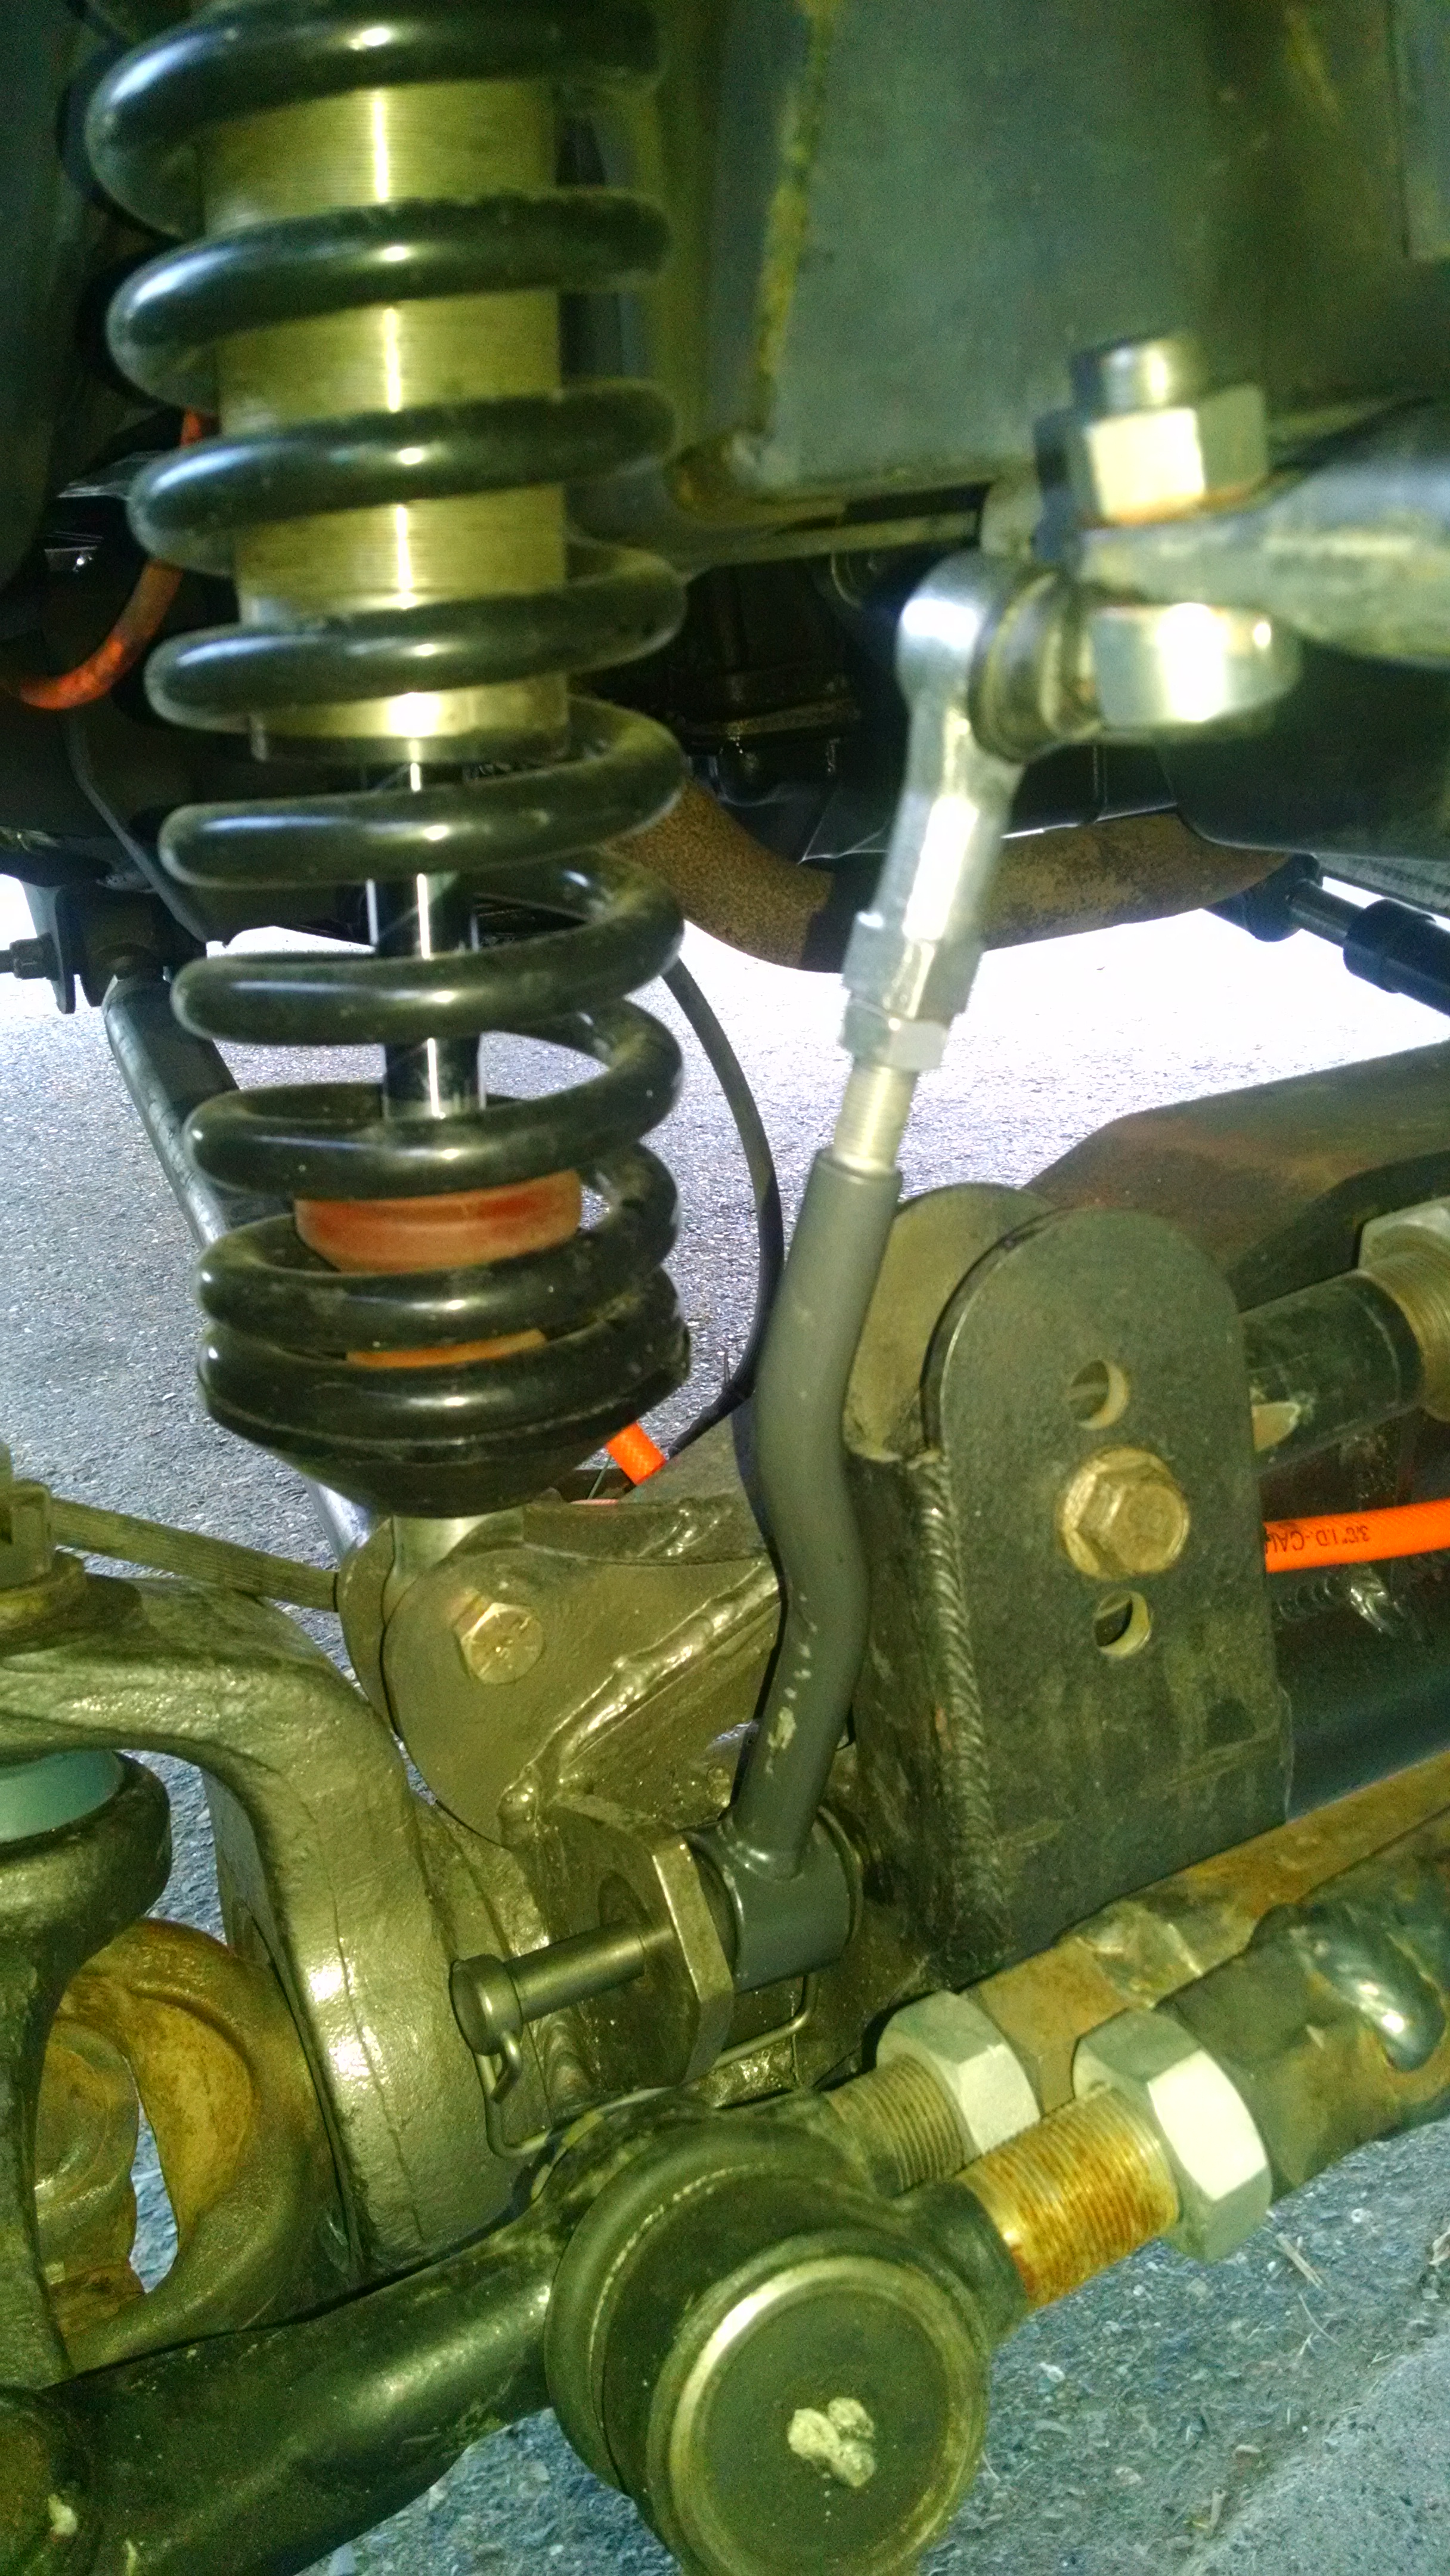
Found that the driver side front bushing was torn. Didn't know if broke through to the sleeve, so got that swapped for a new one. All others were good, so left them. These are more of PITA when you're lifted.... 

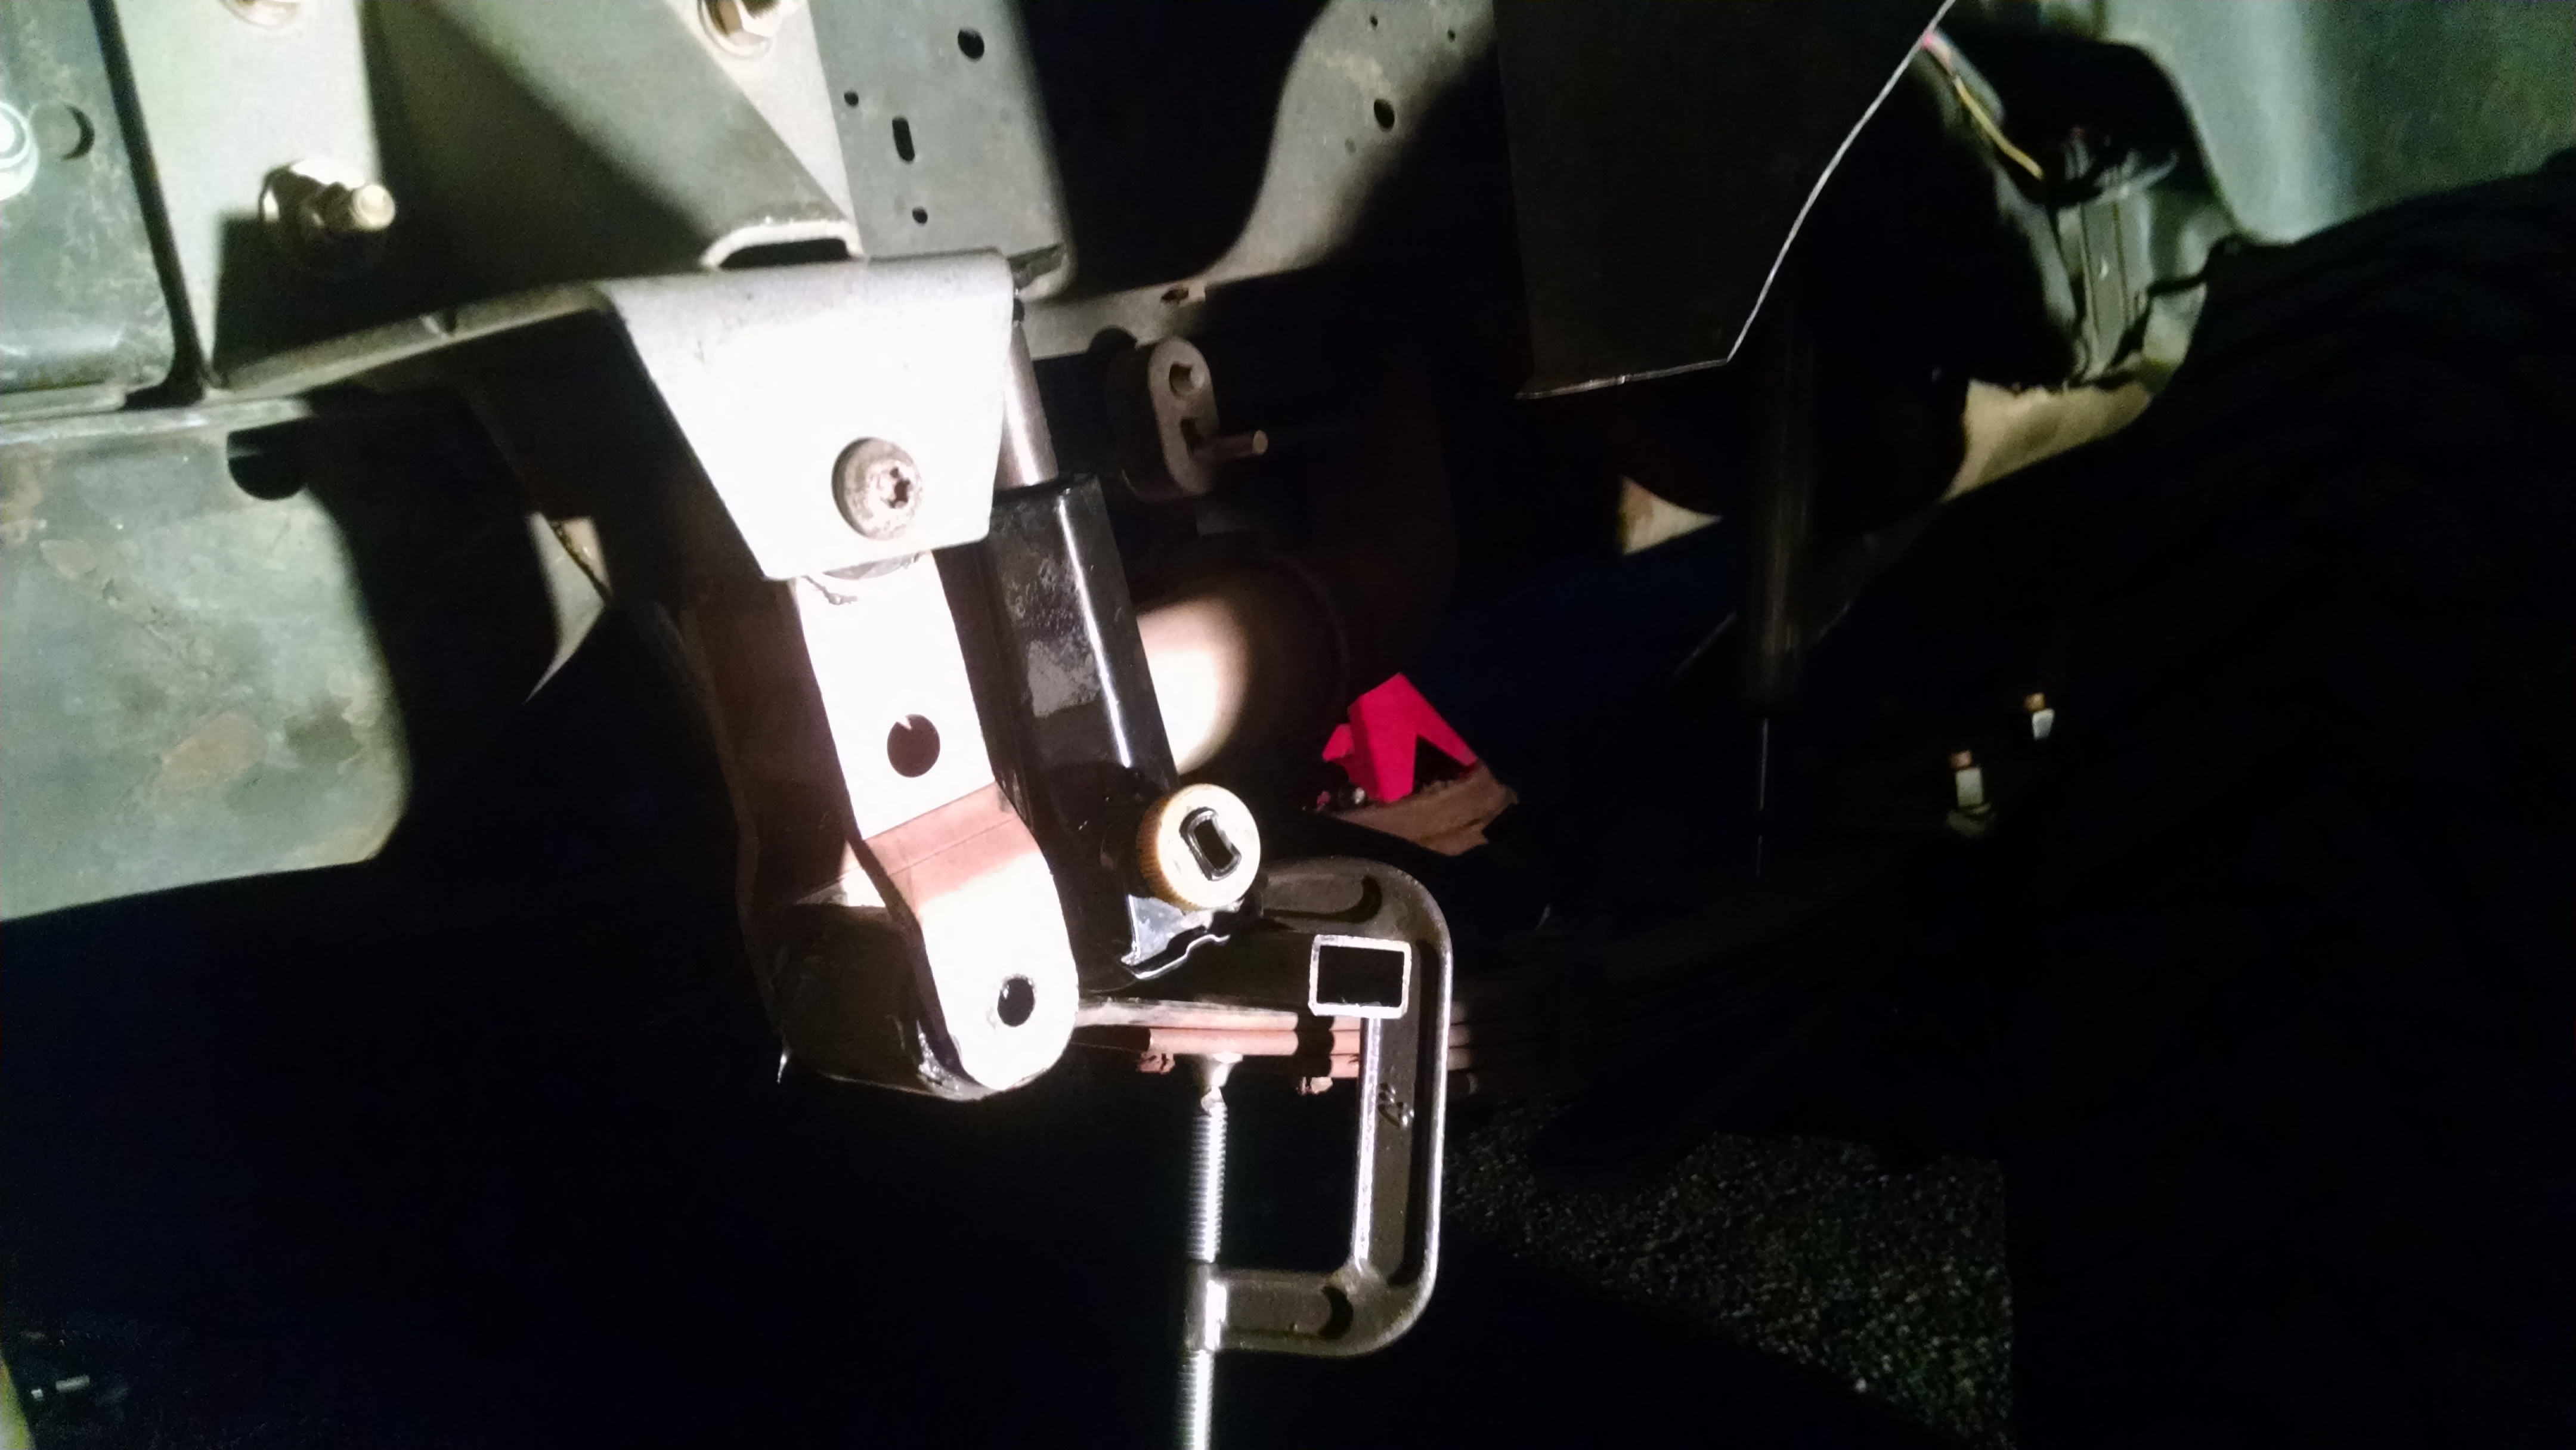
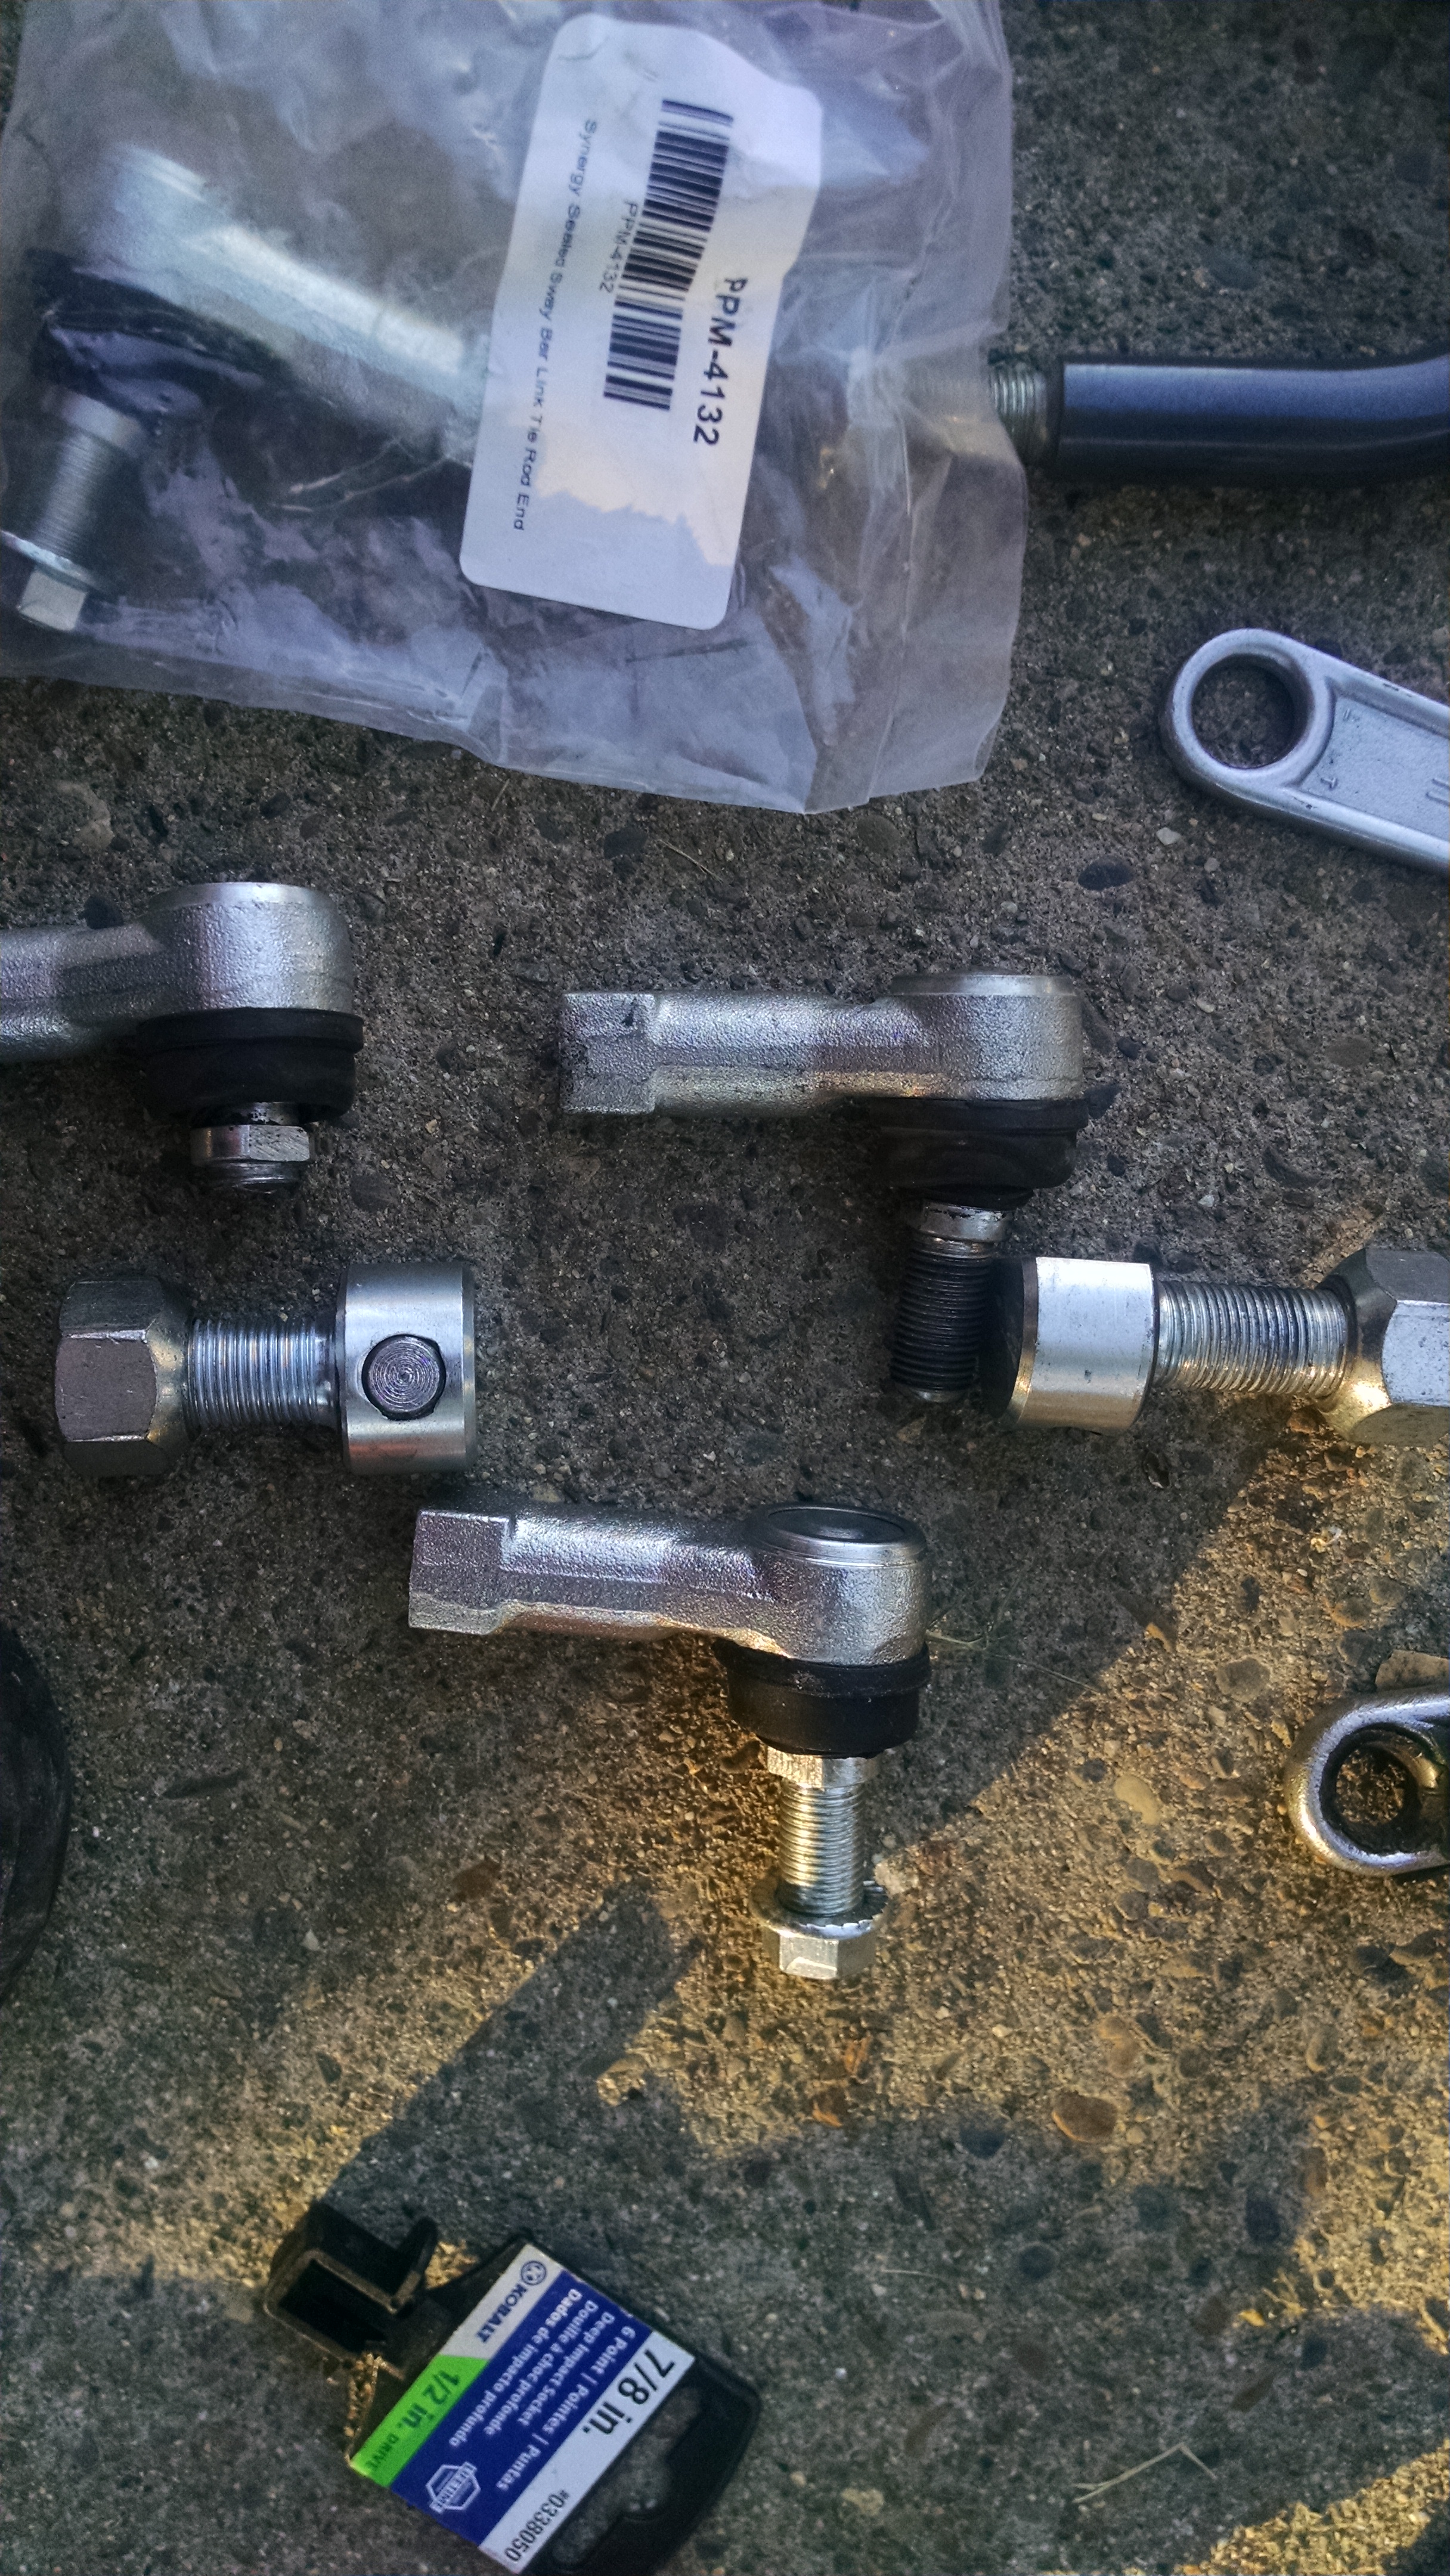
Then put the sway bar links back in as the new pair of TRE ends came in. Used quick disconnect pins in place of the bolt/nut. Just using for onroad until I replace the sway bar altogether with proper geometry and stiffness.
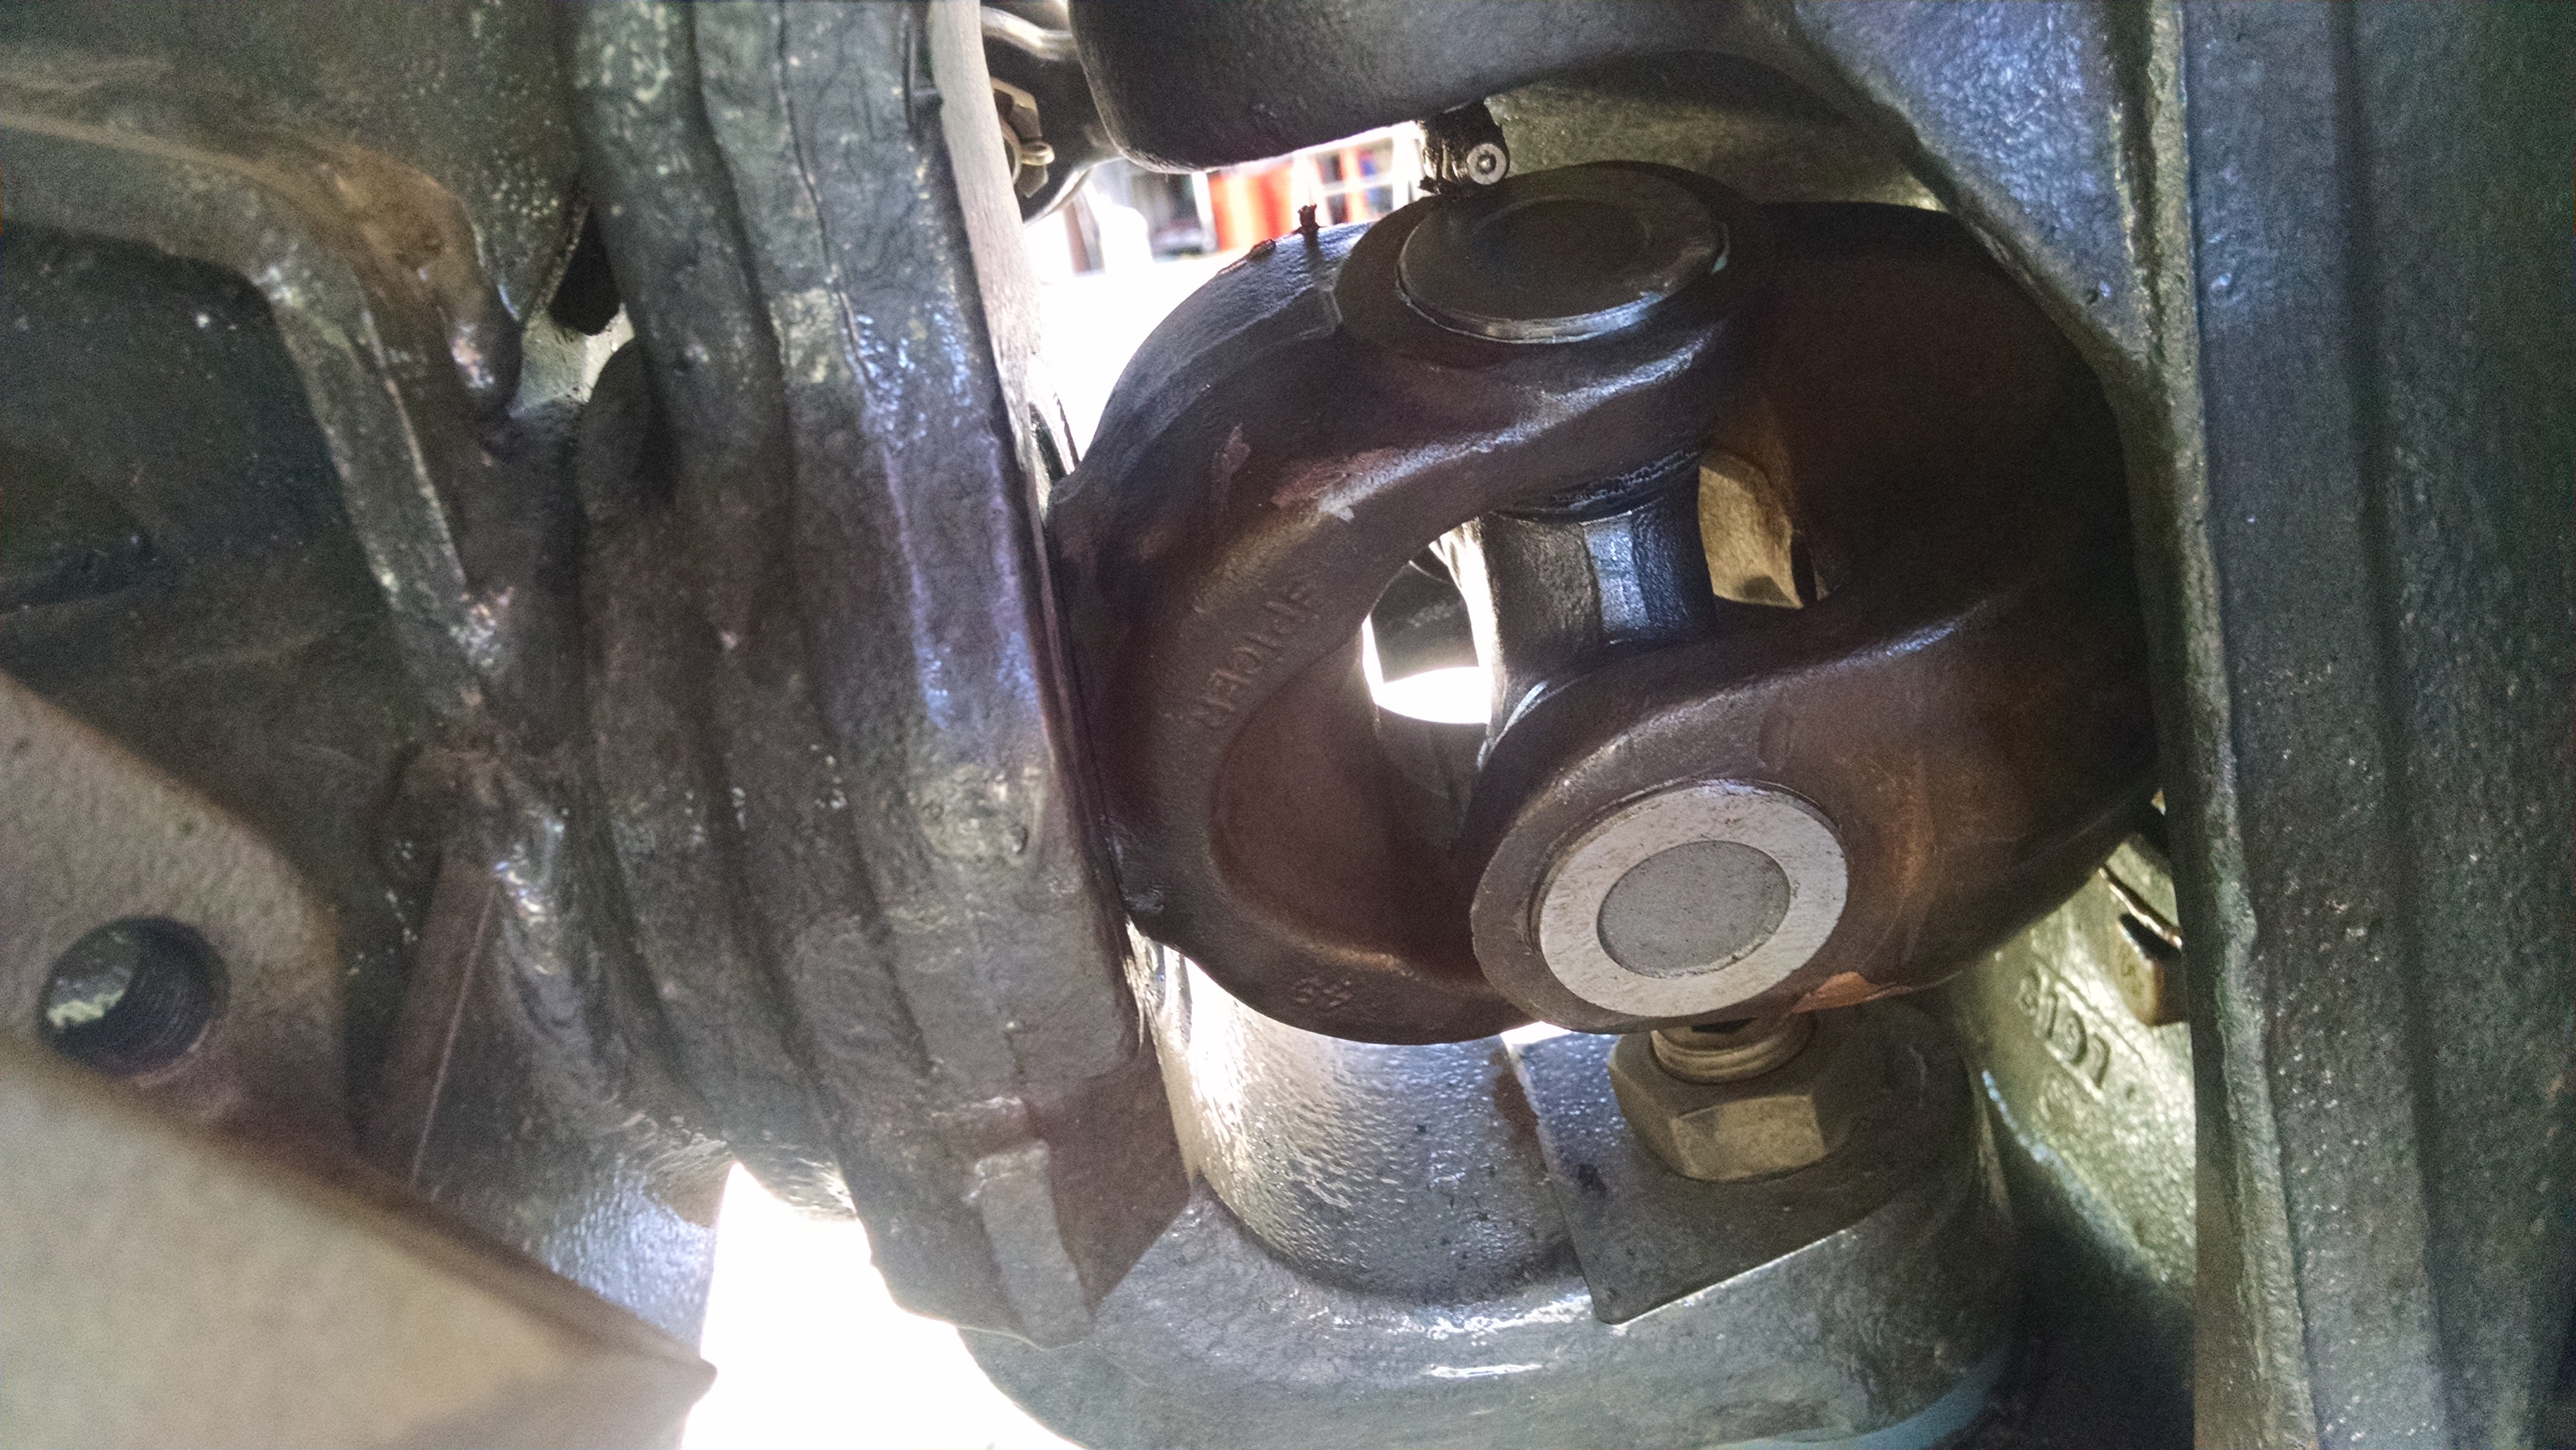
Then replaced the passenger side axleshaft ujoint. I got the system down now with sockets. Just time consuming for all the other parts and proper torque settings.

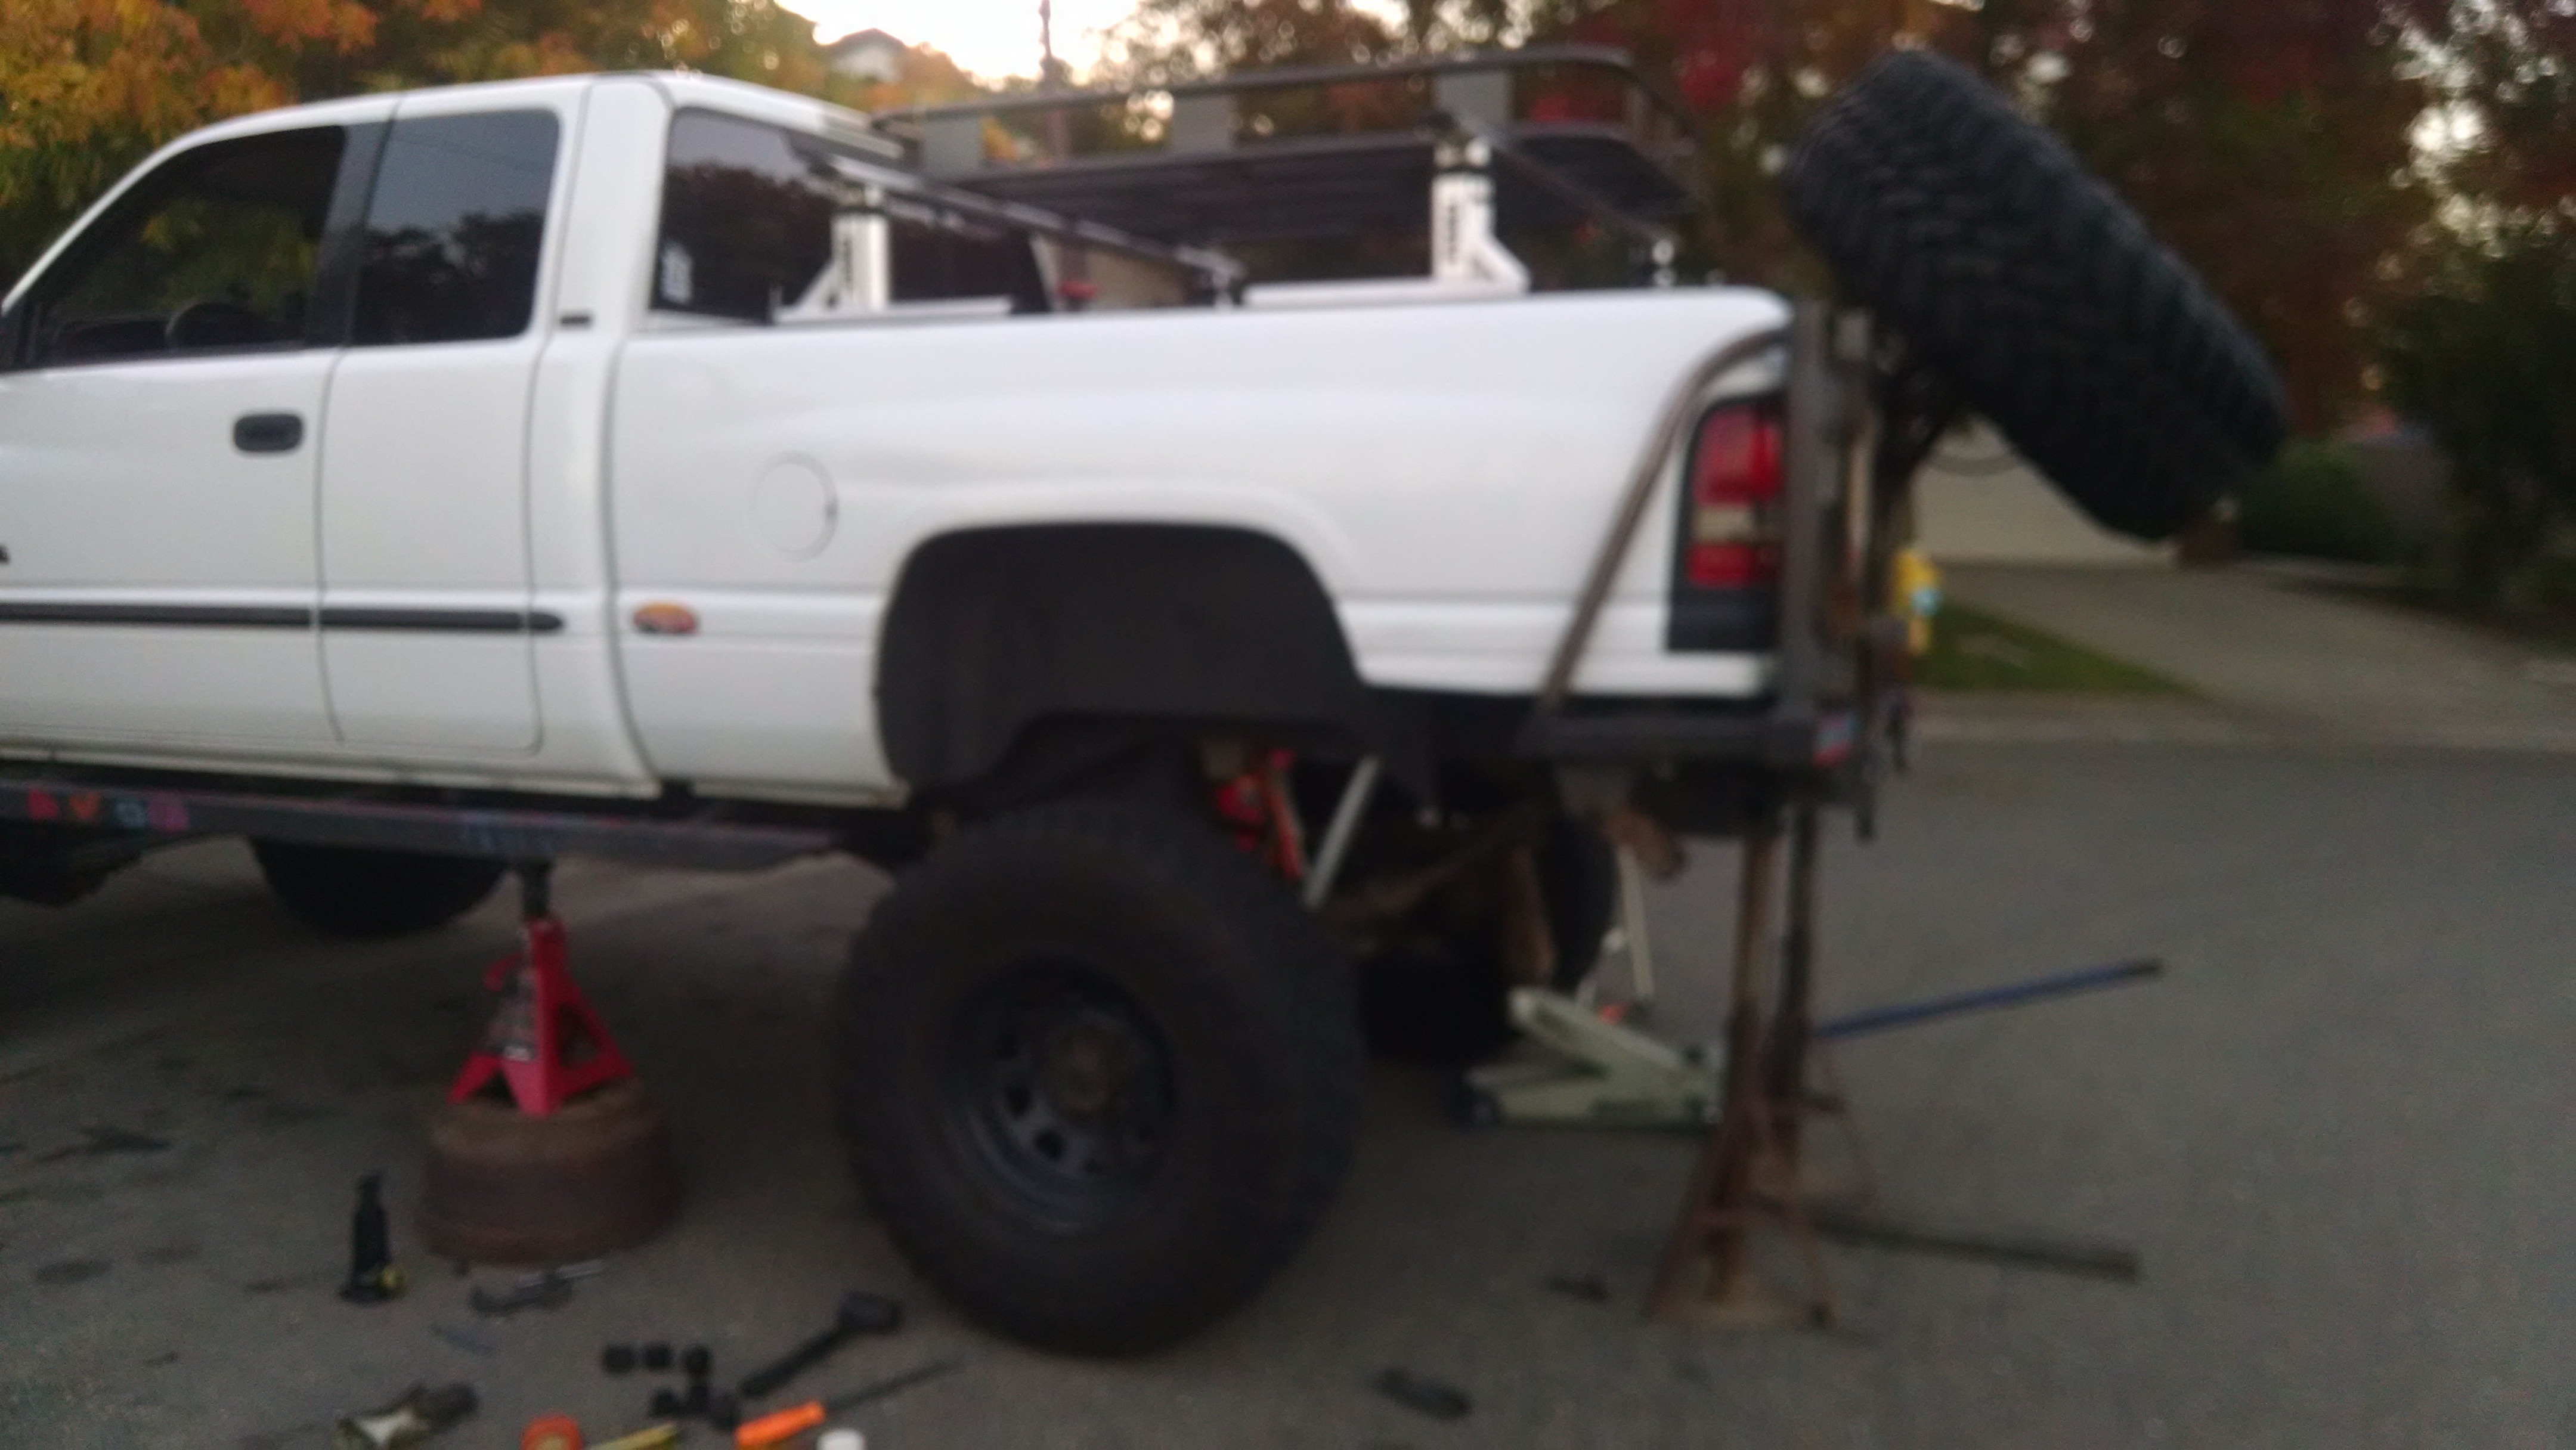
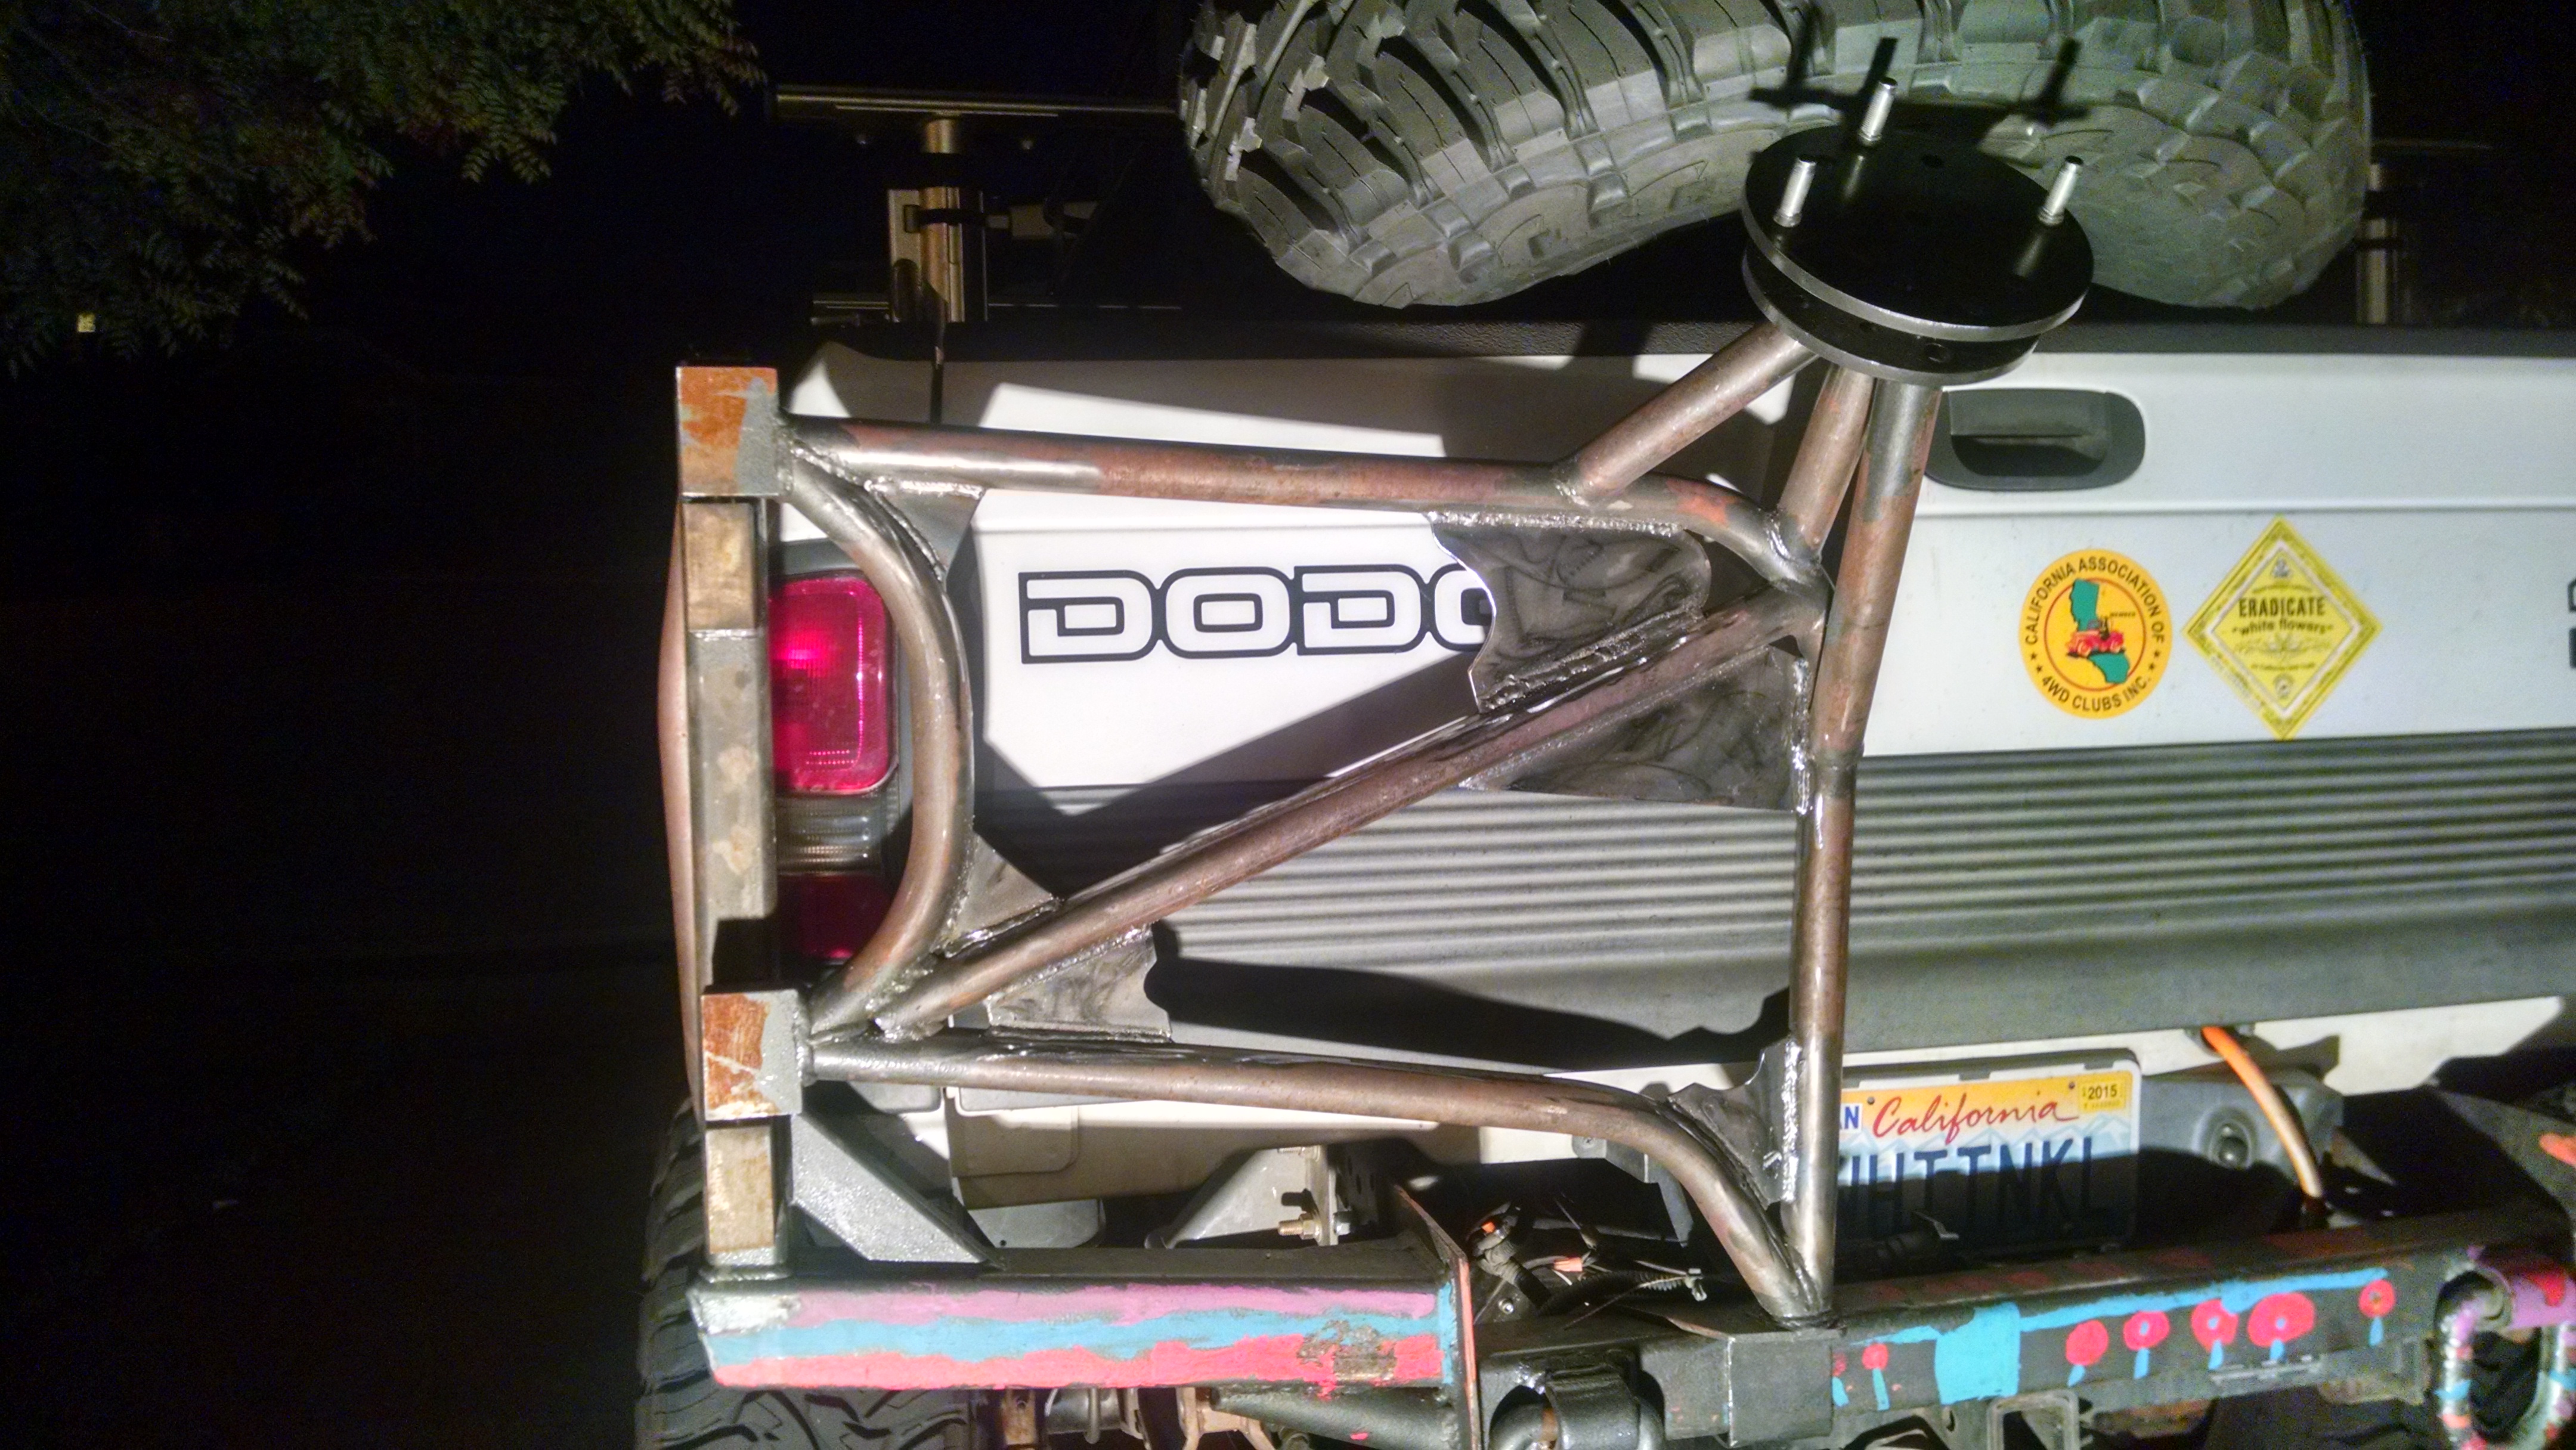
Then I strengthened up the spare carrier since the tire weight went up quite a bit. There is a 4th leg from the tire mount down to the diagonal not shown.
Then put the sway bar links back in as the new pair of TRE ends came in. Used quick disconnect pins in place of the bolt/nut. Just using for onroad until I replace the sway bar altogether with proper geometry and stiffness.
Then replaced the passenger side axleshaft ujoint. I got the system down now with sockets. Just time consuming for all the other parts and proper torque settings.
Then I strengthened up the spare carrier since the tire weight went up quite a bit. There is a 4th leg from the tire mount down to the diagonal not shown.


Captain
Joined: Nov 2013
Posts: 594
Likes: 0
From: Bluegrass State
I was watching the tube today and an advertisement for a new series flashed across the screen about Alaskan Off Road enthusiast, (showing the kind of action in this thread). The series begins on 10:00 PM, 11/16/2014 on the regular History channel and will be a weekly series. When I saw it, my first thought was this thread. K.

Thread Starter
|
Champion
Joined: Sep 2011
Posts: 3,891
Likes: 8
From: NorCal
Bwahahahahaha!!!! I indeed need reminders of where I came from. Darn sweet.
Ujoint PITA attempt from before for reference.
My system for the ujoint, where all tools are shown here (figured you would have caught that):
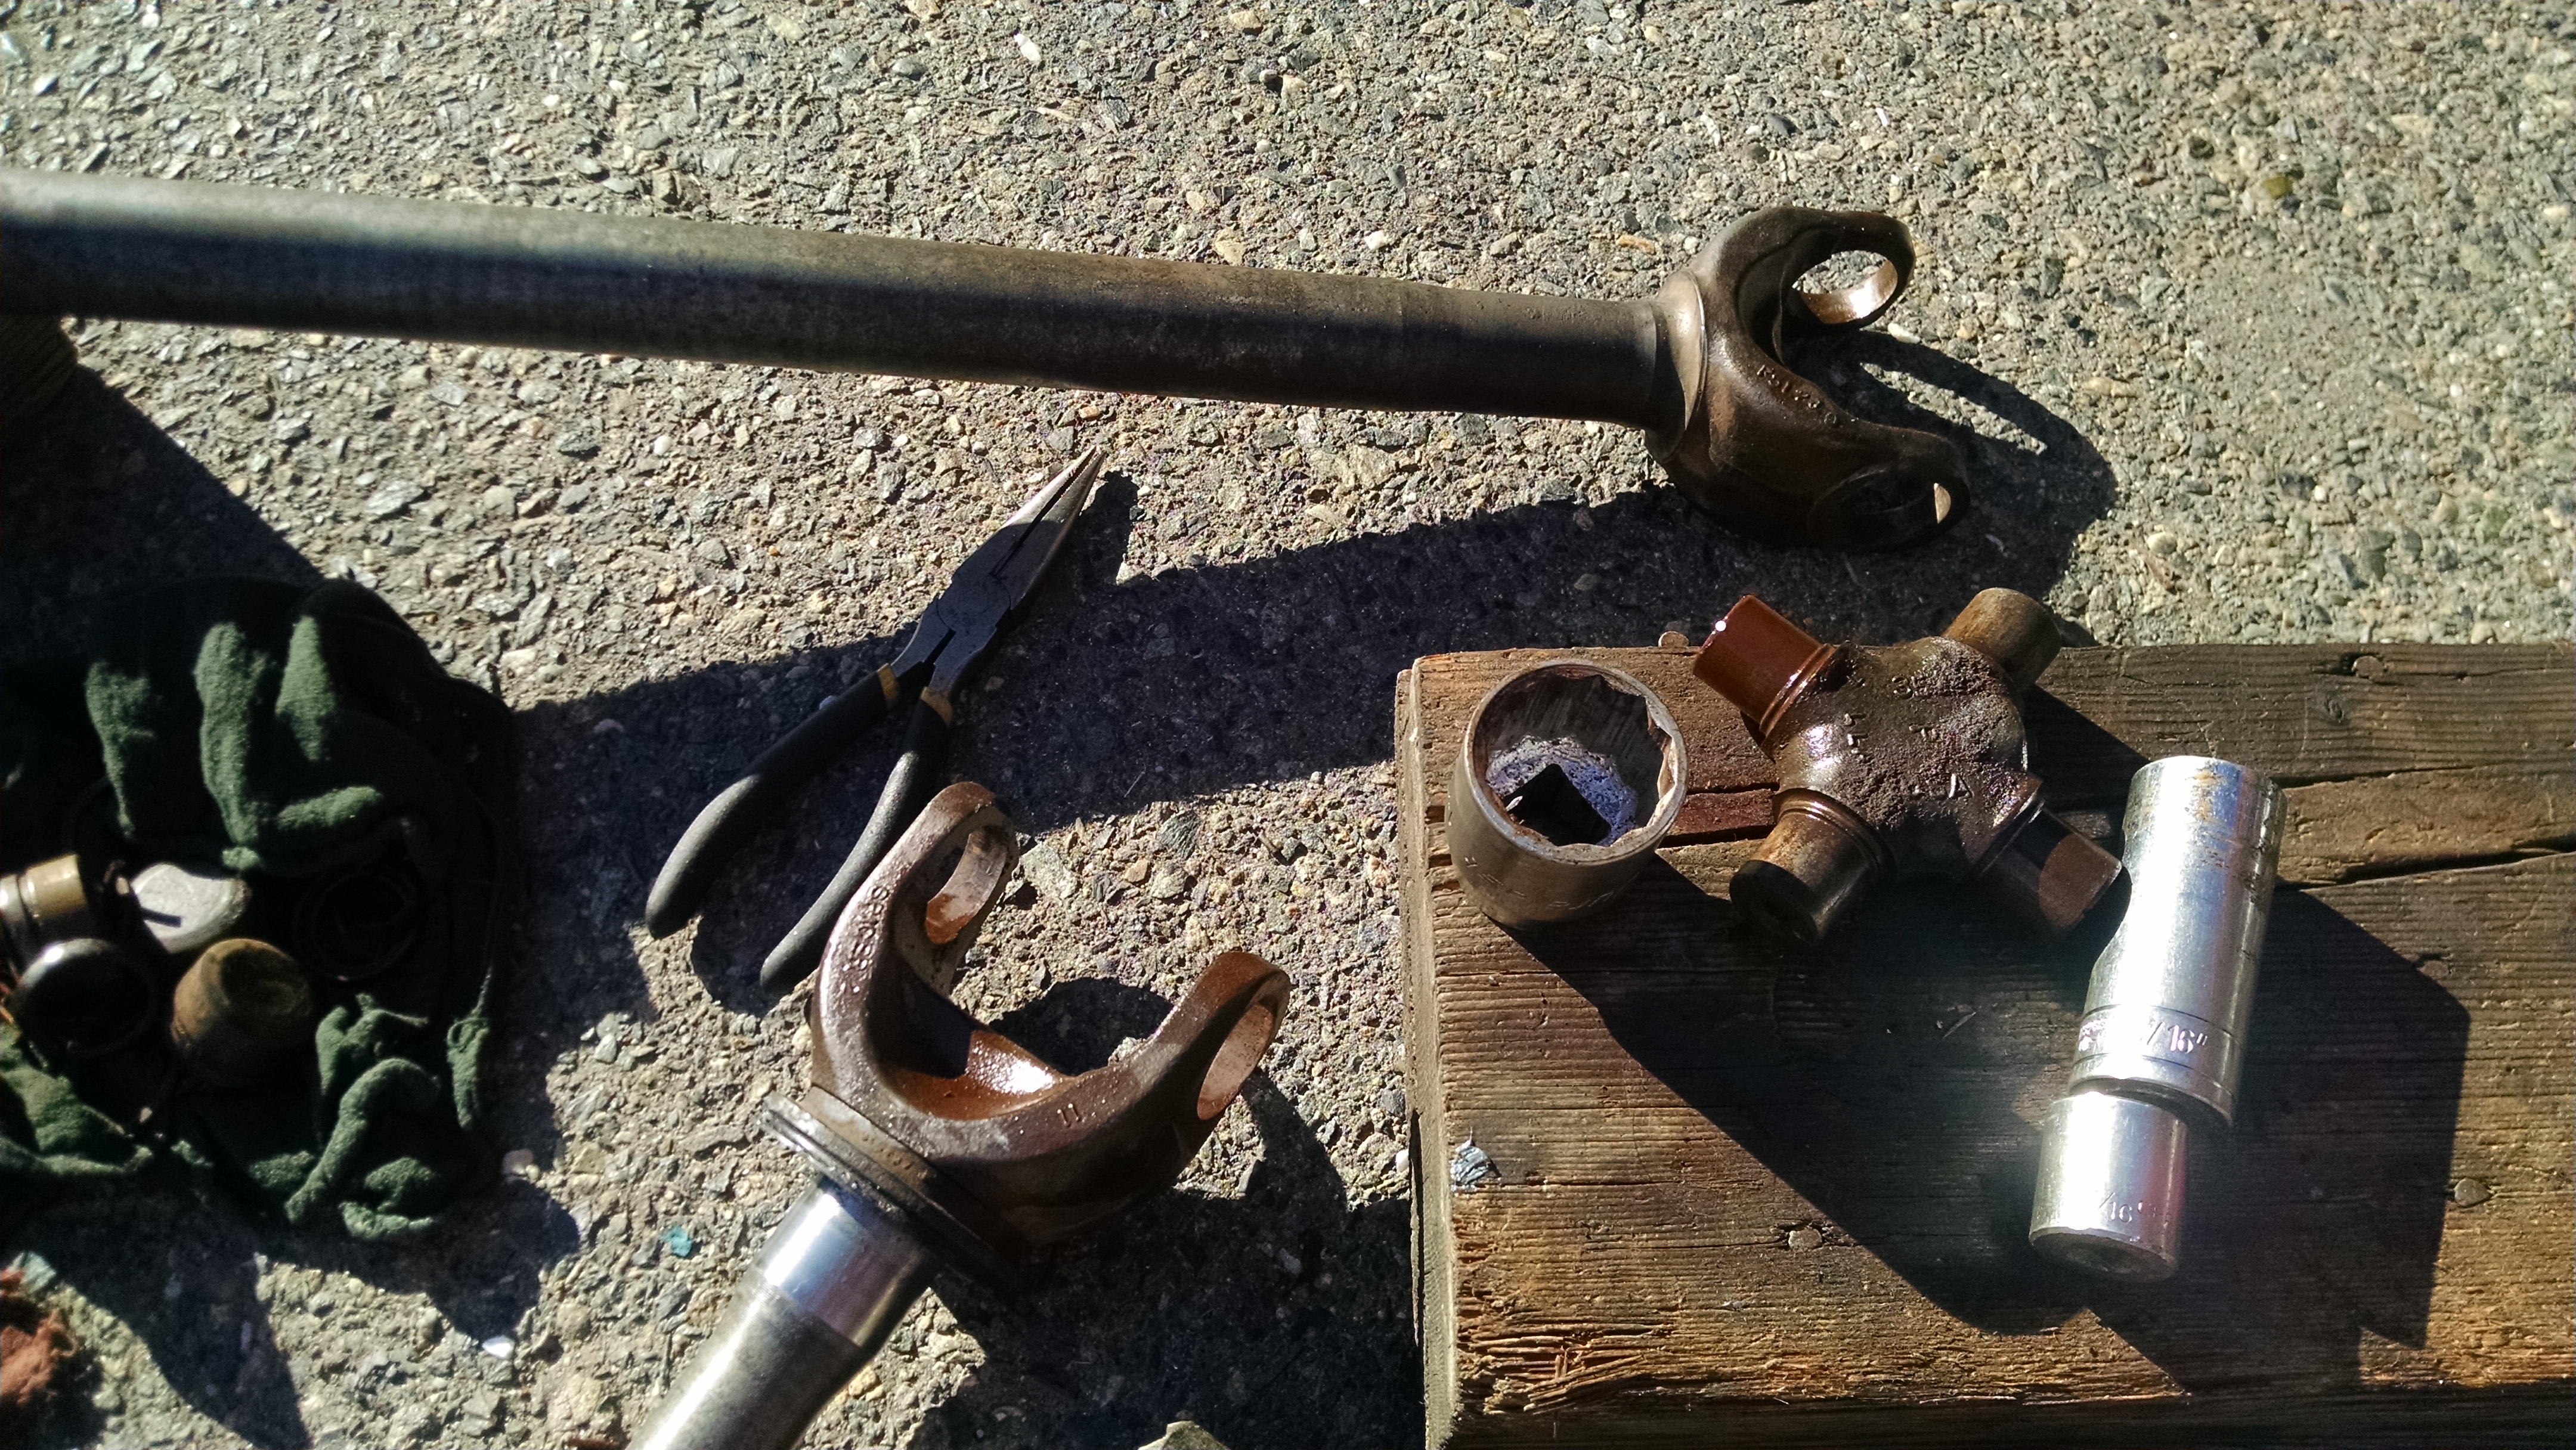
Socket that will fit the pinion nut of the Dana 60 (1-5/16"). Perfect size to go against yoke for cap to go into.
Other sockets (crap the glare)
short 13/16" (I'll double check)
long 15/15" (I'll double check)
5 lb sledge, at least
Some wood blocks or something to help support and level the axle shafts.
1. Remove all clips
2. Place one side of ear on large socket.
3. Place short socket on top of cap to hit. Hammer the socket to start pushing out.
4. You can push till enough of cap exits to use use large enough vise grips to pull out or just hammer all the way out.
5. Flip yoke
6. Long socket goes over the trunnion of ujoint and should center very well in ear.
7. Hammer that end to push the cap out.
8. Done.
Ujoint PITA attempt from before for reference.
My system for the ujoint, where all tools are shown here (figured you would have caught that):
Socket that will fit the pinion nut of the Dana 60 (1-5/16"). Perfect size to go against yoke for cap to go into.
Other sockets (crap the glare)
short 13/16" (I'll double check)
long 15/15" (I'll double check)
5 lb sledge, at least
Some wood blocks or something to help support and level the axle shafts.
1. Remove all clips
2. Place one side of ear on large socket.
3. Place short socket on top of cap to hit. Hammer the socket to start pushing out.
4. You can push till enough of cap exits to use use large enough vise grips to pull out or just hammer all the way out.
5. Flip yoke
6. Long socket goes over the trunnion of ujoint and should center very well in ear.
7. Hammer that end to push the cap out.
8. Done.
Thread Starter
|
Champion
Joined: Sep 2011
Posts: 3,891
Likes: 8
From: NorCal
I was watching the tube today and an advertisement for a new series flashed across the screen about Alaskan Off Road enthusiast, (showing the kind of action in this thread). The series begins on 10:00 PM, 11/16/2014 on the regular History channel and will be a weekly series. When I saw it, my first thought was this thread. K.
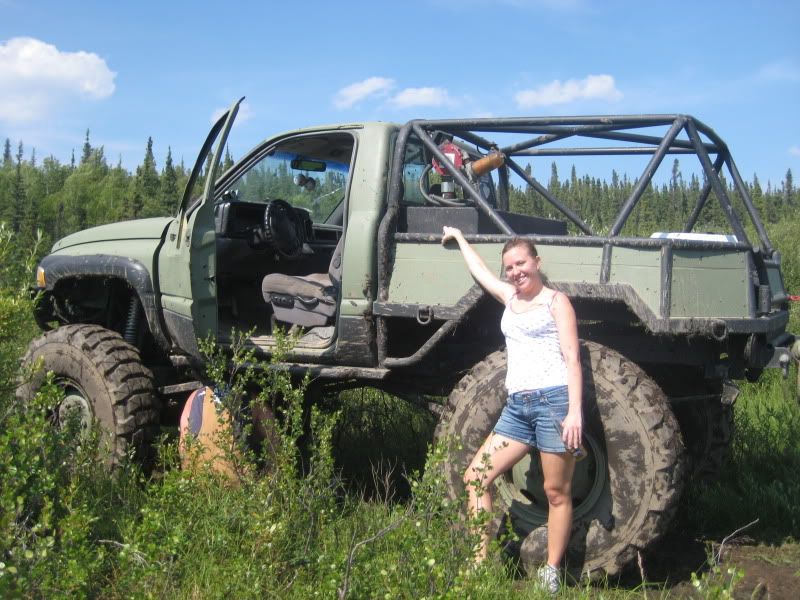
Edit:
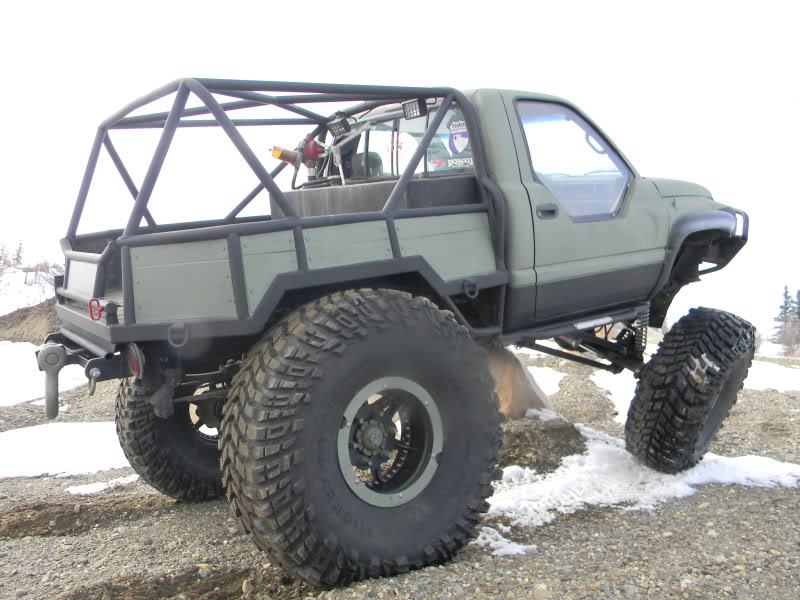
An earlier build version of it:

What it is at least up to last year:
http://www.pirate4x4.com/forum/gener...aska-trip.html
Last edited by Wh1t3NuKle; Nov 12, 2014 at 10:47 AM.
Hey i caught on to that man haha
I was just curious if you had gotten one of those c clamp "ball joint" presses as was one way recommended before.
But of course a BFH and some sockets will work. Hell, throw in a sturdy flathead screwdriver and you can fix about near anything.
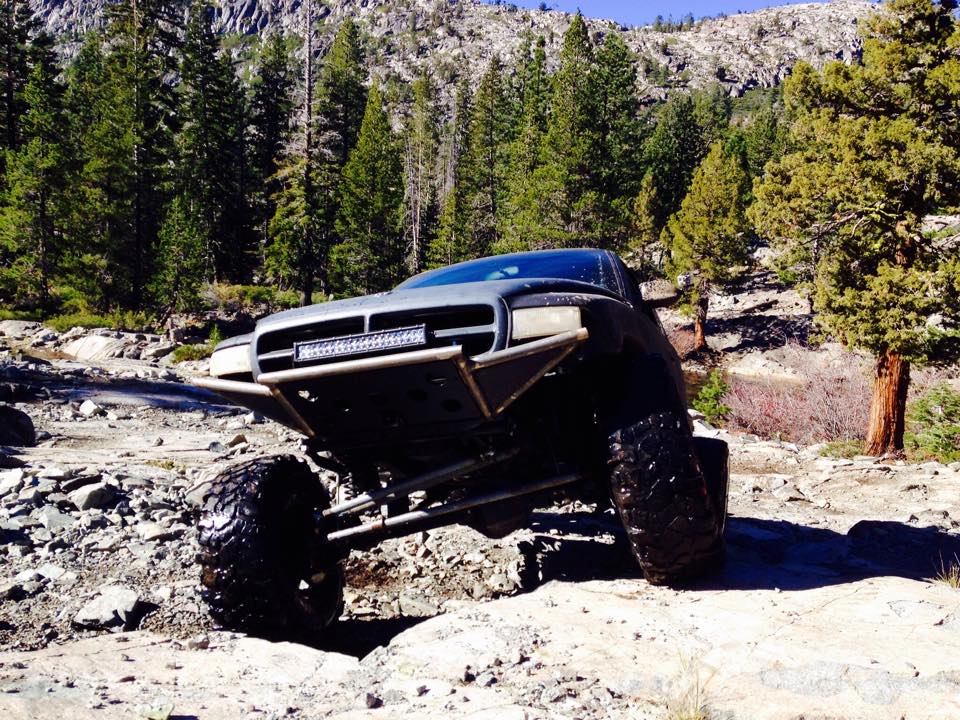
There is quite a different philosophy between your style of off roading and mudding/bogging isnt there?
Personally i think i find the rock crawling like you do much more interesting than blasting through mud. BUT, when it comes to actually doing it, slinging mud everywhere is pretty darn fun
I was just curious if you had gotten one of those c clamp "ball joint" presses as was one way recommended before.
But of course a BFH and some sockets will work. Hell, throw in a sturdy flathead screwdriver and you can fix about near anything.
There is quite a different philosophy between your style of off roading and mudding/bogging isnt there?
Personally i think i find the rock crawling like you do much more interesting than blasting through mud. BUT, when it comes to actually doing it, slinging mud everywhere is pretty darn fun
Thread Starter
|
Champion
Joined: Sep 2011
Posts: 3,891
Likes: 8
From: NorCal
Oh yeah, I forgot to mention. I did get the BJ clamp set from HF. I still have it and was my backup in case I ran into a brain cell problem. I'll keep it with me. I really wanted to see how well this bang bang setup would go.
The only time I like mud is when it's already raining. lol B/c then some of it will wash off by the time I get home. hahahhaah Yes very different setups -- tires, gearing, HP
The only time I like mud is when it's already raining. lol B/c then some of it will wash off by the time I get home. hahahhaah Yes very different setups -- tires, gearing, HP