

Bypass Transfer Case Vacuum Switch -- Feedback

Thread Starter
|
Champion
Joined: Sep 2011
Posts: 3,891
Likes: 8
From: NorCal
From my Build Thread at about page 18, I was getting familiar with the CAD and Tcase more so because of obtaining a Jeep Tcase. Issue to deal with while still having the CAD D44 axle was engagement. The tcase contains the switch for going between 2/4wd. Typically, us CAD users either have to repair the vacuum system or just go to a Posilok cable. Personally, I don't want to toss another $150 at my front axle knowing it will be changed out. It has had mixed reviews on it's (posilok) performance. Some limitations, at least for me, would be length of the cable for droop. I'm not saying it's a bad alternative as there are some good experiences reported here on it.
If your vacuum system works well and you'd also like to remove the dependence on the tcase switch, then this might be an option for you. I've done one preliminary setup so far. Approximate cost at this point is $50. I have a few little things to dial in, but here is a video.
Check it out and give me your feedback.


Red is for 2wd.
If your vacuum system works well and you'd also like to remove the dependence on the tcase switch, then this might be an option for you. I've done one preliminary setup so far. Approximate cost at this point is $50. I have a few little things to dial in, but here is a video.
Check it out and give me your feedback.
Red is for 2wd.
Administrator


Joined: Apr 2010
Posts: 87,468
Likes: 4,220
From: Clayton MI
I think the CAD cover is the same size for both axles, so, if you went with the posi-lock, just unbolt the cover, and swap it to the new axle.
Cable is like 6 feet long... I don't think you would have a problem with droop.
Cable is like 6 feet long... I don't think you would have a problem with droop.
Thread Starter
|
Champion
Joined: Sep 2011
Posts: 3,891
Likes: 8
From: NorCal
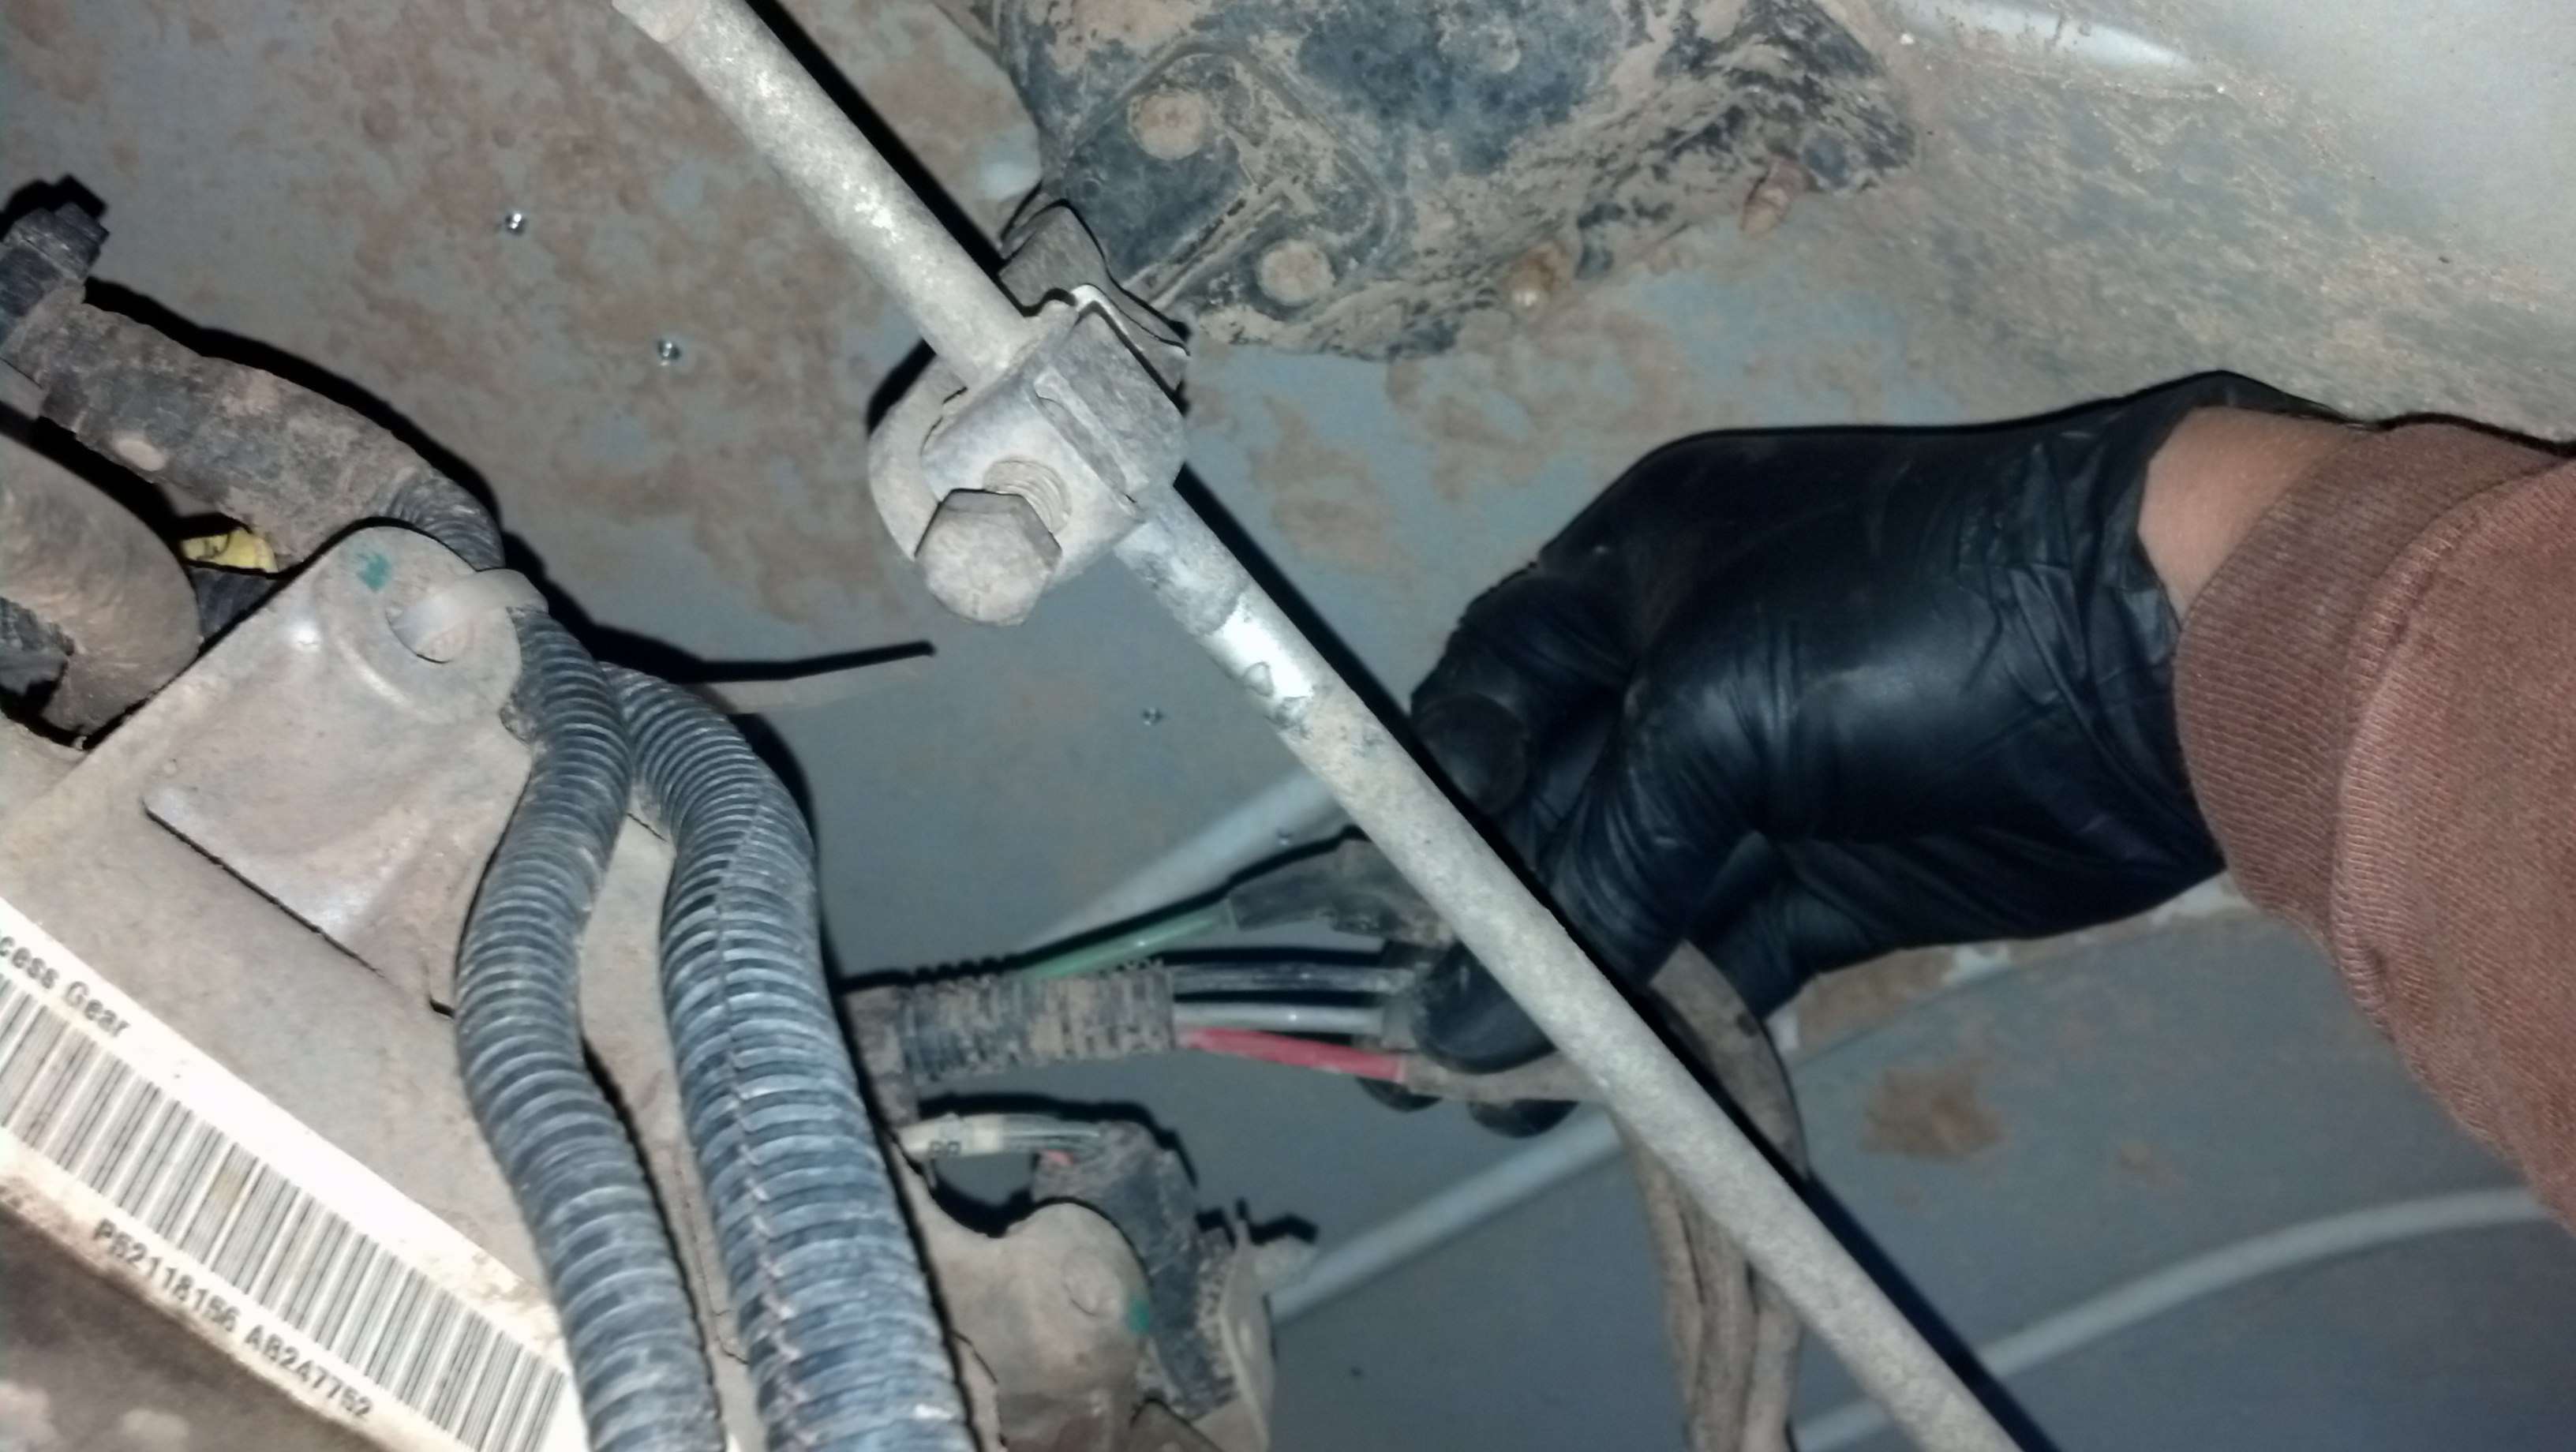
I forgot to say that you route these air lines anywhere. This was just the simplest and least amount used for testing. Best part is not routing all above the Case. The vent and source lines come down the top of tranny. Very difficult to feel and you can't see for sure. About 4" before case is the T off of red/black lines. Grabbing about up there is susceptible to damaging the already brittle lines.
Effectively you can pull source and vent up high behind manifold. Run separate lines to CAD.
Best place I think is hole in t case shifter and run out the boot or plastic casing.
Effectively you can pull source and vent up high behind manifold. Run separate lines to CAD.
Best place I think is hole in t case shifter and run out the boot or plastic casing.
Captain
Joined: Jun 2013
Posts: 728
Likes: 1
From: New Port Richey, Florida
Earlier today I needed 4WD, but the sucker wouldn't engage. Ended up being just a clogged port for the switch due to a broken vac line.
I've been considering a Posi-Lok system since its only $160 and can be used when I upgrade axles, but this is good information right here. Giving me future ideas!
I've been considering a Posi-Lok system since its only $160 and can be used when I upgrade axles, but this is good information right here. Giving me future ideas!
Thread Starter
|
Champion
Joined: Sep 2011
Posts: 3,891
Likes: 8
From: NorCal
Well, this is meant to be a low cost alternative. The air lines are larger and can be placed in conduit or a better protective covering, mostly from the exhaust heat. Additionally, find a suitable low buck elastic retention to keep it up, yet allow it to move.
This stuff is available and I would not be selling it.
This stuff is available and I would not be selling it.

Registered User
Joined: Jan 2013
Posts: 8
Likes: 0
From: Vernon B.C.
Trending Topics
Thread Starter
|
Champion
Joined: Sep 2011
Posts: 3,891
Likes: 8
From: NorCal
Hi there LocoMech,
I had to do some searching as i purchased off of Ebay. Here is the link of what I had gotten and hope it works.
http://www.ebay.com/itm/300887817620?_trksid=p2059210.m2749.l2649&ssPageName=STRK%3AMEBIDX%3AIT
I had to do some searching as i purchased off of Ebay. Here is the link of what I had gotten and hope it works.
http://www.ebay.com/itm/300887817620?_trksid=p2059210.m2749.l2649&ssPageName=STRK%3AMEBIDX%3AIT

Thread Starter
|
Champion
Joined: Sep 2011
Posts: 3,891
Likes: 8
From: NorCal
This is the writeup as it is....hahahah!
I didn't take it any further due to winter time hit, ended up not having any CAD issues, and wanted to research on a different set of connectors between the line sizes.
All that really needs to be done is tapping into the lines from the tcase switch to route into the cab to the pneumatic lever. Then drop another set of lines to the tranny crossmember for the hardline connection. That gets it completed to the CAD assuming those lines are all good.
Prior to any of this though is to verify the CAD is working properly. Changing out to this much simpler and cost effective method only to find out the CAD itself or something else is borked would leave me frustrated at least.