

Procharger 408 ready to install, whaddyathink?
#1
 08-01-2009, 12:01 PM


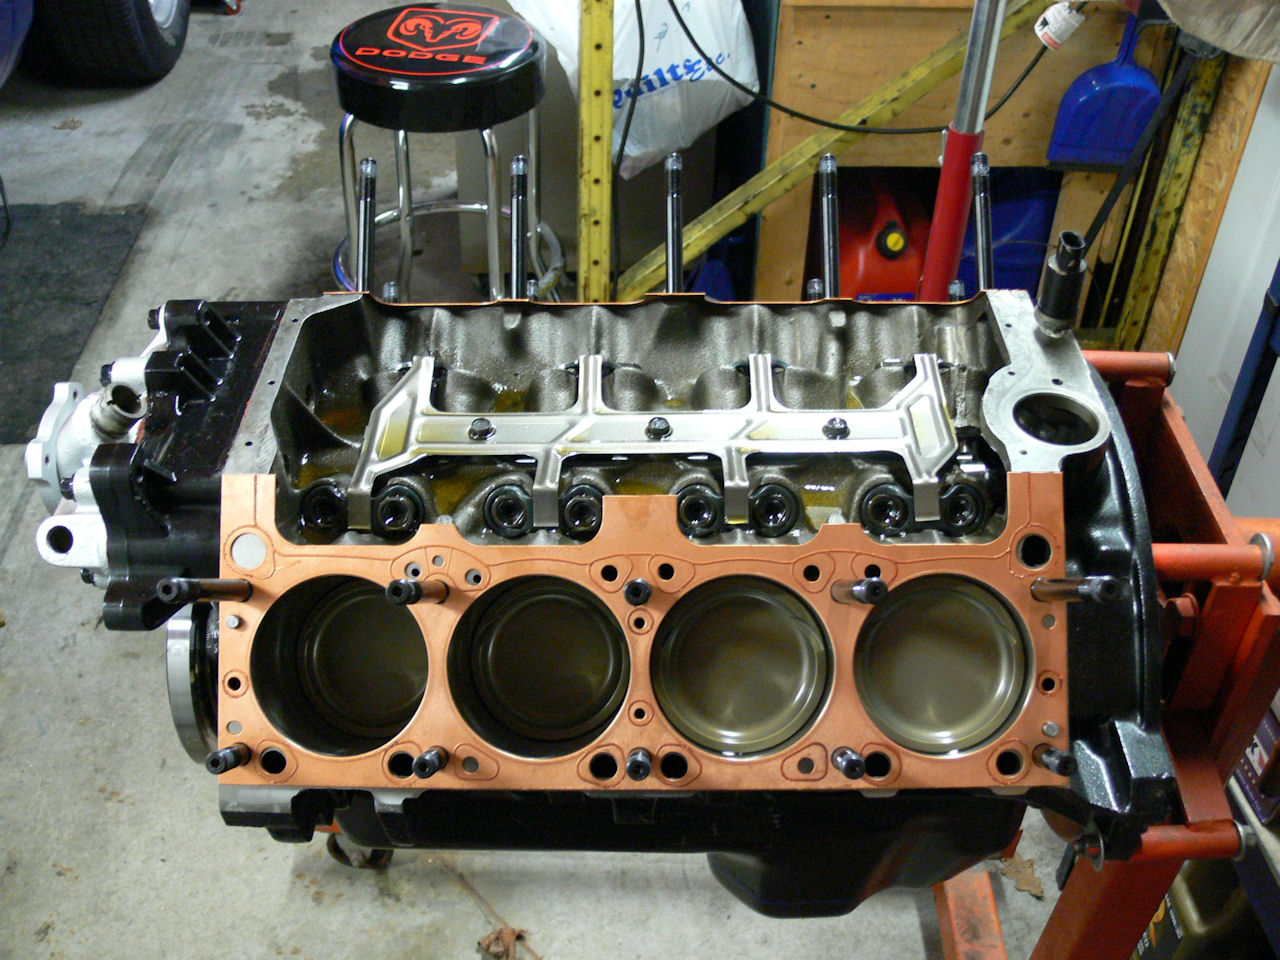
Some pics from this year of what ive been up to. Think I have finalized the 408 and almost ready to install. Working out some details and making brackets to support few items but seems like its getting closer. Had to do a full mock up on the engine stand to make sure I didnt powder coat an area that would interfer with assembly. Luckily so far only the oil dipstick tube needs tweaking and some of the bolts. In NA form including nuts/bolts there is 97pieces powder coated and one polished. In supercharged form, 95pieces powder coated but 2 more are polished (tensioner/tb hat). Only powder coat and polish I didnt do myself were the valve covers(shop did 11yrs ago) and the D-1SC supercharger. Also did all the paint work(ceramic) in pics below.
Wifey hangin out with me so got her to put the nuts on the arp head studs(eddy specific). Like her to play with my nuts once in a while
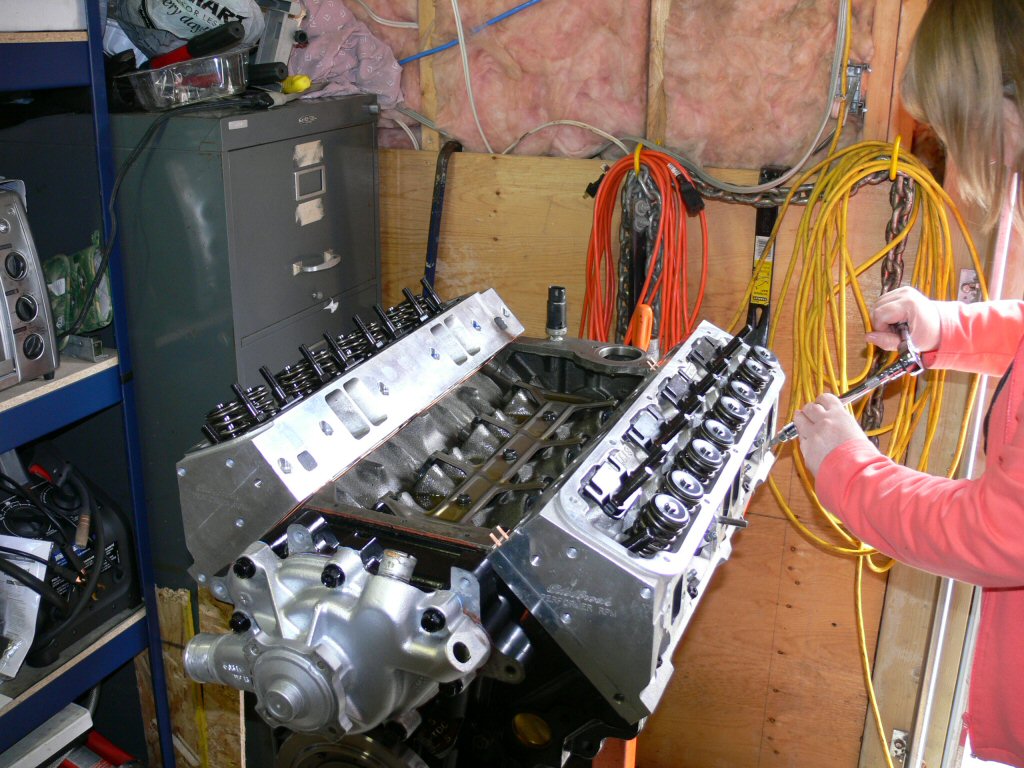
Incase you were wondering about this pic
Harland Sharp adjustable 1.6rr with Hughes (Jomar) rocker girdles ontop. Had to remove the baffles in the MP alum valve covers as well as cut the stems off that the screws for the baffles go into. The girdles act as a baffle plus secures the rockers to each other giving more stability and also so the settings cant back out at hi rpms if the locks back off.
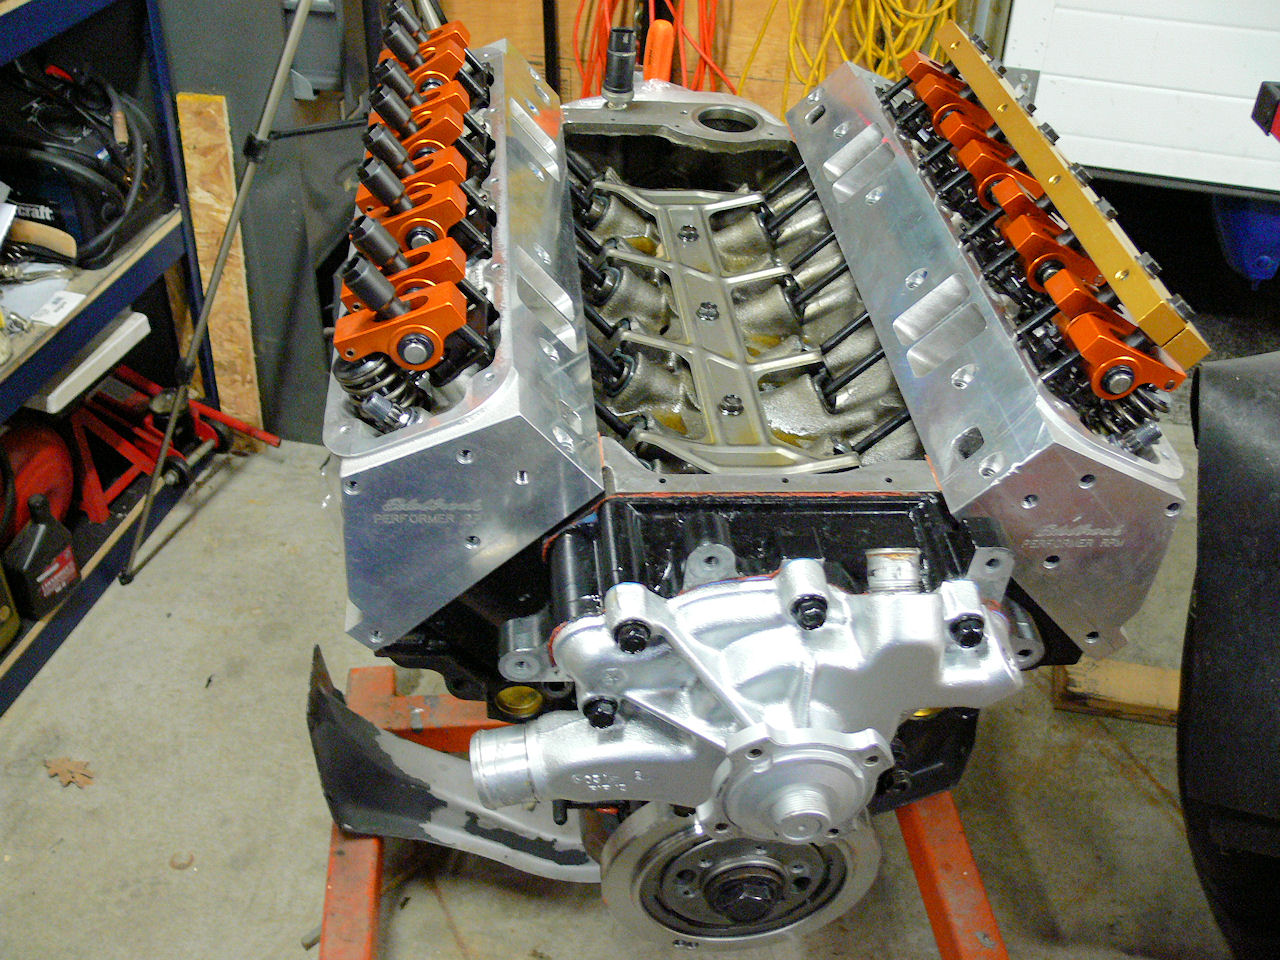
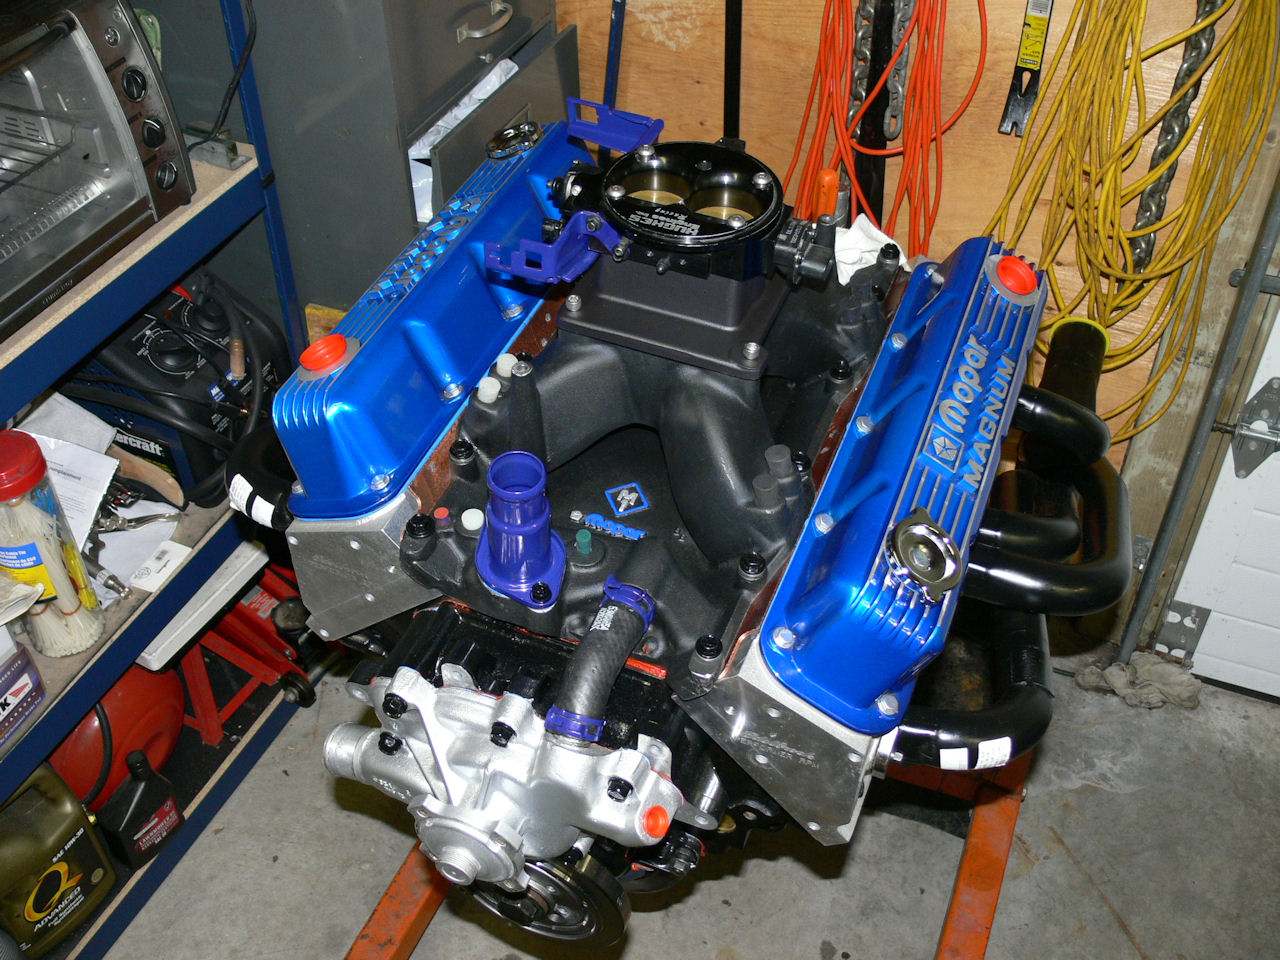
Ended up moving the map to the back of the motor and flipping the bracket down. Still working on the vac line arrangement at the back
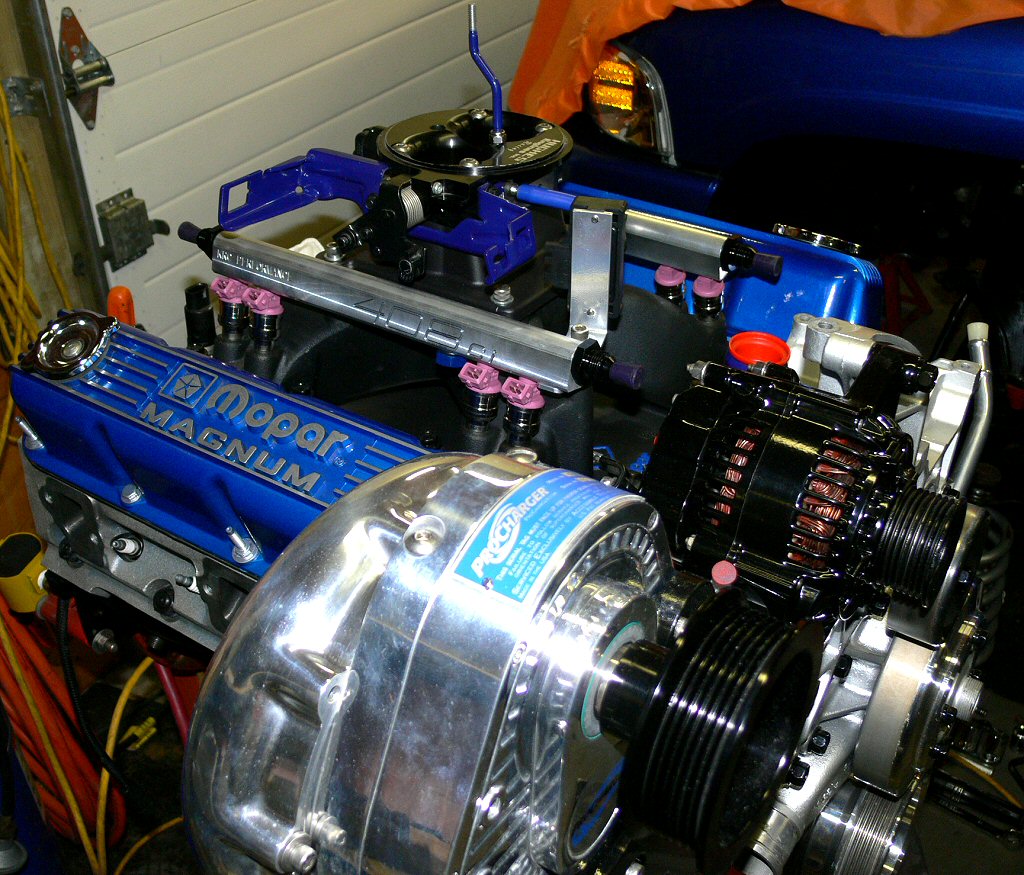
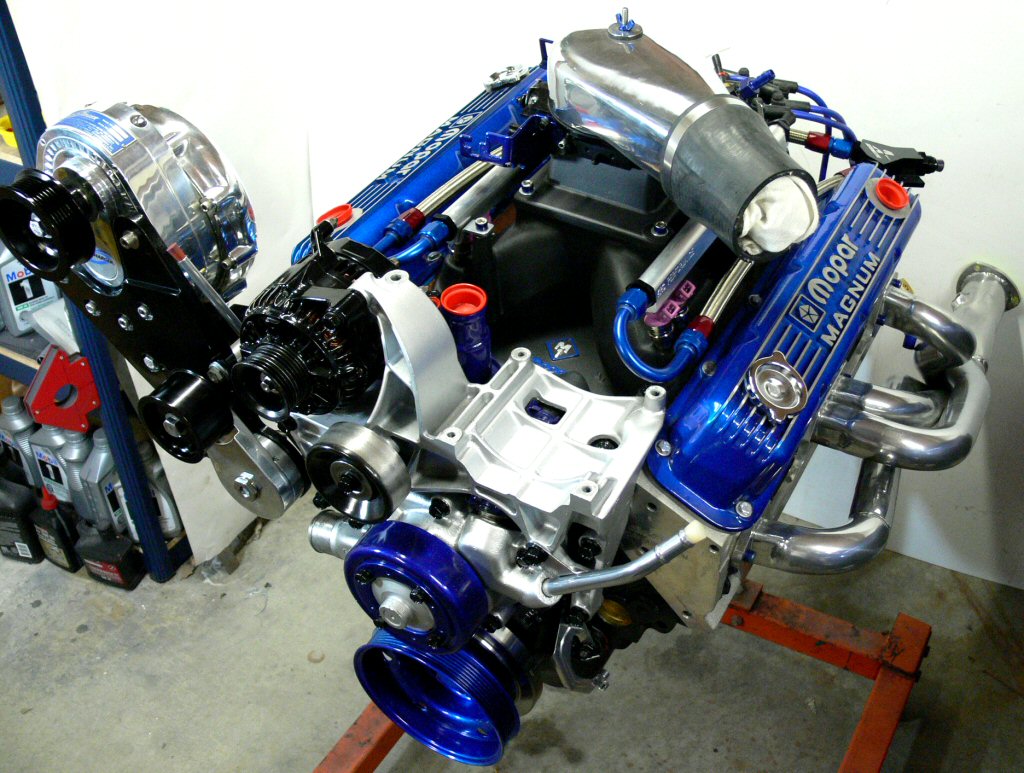
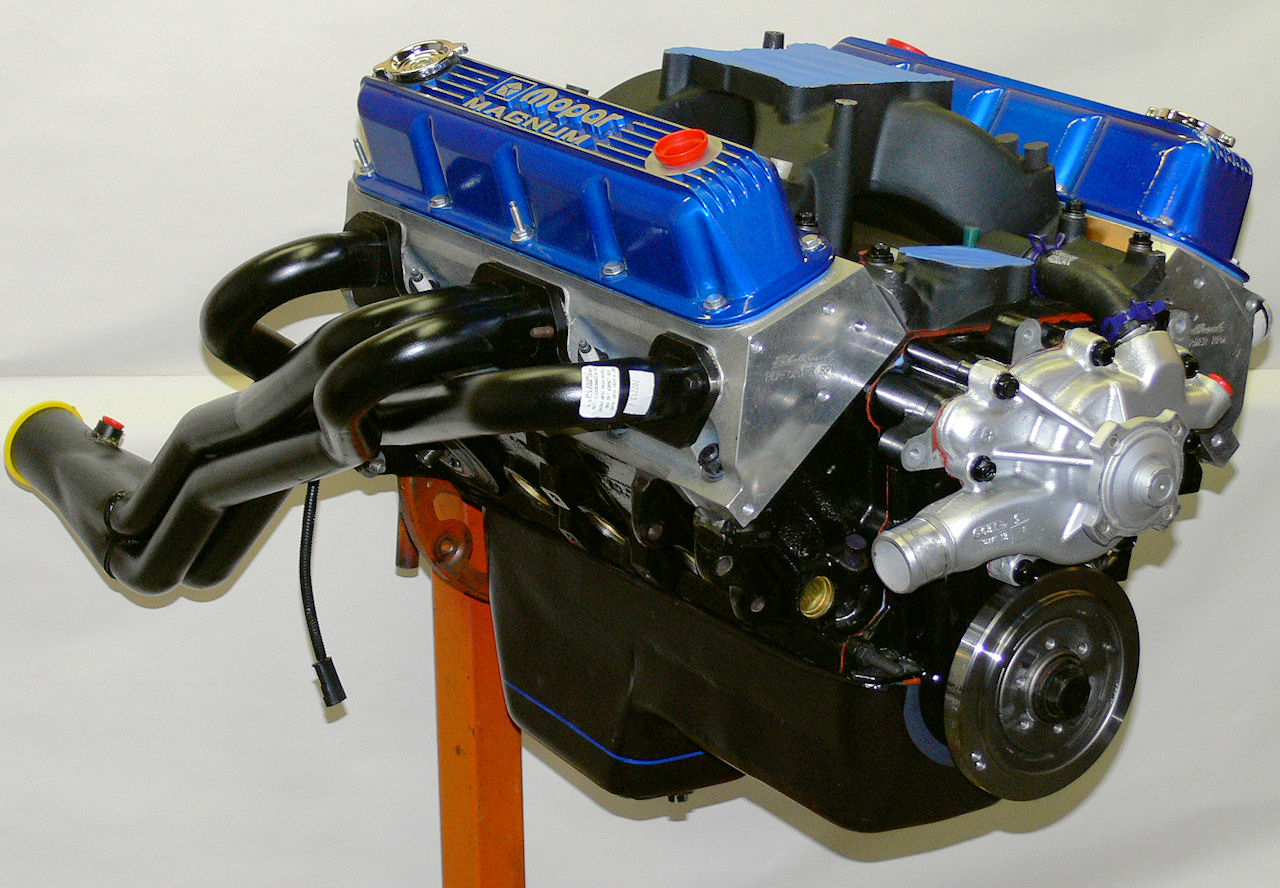
In comparison heres what it looked like with the Procharger installed on very mild 360 prior. The look of cast aluminum is over rated I though so had to clean things up a bit.

Wifey hangin out with me so got her to put the nuts on the arp head studs(eddy specific). Like her to play with my nuts once in a while
Incase you were wondering about this pic
Harland Sharp adjustable 1.6rr with Hughes (Jomar) rocker girdles ontop. Had to remove the baffles in the MP alum valve covers as well as cut the stems off that the screws for the baffles go into. The girdles act as a baffle plus secures the rockers to each other giving more stability and also so the settings cant back out at hi rpms if the locks back off.
Ended up moving the map to the back of the motor and flipping the bracket down. Still working on the vac line arrangement at the back
In comparison heres what it looked like with the Procharger installed on very mild 360 prior. The look of cast aluminum is over rated I though so had to clean things up a bit.

#3
08-01-2009, 12:13 PM

Captain
#4
08-01-2009, 12:53 PM
Thanks Zman & Eric
To say Im very happy how its turning out is an understatement. Taken me forever to complete though due to the level of hp Im taking it and detailing Ive done.
Few more pics
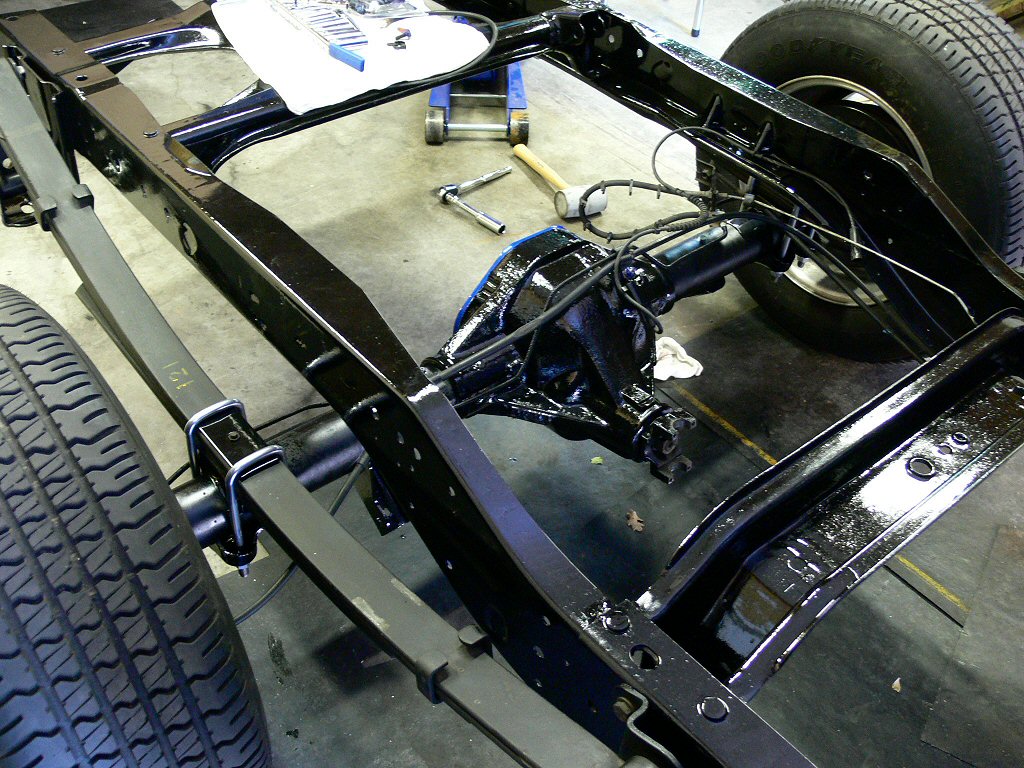
Had to redo 1/2 the frame cause I didnt prep it right the first time. Almost killed me(prior sport bike crashes in youth catching up to me) and was way more work than I gave it credit for. Ended up removing all weld splatters and sanding it smooth and getting rid of the overwelds as well.
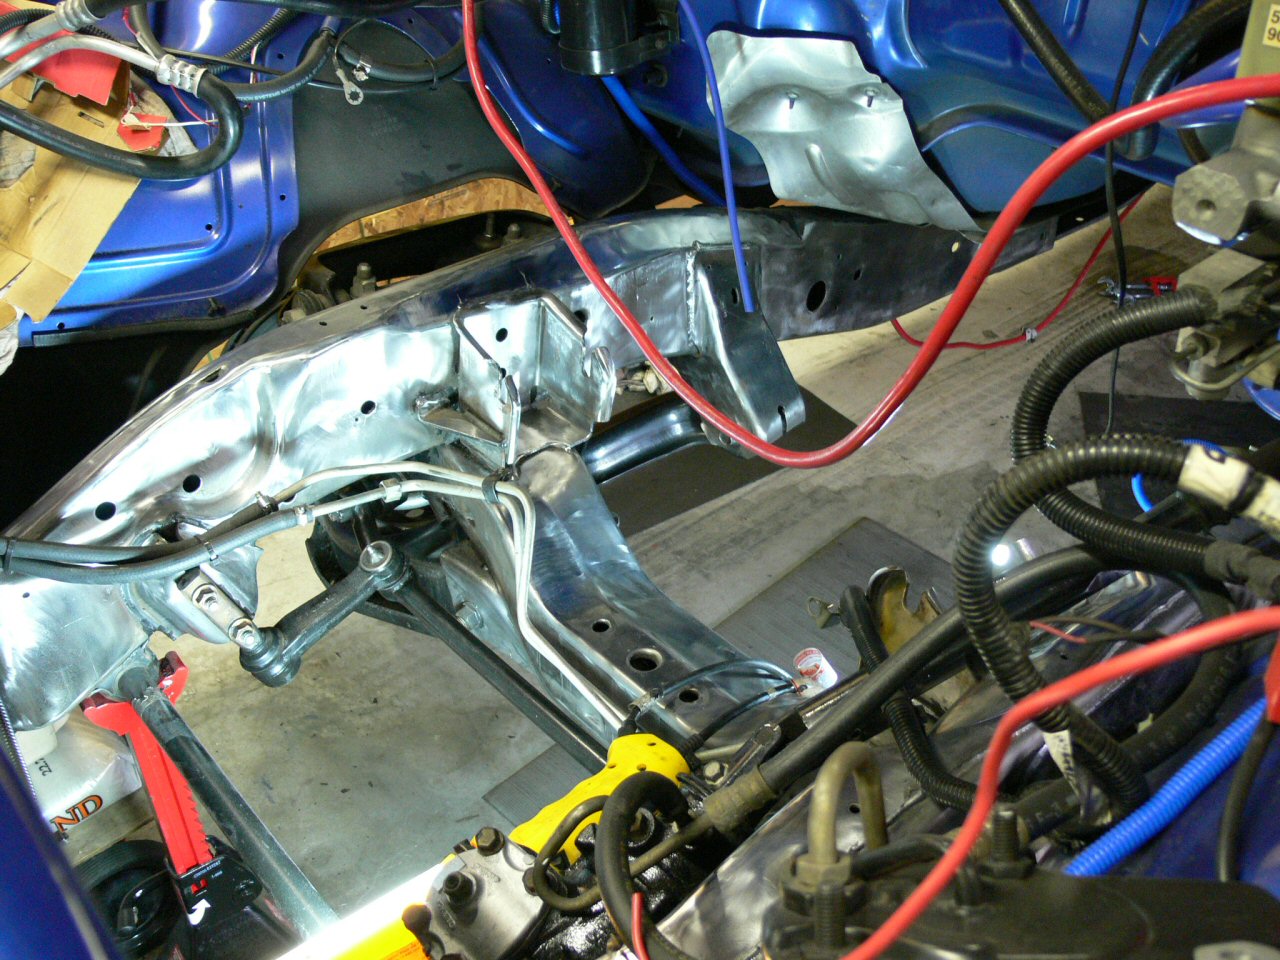
Zincphosphate washed then rinsed


To say Im very happy how its turning out is an understatement. Taken me forever to complete though due to the level of hp Im taking it and detailing Ive done.
Few more pics
Had to redo 1/2 the frame cause I didnt prep it right the first time. Almost killed me(prior sport bike crashes in youth catching up to me) and was way more work than I gave it credit for. Ended up removing all weld splatters and sanding it smooth and getting rid of the overwelds as well.
Zincphosphate washed then rinsed
#6
08-01-2009, 01:15 PM
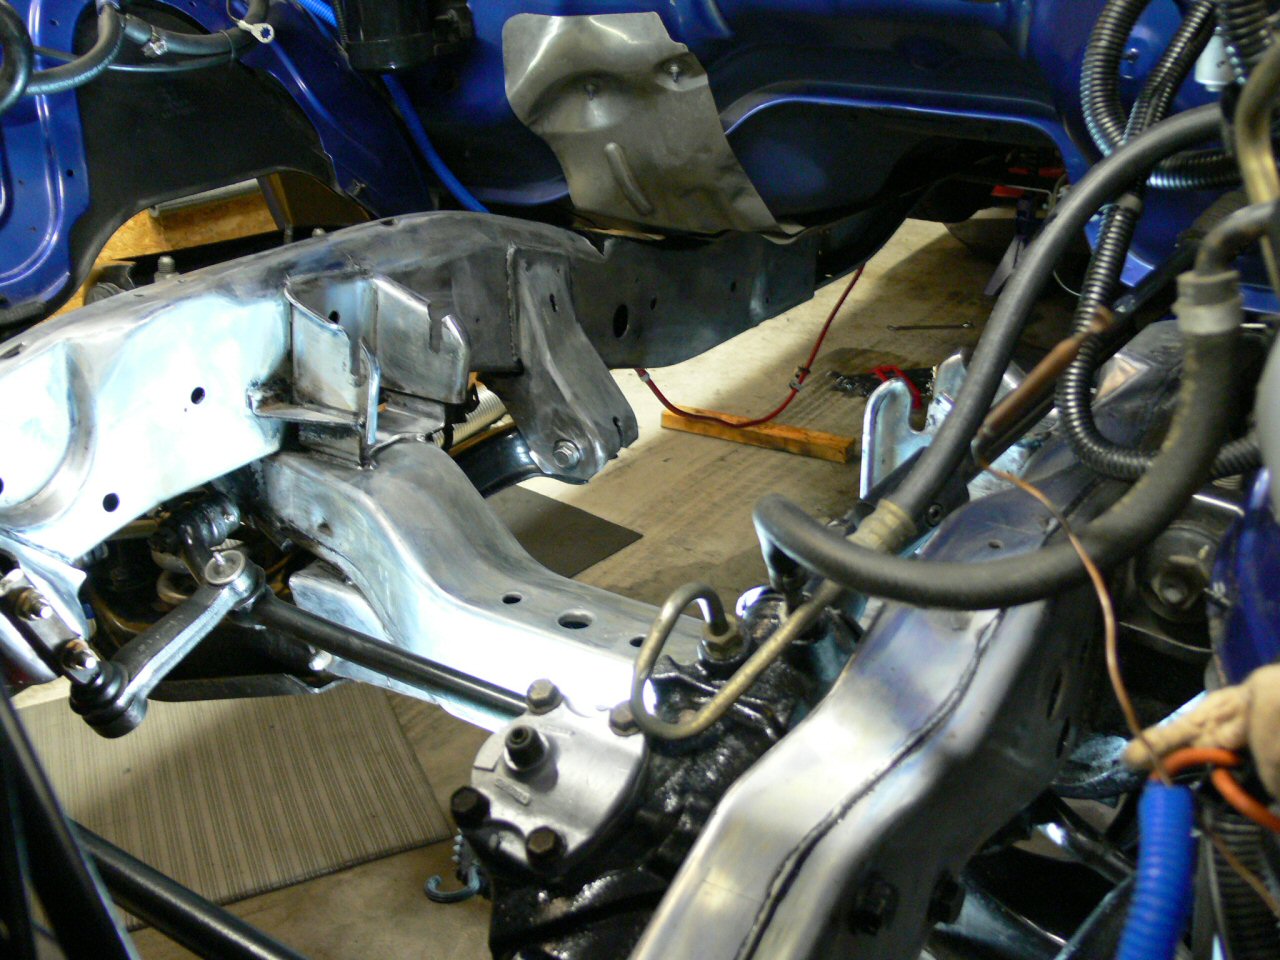
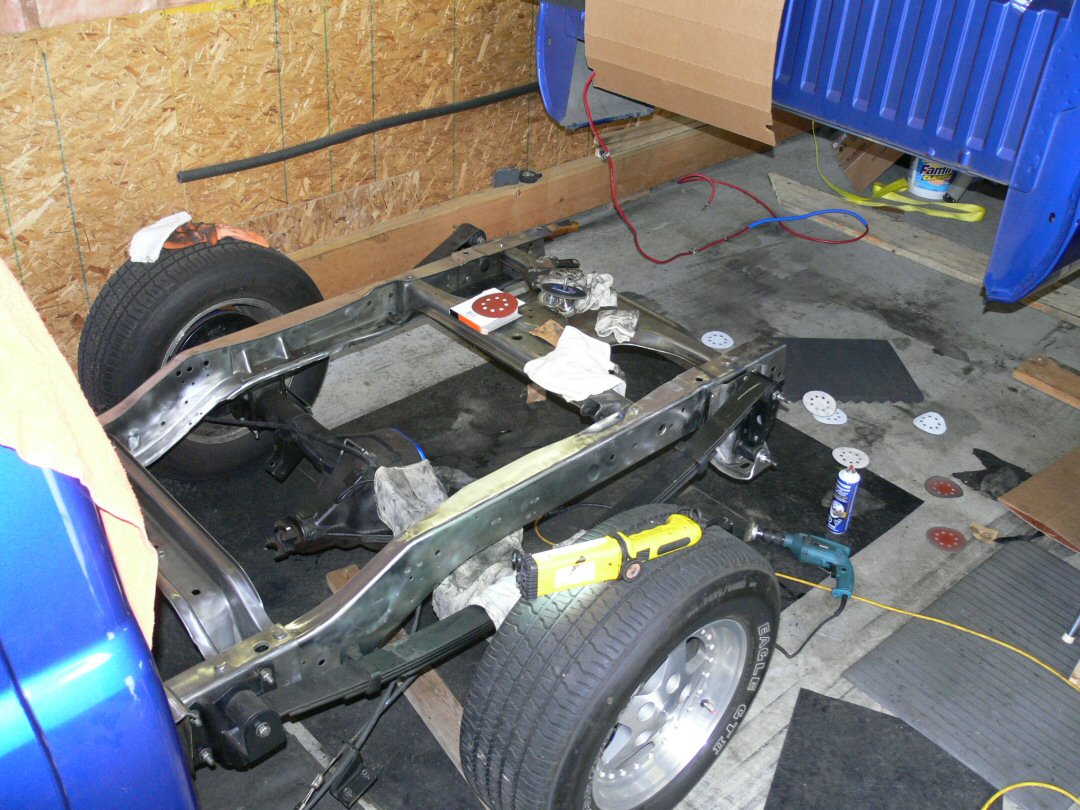
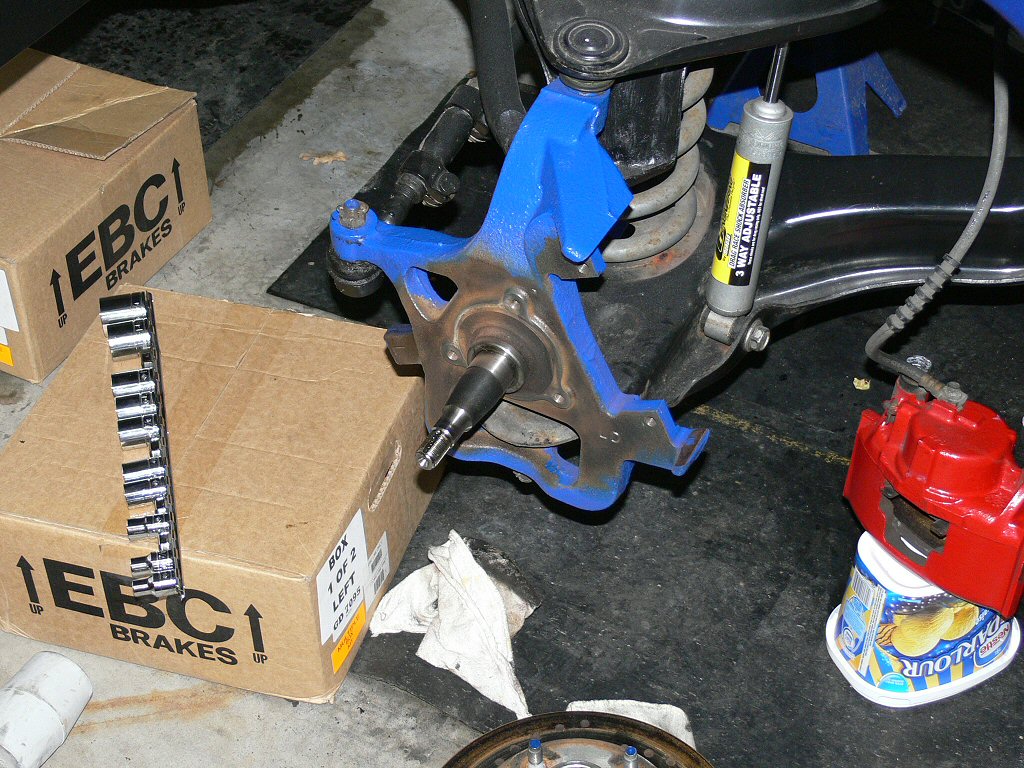
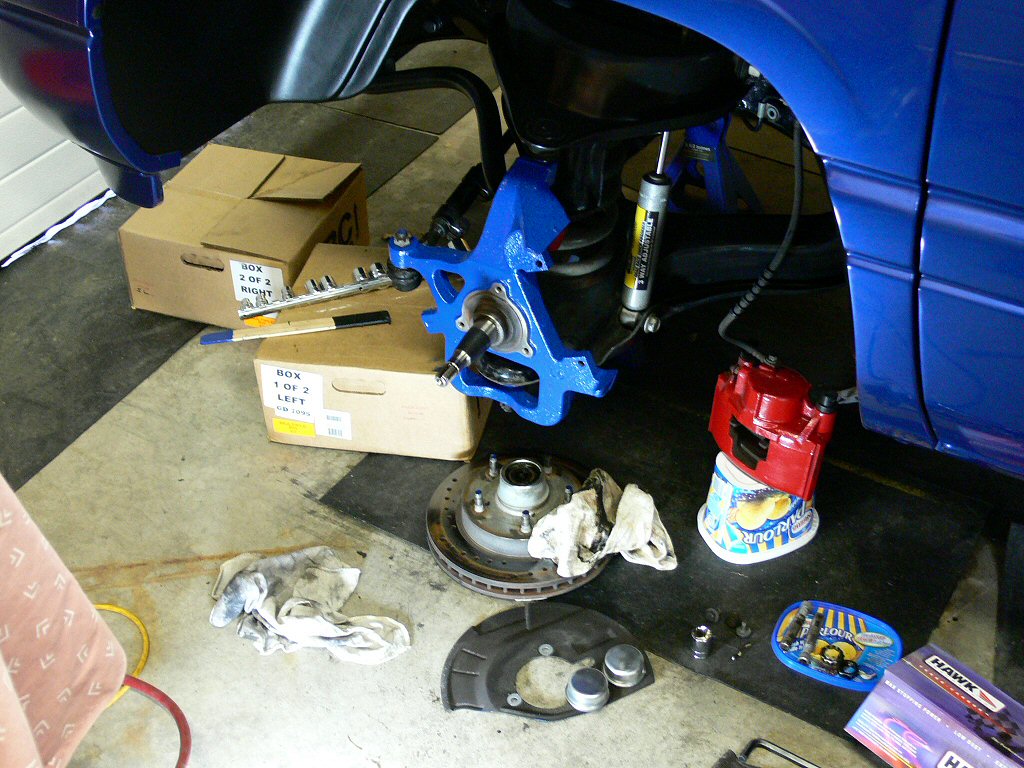
Replaced the wheel bearings while I had it apart, unfortuntely after completing brake job noticed my bushings were shot and bjoints too. Ripped out the front suspension. Would of had it together but full suspension kit backordered so ordered it all indivually except body mounts (B-ordered). Finally came in & noticed I got the 4x4 c arm bushings duh, had to reorder again (couple days ago) n found out they are back ordered lol. (of course)
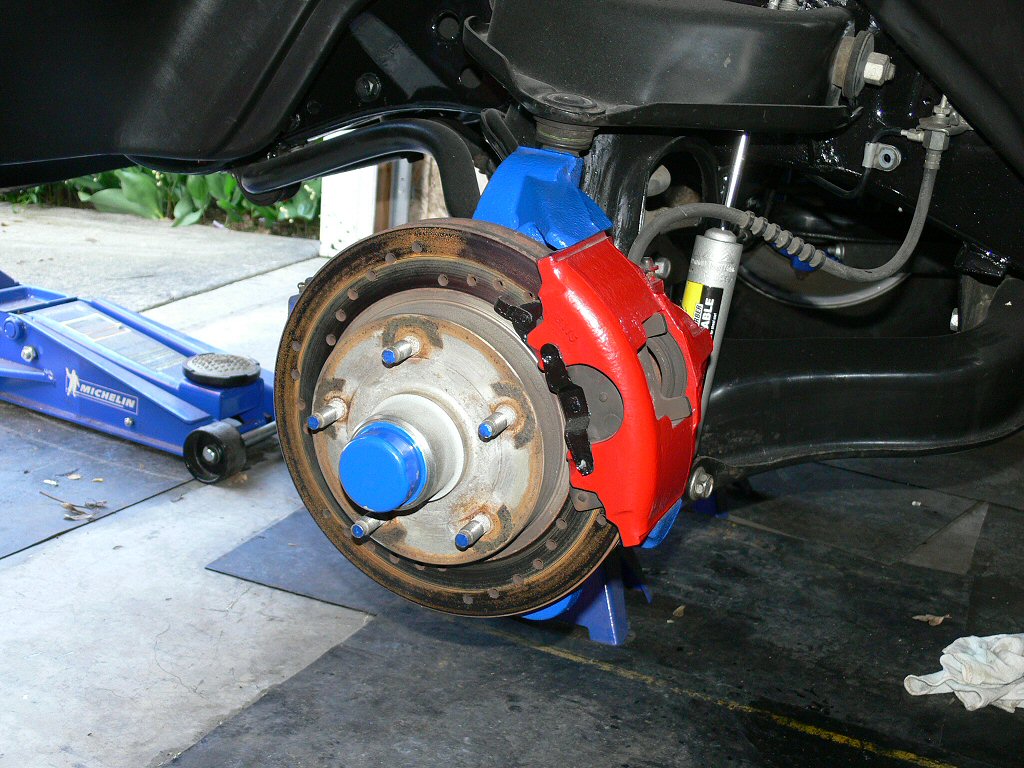
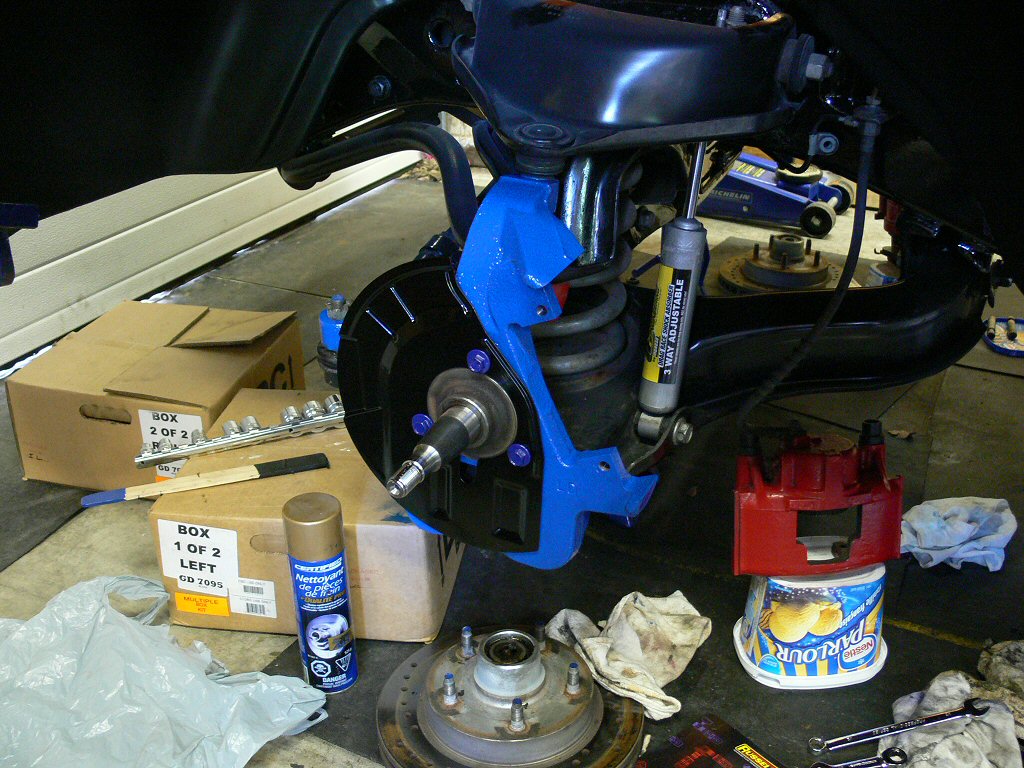
Powder coated the tb hat (& grease caps) cause I hated how it had the crusty rusty look to it with the crossdrilled rotors not long after they were installed. Took about 12hours in total to powder coat the 2 rotors with prep work and baking cooling. Each rotor was in the oven for about 5hours. Didnt think the powder would ever start to flow (melt to liquid form) so I could start the cure timer. Cool down took just as long. Specs you see in the pwdr are like metalflake, camera doesnt do it justice (or motor pics for that matter)
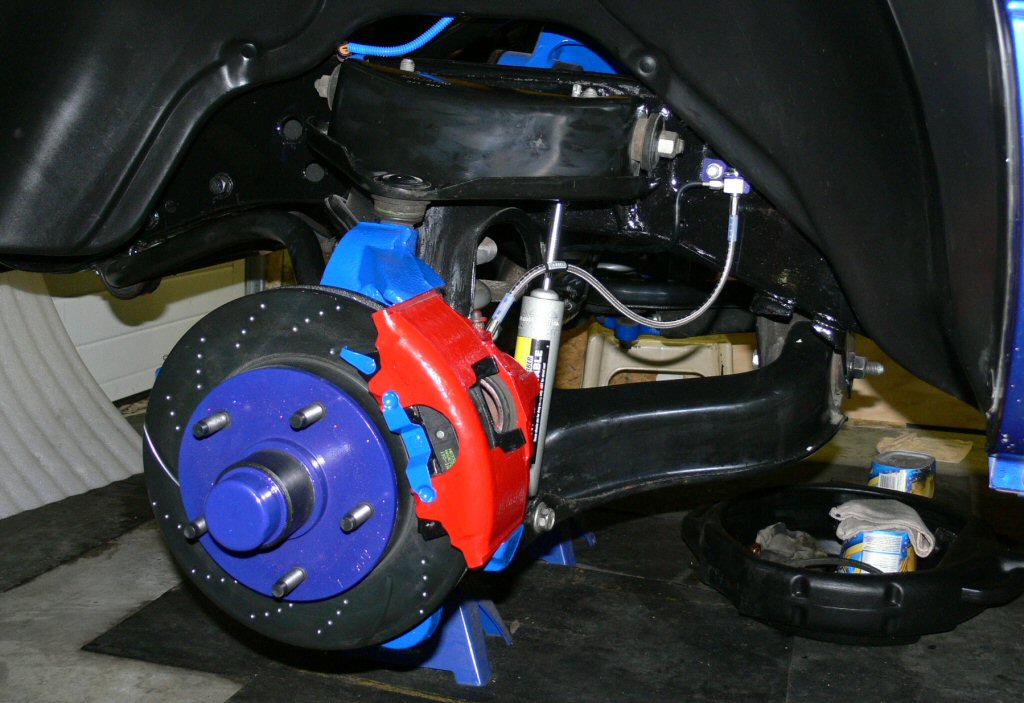
Powder coated the tb hat (& grease caps) cause I hated how it had the crusty rusty look to it with the crossdrilled rotors not long after they were installed. Took about 12hours in total to powder coat the 2 rotors with prep work and baking cooling. Each rotor was in the oven for about 5hours. Didnt think the powder would ever start to flow (melt to liquid form) so I could start the cure timer. Cool down took just as long. Specs you see in the pwdr are like metalflake, camera doesnt do it justice (or motor pics for that matter)
#7
08-01-2009, 01:25 PM
Trending Topics
#8
08-01-2009, 01:37 PM
All Star
Join Date: Mar 2005
Location: Jax Fl.
Posts: 820
Likes: 0
Received 0 Likes
on
0 Posts
Indy, As you know I am running the same charger set up as you. What map sensor you running? I have an MSD that still has to be installed. I also need to get the chevy connector to tie into the wiring harness. I would like to know how you did yours with some pics. It also appears you have different pulleys on the crank and alt. What is the scoop on that? How did it effect the charger? Did you have any issues with belt slippage before? I have continuing issues. What brand/style belt you run?
#9
08-01-2009, 02:12 PM
Record Breaker
Join Date: Jan 2009
Location: Indiana
Posts: 2,087
Likes: 0
Received 0 Likes
on
0 Posts
#10
08-01-2009, 02:13 PM
Indy, As you know I am running the same charger set up as you. What map sensor you running? I have an MSD that still has to be installed. I also need to get the chevy connector to tie into the wiring harness. I would like to know how you did yours with some pics. It also appears you have different pulleys on the crank and alt. What is the scoop on that? How did it effect the charger? Did you have any issues with belt slippage before? I have continuing issues. What brand/style belt you run?
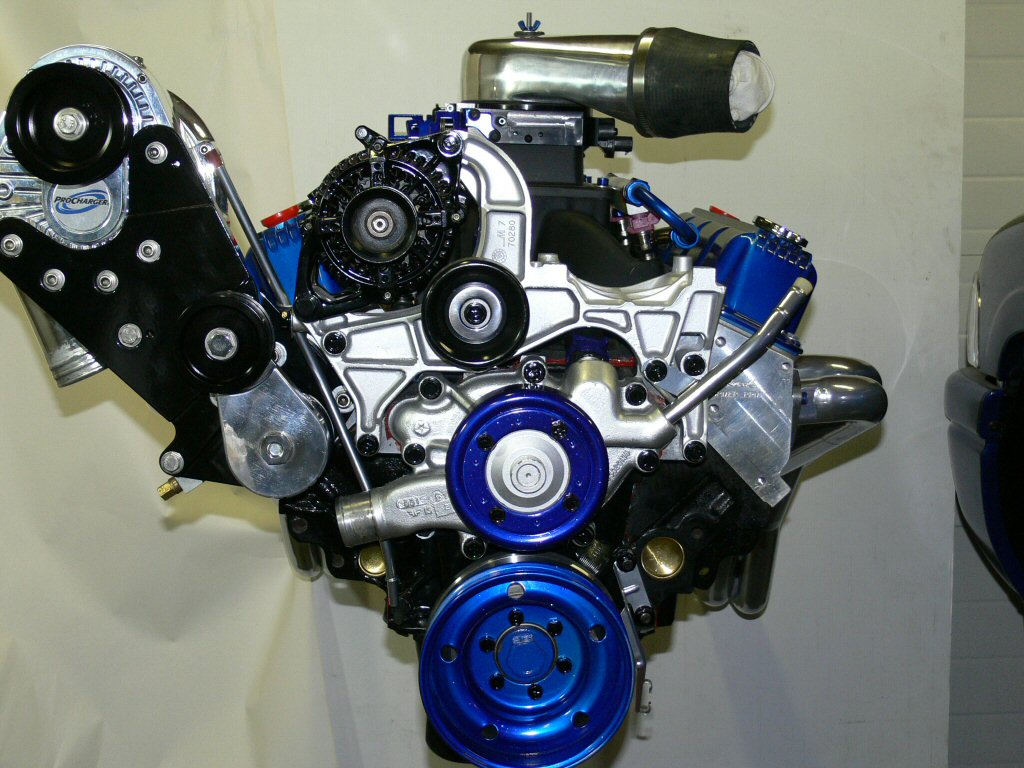
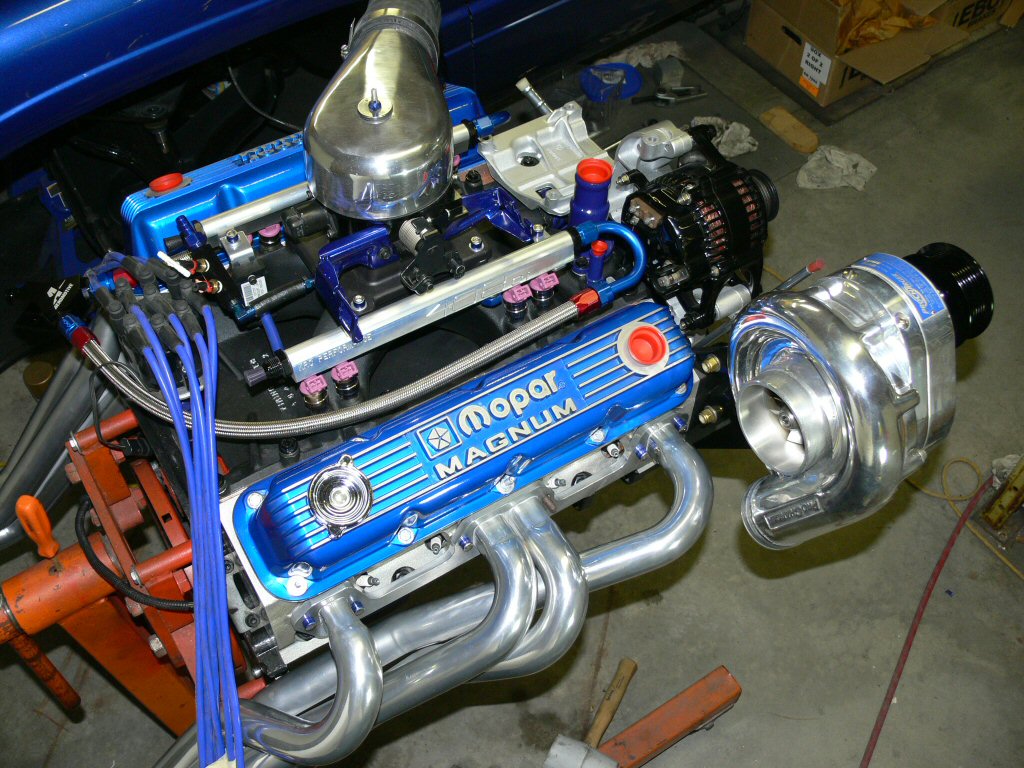
Stock pulleys everywhere except the alt with the Procharger. I powder coated both water pump & crank pulley after I blasted them both. Used reflective chrome base coat with my custom Indy mix. Custom mix I developed over the last yr tweaking it as I went along till I got what I was looking for. Pictures do not do it justice.
As far as the alt goes. Took it to a rebuild shop once apart I powder coated the 3piece black. The shop put more winds to make more amps as well new armature, bearings and put a smaller pulley on it as well and reassembled it when I returned with the case pieces. NA will be running u/d pulleys so dont want any power issues if I can avoid it.
Im expecting to have belt slippage issue, may see if I can get machine shop to make a piece with a hole in it that I can attach an idler pulley to using a longer bolt going into the D-1SC through the front of the main bracket. Figure I have about 7different belts for my Indy in every configuration for bypassing various accessories with or without u/d pulleys on. Have 2 belts or 3 for the supercharger. Without the pwr steering pump on couldnt say with accuracy which one fits for which combo of accessories lol