


Rear Drum Overhaul DIY


Thread Starter
|
Veteran
Joined: Jun 2011
Posts: 325
Likes: 0
From: California
Just got the read drums all tided up. Was a bit more of a PITA then i thought, but that's because i left the pistons bleed all the way out and had to flush and bleed the whole system. Here's my attempt at fixing rear drums.
1) PB BLASTER and then beat the old drum out with a big hammer going all the way around the edges till it starts moving. DO NOT HIT THE BACKING PLATE
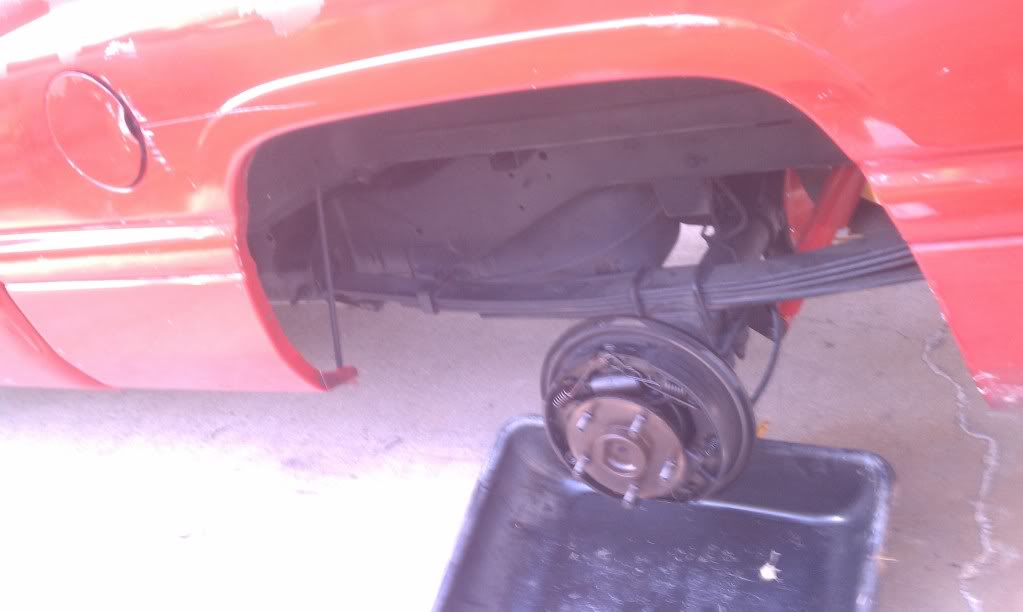
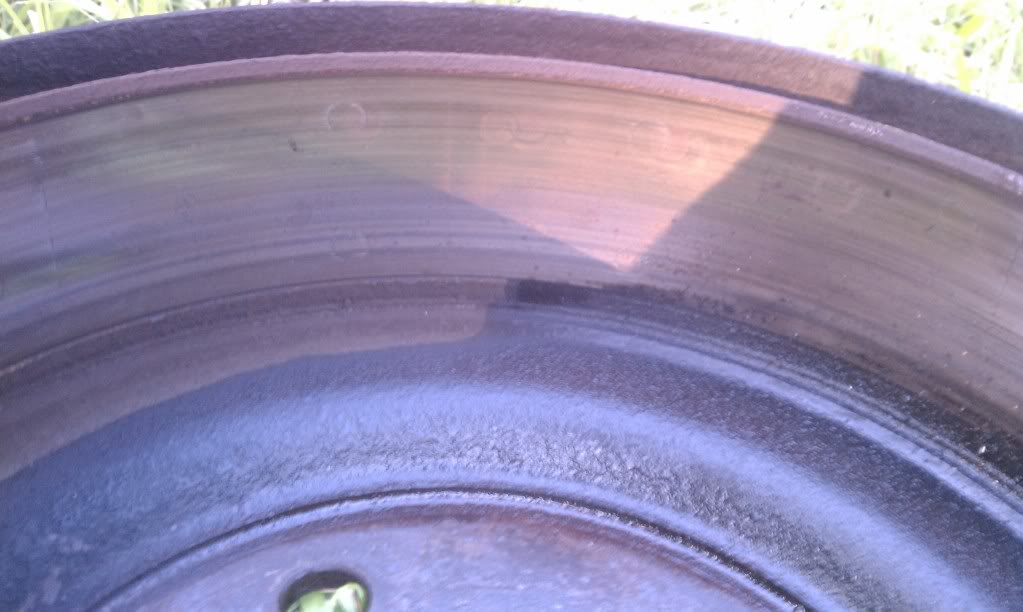
2) Pull the drum off and put aside (or go get it surfaced)
3) Take pictures of all the angles top bottom and sides of both sides of the vehicle. Leave something there to reference which side is passenger which side is driver.
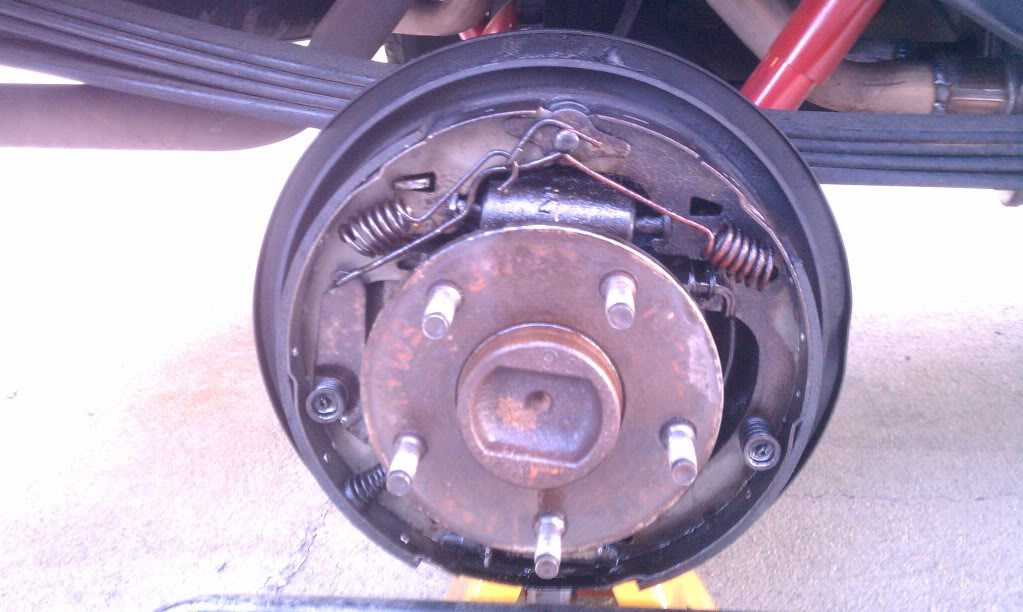
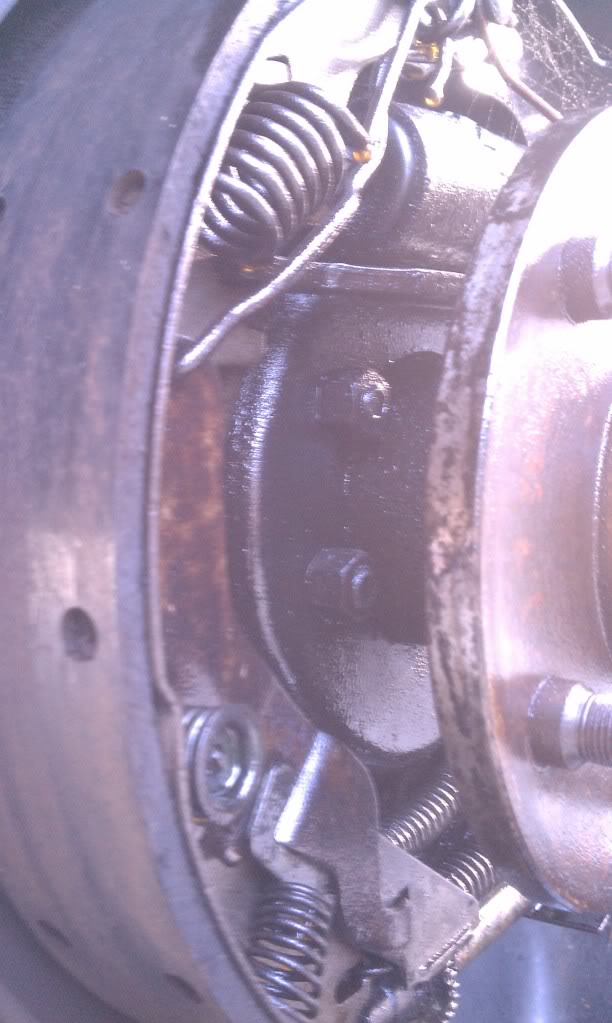
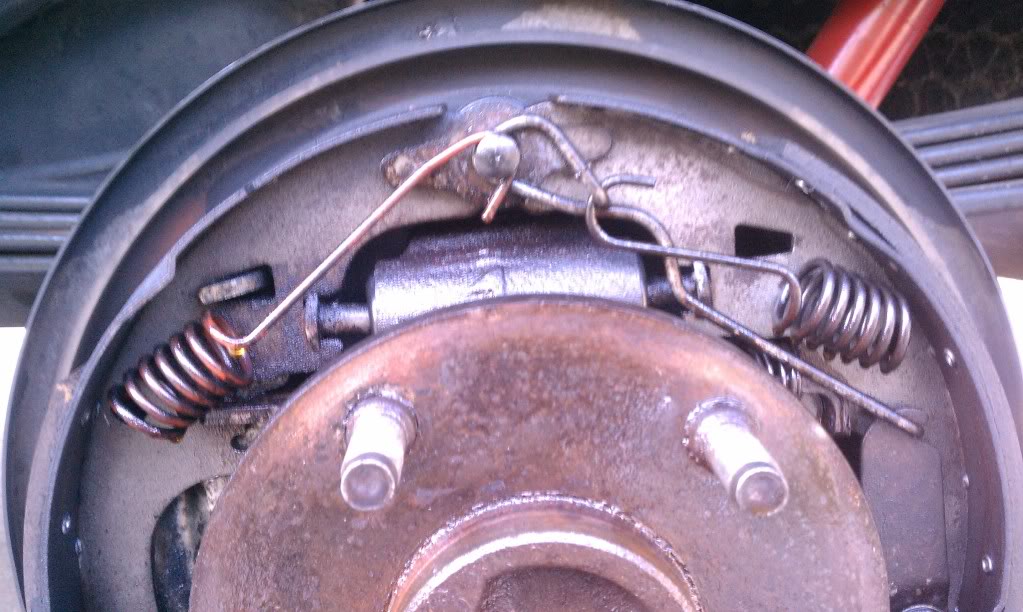
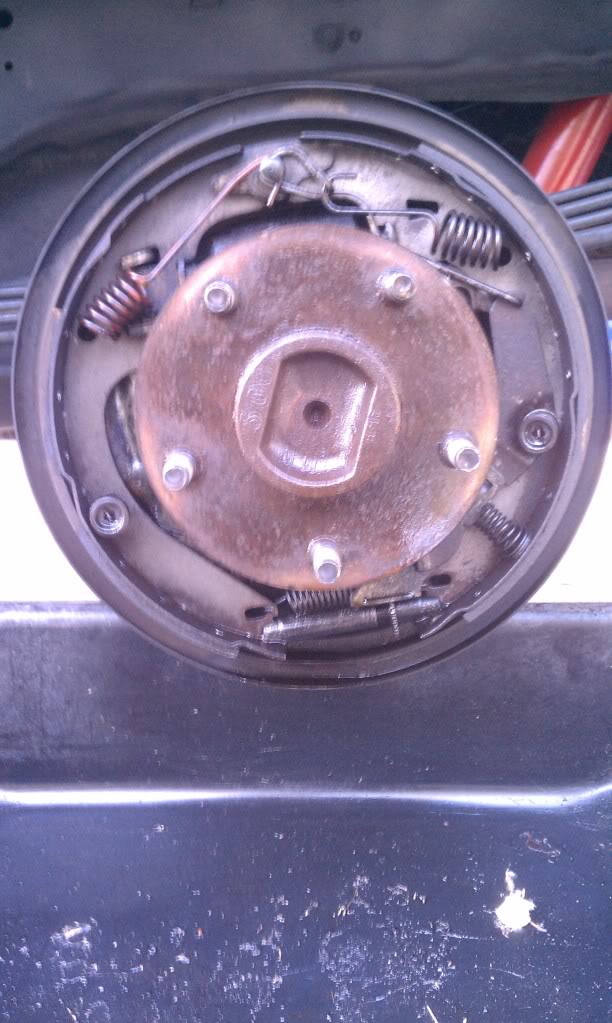
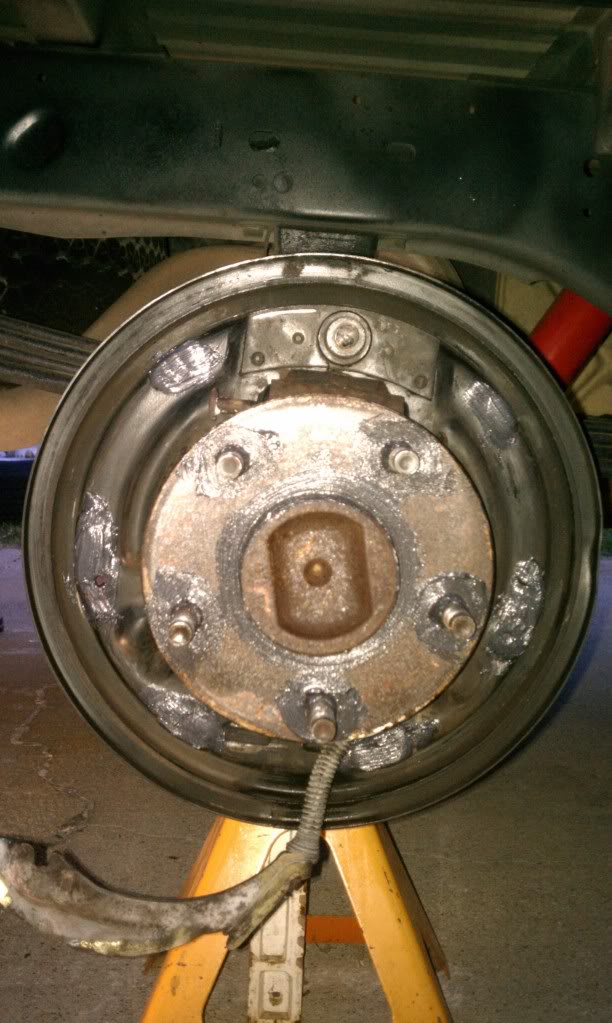
Heres the inside of my old drums:
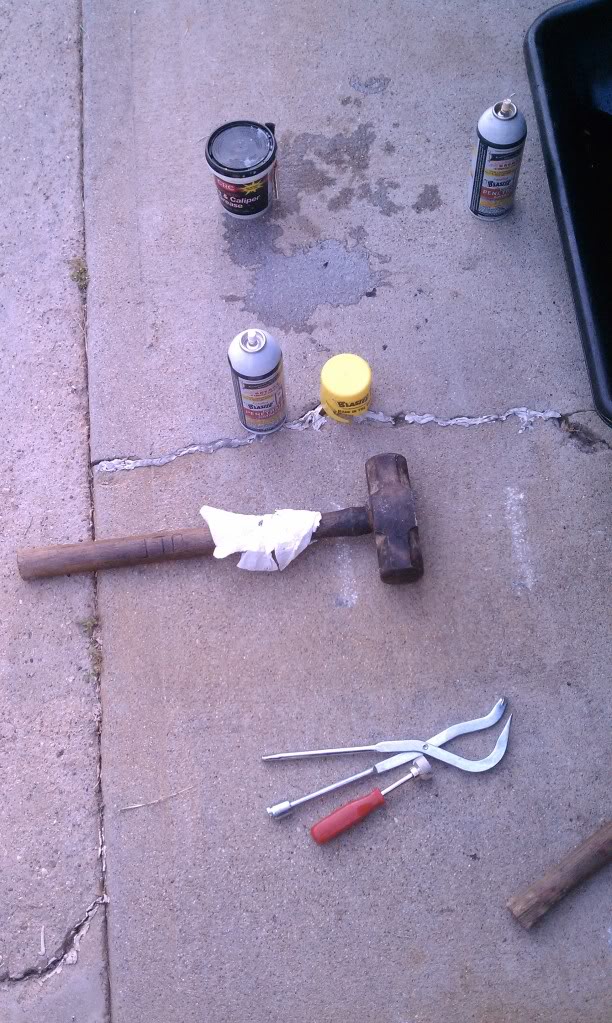
Tools that you want to do this job(not including service manual) If you arent cheap go get MOPAR RUST PENETRANT SPRAY works WAY Better then PB Blaster:
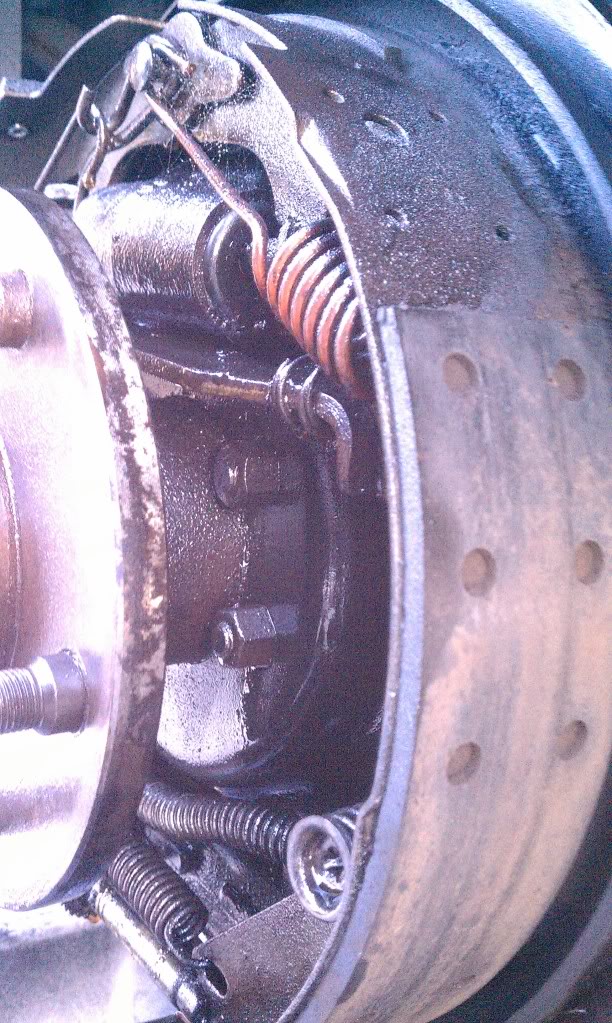
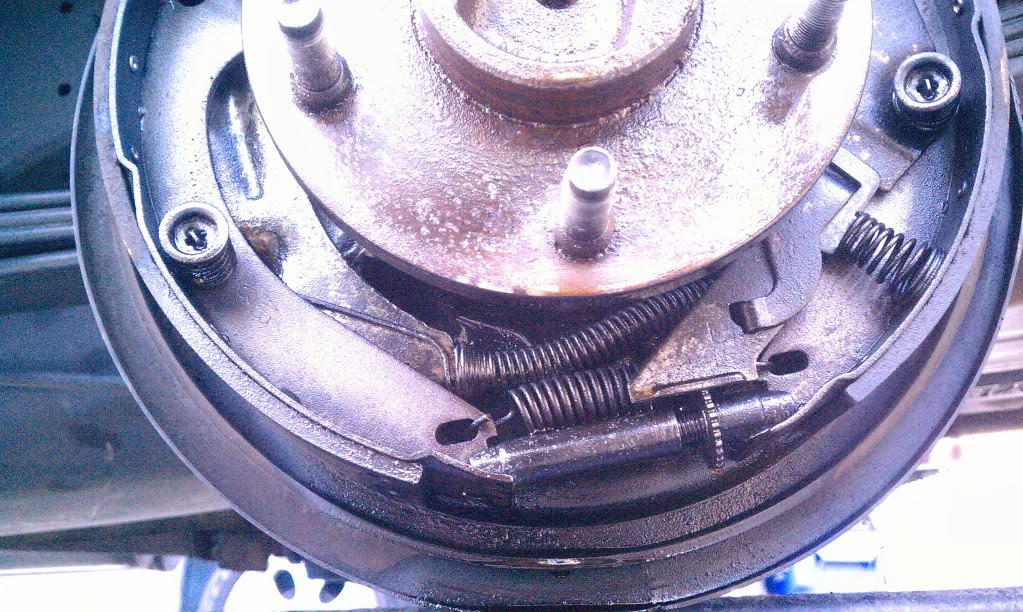
Drum and springs off:
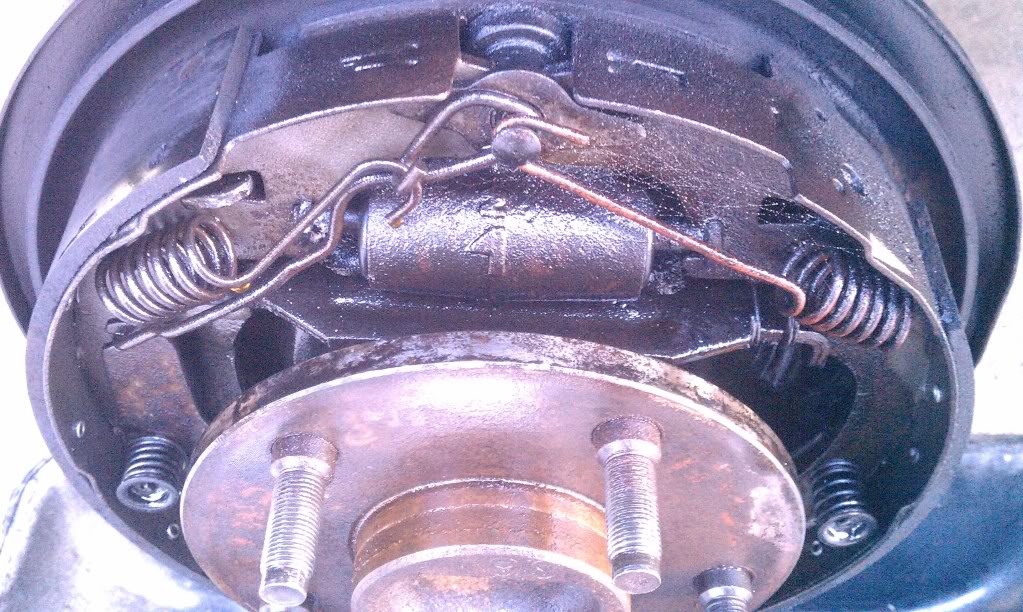
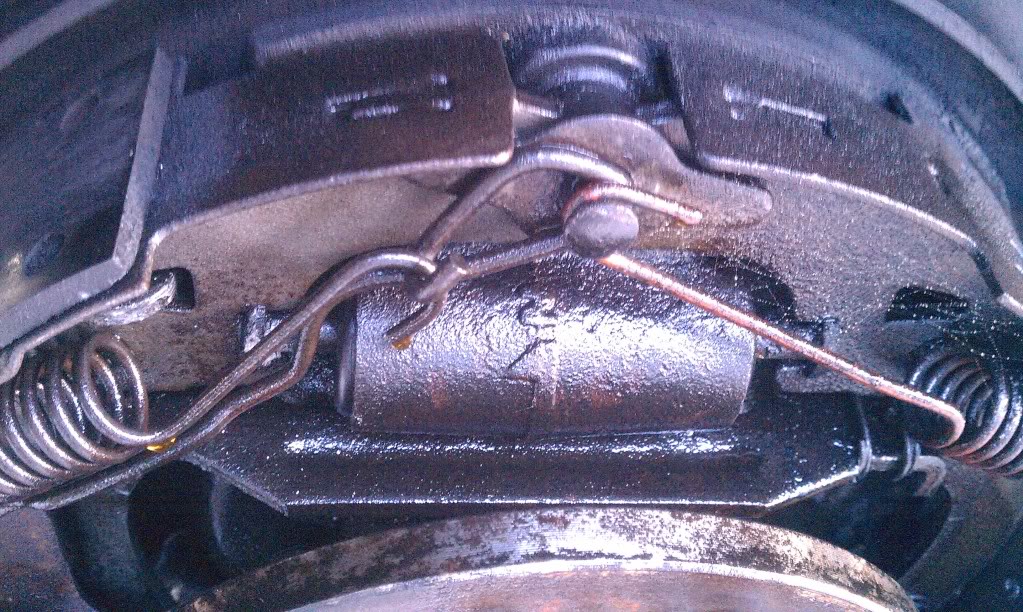
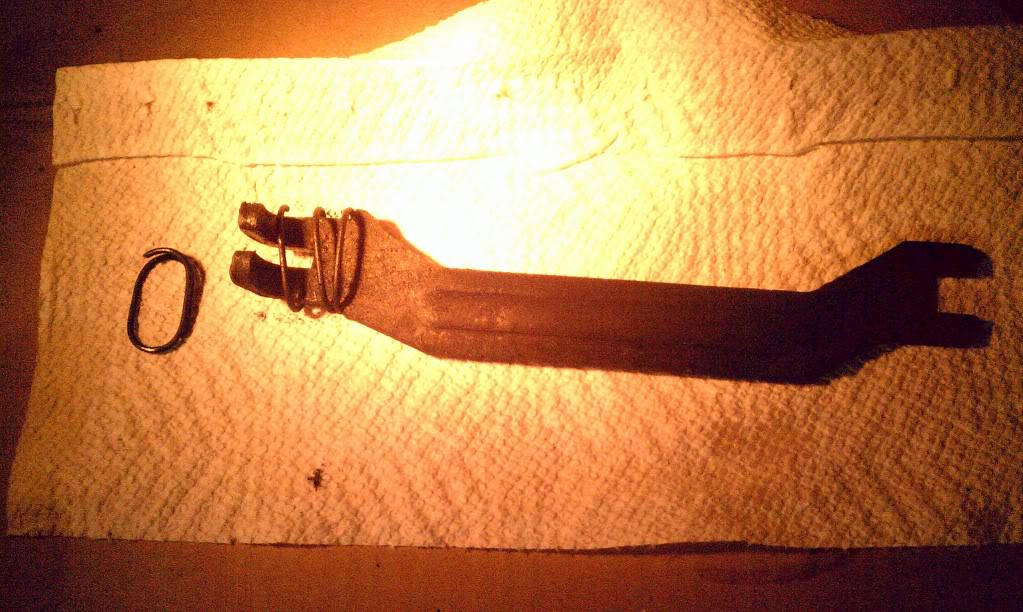
Strut and spring (goes from one shoe to the other on the top) I had a broken spring which i had to replace and was not included in the 1500 drum brake spring kit, i had to go buy a 2500 drum brake spring kit and steal those two springs.
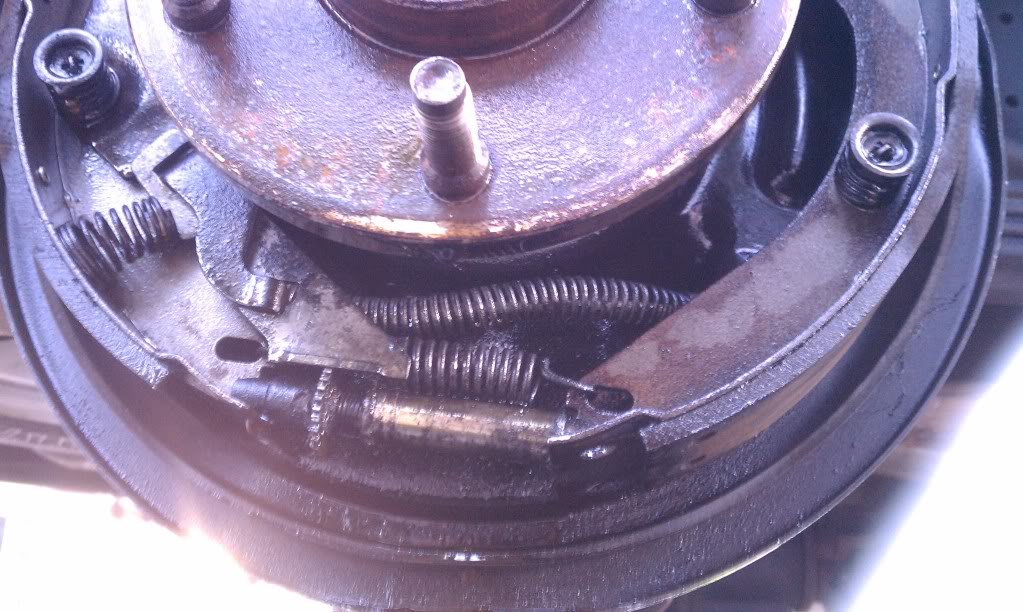
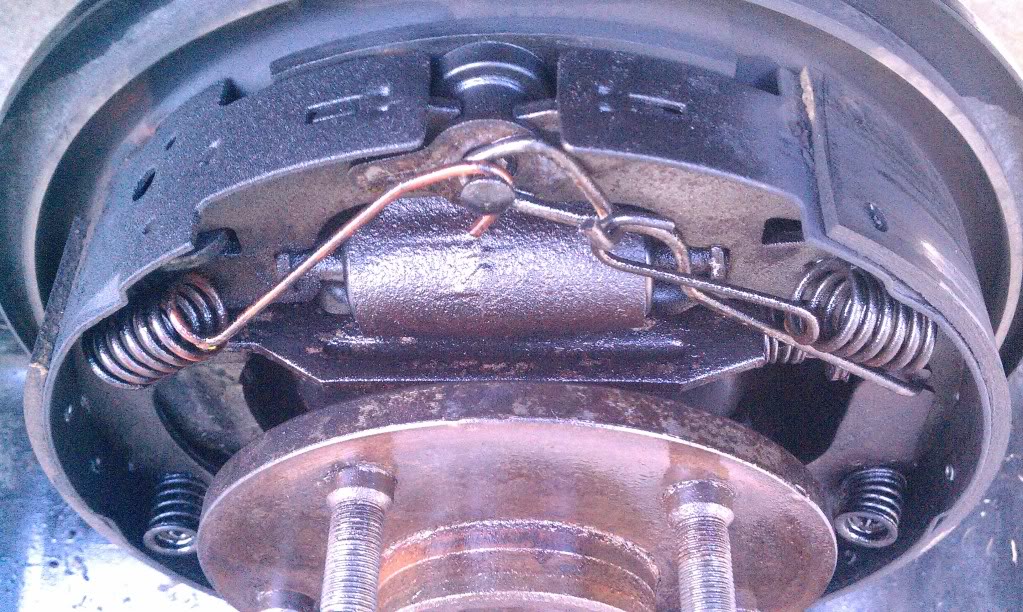
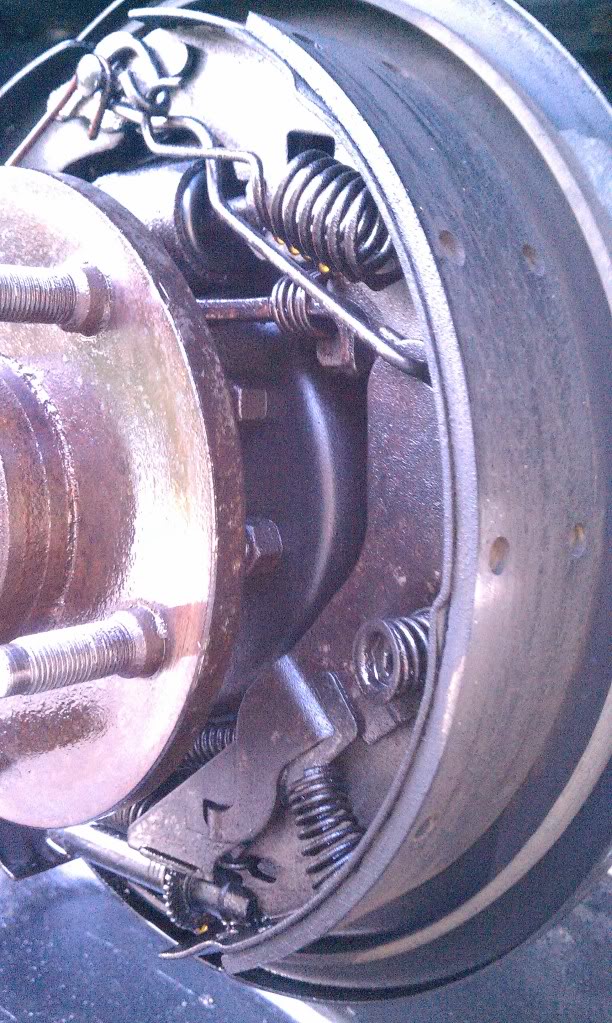
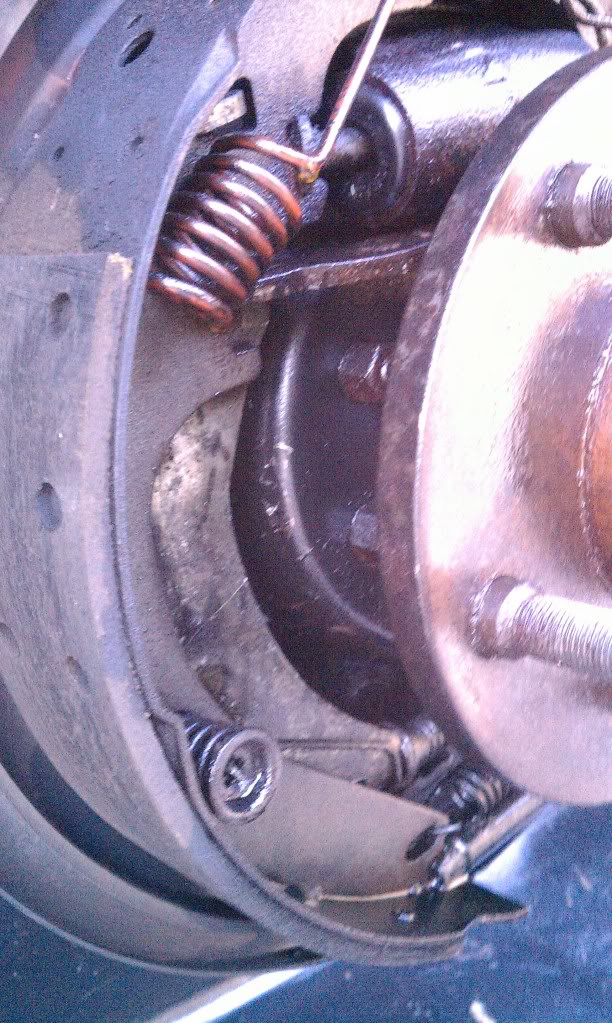
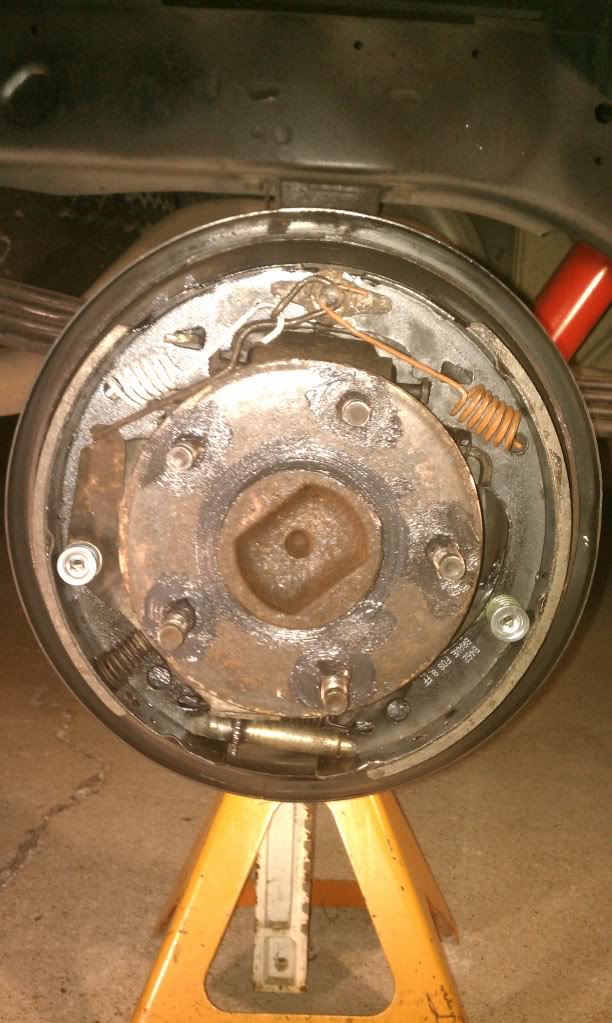
Springs back on(note i put BRAKE GREASE on the spots where the metal ends of the shoes touch the backing plate and a little around the bolts to make taking it off later easy. ONE MORE NOTE DO NOT PUT GREASE ON STUDS (behind the shoes is fine) UNTIL YOU HAVE FULLY ADJUSTED YOUR BRAKES):
"*TIP*
Anti-seize dabbed around the inner hole of the drum will prevent it from bonding with the matching nub on the hub and will ensure easier future removal, negating the need to beat the hell out of the drum with a hammer." - VWandDodge
Also good to use antiseize on your adjuster and make sure it can move smoothly
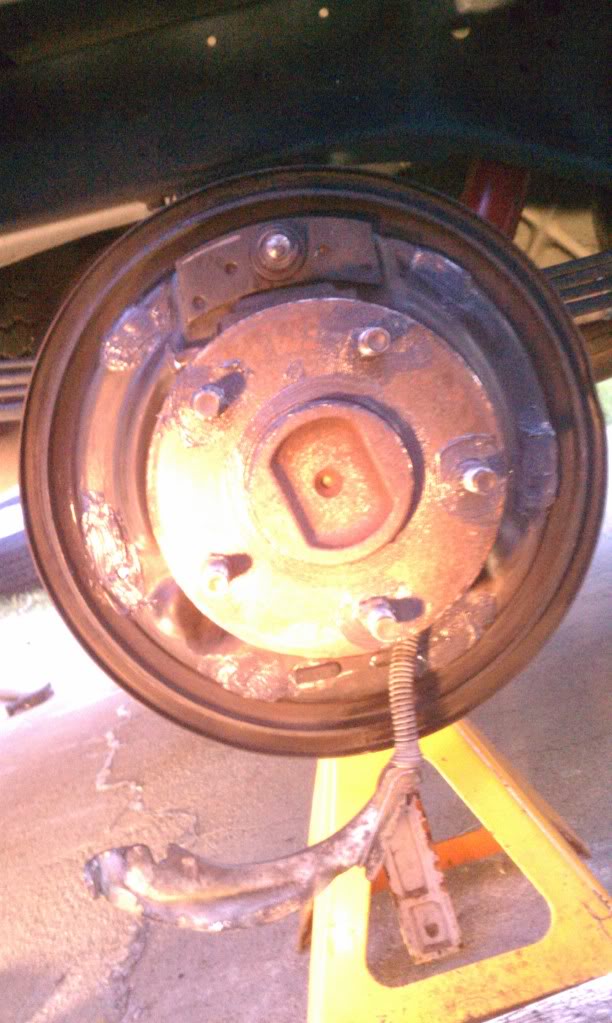
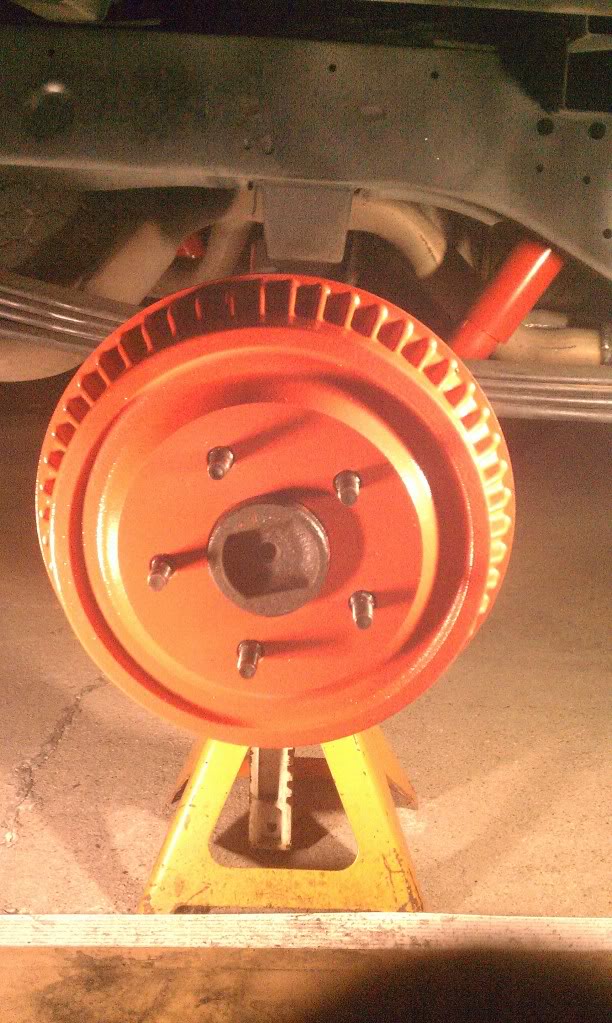
Drum back on:
Alright heres where it gets tricky. After you can get your drum to slide on and have verified all your springs are installed correctly like on the pictures you took. You should hit the shoes with some cleaner and slightly sand them to make sure no grease has come in contact with them. Then turn the adjuster wheel up until the wheel is slightly hard to turn, give the parking brake cable a couple tugs, then adjust again. Do this until it turns decent, but has good resistance (doesn't just keep spinning).
Bolt your tires on. Torque them to spec and check your brakes.
Since I had to go find that broken spring I had let the system completely bleed out and had to bleed all the brake lines and refill.
Brand new brakes!
Special thanks to ZMAN for the quick spring help and all the Dodgeforum members to helping support all of our DIY projects! Please feel free to add any suggestions and I will include it in this DIY
DONE AND DONE
After you are finished make sure you do one more thing, its VERY important.
Test drive your vehicle, make sure everything is perfect and go home and hand everyone who had part of this an ICE COLD BEER. Salute!
1) PB BLASTER and then beat the old drum out with a big hammer going all the way around the edges till it starts moving. DO NOT HIT THE BACKING PLATE
2) Pull the drum off and put aside (or go get it surfaced)
3) Take pictures of all the angles top bottom and sides of both sides of the vehicle. Leave something there to reference which side is passenger which side is driver.
Heres the inside of my old drums:
Tools that you want to do this job(not including service manual) If you arent cheap go get MOPAR RUST PENETRANT SPRAY works WAY Better then PB Blaster:
Drum and springs off:
Strut and spring (goes from one shoe to the other on the top) I had a broken spring which i had to replace and was not included in the 1500 drum brake spring kit, i had to go buy a 2500 drum brake spring kit and steal those two springs.
Springs back on(note i put BRAKE GREASE on the spots where the metal ends of the shoes touch the backing plate and a little around the bolts to make taking it off later easy. ONE MORE NOTE DO NOT PUT GREASE ON STUDS (behind the shoes is fine) UNTIL YOU HAVE FULLY ADJUSTED YOUR BRAKES):
"*TIP*
Anti-seize dabbed around the inner hole of the drum will prevent it from bonding with the matching nub on the hub and will ensure easier future removal, negating the need to beat the hell out of the drum with a hammer." - VWandDodge
Also good to use antiseize on your adjuster and make sure it can move smoothly
Drum back on:
Alright heres where it gets tricky. After you can get your drum to slide on and have verified all your springs are installed correctly like on the pictures you took. You should hit the shoes with some cleaner and slightly sand them to make sure no grease has come in contact with them. Then turn the adjuster wheel up until the wheel is slightly hard to turn, give the parking brake cable a couple tugs, then adjust again. Do this until it turns decent, but has good resistance (doesn't just keep spinning).
Bolt your tires on. Torque them to spec and check your brakes.
Since I had to go find that broken spring I had let the system completely bleed out and had to bleed all the brake lines and refill.
Brand new brakes!
Special thanks to ZMAN for the quick spring help and all the Dodgeforum members to helping support all of our DIY projects! Please feel free to add any suggestions and I will include it in this DIY
DONE AND DONE
After you are finished make sure you do one more thing, its VERY important.
Test drive your vehicle, make sure everything is perfect and go home and hand everyone who had part of this an ICE COLD BEER. Salute!
Last edited by TheycallmeLaramie; Aug 31, 2011 at 05:15 PM.
Retired Moderator - RIP
Joined: May 2008
Posts: 18,729
Likes: 17
From: NH
Nice DIY, the only things I would change, is the fact PB sucks, LOL And to do ONLY one side at a time, so you have the other to look at if something goes wrong. Other than that, cudos to you for your time and effort. 
Legend


Joined: May 2005
Posts: 8,663
Likes: 8
From: Central Oklahoma
*TIP*
Anti-seize dabbed around the inner hole of the drum will prevent it from bonding with the matching nub on the hub and will ensure easier future removal, negating the need to beat the hell out of the drum with a hammer.
Anti-seize dabbed around the inner hole of the drum will prevent it from bonding with the matching nub on the hub and will ensure easier future removal, negating the need to beat the hell out of the drum with a hammer.


Thread Starter
|
Veteran
Joined: Jun 2011
Posts: 325
Likes: 0
From: California
Since you guys are so awesome helping me do all these repairs, I figured I would pay back the favor to DF so people don't keep asking you these same questions :P. Hope all is well with you in your neck of the woods HeyYou and thanks for the kind words. I couldnt freaking believe that cobweb too. That was after PB Blasting it like crazy. Strong stuff, but i bet the MOPAR rust penetrant would have got it hehe :P
Thread Starter
|
Veteran
Joined: Jun 2011
Posts: 325
Likes: 0
From: California
