

E Fan and other work


Thread Starter
|
Legend
Joined: Jul 2011
Posts: 8,259
Likes: 4
From: Austin, TX
Thread Starter
|
Legend
Joined: Jul 2011
Posts: 8,259
Likes: 4
From: Austin, TX
You are welcome....anything to be of help!
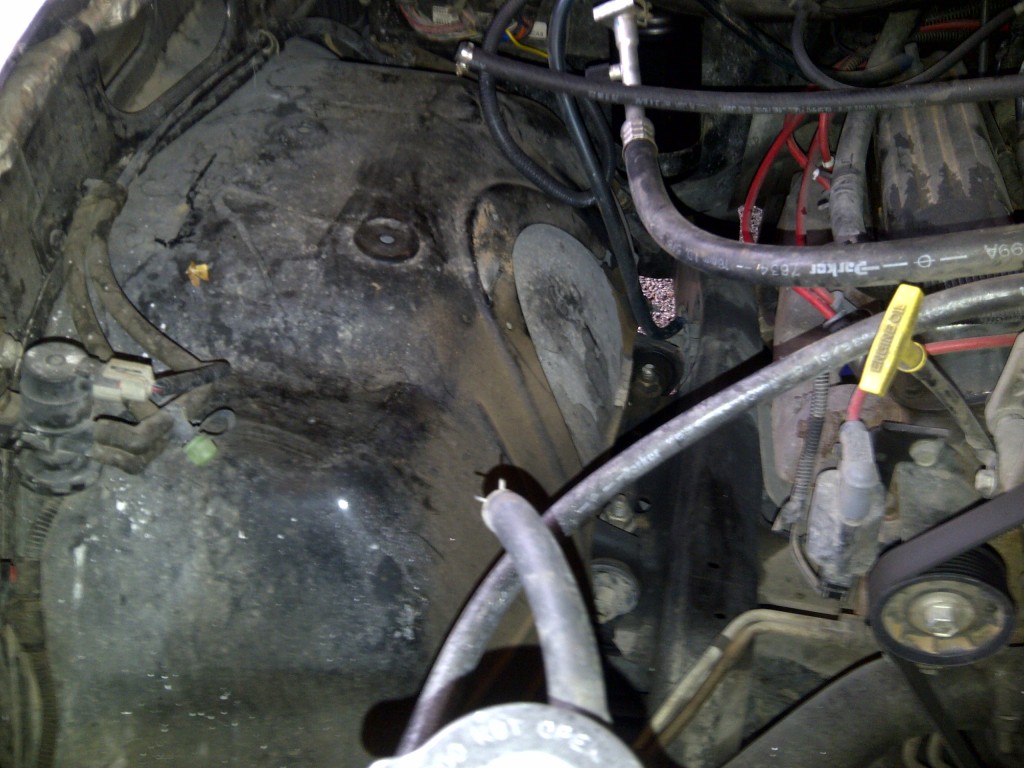
Started installation of e-fan. Removing shroud and OEM fan:

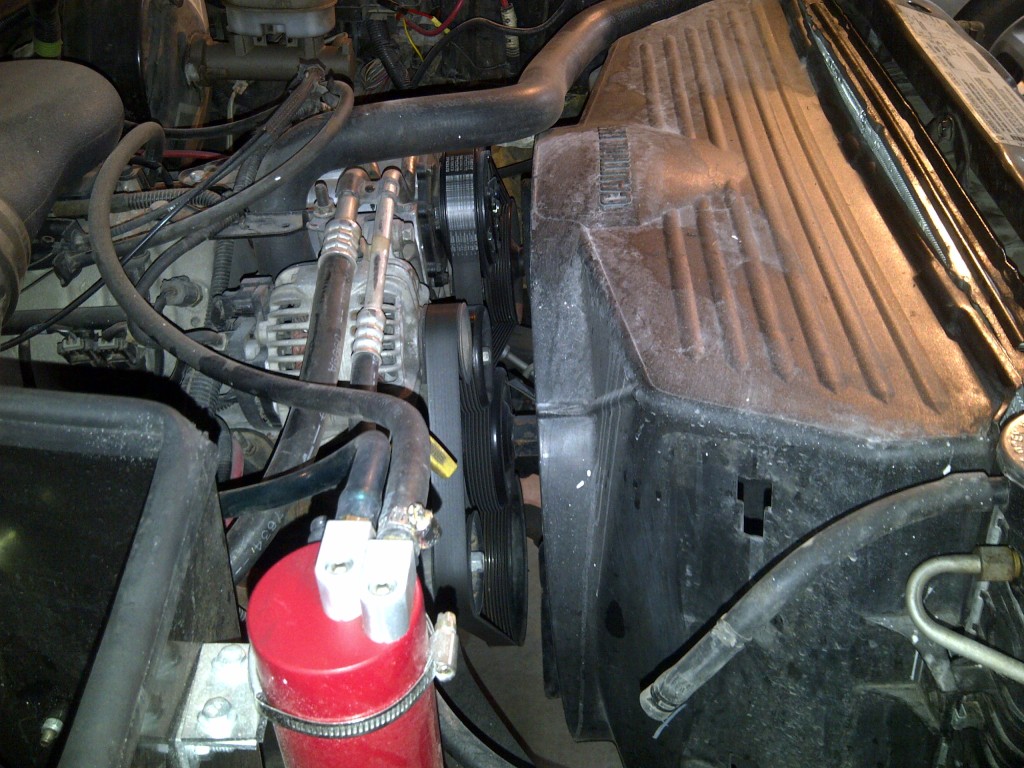
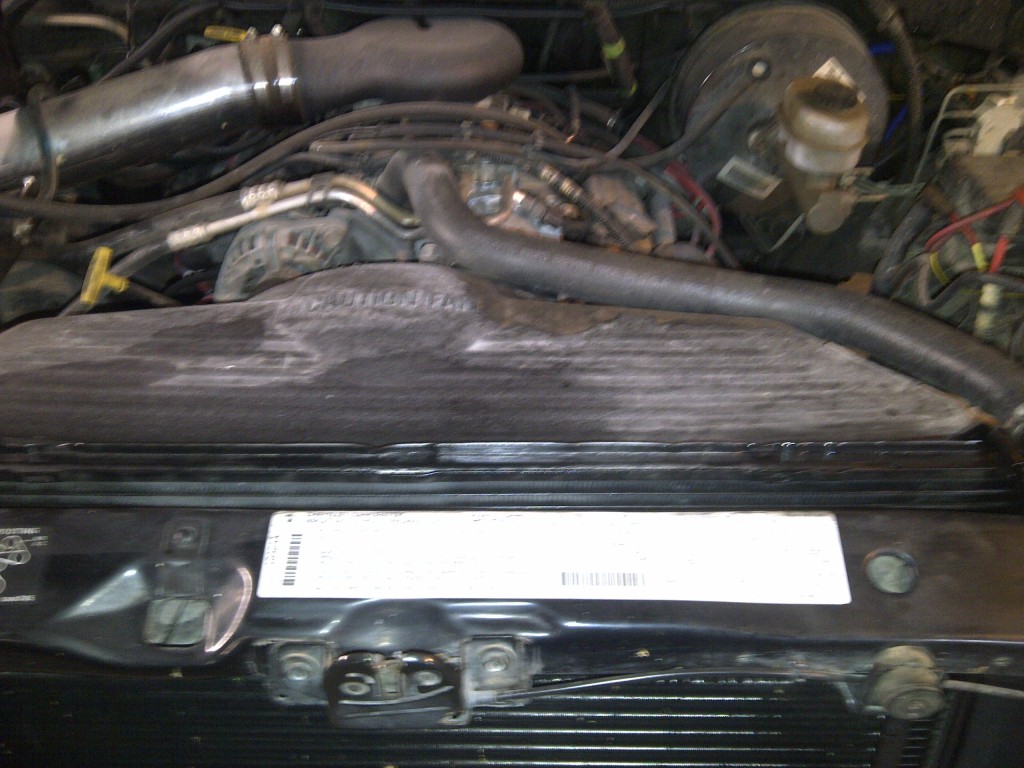
Do I need to put a nut on the hub where the fan was attached or is it secure as it is?
While I have the shroud off, I am going to remove and treat the rust on the inner fender around the battery and install new battery hold down clamp to replace corroded one.
Plan to clean engine and rest of engine bay, and of course, black paint to match as appropriate...Will probably do some work to route wiring and hoses to make it look neater as well and replace deteriorating convolute tubing with new tubing. Hopefully I can get all of this done in time to drive for a little bit before HS Rockers arrive to get a feel for the difference with fan mod only.
Started installation of e-fan. Removing shroud and OEM fan:
Do I need to put a nut on the hub where the fan was attached or is it secure as it is?
While I have the shroud off, I am going to remove and treat the rust on the inner fender around the battery and install new battery hold down clamp to replace corroded one.
Plan to clean engine and rest of engine bay, and of course, black paint to match as appropriate...Will probably do some work to route wiring and hoses to make it look neater as well and replace deteriorating convolute tubing with new tubing. Hopefully I can get all of this done in time to drive for a little bit before HS Rockers arrive to get a feel for the difference with fan mod only.
Last edited by gdstock; May 12, 2012 at 12:32 AM.
Thread Starter
|
Legend
Joined: Jul 2011
Posts: 8,259
Likes: 4
From: Austin, TX
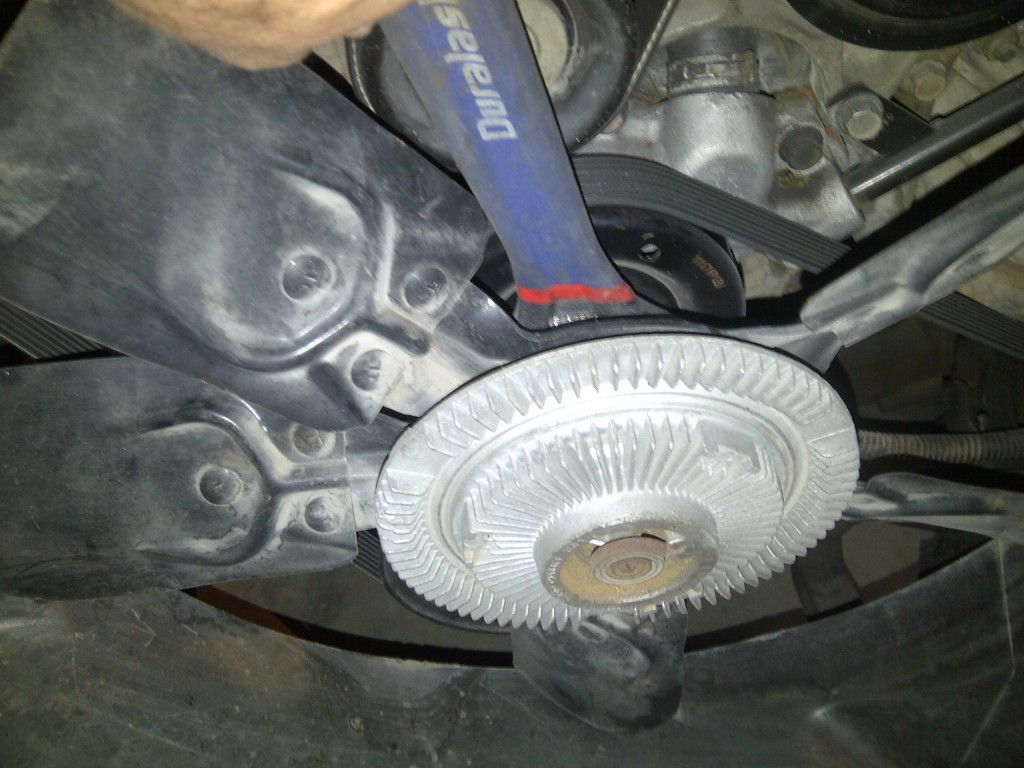
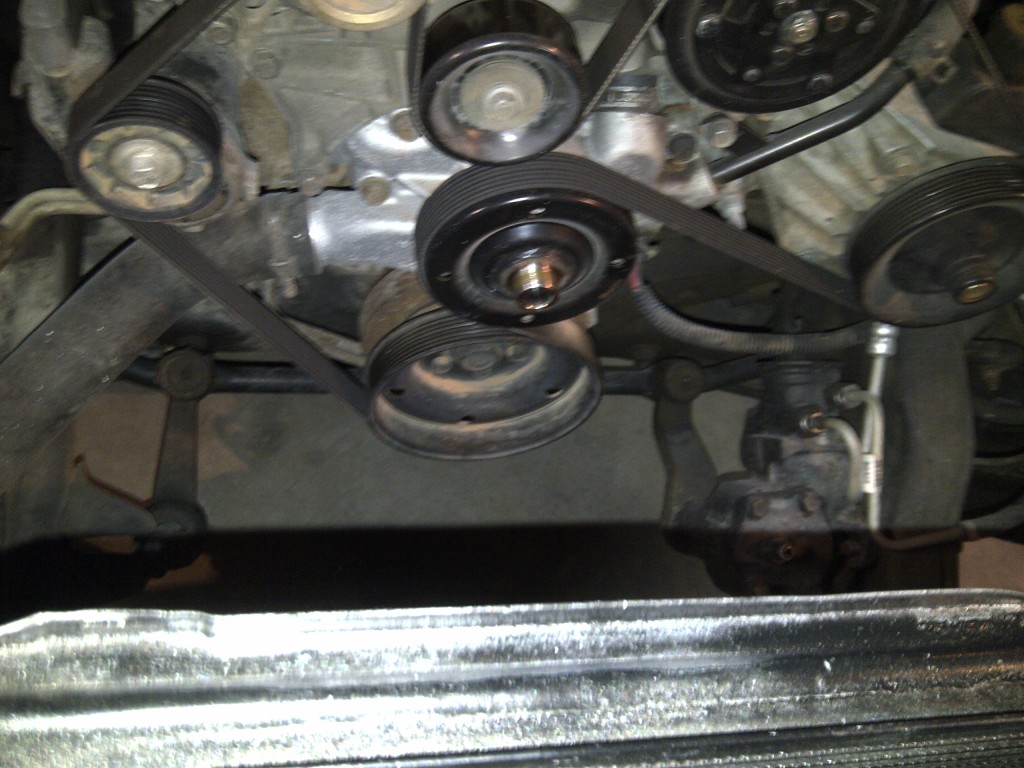
I put a 1/4" bolt into one of the holes in the pulley on the right hand side of photo and a flat bar beneath the hub of connector and over the bolt. I had already broken it loose and removed the bar when I took photo. I keep planning to take the flat bar and drill and tap it for a bolt to fit into it and match pulley holes, but I only think of doing it when I need it!

Thread Starter
|
Legend
Joined: Jul 2011
Posts: 8,259
Likes: 4
From: Austin, TX
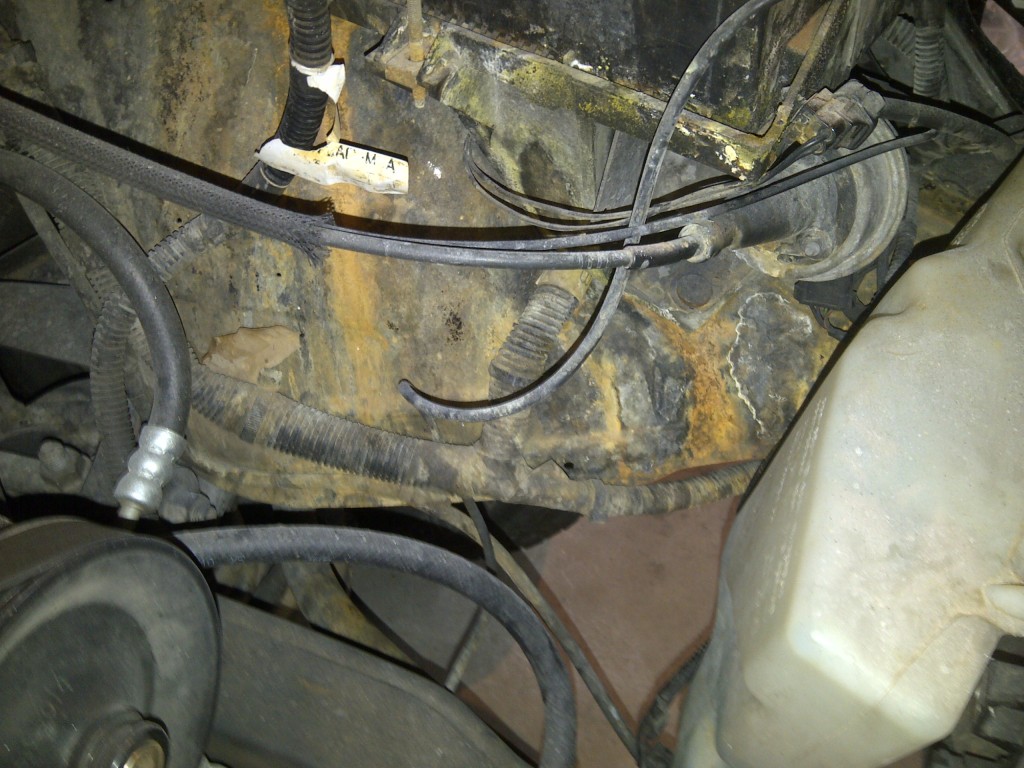
Working on cleaning up under the hood before installing e-fan. Going to clean and paint inside of inner fenders. Little rain today so with high humidity, can’t do much paint touch up, but can do some cleaning and rust removal.
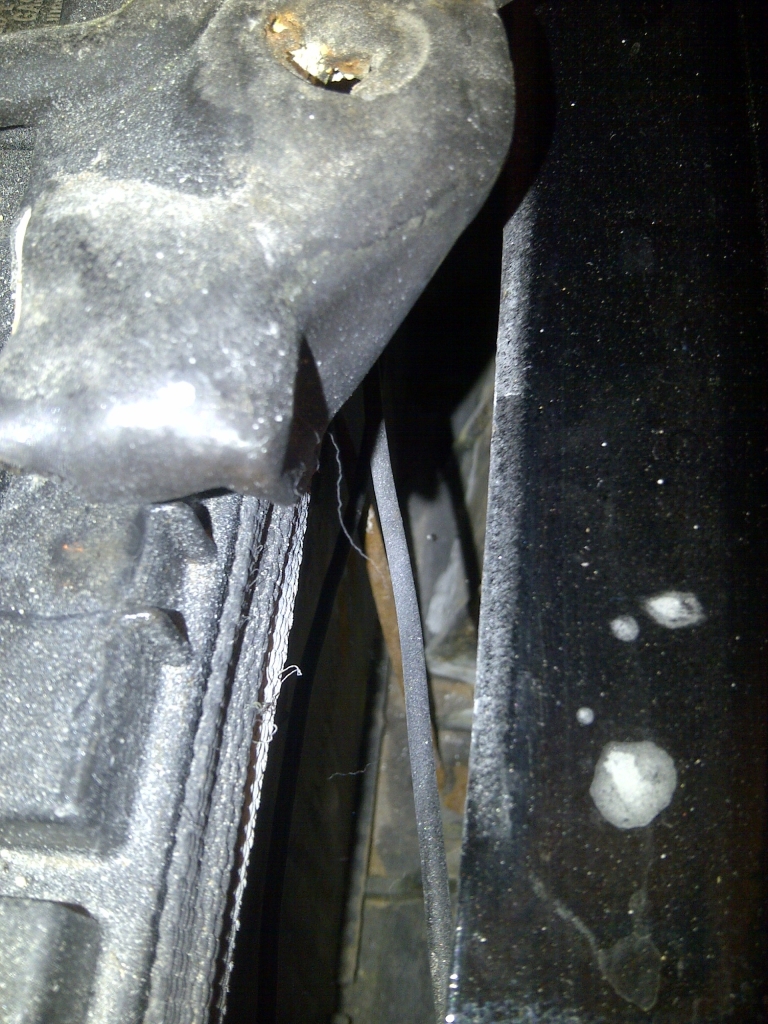
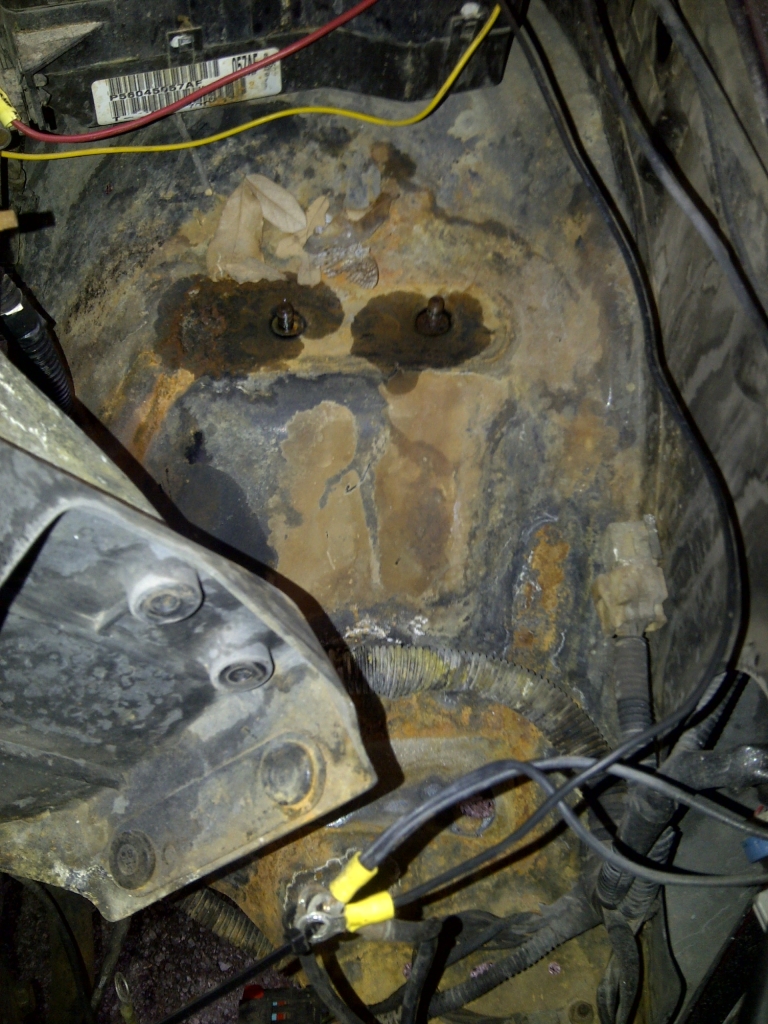
Battery box and surrounding area look like crap and one hold down bolt has corroded completely away at the top leaving an “ice ;ick” poin ton the remaining piece.
Battery Box removed.
Battery box and surrounding area look like crap and one hold down bolt has corroded completely away at the top leaving an “ice ;ick” poin ton the remaining piece.
Battery Box removed.

Thread Starter
|
Legend
Joined: Jul 2011
Posts: 8,259
Likes: 4
From: Austin, TX
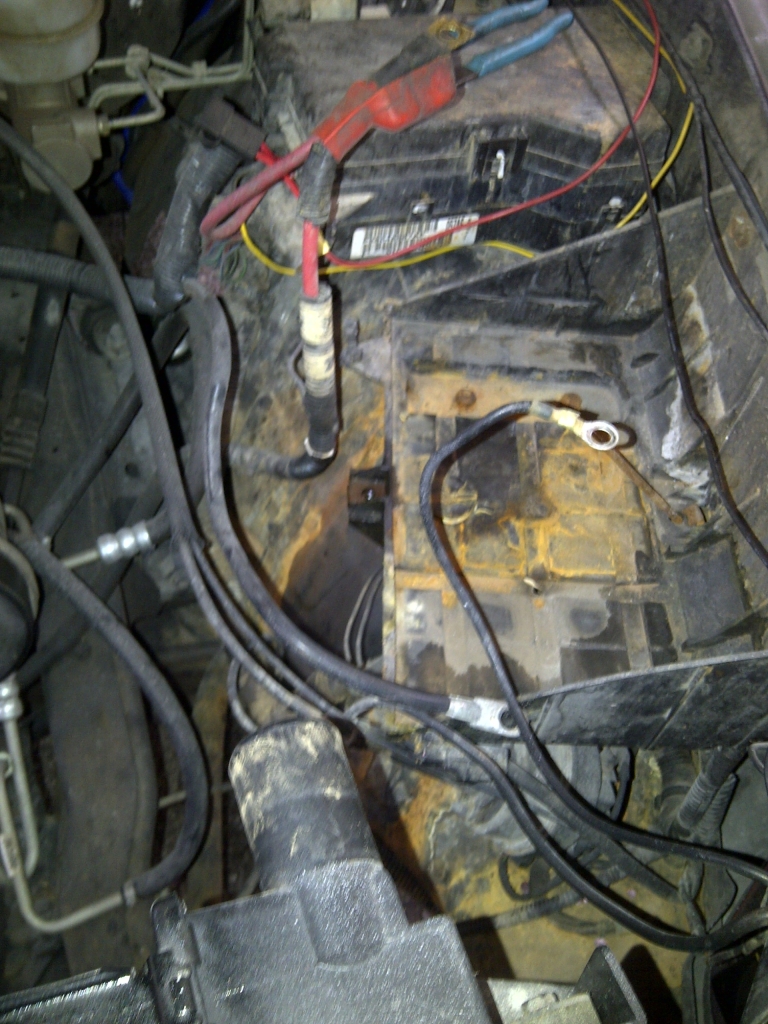
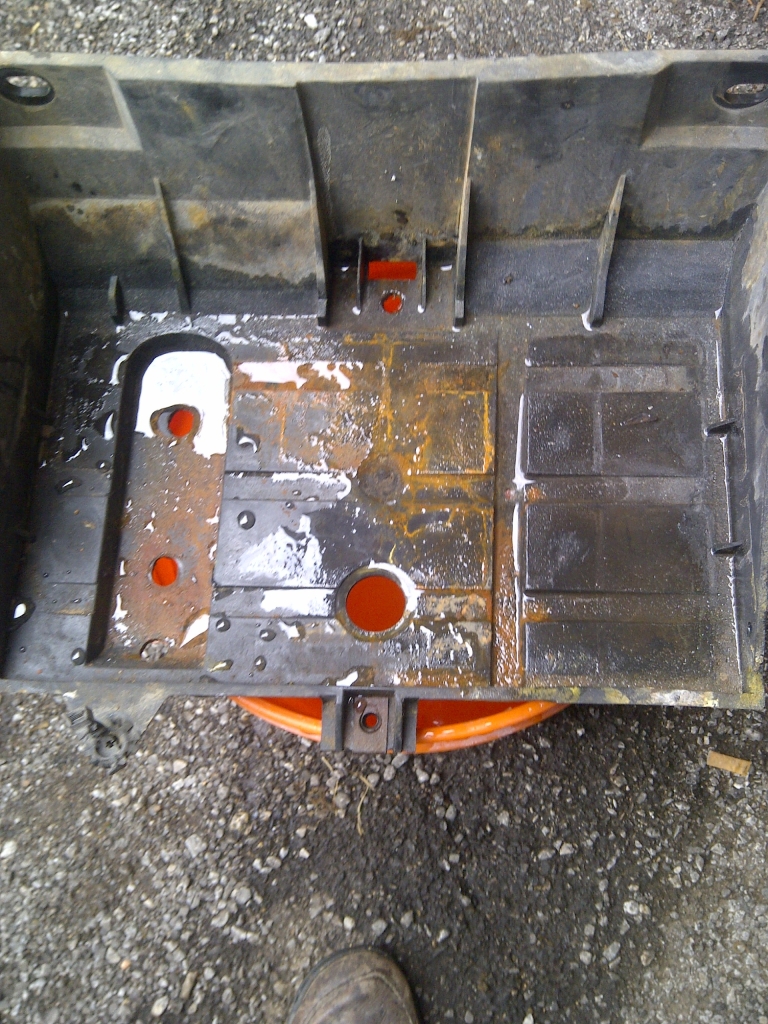
Started to brush rust off from under battery box:
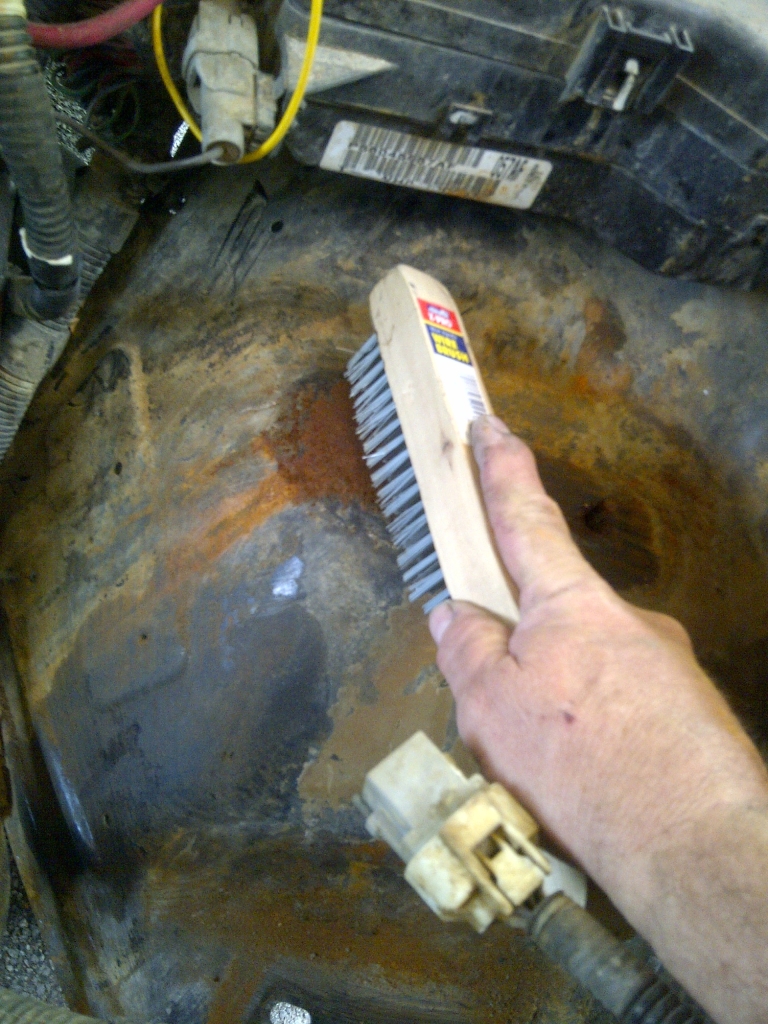
Then decided that was too slow:
Caught this in time as the rust was all surface rust with no deep penetrations.

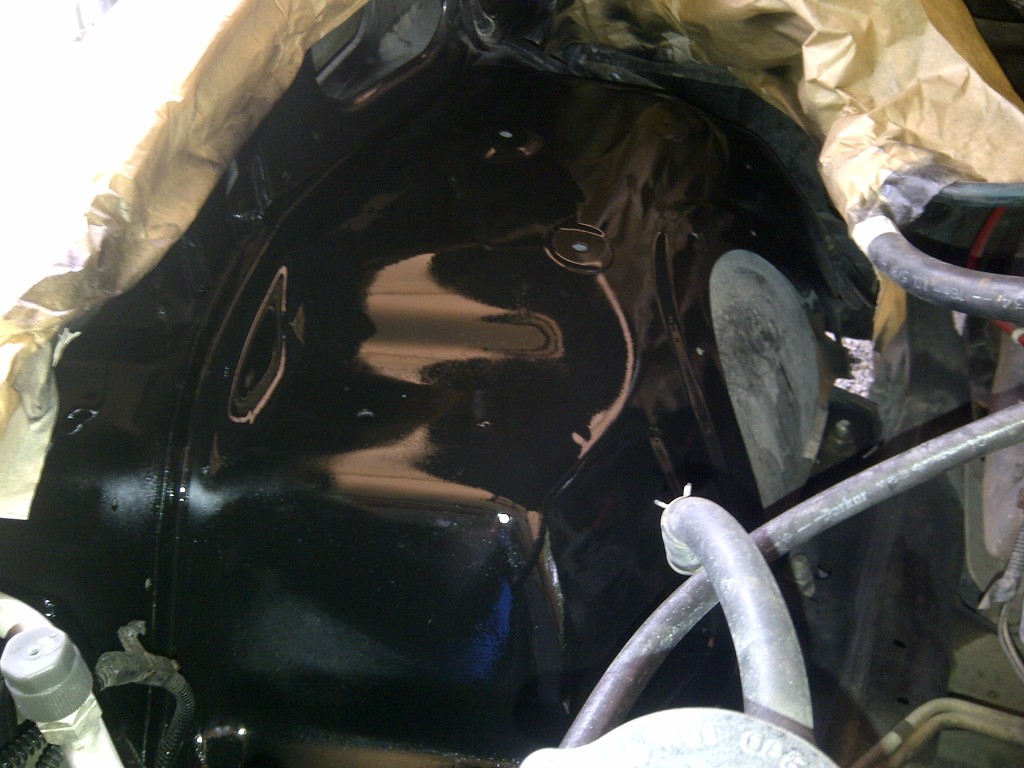
Driver side inner fender primed and painted.
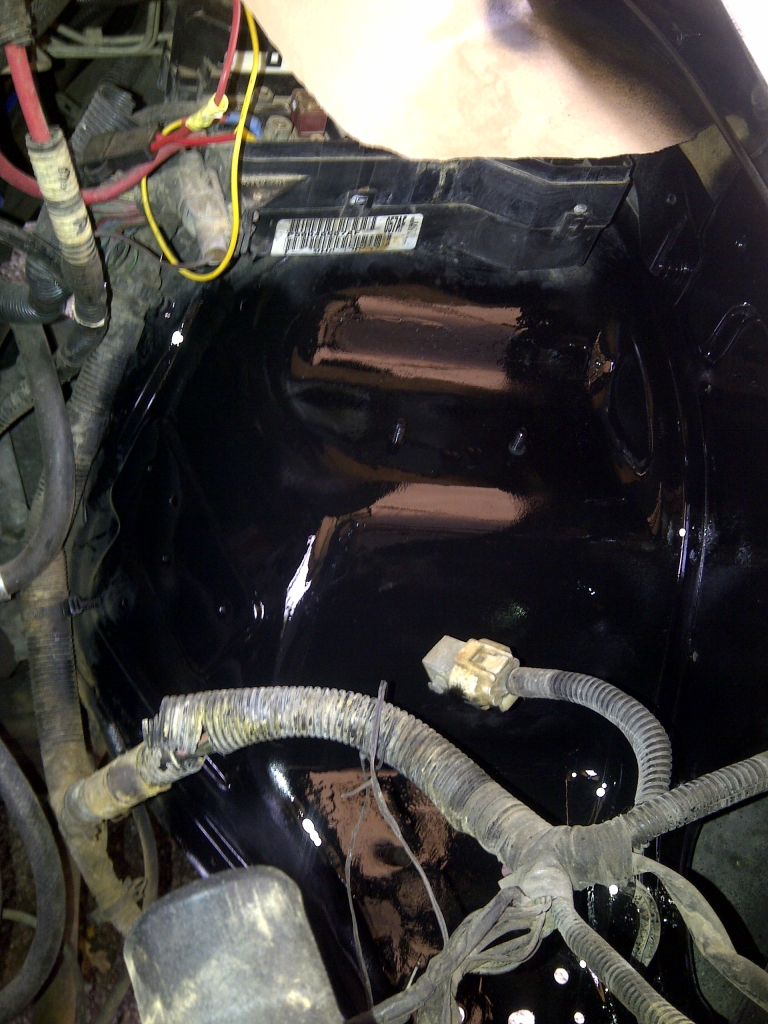
Passenger side inner fender primed and painted:
Now to clean up batter box before it is reinstalled.
There is a lot of the original convolute tubing that is rotted. Picked up several rolls and will replace this as well.
Then decided that was too slow:
Caught this in time as the rust was all surface rust with no deep penetrations.
Driver side inner fender primed and painted.
Passenger side inner fender primed and painted:
Now to clean up batter box before it is reinstalled.
There is a lot of the original convolute tubing that is rotted. Picked up several rolls and will replace this as well.