
schmidtp's Work Truck Thread
#1
 06-07-2015, 09:55 PM


Join Date: Mar 2007
Location: Madison, WI
Posts: 345
Likes: 0
Received 0 Likes
on
0 Posts
Hey all,
I have gotten quite of bit of work done on my 2nd gen since I bought it in the winter. I thought I would post my progress since I am thrilled to keep another second gen on the road. This could also be a useful thread for anyone that is looking at buying and fixing up a reliable work truck. I have always been the one in the family with a truck for moving, camping, tailgating, along with any project that needs a truck. In December I bought my 1998 5.9 4WD truck with 127K on the clock for $2,500. Before this truck I had another 96 5.9 so I was slightly familiar with the engine but never thought I would tackle as much as I have on this one.
Engine
-Plugs, Wires, Cap
-Plenum gasket
-Water Pump
-PVC
-Timing Chain
-Temp Sensor
-Oil Pump, pickup tube, sending unit
-AEM Air Intake
-Magnaflow Cat
-Thursh Turbo
-Up and Downstream 02
Suspension/Drivetrain
-HD "T" Steering
-Wheel Bearings
-Passenger Ball Joints and U Joint
-T Case Saver
-Rear Shocks
Exterior
-15 x 10 Centerline Hellcat on 32x11.5 Yokohama Geolandar AT-S
-Fender Flares
-35% Tint
Interior
-New Dash
-New Headliner
-Pioneer Sound System
-Sound Deadening
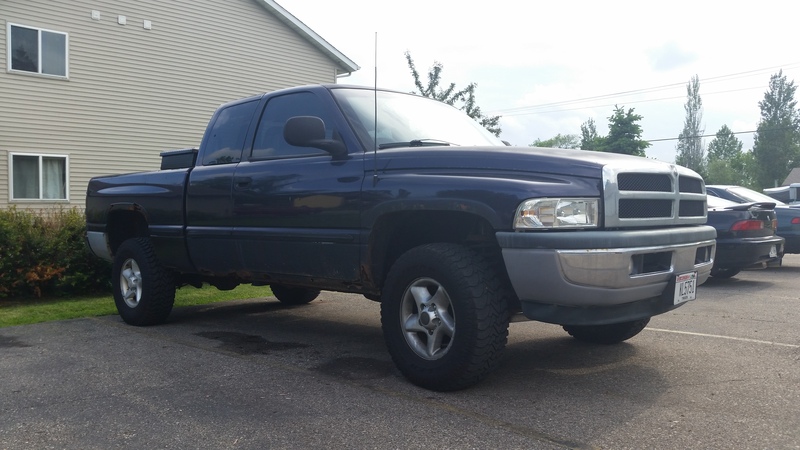
When I first bought the truck it ran well and 4WD worked great, perfect for what I was looking for. The downsides were that lots a routine maintence for these 360's was not done. The inside was also trashed and I don't think the truck was ever washed.
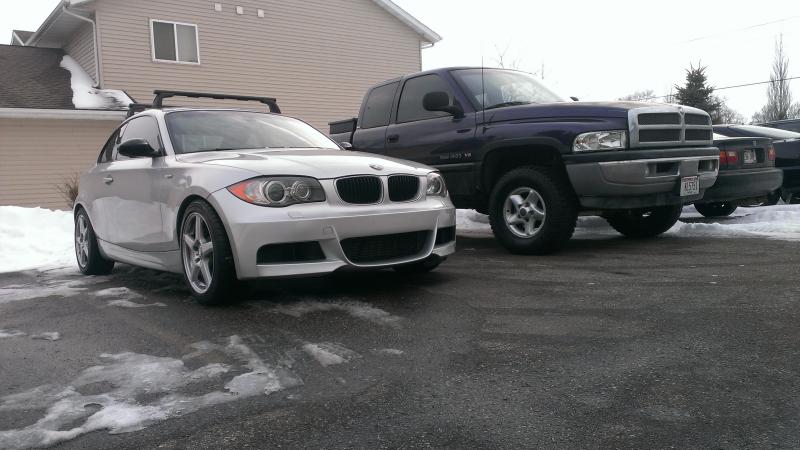
Here is the truck shortly after I bought it, at this point I had already installed my toolbox, tinted the front two windows myself, intake, headlights and a full stereo system. (Also parked to my other car 2008 BMW 135)
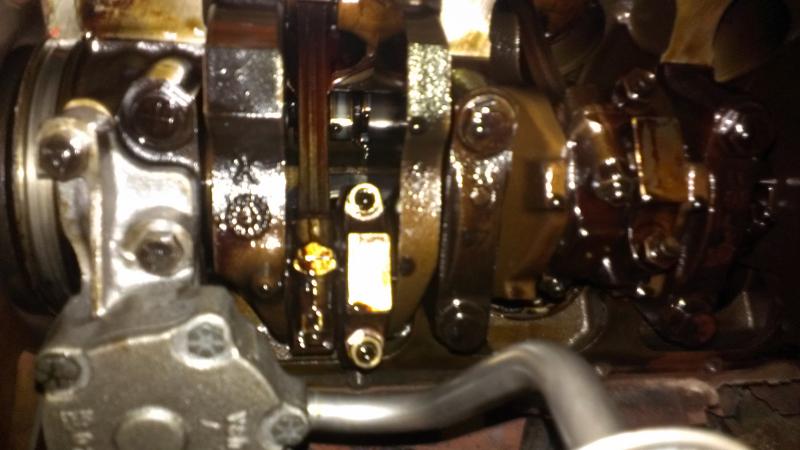
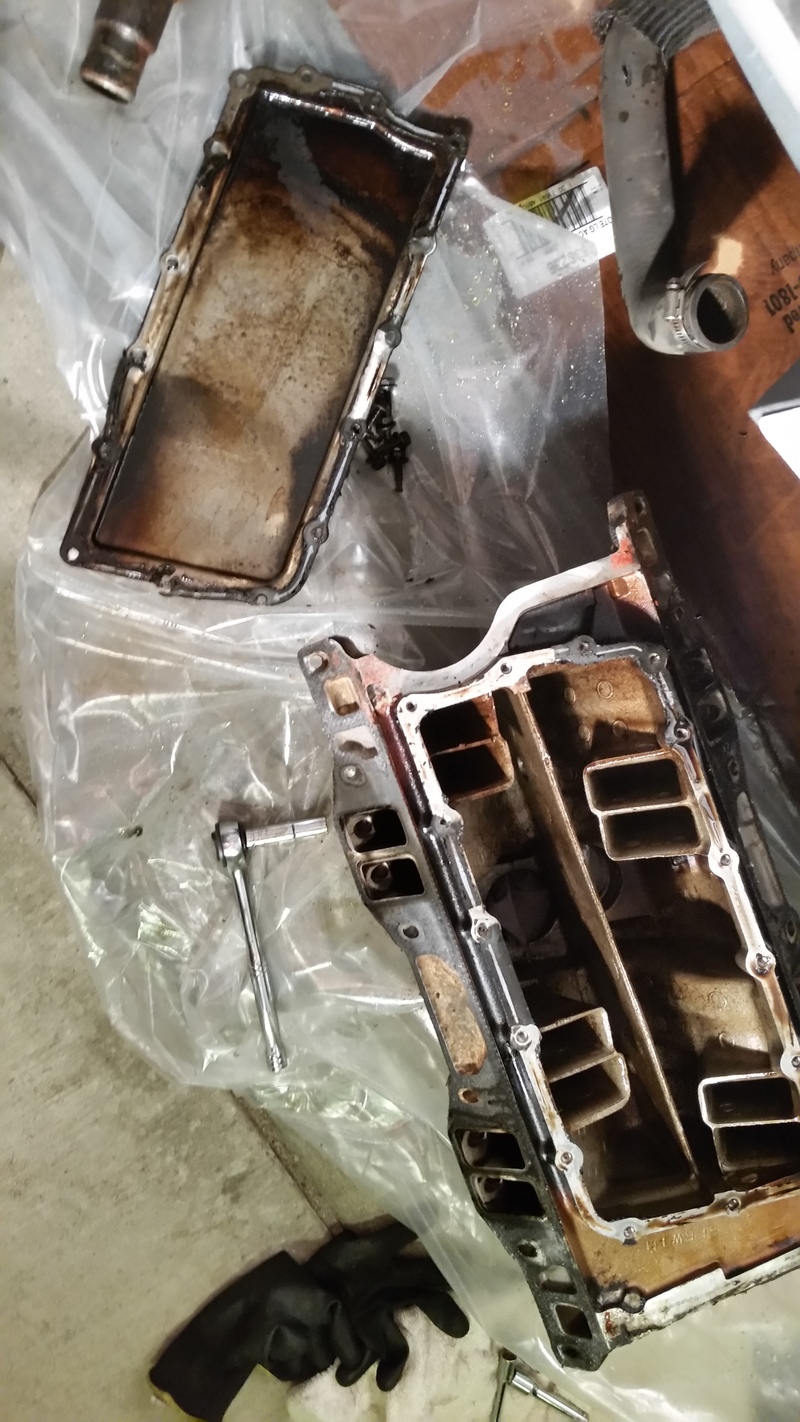
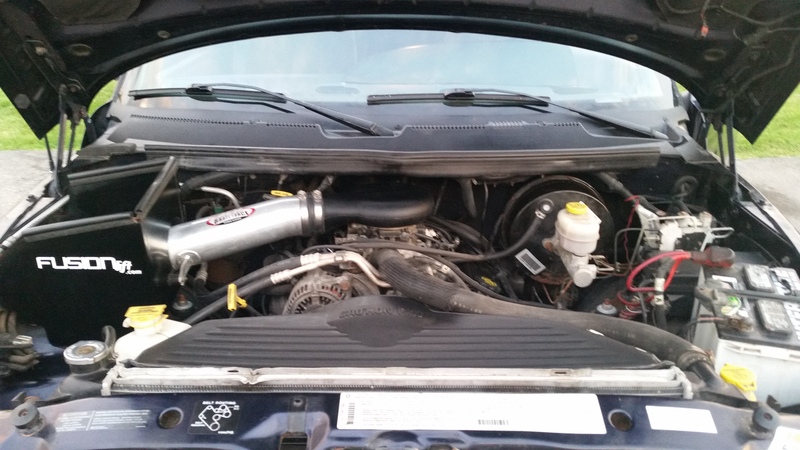
After a few weeks of driving I was not comfortable with the oil pressure and installed a high-flow pump, new pick up screen, and new gasket. Luckily I was able to work in a heated basement garage since it gets pretty cold in WI in the winter.
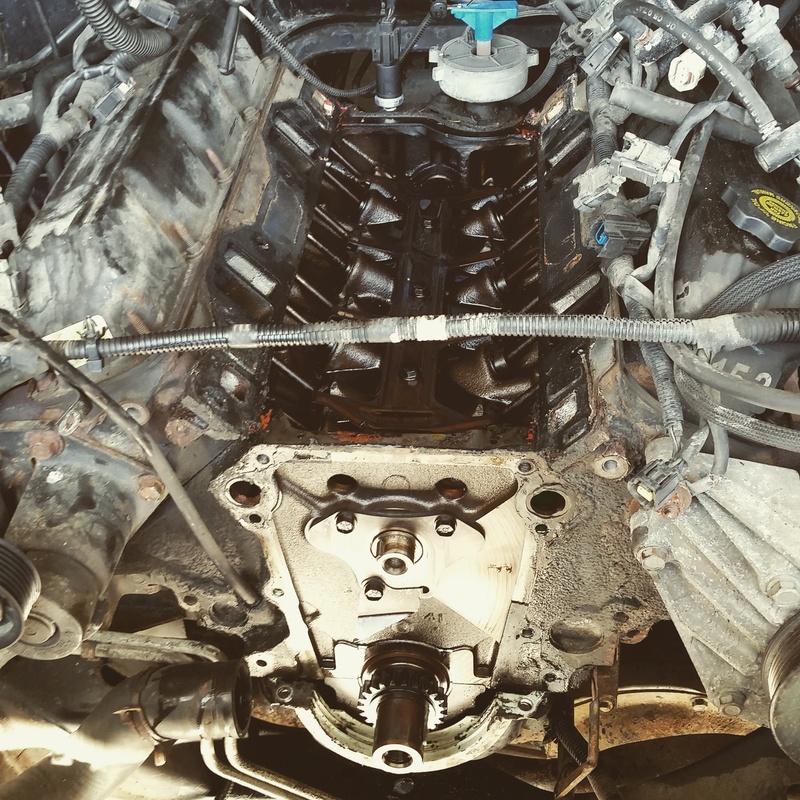
Dirty project but was not as bad as I was expecting. Next was tackling the well to known plenum gasket. I decided to do a full tune up while I was at it. Plugs, wires, cap, pcv, oil sending unit, coolant sending unit, water pump, timing chain, hughes plenum fix, along with all gaskets. The plenum was shot.
All back together and clean
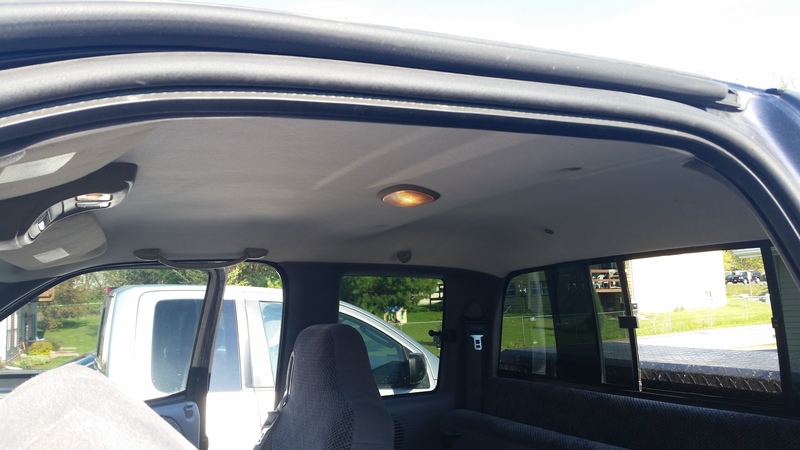
Now that the truck was running with great oil pressure, cooling, and no more drinking oil it was time to finish up on some of the cosmetics. Next was a $4 piece of fabric to replace the drooping headliner.
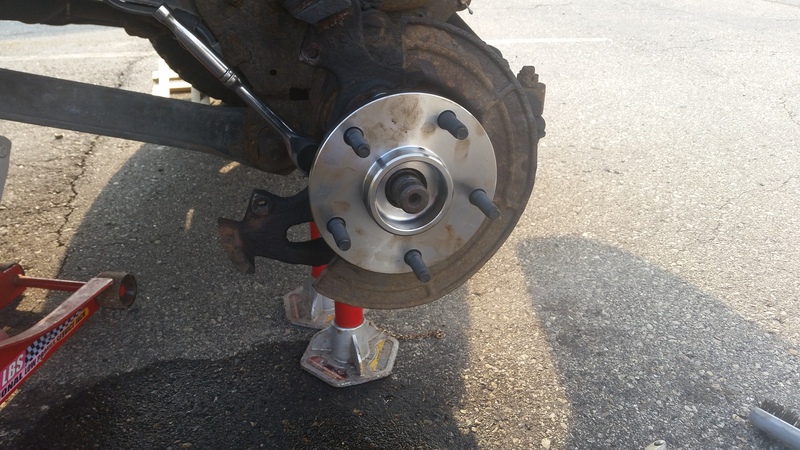
I also had a completely shot hub that was not safe to drive on and I was able to replace the whole hub within a couple hours after work.
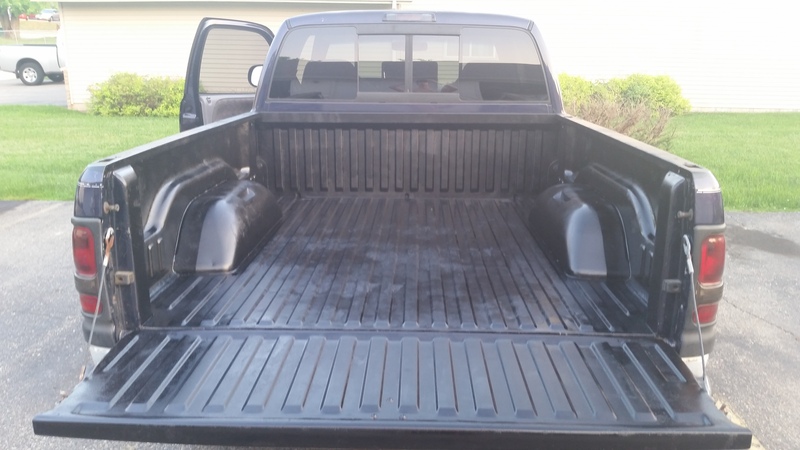
At this point I was getting antsy to get the truck looking nice again and not showing its age with the salt around here. The first project was a paint in bedliner.
Before:
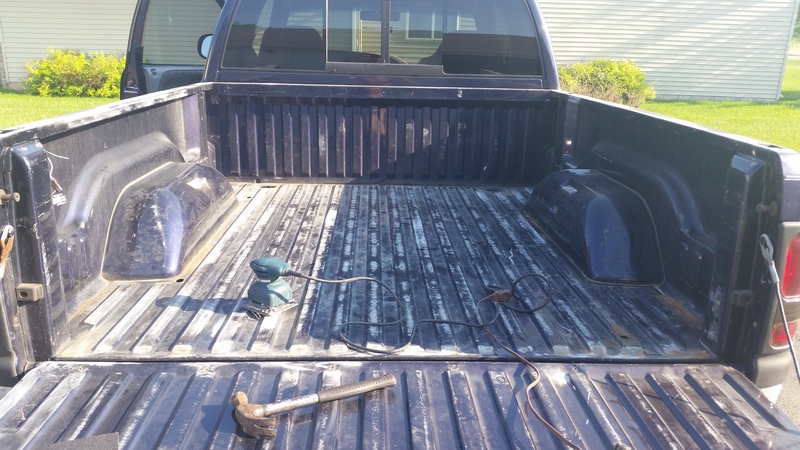
After:
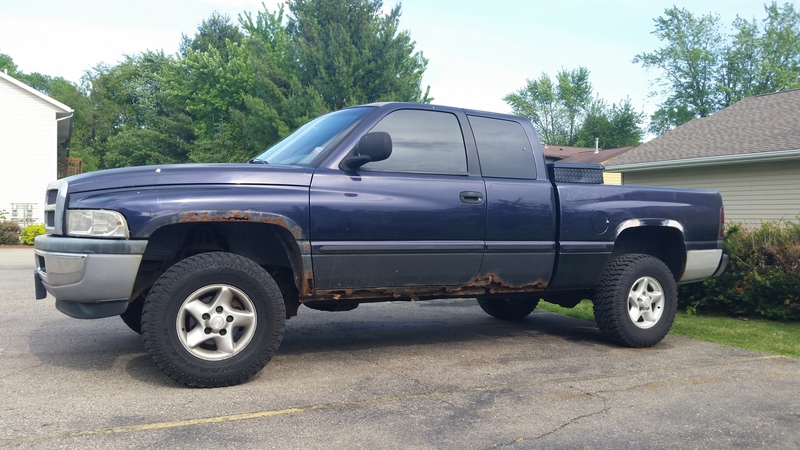
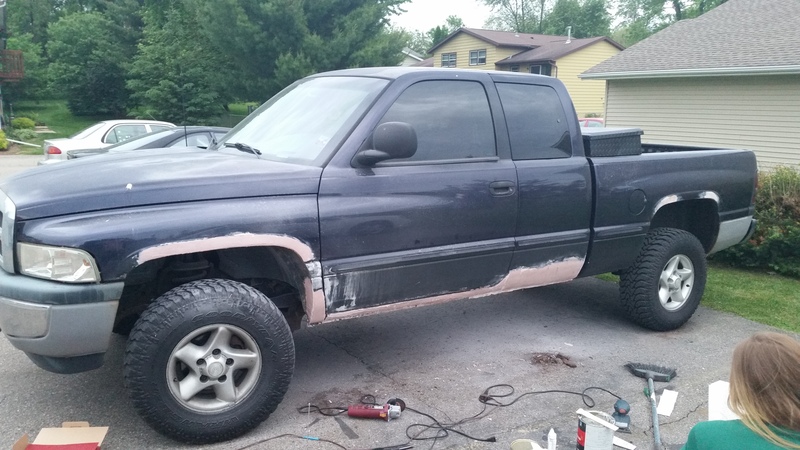
Then came the real project, repairing literally square feet of rust. I took a few photos before I started and have a few after I got the truck washed and polished up.
Before:
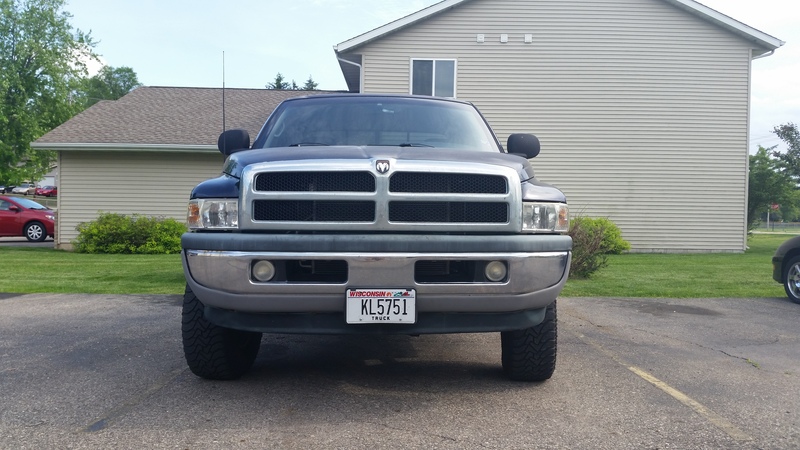
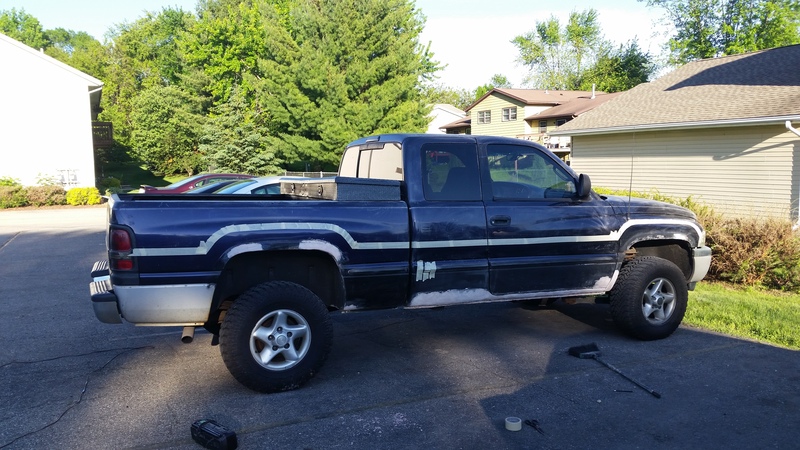
During:
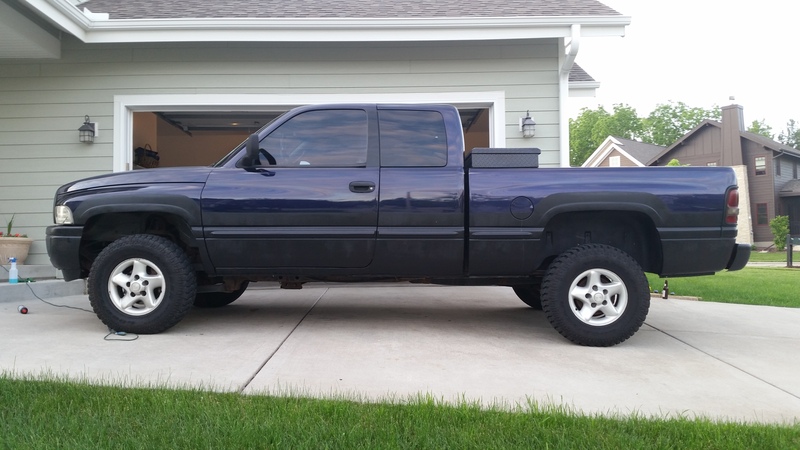
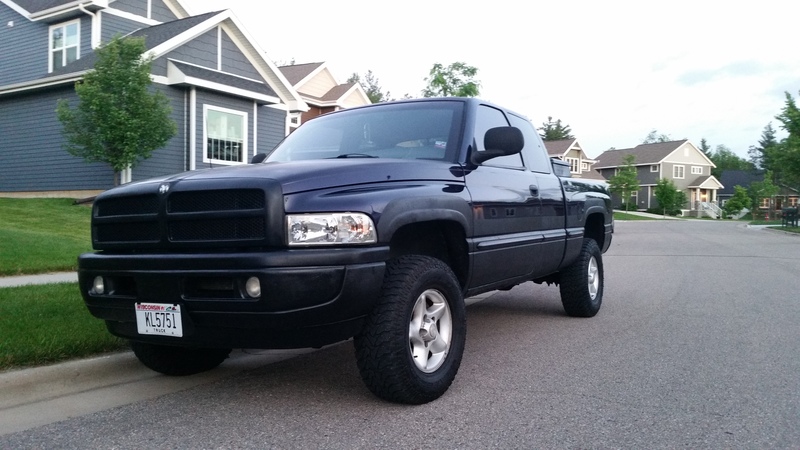
After:
What's next? T-case saver, exhaust, and lots of LED lighting ideas (bed lights and clearance lights with backup lights)
Thanks for taking a look! I plan to update this with the fun projects that come ahead along with hoping this gives other desire to keep these second gens on the road because I think they are a great looking truck. If you have any other ideas for future preventative maintenance please let me know.
Patrick
I have gotten quite of bit of work done on my 2nd gen since I bought it in the winter. I thought I would post my progress since I am thrilled to keep another second gen on the road. This could also be a useful thread for anyone that is looking at buying and fixing up a reliable work truck. I have always been the one in the family with a truck for moving, camping, tailgating, along with any project that needs a truck. In December I bought my 1998 5.9 4WD truck with 127K on the clock for $2,500. Before this truck I had another 96 5.9 so I was slightly familiar with the engine but never thought I would tackle as much as I have on this one.
Engine
-Plugs, Wires, Cap
-Plenum gasket
-Water Pump
-PVC
-Timing Chain
-Temp Sensor
-Oil Pump, pickup tube, sending unit
-AEM Air Intake
-Magnaflow Cat
-Thursh Turbo
-Up and Downstream 02
Suspension/Drivetrain
-HD "T" Steering
-Wheel Bearings
-Passenger Ball Joints and U Joint
-T Case Saver
-Rear Shocks
Exterior
-15 x 10 Centerline Hellcat on 32x11.5 Yokohama Geolandar AT-S
-Fender Flares
-35% Tint
Interior
-New Dash
-New Headliner
-Pioneer Sound System
-Sound Deadening
When I first bought the truck it ran well and 4WD worked great, perfect for what I was looking for. The downsides were that lots a routine maintence for these 360's was not done. The inside was also trashed and I don't think the truck was ever washed.
Here is the truck shortly after I bought it, at this point I had already installed my toolbox, tinted the front two windows myself, intake, headlights and a full stereo system. (Also parked to my other car 2008 BMW 135)

After a few weeks of driving I was not comfortable with the oil pressure and installed a high-flow pump, new pick up screen, and new gasket. Luckily I was able to work in a heated basement garage since it gets pretty cold in WI in the winter.

Dirty project but was not as bad as I was expecting. Next was tackling the well to known plenum gasket. I decided to do a full tune up while I was at it. Plugs, wires, cap, pcv, oil sending unit, coolant sending unit, water pump, timing chain, hughes plenum fix, along with all gaskets. The plenum was shot.


All back together and clean

Now that the truck was running with great oil pressure, cooling, and no more drinking oil it was time to finish up on some of the cosmetics. Next was a $4 piece of fabric to replace the drooping headliner.

I also had a completely shot hub that was not safe to drive on and I was able to replace the whole hub within a couple hours after work.

At this point I was getting antsy to get the truck looking nice again and not showing its age with the salt around here. The first project was a paint in bedliner.
Before:

After:

Then came the real project, repairing literally square feet of rust. I took a few photos before I started and have a few after I got the truck washed and polished up.
Before:


During:


After:


What's next? T-case saver, exhaust, and lots of LED lighting ideas (bed lights and clearance lights with backup lights)
Thanks for taking a look! I plan to update this with the fun projects that come ahead along with hoping this gives other desire to keep these second gens on the road because I think they are a great looking truck. If you have any other ideas for future preventative maintenance please let me know.
Patrick
Last edited by schmidtp; 08-31-2016 at 03:39 PM.
#2
06-07-2015, 11:40 PM
#3
06-08-2015, 09:15 AM
Join Date: Mar 2007
Location: Madison, WI
Posts: 345
Likes: 0
Received 0 Likes
on
0 Posts
Thank you, the bedliner paint is black and the truck is actually purple. Since there was so much body missing from rust I actually framed out the missing holes with fiberglass screen that is used on screen doors, then built up the bondo on that. It worked better than I was hoping and I don't have to worry about it rusting as well.
#4
06-08-2015, 09:56 AM

#5
06-08-2015, 07:08 PM
Record Breaker
#6
06-08-2015, 07:17 PM

#7
06-08-2015, 07:33 PM
Join Date: Mar 2007
Location: Madison, WI
Posts: 345
Likes: 0
Received 0 Likes
on
0 Posts
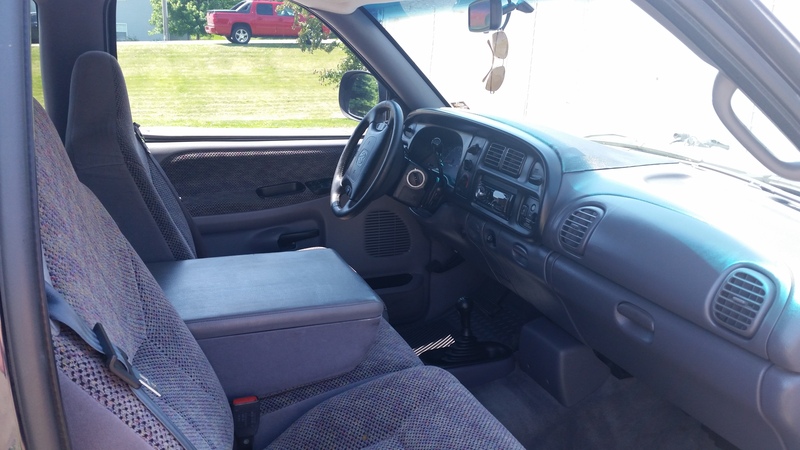
Thank you! Means a lot after seeing your recent restoration. The interior is in 7/10 shape, bought some plastic floor mats and had to glued the cracked dash back together and I put some not stick pad over it to hide it. Need to head to the junk yard soon to hopefully find a plastic front drivers side wheel well.
Trending Topics
#8
06-08-2015, 10:21 PM
Record Breaker
#10
06-09-2015, 01:48 PM
Join Date: Mar 2007
Location: Madison, WI
Posts: 345
Likes: 0
Received 0 Likes
on
0 Posts
Body work takes some major time, that's for sure. Working on cars and making them my own is a bit of a stress reliever for me. However I do not appreciate how difficult rusty nuts and bolts can be  I took a few days after work and then about 10 hours over the weekend for probably a total of 20 hours from starting to grind to painting on the bedliner.
I took a few days after work and then about 10 hours over the weekend for probably a total of 20 hours from starting to grind to painting on the bedliner.