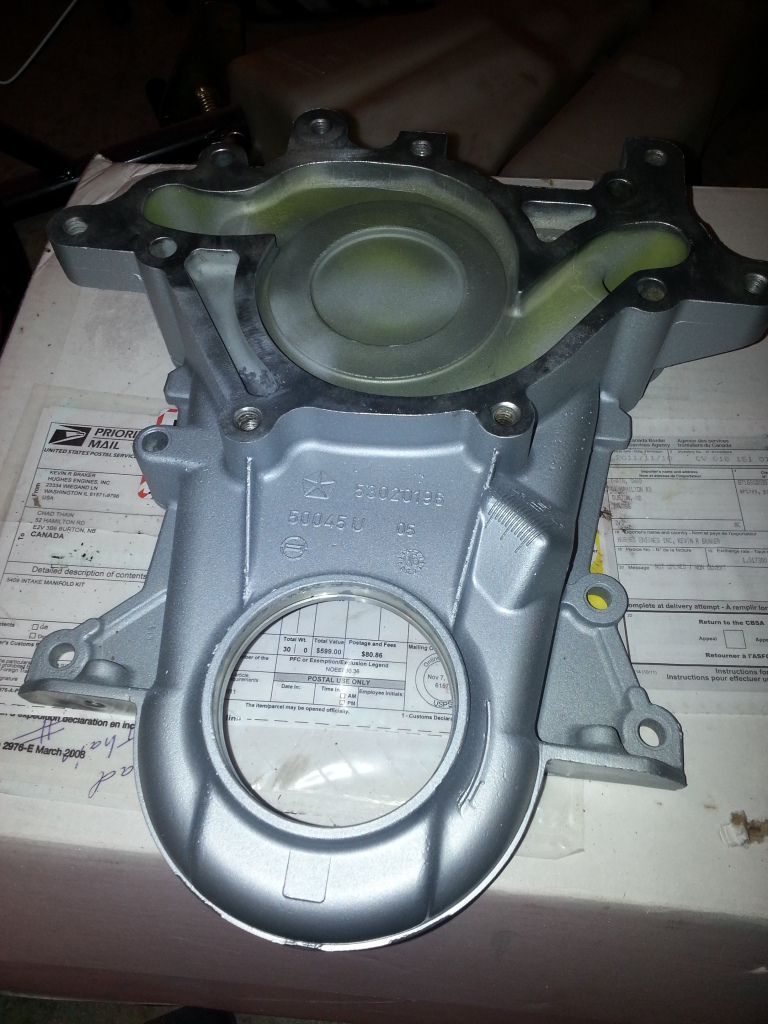
Engine and Plenum fixes...
#43
Firing Order is 1-8-4-3-6-5-7-2 with 1-3-5-7 on the drivers side front to back, 2-4-6-8 on the pass side and the dist turns clockwise.
PS. You say it looks pretty clean, but for the sludge that is there... any really effective way of cleaning it all out? I read another few posts where individuals recommended pouring diesel and kerosene through (since the drain pain is off) and giving everything a bit of a scrub. Thoughts?
this will be controversial, but for sludge, i'd use one quart of Gunk brand engine flush and follow the directions exactly. its cheap. add it to the oil and let the engine idle for about 5 minutes. then drain and change oil and filter.
#44
Work has been killer... and taking me away from home as of late!
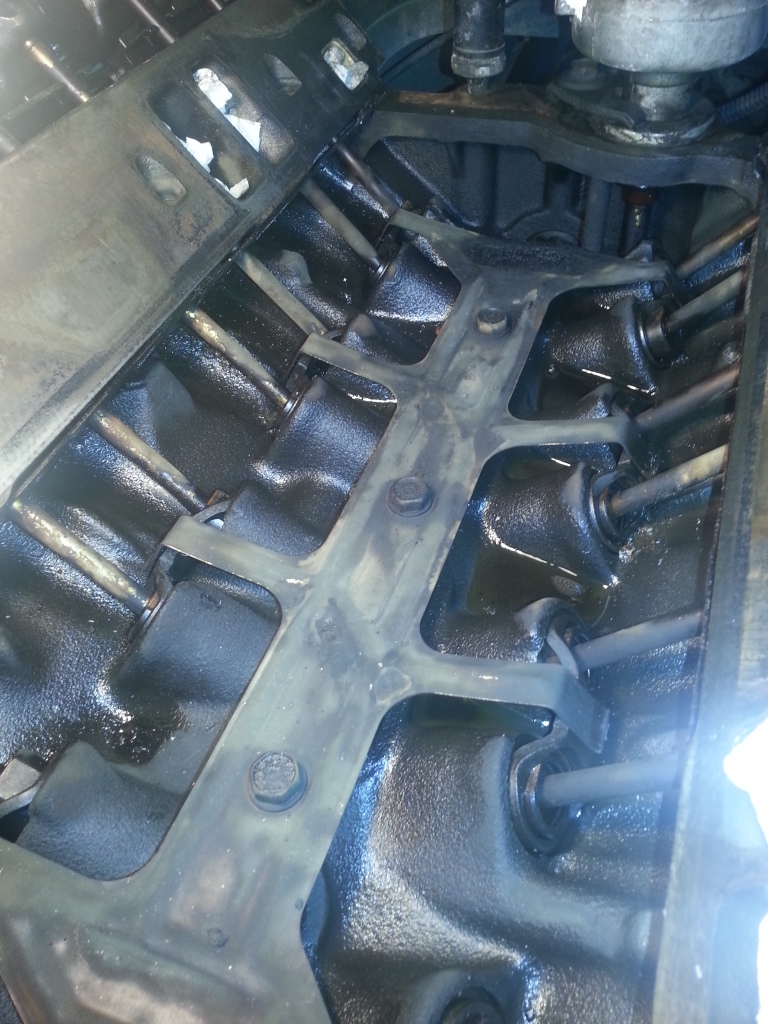
So, got in there and did some cleaning. I have no clue how everyone else managed to keep **** out of the lifter valley. I tried my best with rags, but I was scrapping the mating surface to get all the **** off and make sure it was nice and smooth.
End result:
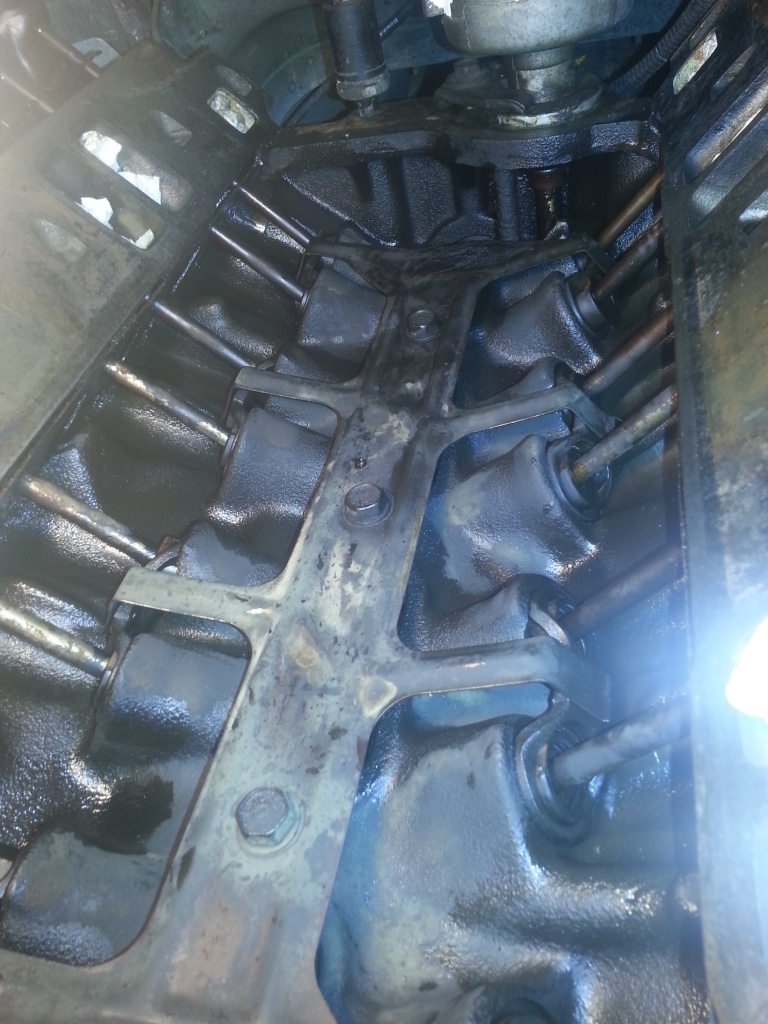
I used rags, shop vac, and compressed air. I think it looks pretty good... I think I got rid of the bulk of the sludge. Only issue is one of the rubber nipples that does into the mating surface won't come off... Not sure how to pull it out, might use a very small drill to try and pull it all out. Not sure yet.
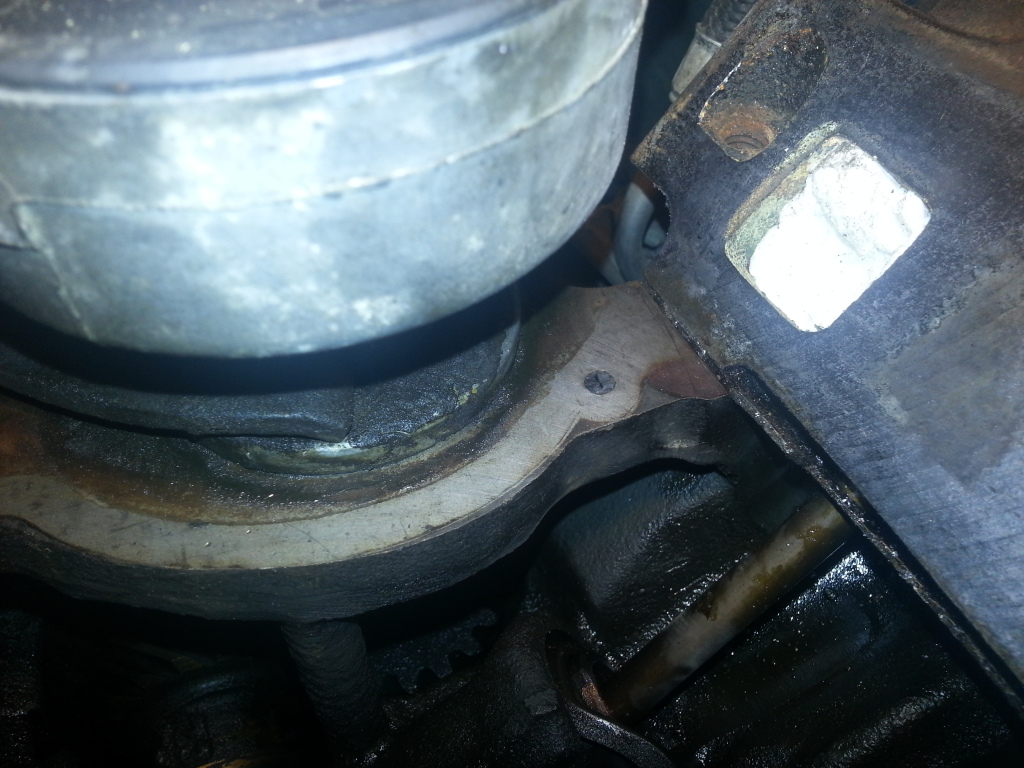
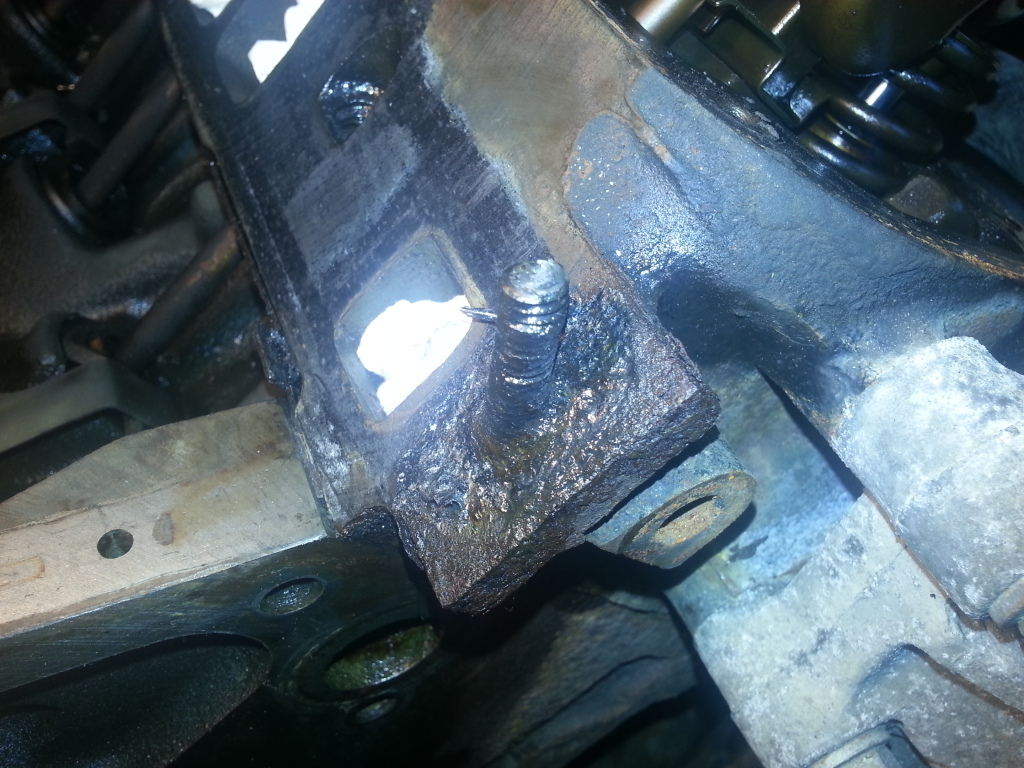
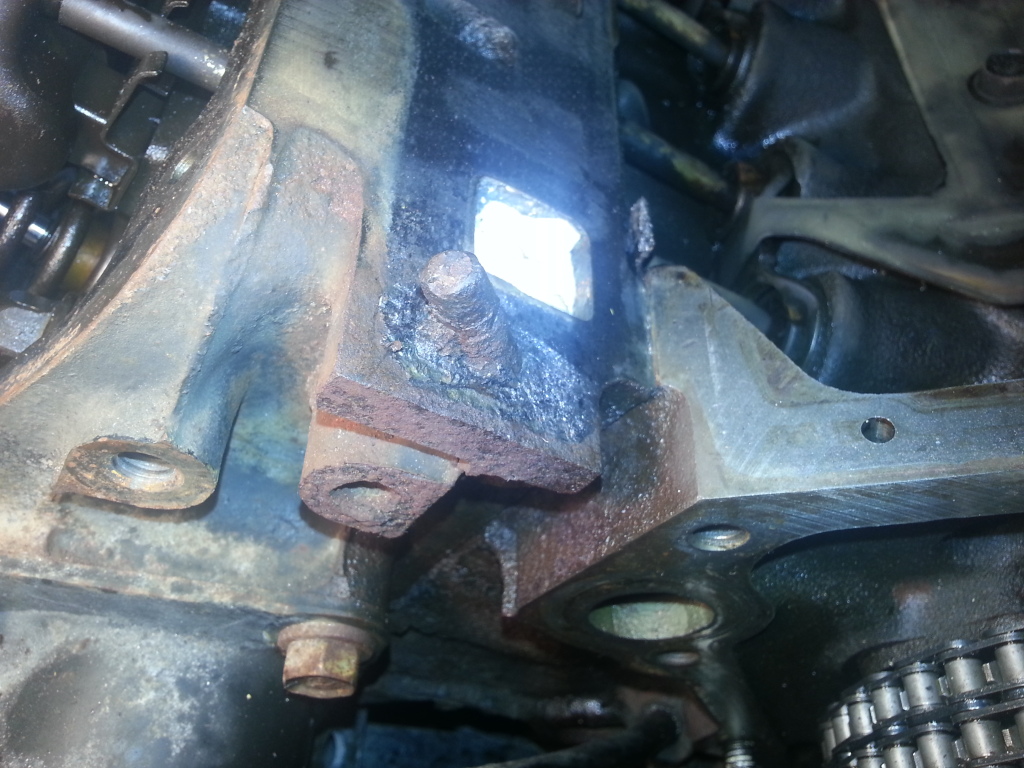
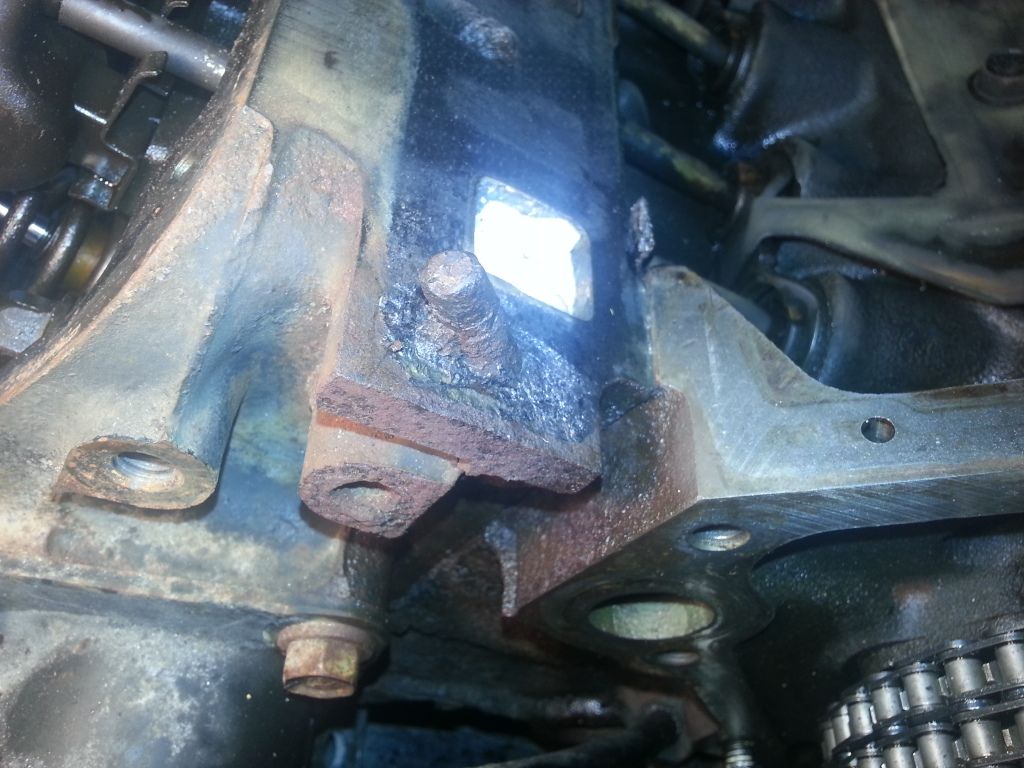
Also still have the two bolts (or what is left of them) on the front to remove. Once I figure out how to get those out, I can then finish cleaning as there is obviously gunk around them.
OH! GF is bloody awesome (same GF that handled the bulk of my transmission issues when I was on my parachute course). She ordered me this stuff:
So now I can install these soon and cover them with the wickedness above:
Friend also lent me his tap and die set... not that I am familiar with it in ANY sense of the word, nor am I sure what SIZE of taps and dies to use with the bolts and such. I'll fully admit it, I really have no clue how to tell the size of bolts and as such, am not sure how to clean them out. Definitely dirty though.
InfO.

So, got in there and did some cleaning. I have no clue how everyone else managed to keep **** out of the lifter valley. I tried my best with rags, but I was scrapping the mating surface to get all the **** off and make sure it was nice and smooth.
End result:

I used rags, shop vac, and compressed air. I think it looks pretty good... I think I got rid of the bulk of the sludge. Only issue is one of the rubber nipples that does into the mating surface won't come off... Not sure how to pull it out, might use a very small drill to try and pull it all out. Not sure yet.

Also still have the two bolts (or what is left of them) on the front to remove. Once I figure out how to get those out, I can then finish cleaning as there is obviously gunk around them.


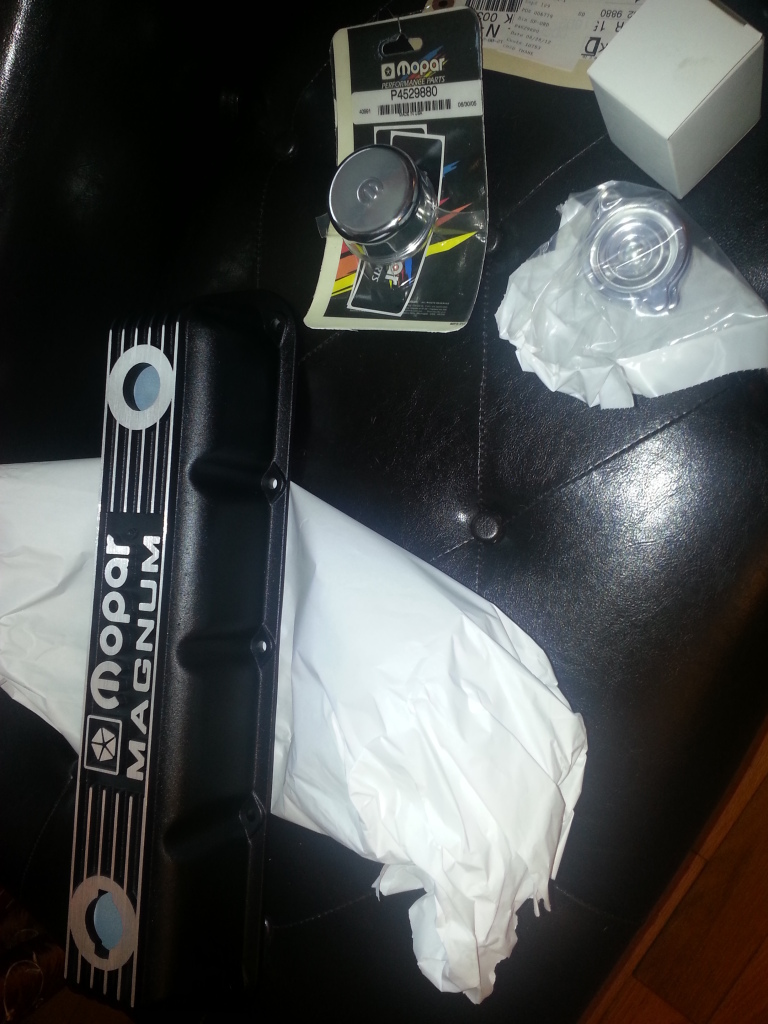
OH! GF is bloody awesome (same GF that handled the bulk of my transmission issues when I was on my parachute course). She ordered me this stuff:

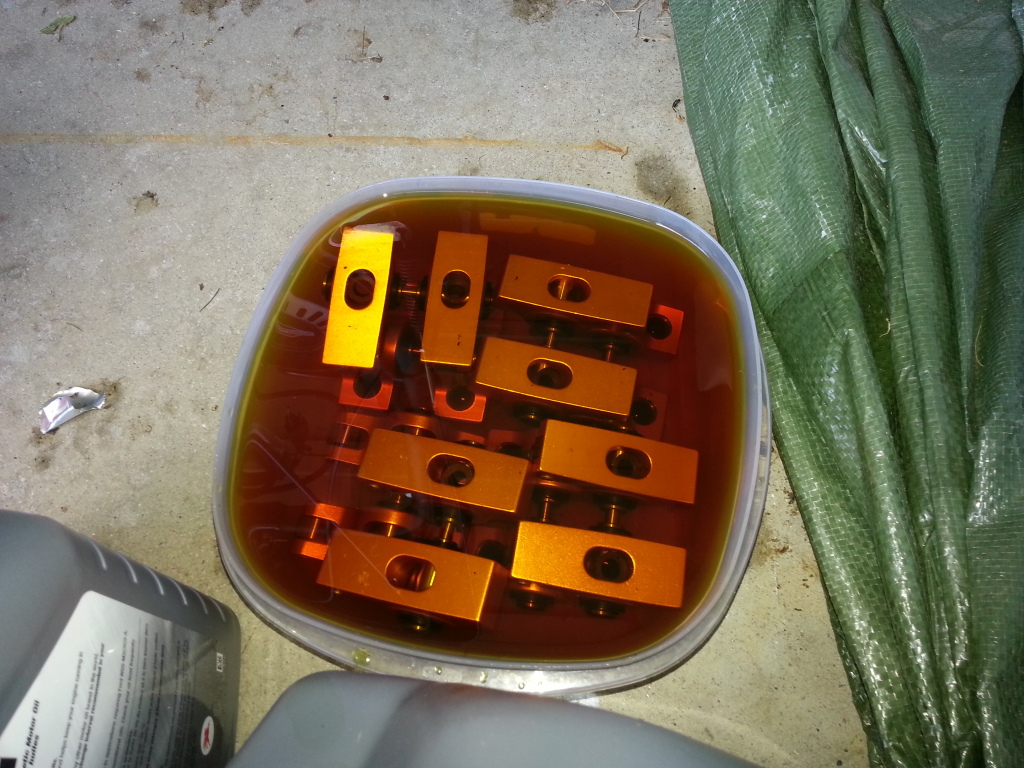
So now I can install these soon and cover them with the wickedness above:

Friend also lent me his tap and die set... not that I am familiar with it in ANY sense of the word, nor am I sure what SIZE of taps and dies to use with the bolts and such. I'll fully admit it, I really have no clue how to tell the size of bolts and as such, am not sure how to clean them out. Definitely dirty though.
InfO.
#45
Work has been killer... and taking me away from home as of late!
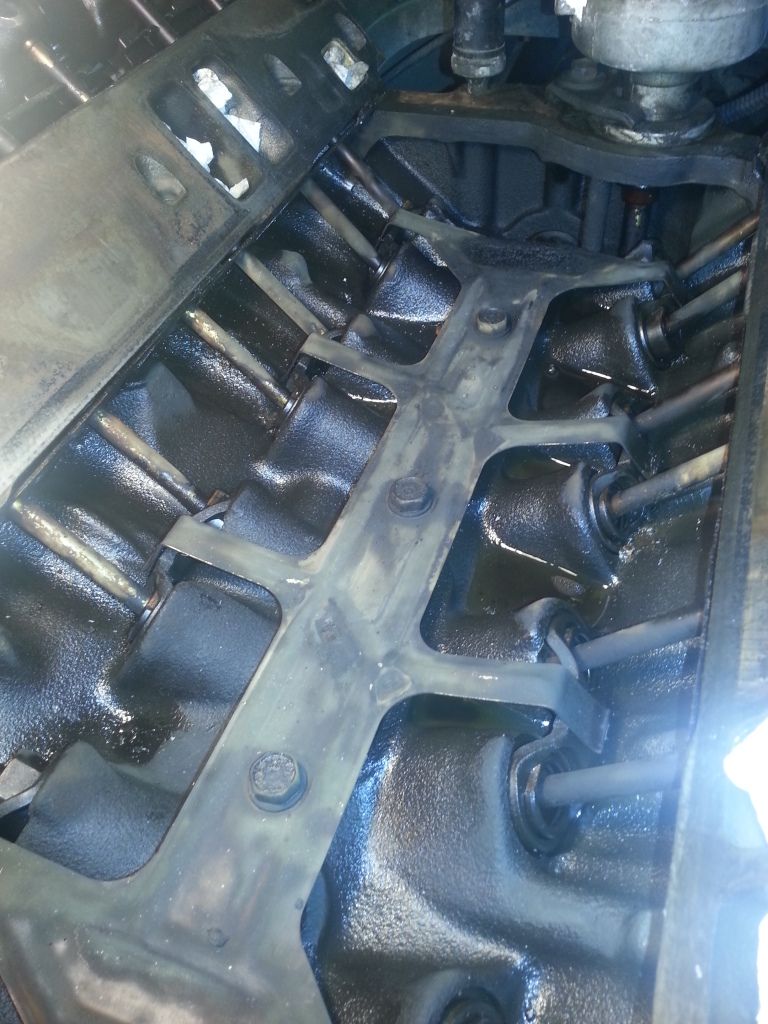
So, got in there and did some cleaning. I have no clue how everyone else managed to keep **** out of the lifter valley. I tried my best with rags, but I was scrapping the mating surface to get all the **** off and make sure it was nice and smooth.
End result:
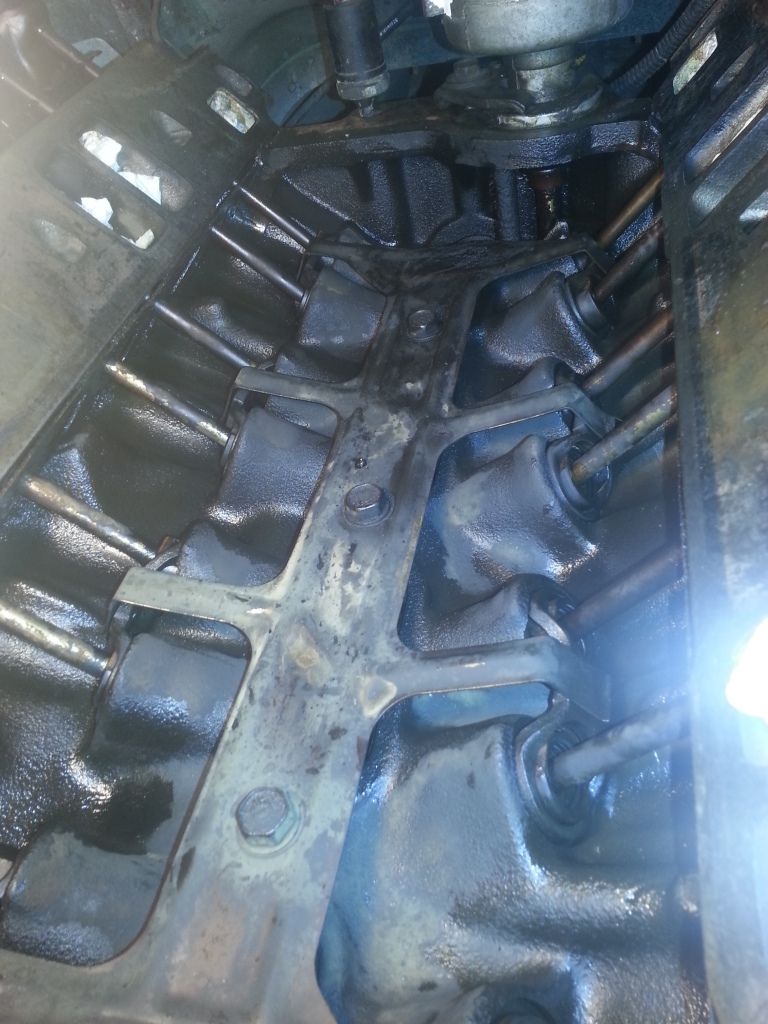
I used rags, shop vac, and compressed air. I think it looks pretty good... I think I got rid of the bulk of the sludge. Only issue is one of the rubber nipples that does into the mating surface won't come off... Not sure how to pull it out, might use a very small drill to try and pull it all out. Not sure yet.
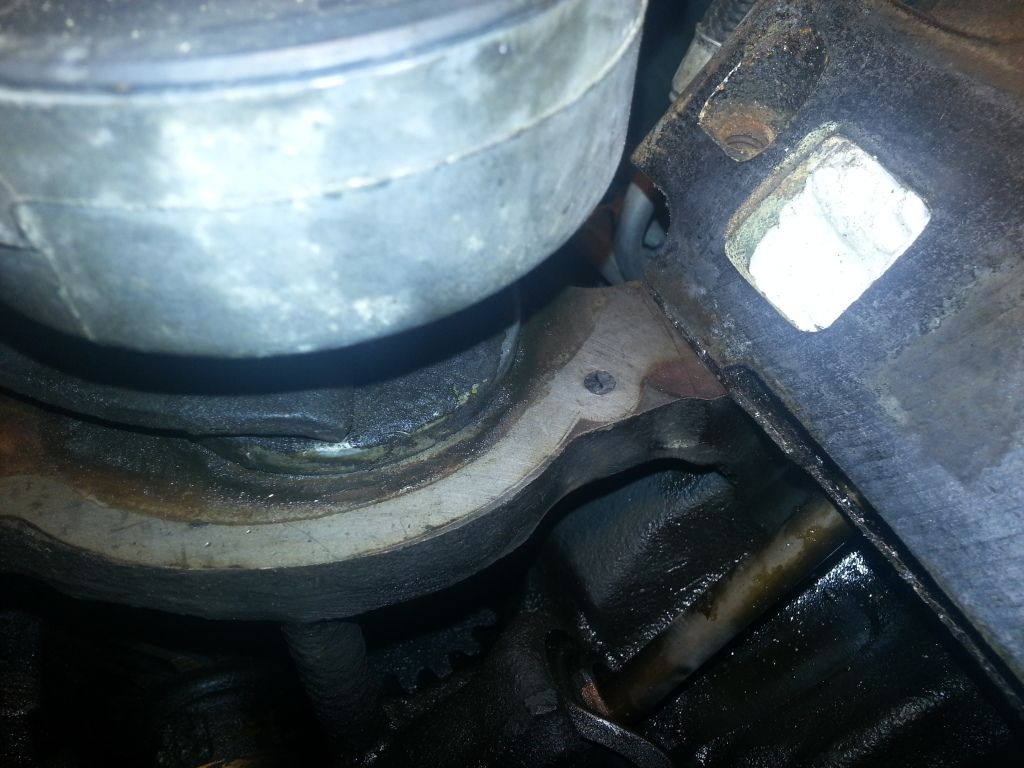
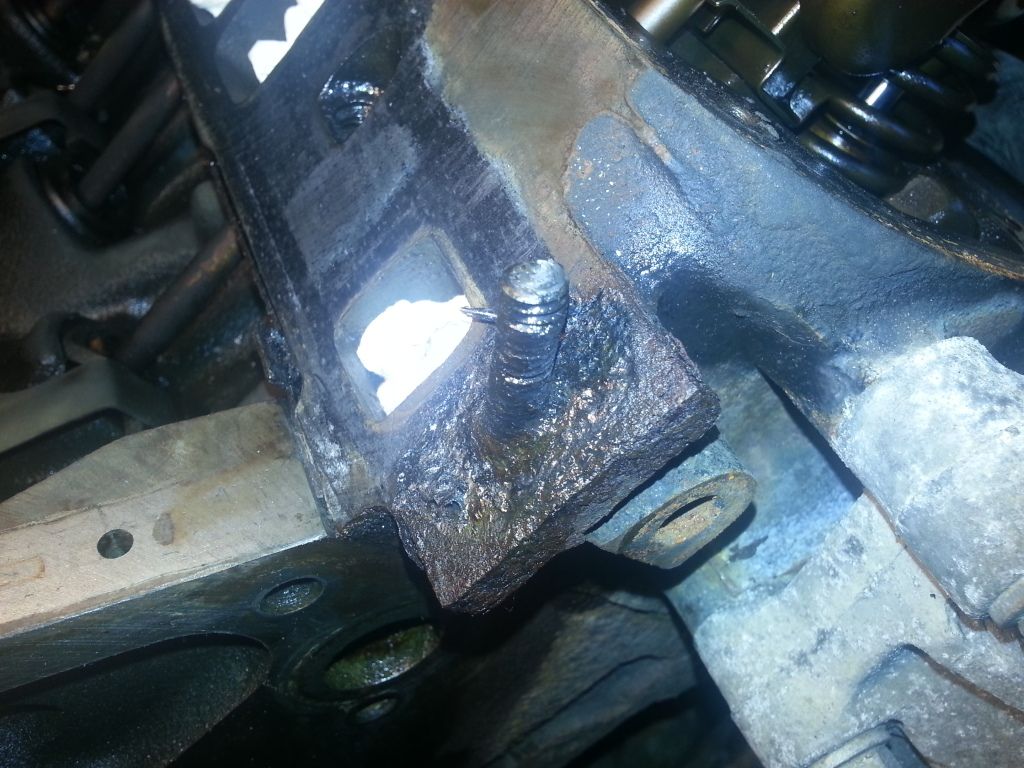
Also still have the two bolts (or what is left of them) on the front to remove. Once I figure out how to get those out, I can then finish cleaning as there is obviously gunk around them.
OH! GF is bloody awesome (same GF that handled the bulk of my transmission issues when I was on my parachute course). She ordered me this stuff:
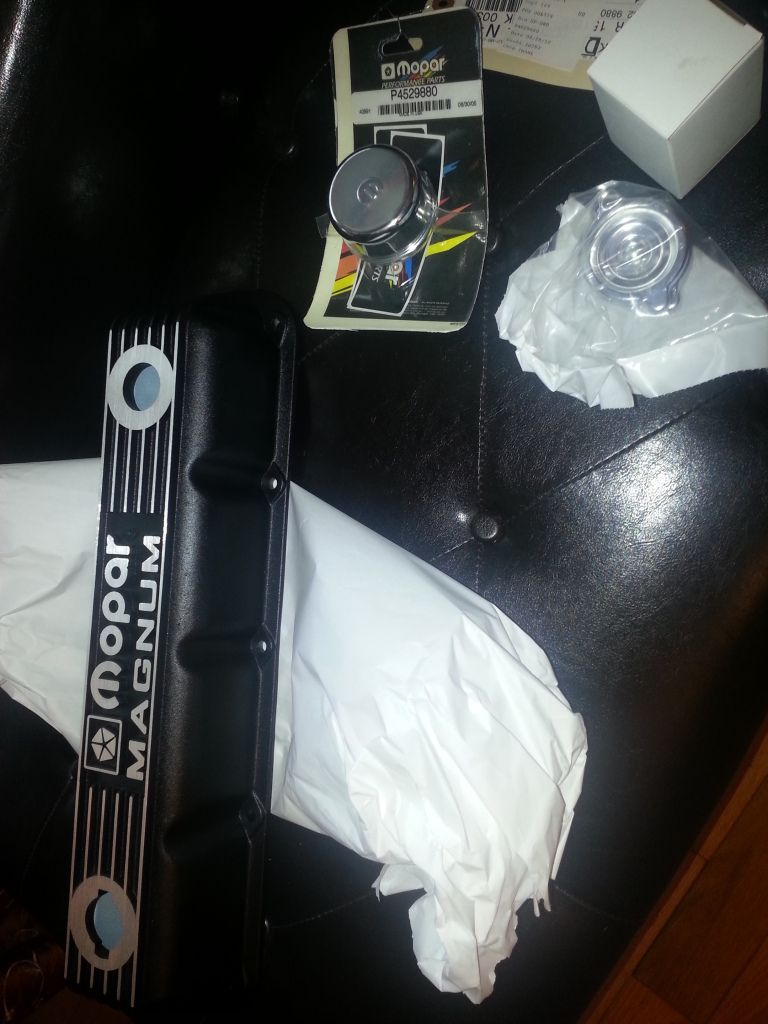
So now I can install these soon and cover them with the wickedness above:
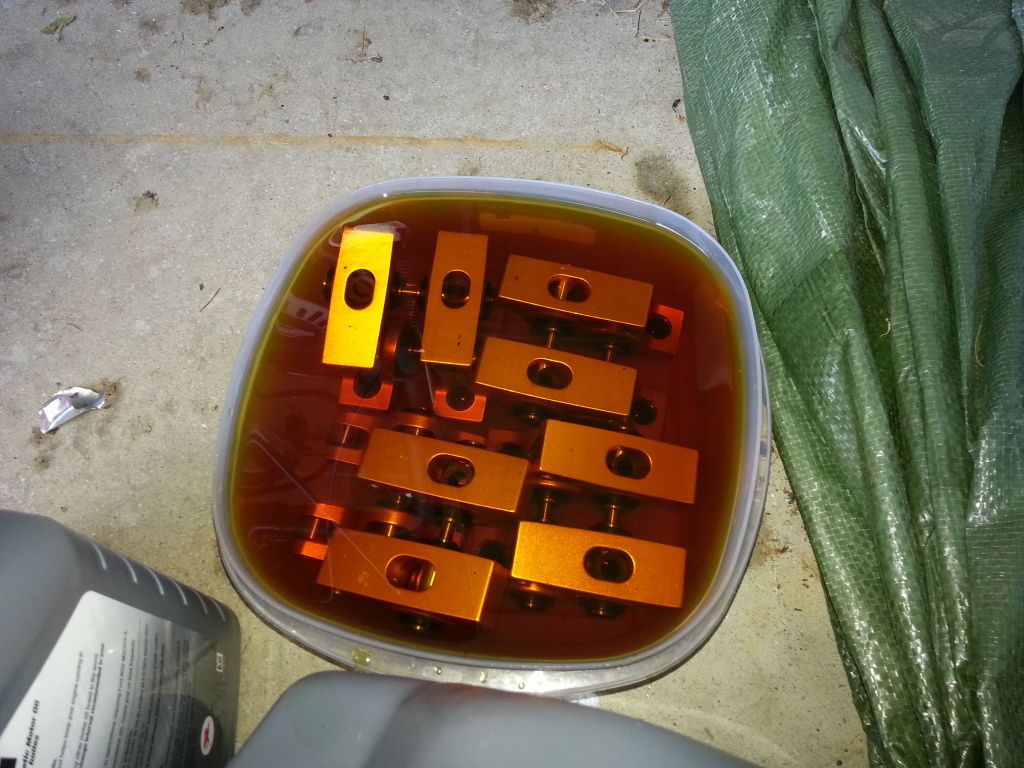
Friend also lent me his tap and die set... not that I am familiar with it in ANY sense of the word, nor am I sure what SIZE of taps and dies to use with the bolts and such. I'll fully admit it, I really have no clue how to tell the size of bolts and as such, am not sure how to clean them out. Definitely dirty though.
InfO.

So, got in there and did some cleaning. I have no clue how everyone else managed to keep **** out of the lifter valley. I tried my best with rags, but I was scrapping the mating surface to get all the **** off and make sure it was nice and smooth.
End result:

I used rags, shop vac, and compressed air. I think it looks pretty good... I think I got rid of the bulk of the sludge. Only issue is one of the rubber nipples that does into the mating surface won't come off... Not sure how to pull it out, might use a very small drill to try and pull it all out. Not sure yet.

Also still have the two bolts (or what is left of them) on the front to remove. Once I figure out how to get those out, I can then finish cleaning as there is obviously gunk around them.


OH! GF is bloody awesome (same GF that handled the bulk of my transmission issues when I was on my parachute course). She ordered me this stuff:

So now I can install these soon and cover them with the wickedness above:

Friend also lent me his tap and die set... not that I am familiar with it in ANY sense of the word, nor am I sure what SIZE of taps and dies to use with the bolts and such. I'll fully admit it, I really have no clue how to tell the size of bolts and as such, am not sure how to clean them out. Definitely dirty though.
InfO.
#46
#49
#50
Clean as much of the crap from around the base of those two bolts as you can, then drown them with the penetrant of your choice. (PB blaster, Kroil, Freeze-off, whathaveyou) Let it soak for a while, then grab them with some vice grips, nice and tight, and work them back and forth while tapping on the top of the bolt with a hammer. They should break loose, and come out. (but, not exactly willingly......) Then, just find the right size tap (don't recall just offhand what size...) and chase the threads on ALL the holes. (put a rag underneath the ones the open to the lifter valley. Keeps some of the crap out.)
Lookin' Good though.
Lookin' Good though.


