2nd Gen Ram Tech 1994-2001 Rams: This section is for TECHNICAL discussions only, that involve the 1994 through 2001 Rams. For any non-tech discussions, please direct your attention to the "General discussion/NON-tech" sub sections.

5.9 Rebuild on the cheap: Now Just Empty Every Pocket build.

Thread Tools
 
Search this Thread
 
Old Jan 20, 2021 | 09:20 PM
  #651  
Wildman4x4nut's Avatar
Wildman4x4nut
Thread Starter
|
Record Breaker
Veteran: Army
10 Year Member
Loved
Community Favorite
Joined: Nov 2011
Posts: 1,898
Likes: 162
From: Cle Elum, WA
Default

Installed the injectors before I installed the heads. For those who haven't rebuilt one of these before the clearances are very tight so you want to install the lifters before you have install the heads. Then I installed the retainers that prevent the lifters from being able to rotate which keeps the rollers on the lifters on the cam lobe. Then installed the retainer plate that keeps those retainers in place and then a splash shield that I got from UTW Performance that is suppose to help keep the hot oil from splashing up onto the bottom of the intake manifold which in turn is to help keep the intake air temps lower.


Then I dropped the heads onto the block so I could see how the silver painted heads look against the orange block. For those who have been following these are the same heads I had on my old engine. They are EQ Monster heads so they have the 2.02 intake valves.


The heads look pretty good on there.


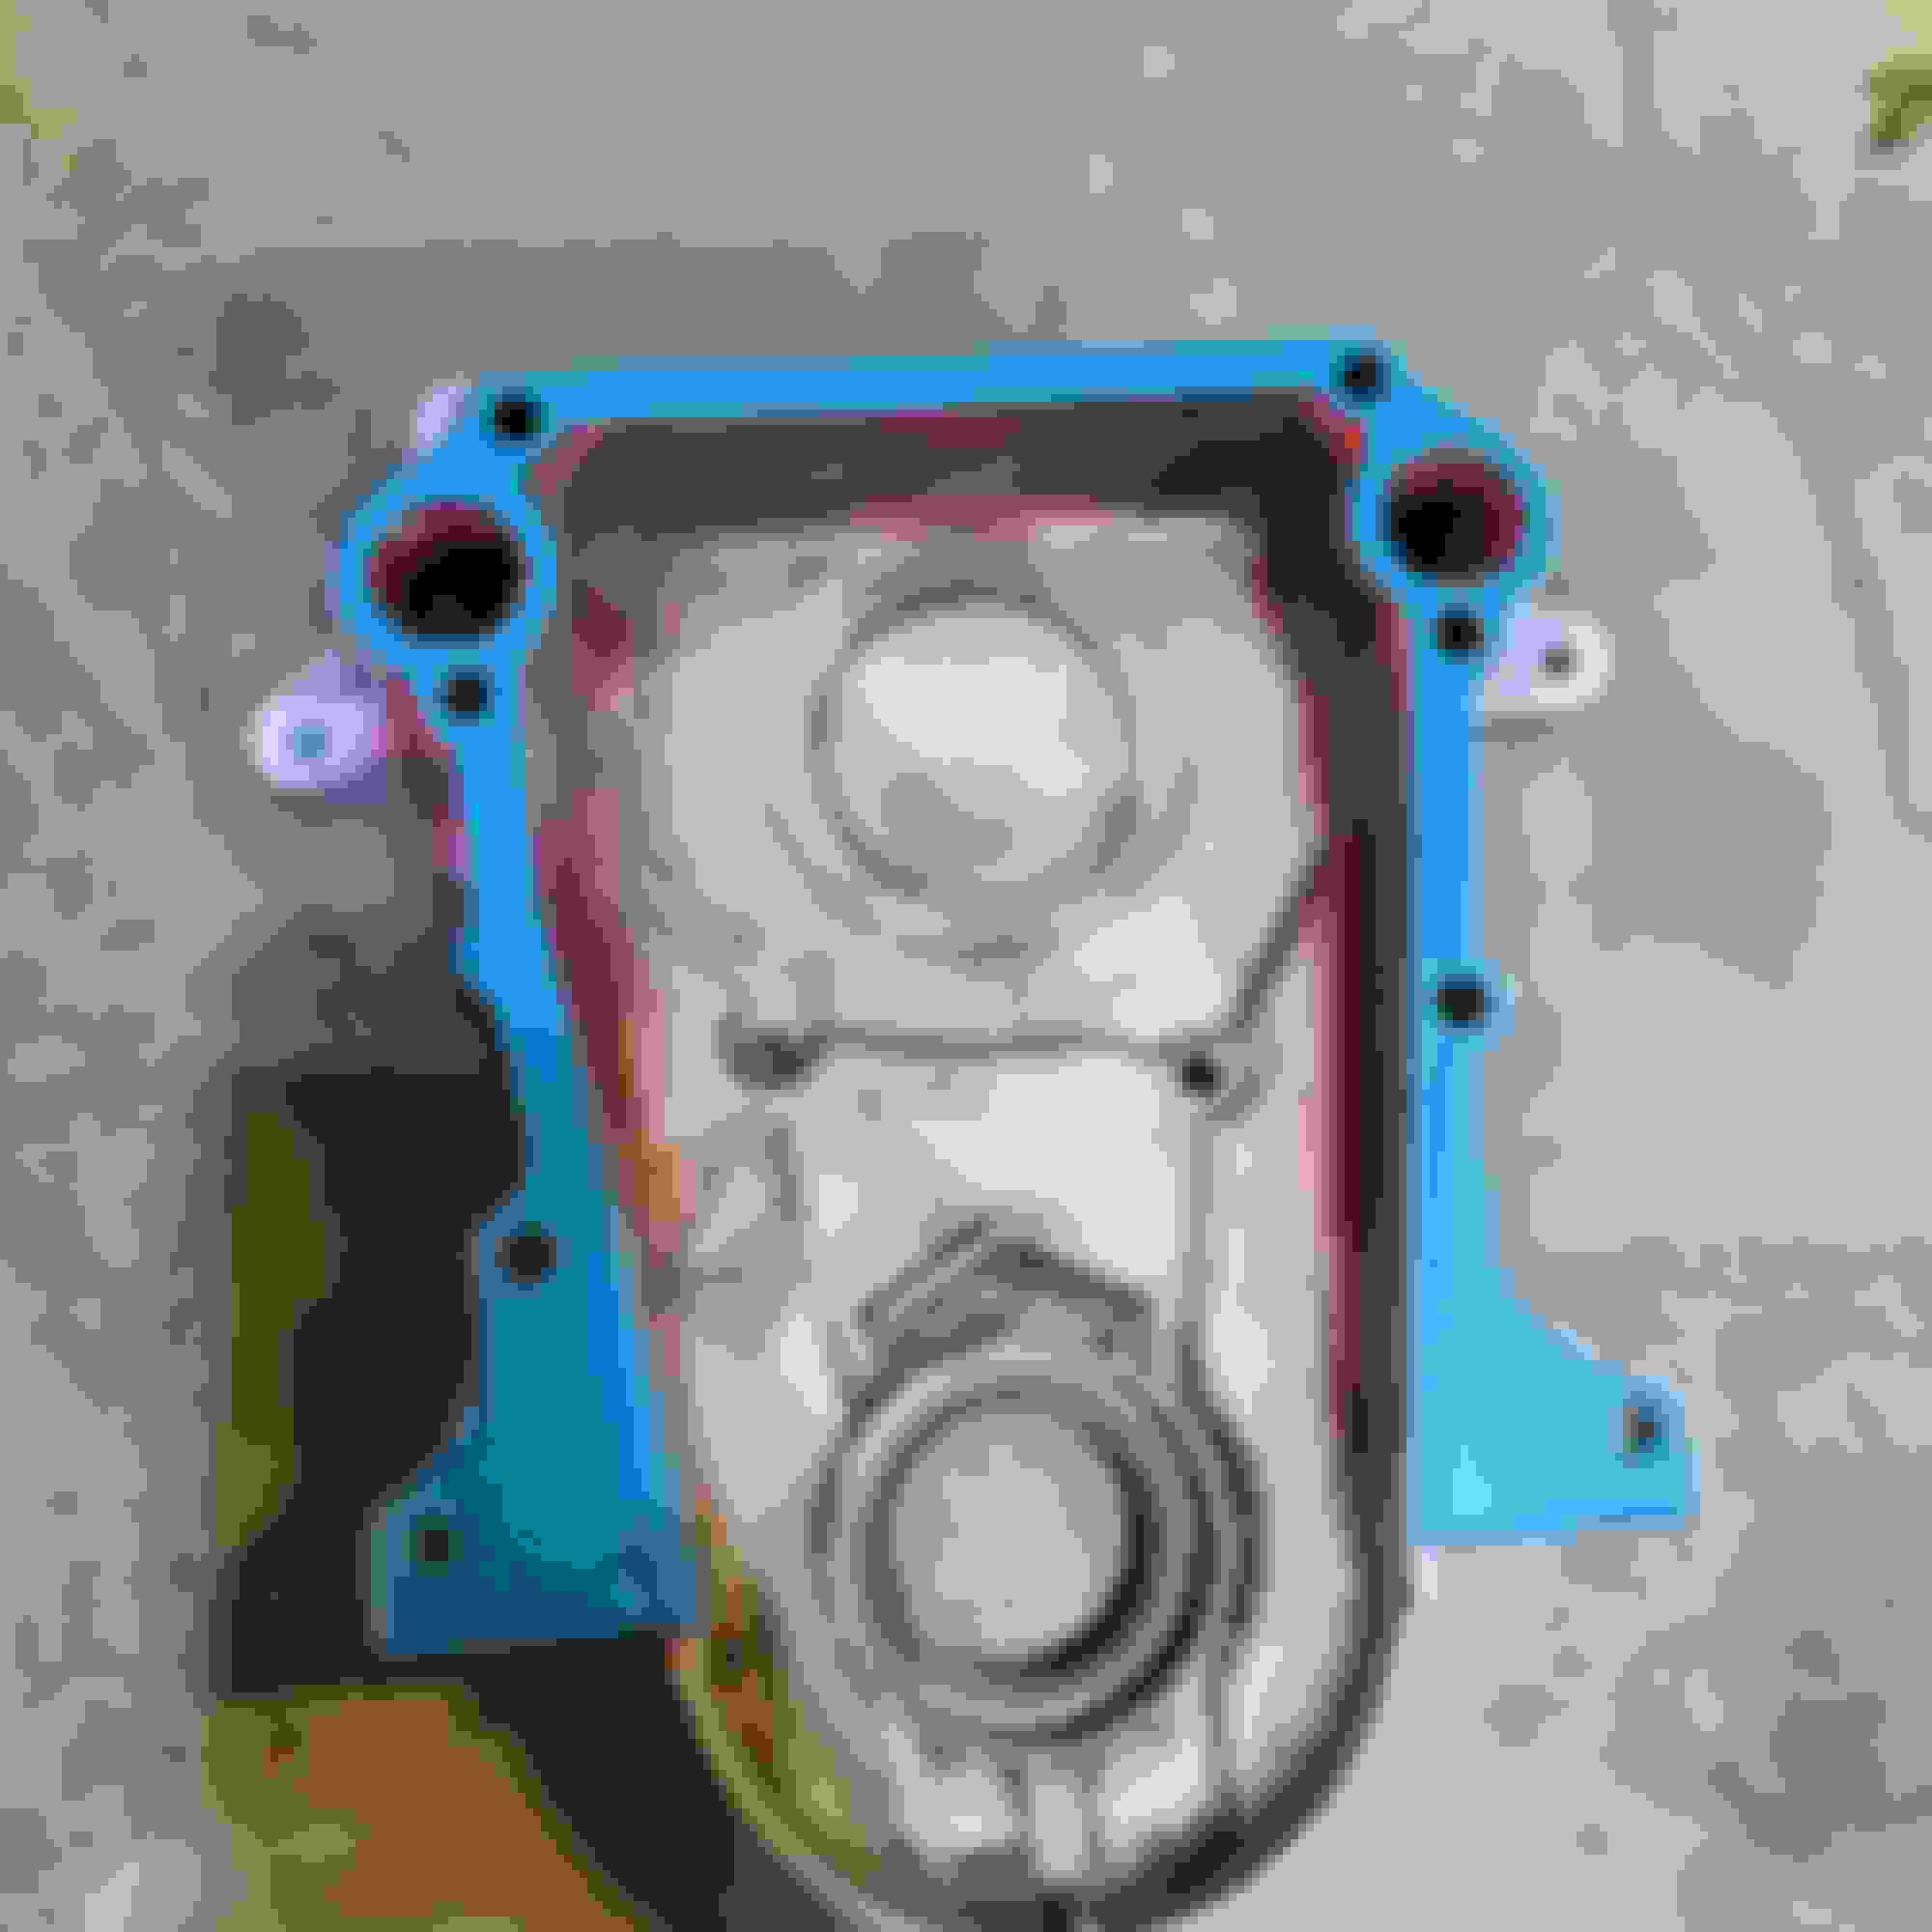
Tomorrow I need to media blast the front cover and then paint it in a flat aluminum and then with the satin clear. Then I can assemble the front cover & harmonic balancer & bottom pulley. Then start on all the other front accessories & mounts.


Next is to install the larger oil pan I have and once I get the engine back in the Jeep I can see if it'll clear the skid plate I have. It's black so I'm not sure how that will look yet but can always repaint it if I don't like how it looks.
 
Reply
Old Jan 21, 2021 | 07:24 AM
  #652  
frankie_b_jr's Avatar
frankie_b_jr
Captain
10 Year Member
Liked
Loved
Community Favorite
Joined: Sep 2013
Posts: 586
Likes: 17
From: Nevada
Default

The color combo and the progress are both looking good.
 
Reply
Old Jan 21, 2021 | 01:01 PM
  #653  
Wildman4x4nut's Avatar
Wildman4x4nut
Thread Starter
|
Record Breaker
Veteran: Army
10 Year Member
Loved
Community Favorite
Joined: Nov 2011
Posts: 1,898
Likes: 162
From: Cle Elum, WA
Default

Originally Posted by frankie_b_jr
The color combo and the progress are both looking good.
Thanks Frankie..... I'm glad to finally be getting at this. Still got some more stuff to do but I'll get there.
 
Reply
Old Jan 21, 2021 | 01:30 PM
  #654  
MoparFanatic21's Avatar
MoparFanatic21
Legend
Veteran: Marine Corps
10 Year Member
Liked
Loved
Joined: Nov 2014
Posts: 8,098
Likes: 318
Default

Good work Wildman! Just fyi ceramic paint isn't needed, that's why I asked. I used regular body paint and it's help up fine for the past 3 years. Good job man, seriously!
 
Reply
Old Jan 21, 2021 | 03:57 PM
  #655  
1997JollyGreenGiant's Avatar
1997JollyGreenGiant
Record Breaker
Joined: Mar 2013
Posts: 1,130
Likes: 15
From: Somewhere in Kentucky
Default

Nice color combo on the engine. I went with the same combo on a previous truck.
 
Reply
Old Jan 24, 2021 | 04:07 PM
  #656  
Wildman4x4nut's Avatar
Wildman4x4nut
Thread Starter
|
Record Breaker
Veteran: Army
10 Year Member
Loved
Community Favorite
Joined: Nov 2011
Posts: 1,898
Likes: 162
From: Cle Elum, WA
Default

Heads are torqued down to 110 ft lbs per ARP instructions.


Next is the oil pan and front cover.


Can anyone tell me what these gaskets are for? Mainly the white plastic washer?


And then this O-ring and this flat rubber washer?


Reply
Old Jan 24, 2021 | 04:19 PM
  #657  
HeyYou's Avatar
HeyYou
Administrator
Veteran: Air Force
Community Favorite
15 Year Member
Community Builder
Joined: Apr 2010
Posts: 87,479
Likes: 4,223
From: Clayton MI
Default

O-ring might be for the heater coolant return tube in the water pump. As for the rest, maybe gaskets and such that you don't need. ?
 
Reply
Old Jan 26, 2021 | 04:35 AM
  #658  
Wildman4x4nut's Avatar
Wildman4x4nut
Thread Starter
|
Record Breaker
Veteran: Army
10 Year Member
Loved
Community Favorite
Joined: Nov 2011
Posts: 1,898
Likes: 162
From: Cle Elum, WA
Default

Timing cover is done. I started off this morning with media blasting the cover and then cleaning it prior to primer painting it. Then laid down two coats of flat aluminum and then finally two coats of the flat clear.


Reply
Old Jan 26, 2021 | 08:46 PM
  #659  
Wildman4x4nut's Avatar
Wildman4x4nut
Thread Starter
|
Record Breaker
Veteran: Army
10 Year Member
Loved
Community Favorite
Joined: Nov 2011
Posts: 1,898
Likes: 162
From: Cle Elum, WA
Default

I got the timing cover all done and installed the new seal and got it ready to be installed.


Then a little gasket tack to hold the gasket in place and it was ready to go on the block.


Once the timing cover was on I installed the harmonic balancer and torqued the bolt down.

 
Reply
Old Jan 26, 2021 | 08:51 PM
  #660  
Wildman4x4nut's Avatar
Wildman4x4nut
Thread Starter
|
Record Breaker
Veteran: Army
10 Year Member
Loved
Community Favorite
Joined: Nov 2011
Posts: 1,898
Likes: 162
From: Cle Elum, WA
Default

Next was the oil pump. I tried to install it with the washer under the rear main cap bolt but couldn't get enough clearance on the oil pump. I did try to grind a little off the oil pump but it wouldn't fit so I removed the washer.


Bolt with the washer.


Then installed the oil pump. Looked all over for a gasket but there isn't one in the FelPro kit I have so I checked online and it said that there isn't one on the stock pump so I decided to just go with it.


Reply


All times are GMT -4. The time now is 01:35 PM.